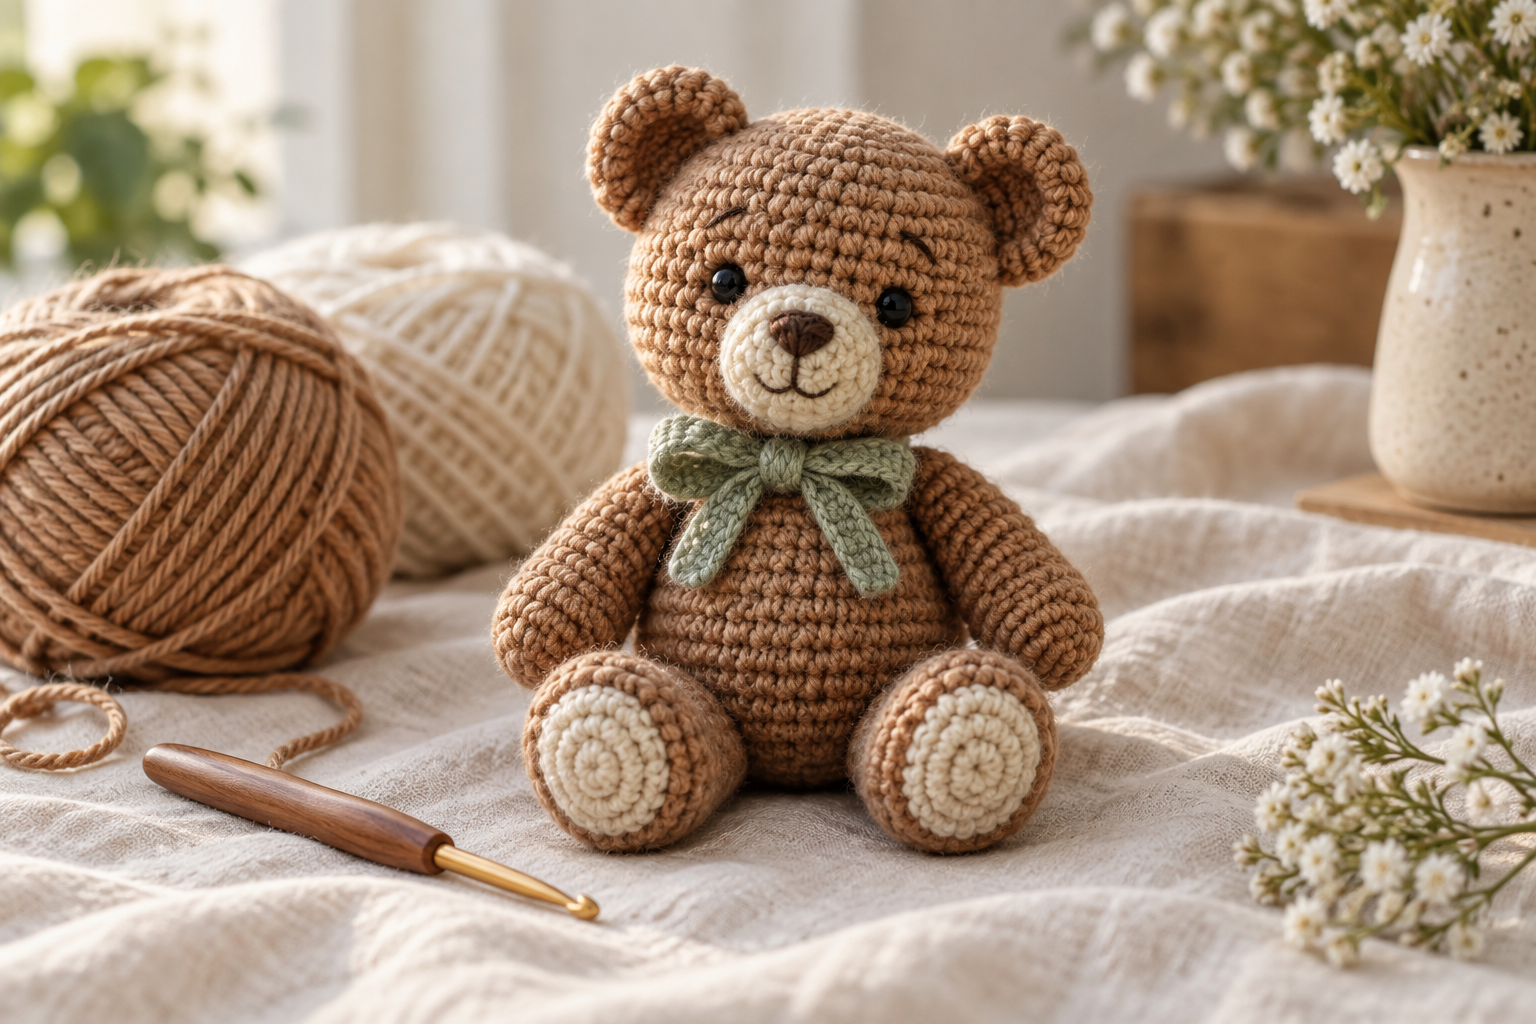
Mini Crochet Bear Amigurumi Gift Idea
A handmade bear becomes memorable when its proportions, expression and presentation suit the recipient. This guide approaches the mini bear as a gift project, with practical decisions for safety, assembly, personalization and care.
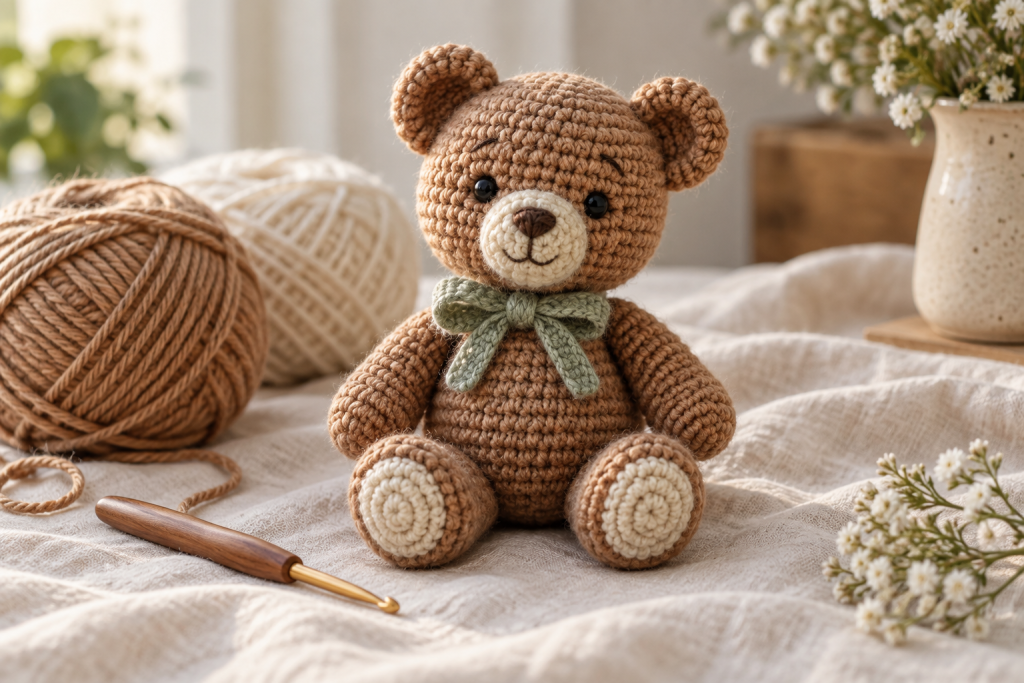
Level: confident beginner
Time: 4–7 hours
Size: approximately 12–18 cm seated
Main challenge: symmetrical assembly and facial expression
Design for the person receiving the bear
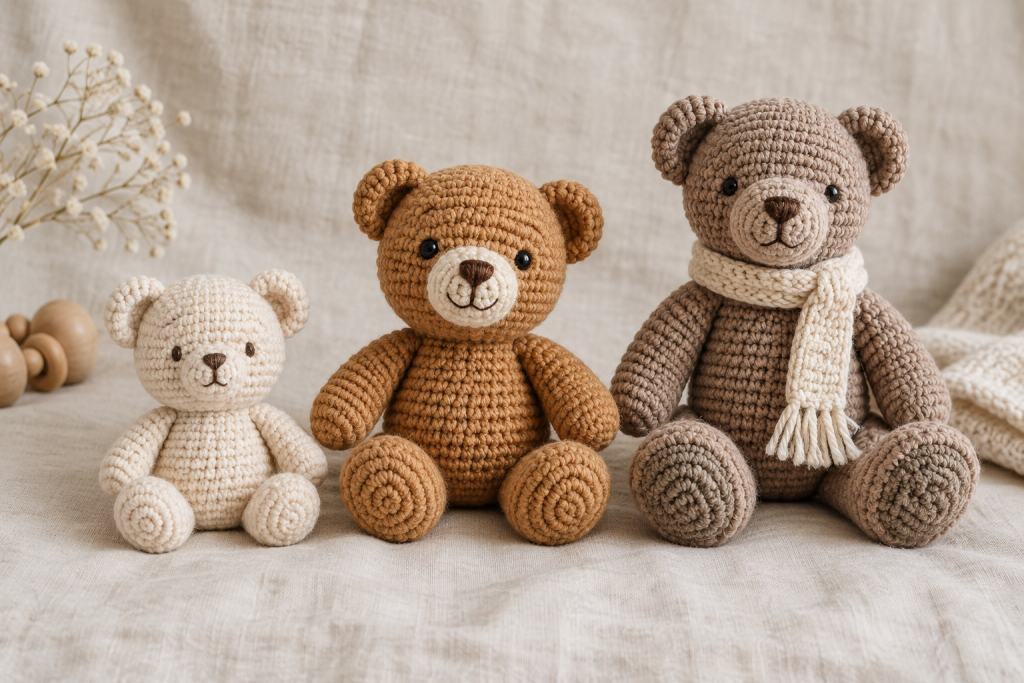
For a baby, use washable yarn, embroidered features and no detachable accessories. A child’s bear can be slightly larger with sturdy limbs and a securely sewn scarf. A keepsake bear may use subtle texture and a muted palette but should still be constructed for handling. Write down the recipient’s needs before selecting decorative details.
Control scale with yarn, hook and proportion
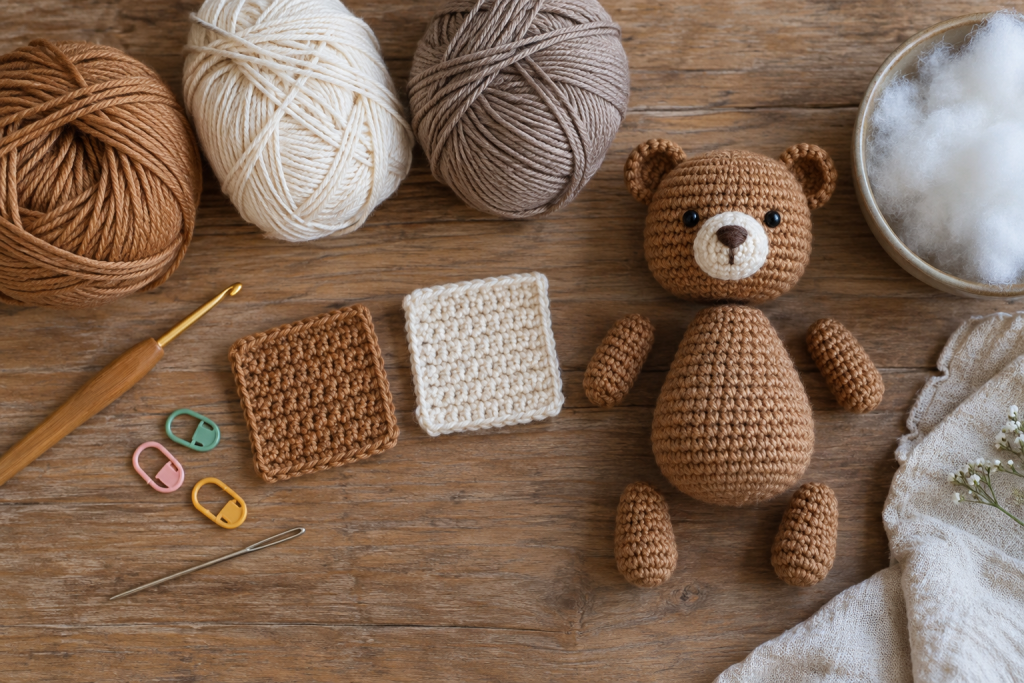
Smooth cotton or cotton-acrylic shows the shaping clearly and supports a small muzzle. Use a hook 0.5–1 mm below the label recommendation, provided the stitches remain comfortable to make. The head can be about two-thirds the height of the torso for a youthful character. Shorter limbs feel cuddly; longer limbs create a more traditional teddy silhouette.
Prepare the muzzle color, embroidery yarn and any accessory yarn at the beginning so the tones work together in the same light.
Check all pieces before joining
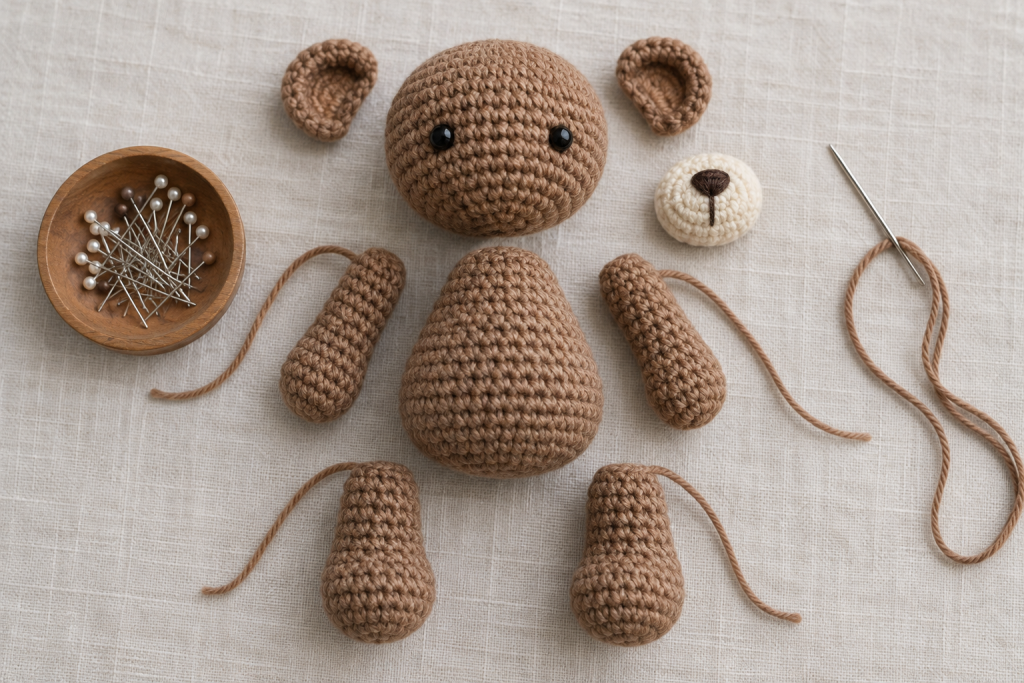
- Stuff the head evenly and mark the center front.
- Stuff the torso more firmly at the neck and more softly at the lower body.
- Match ears, arms and legs in pairs before trimming their tails.
- Pin the head securely, then position limbs with the bear sitting on a flat surface.
- Sew each piece twice around when the bear will be handled frequently.
If the bear tips backward, move the legs slightly forward or reduce stuffing near the lower back. If the head wobbles, add supporting stitches around the neck rather than pulling one stitch extremely tight.
Build a calm, centered expression
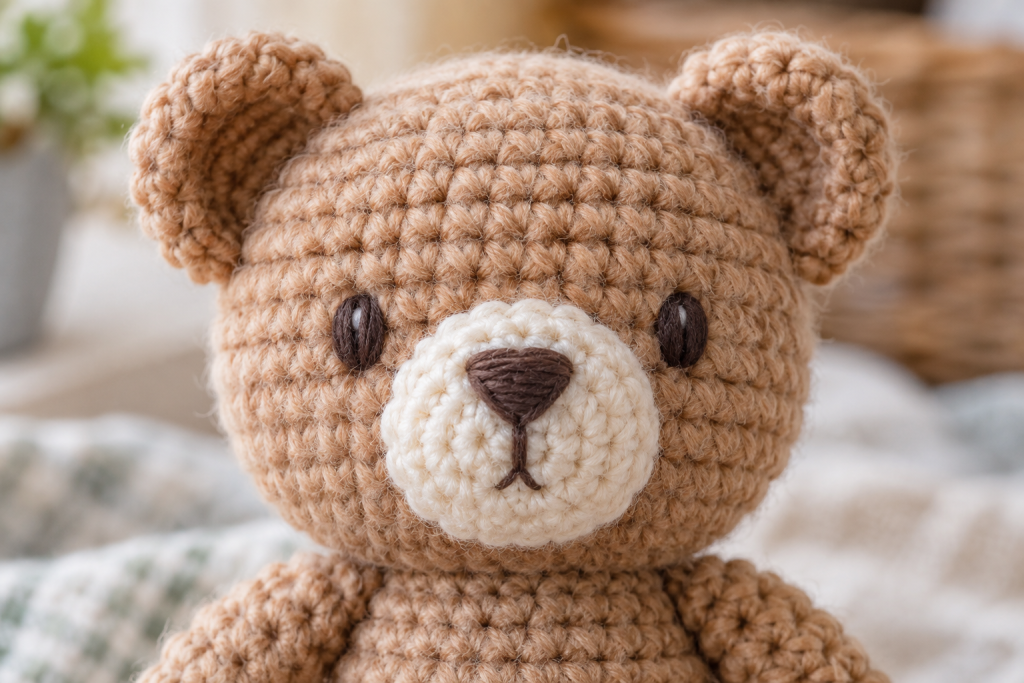
Pin the muzzle first and center it on the head’s increase pattern. Embroider the nose before sewing the muzzle completely so knots can be hidden. Place the eyes on the same row, slightly wider than the nose. Small changes matter: lower eyes look younger, while higher or widely spaced eyes can make the expression surprised.
Photograph the pinned face with a phone and look at the smaller image; imbalance is often easier to notice at thumbnail size.
Present the bear without hiding useful information
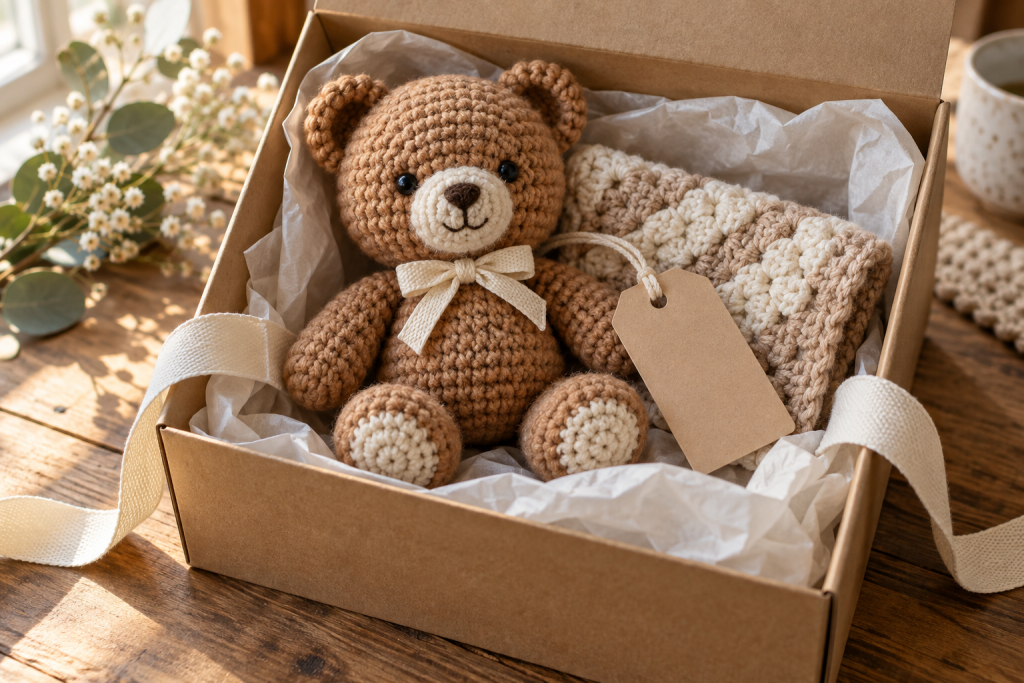
Let the completed bear rest overnight, then reshape it before packaging. Include fiber content, washing instructions and the maker’s name. Avoid wrapping that bends the ears or compresses the muzzle. If giving the bear with a blanket, coordinate one color rather than trying to match every shade exactly.
Personalization that remains durable
Use an embroidered initial on one foot, a firmly sewn fabric-free bow or a removable scarf intended for an older recipient. Never rely on glue. For a child under three, omit buttons, beads, bells and detachable clothing, and inspect every seam with a firm pull.
Build the next gift-making skill
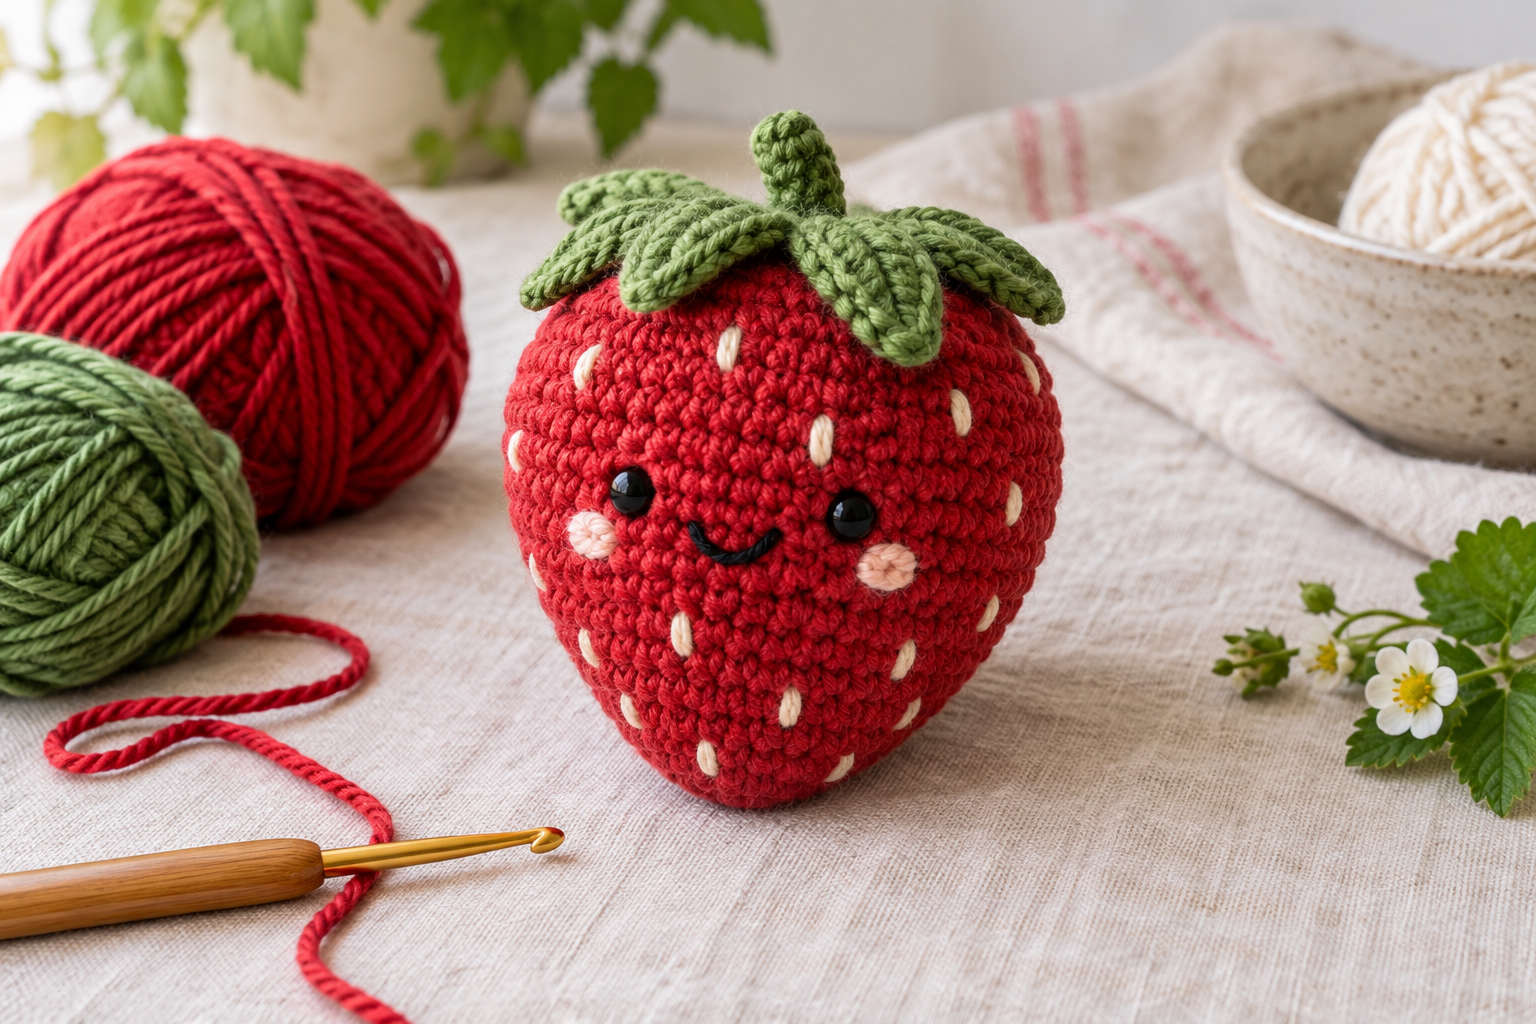
Try the tiny bunny for compact construction, the crochet turtle for layered assembly, or the strawberry plushie for embroidery and shaping.