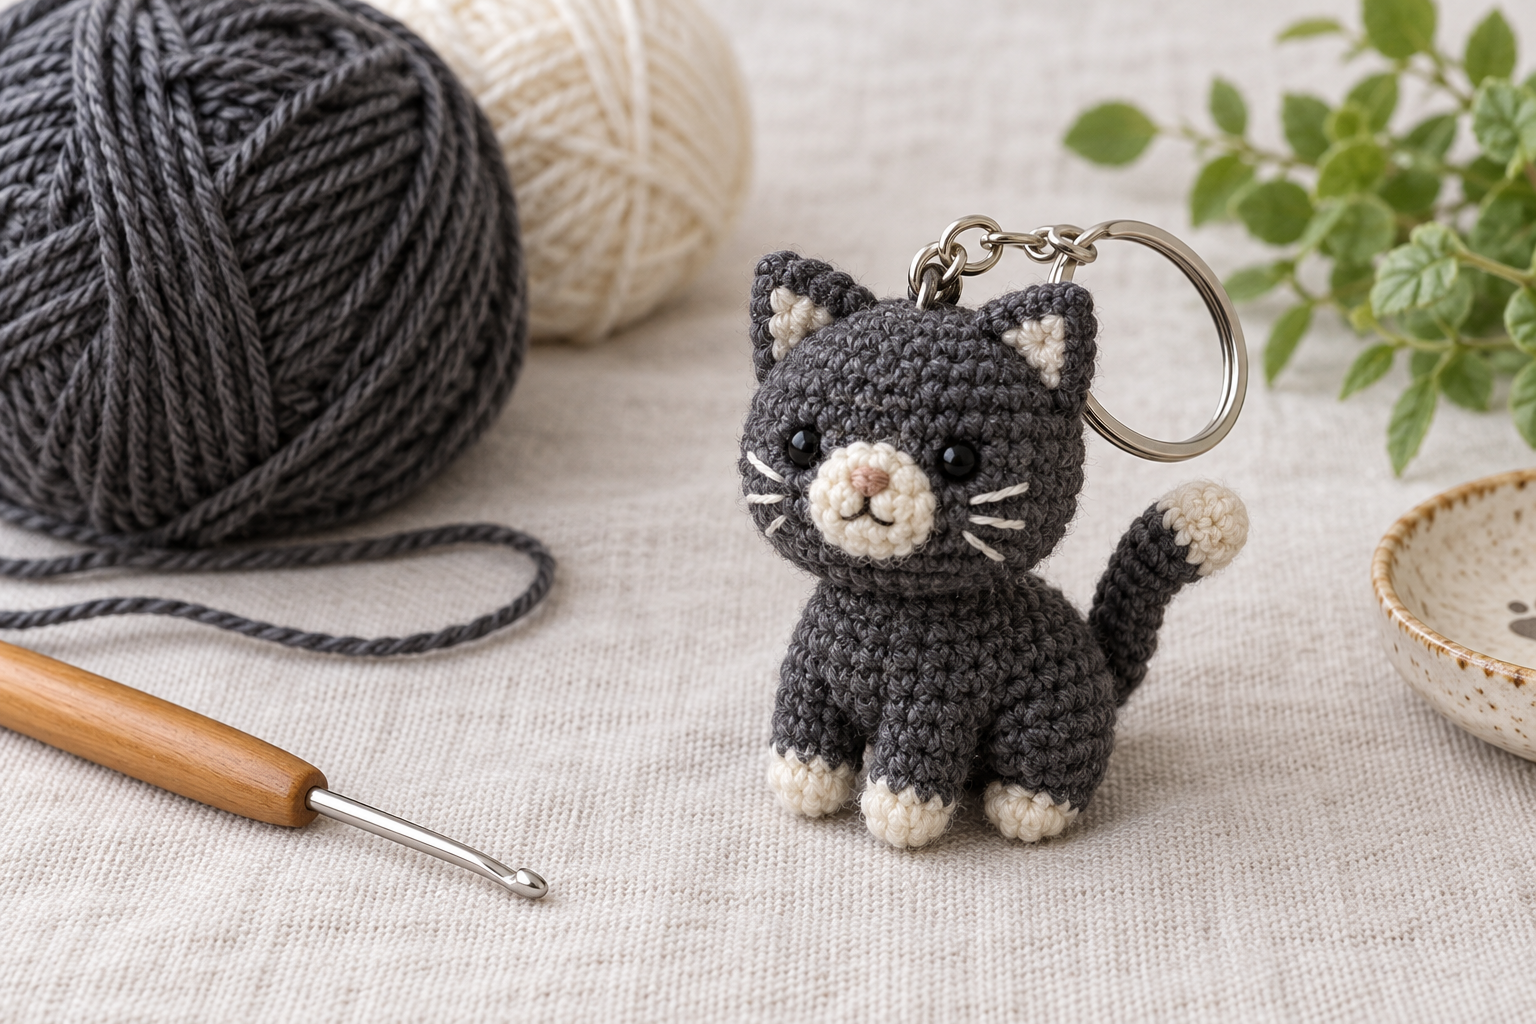
Crochet Cat Keychain Amigurumi Guide
A cat keychain must work as a tiny sculpture and as an object that gets pulled, rubbed and carried. This guide concentrates on compact proportions, abrasion-resistant yarn and a hardware connection that does not rely on one fragile crochet loop.
Level: confident beginner
Time: 1½–3 hours
Size: 5–10 cm excluding hardware
Main challenge: secure load-bearing attachment
Select a silhouette that remains readable at small scale
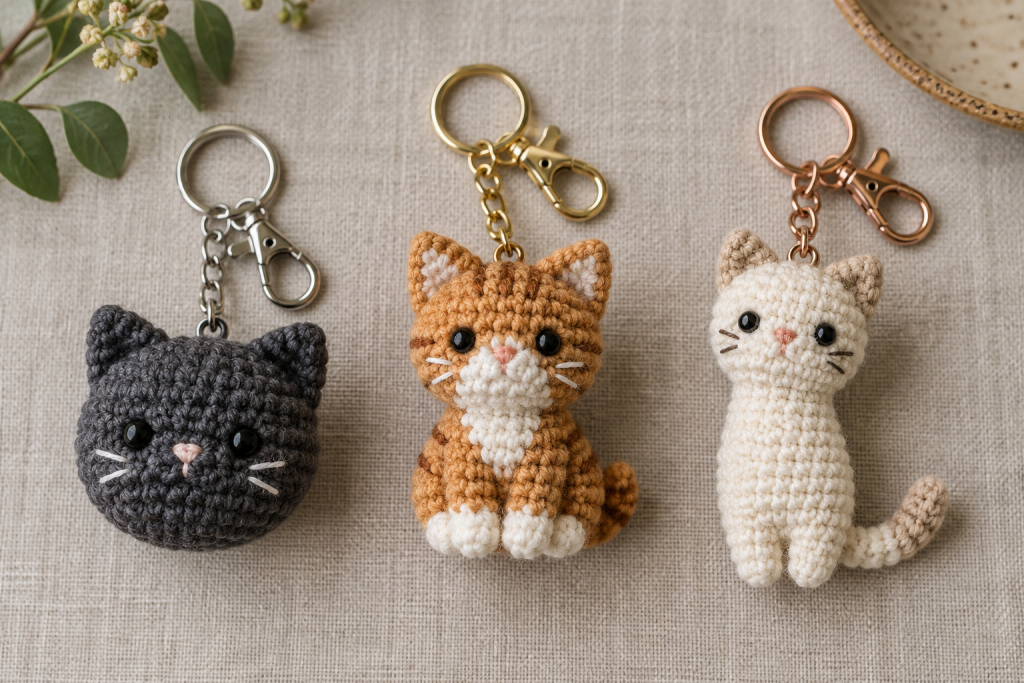
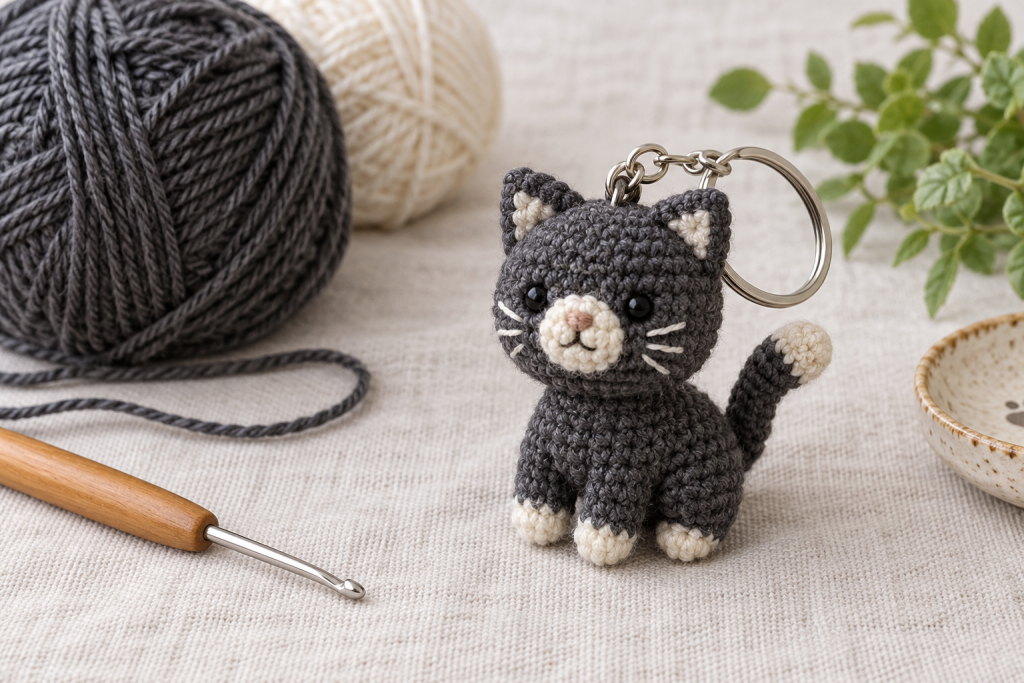
Use a cat-head charm when durability and speed matter most. A sitting cat offers more personality but adds a tail and body shaping. A narrow mascot uses less space yet needs firmer fabric to avoid bending. Keep ears slightly oversized; details that look balanced on a larger plushie can disappear when reduced.
Choose yarn and hardware for daily handling
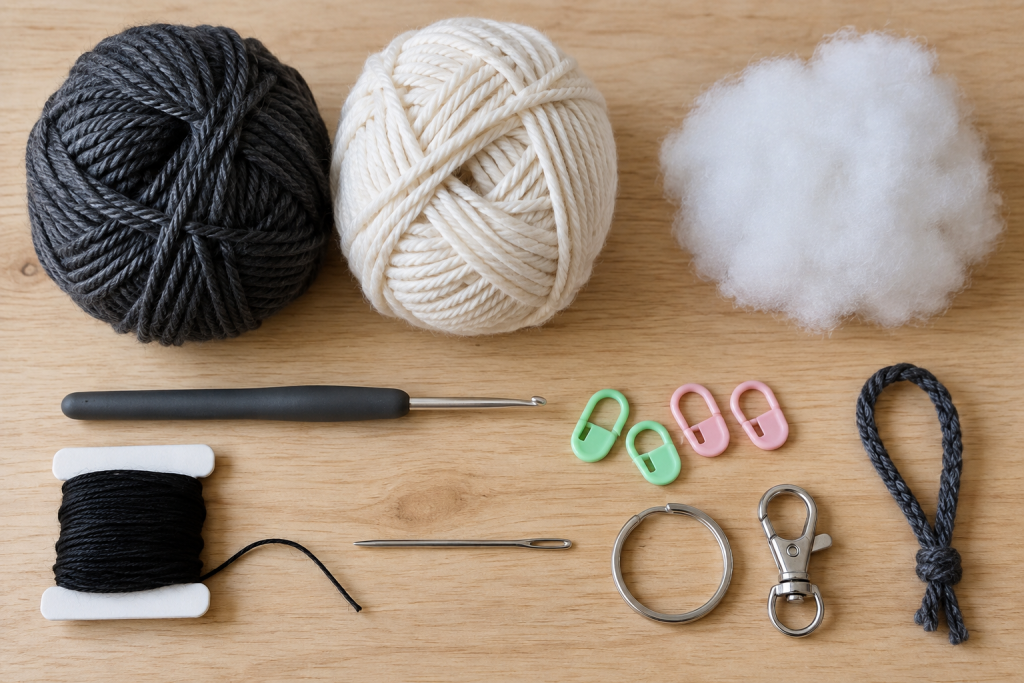
Mercerized or tightly spun cotton is a practical choice because it keeps its shape and sheds less than plush yarn. Use dense stitches and modest stuffing. Choose a quality split ring or locking clasp; an open jump ring can spread under repeated pulling. Match the ring size to the toy so the metal does not overwhelm it.
For dark yarn, place a light cloth beneath the work and use a hook with a contrasting handle. This makes small stitches easier to count and reduces accidental skipped rounds.
Build reinforcement into the construction
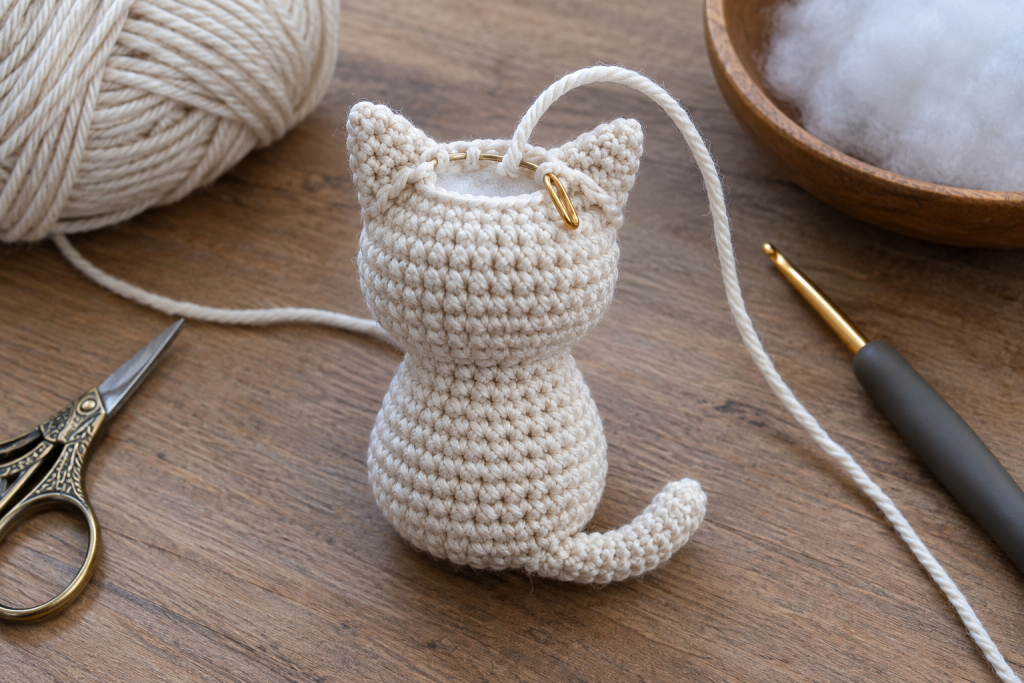
- Crochet the head and ears, keeping the fabric tight enough to hide stuffing.
- Embroider the face before the opening narrows.
- Create a strong loop from doubled yarn or suitable cord.
- Pass both loop ends through multiple inner stitches and knot them inside.
- Add stuffing around—not directly beneath—the anchor, then close and bury the final tail.
A sewn-on surface loop concentrates force in one stitch. Internal anchoring spreads the load and gives you a connection that can be inspected before closure.
Connect and test the hardware
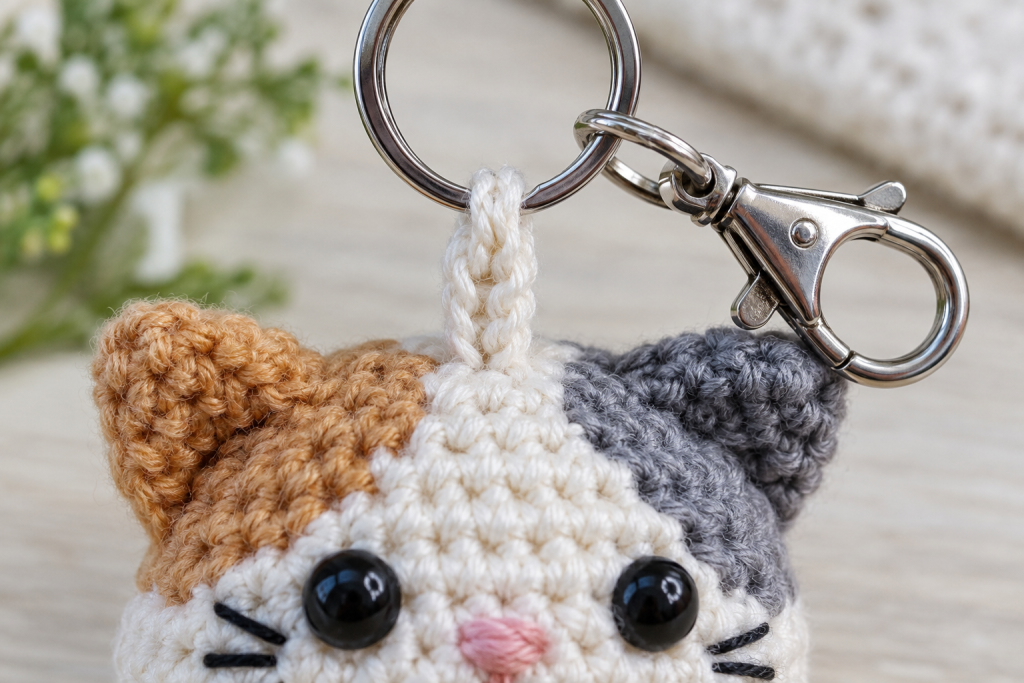
Rotate the reinforced loop onto the split ring instead of prying the metal apart. Pull firmly in several directions, then hang a small non-fragile weight from the finished charm for a short test. Recheck the loop for stretching, fraying or exposed stuffing. Do not sell or gift an attachment that shifts visibly under light force.
Design the face for distance and wear
Use short embroidered eye and whisker stitches that cannot snag. A cream muzzle improves contrast on a dark cat, while a charcoal outline defines features on a pale one. Avoid beads, glued noses and long loose whiskers on an item that will brush against clothing and bags.
Use and clean the keychain realistically
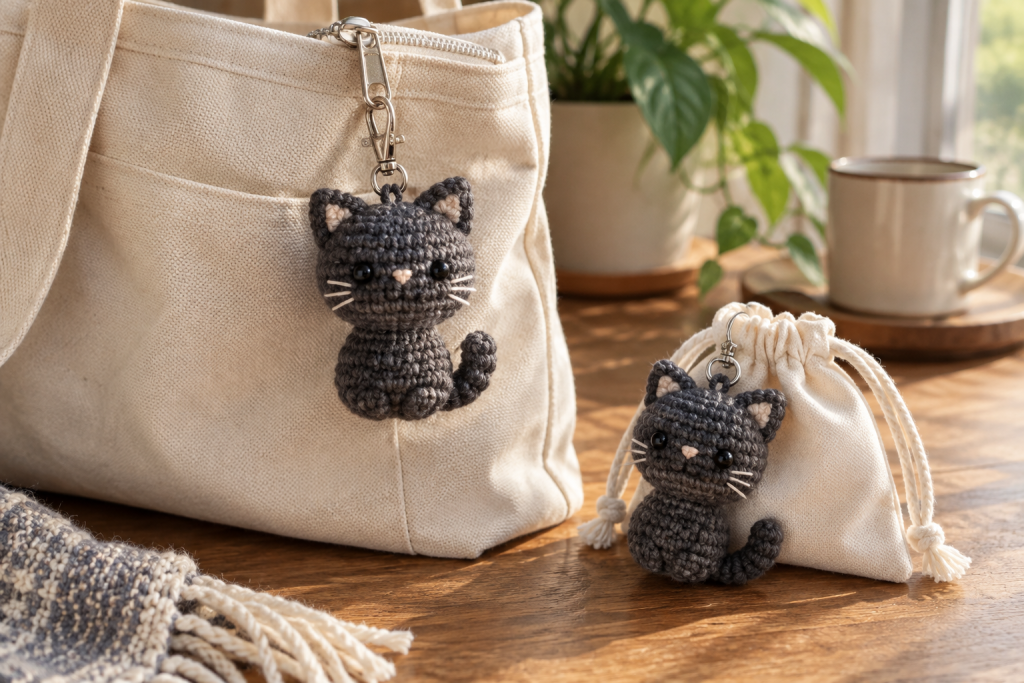
Remove detachable metal hardware before washing when possible. Place the crochet piece in a mesh bag, follow the yarn label and air dry completely before reconnecting it. Inspect the yarn loop regularly, especially when the charm hangs from keys rather than a lightweight bag.
Related compact projects
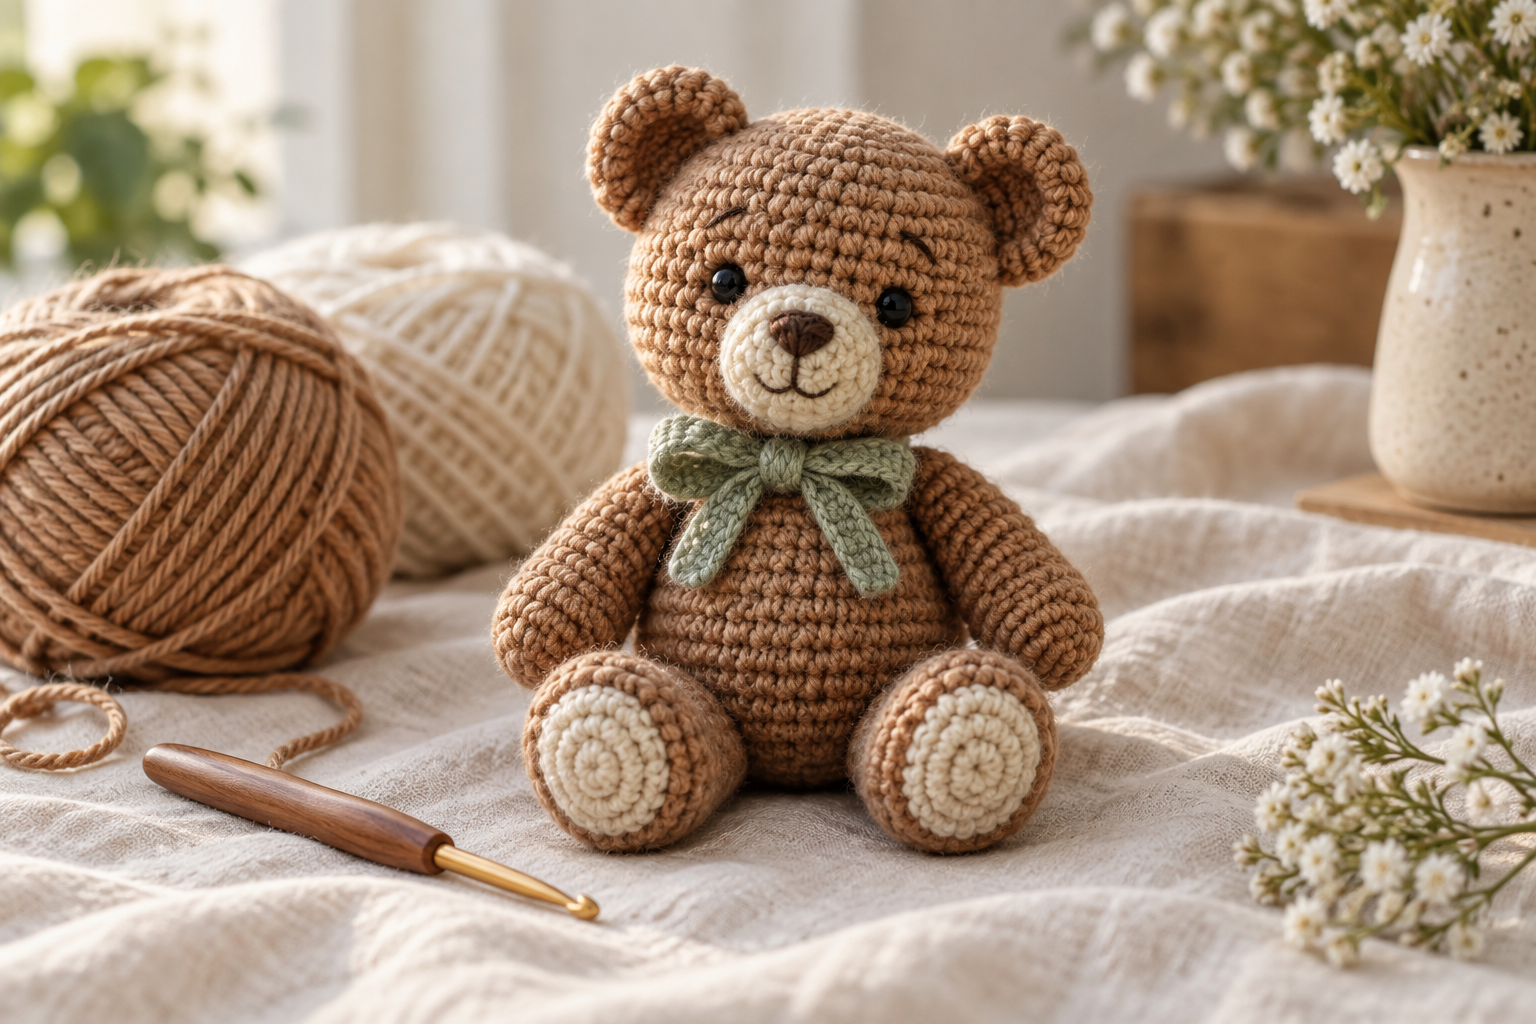
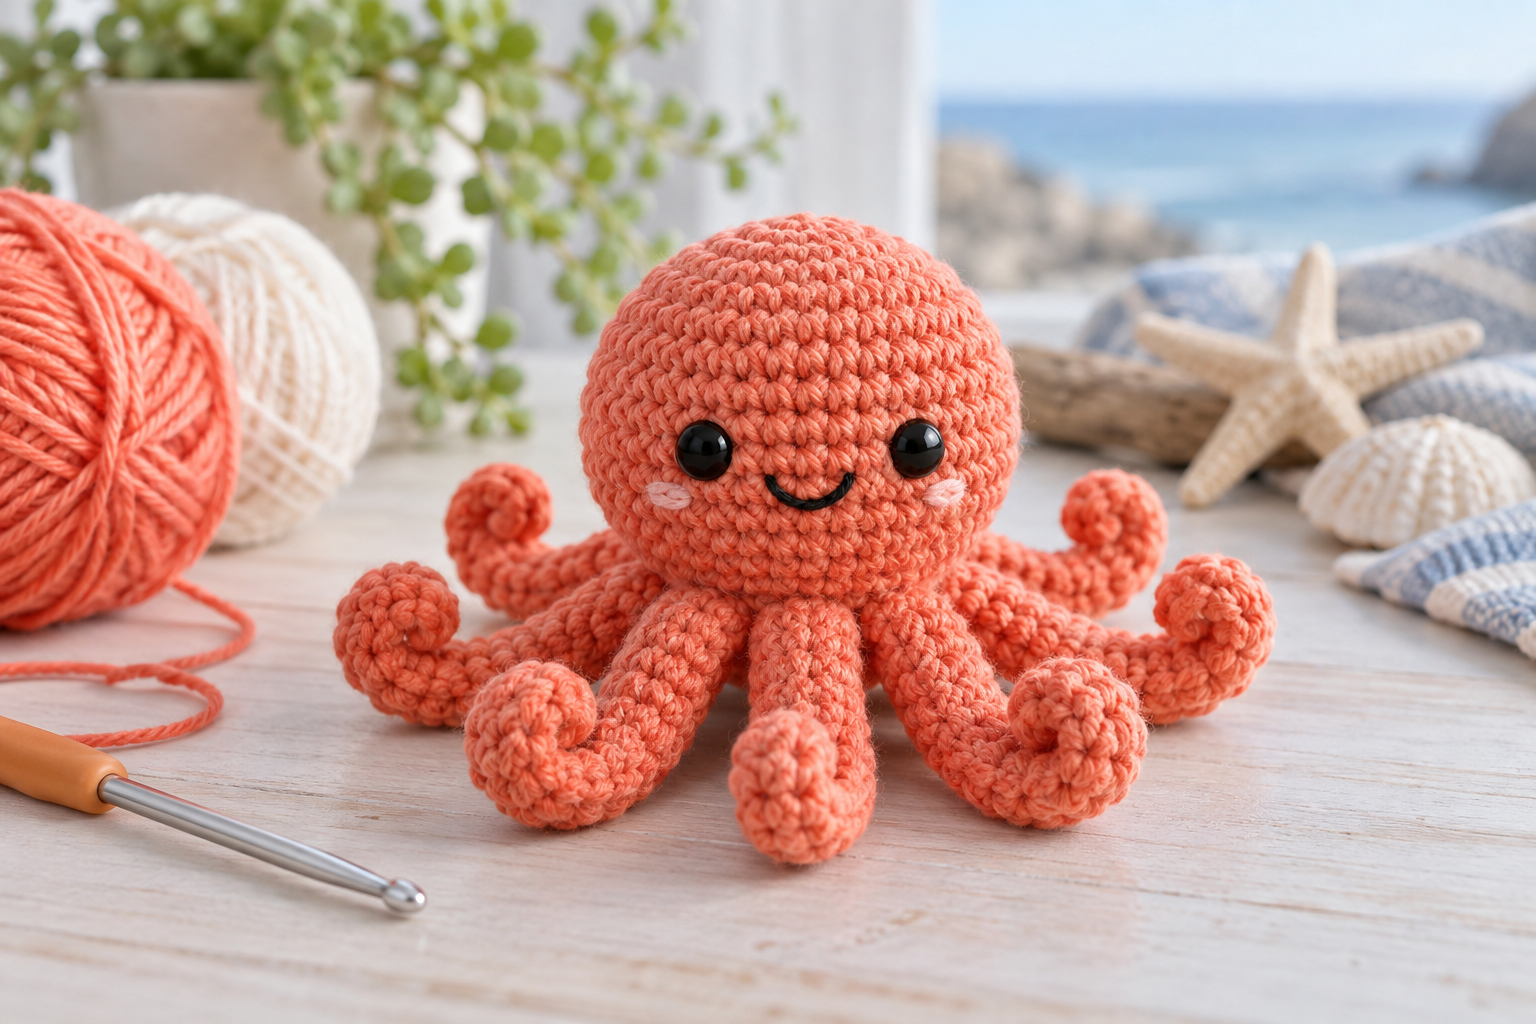
Try the mini octopus for efficient market batching, the tiny bunny for no-sew shaping, or the mini bear for gift-focused facial finishing.