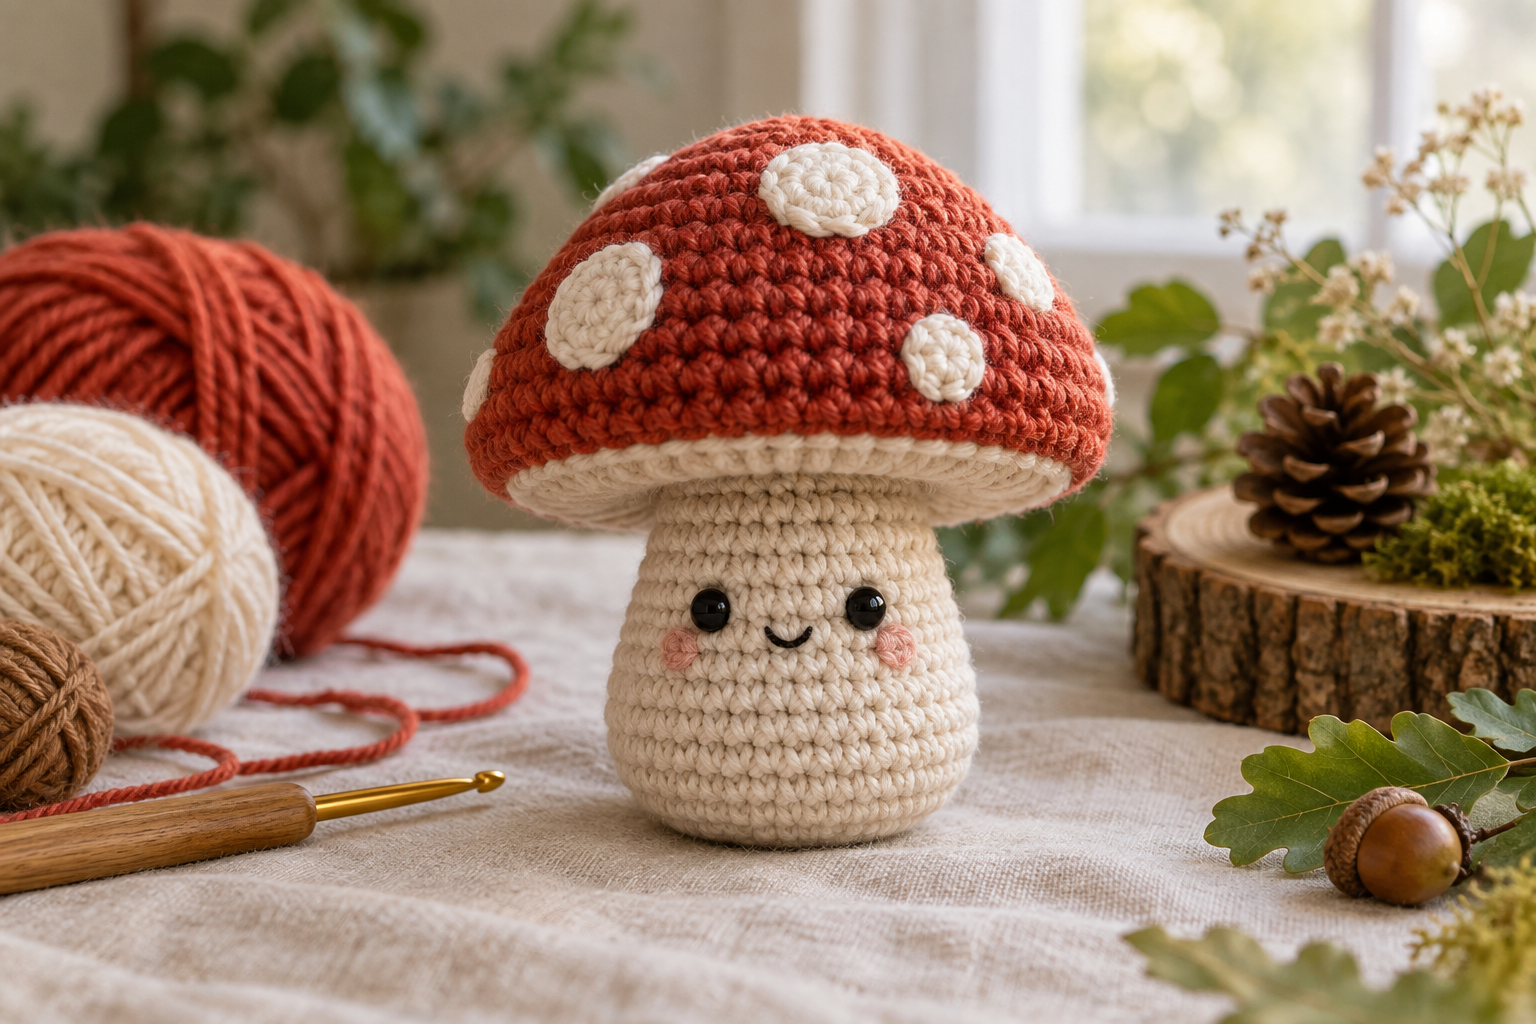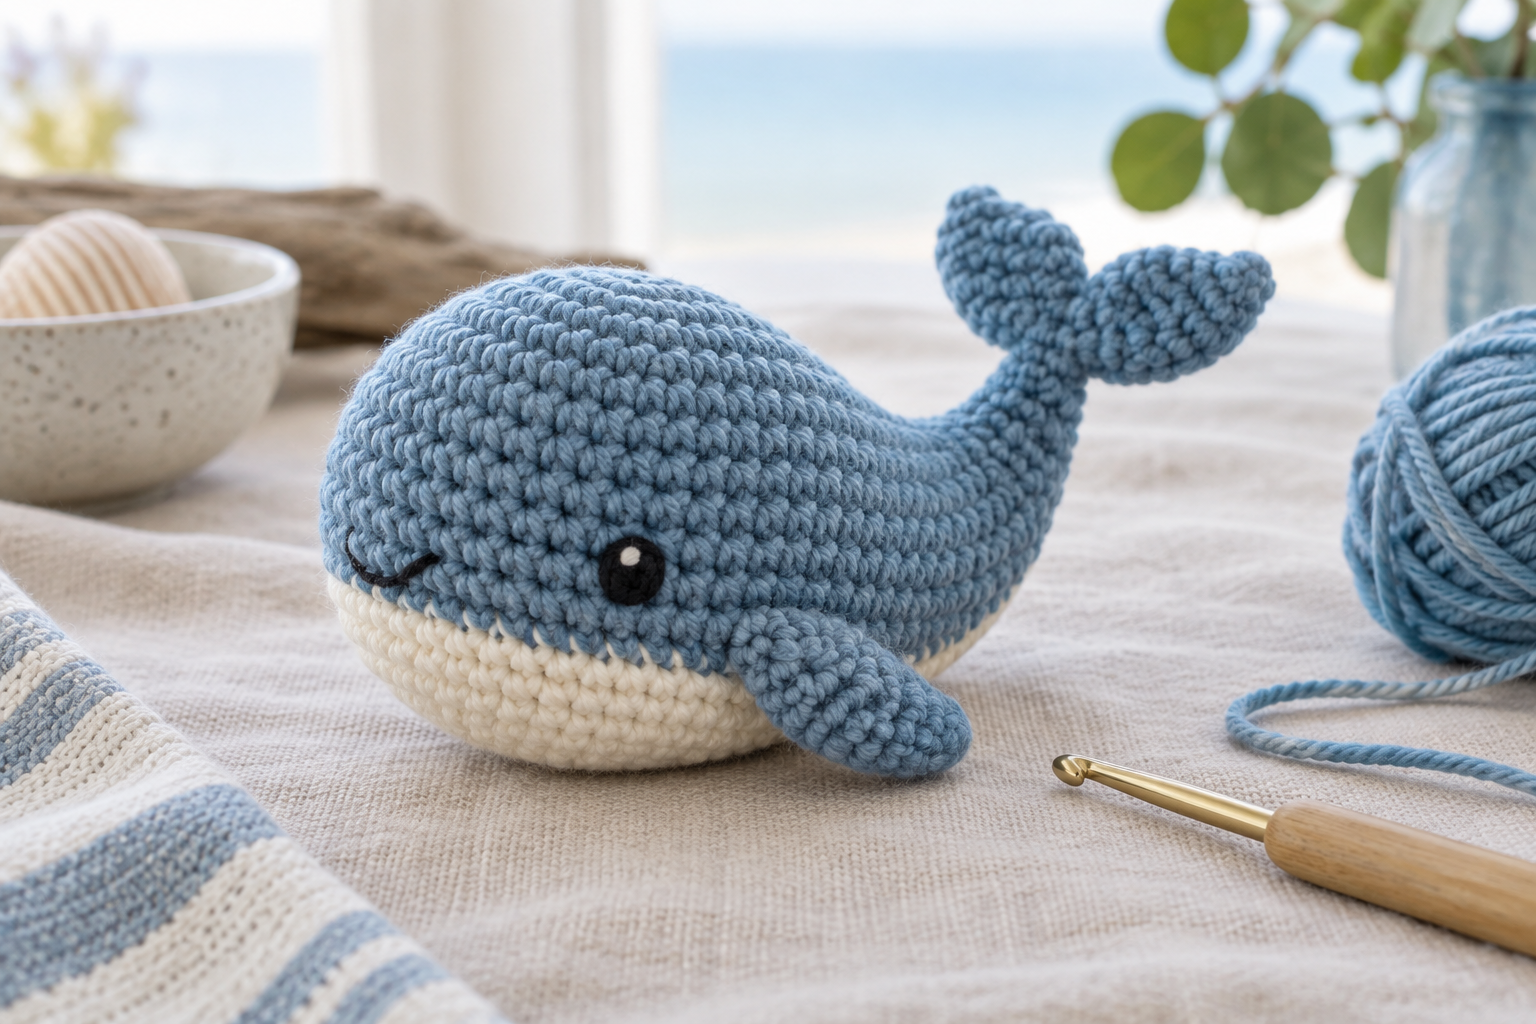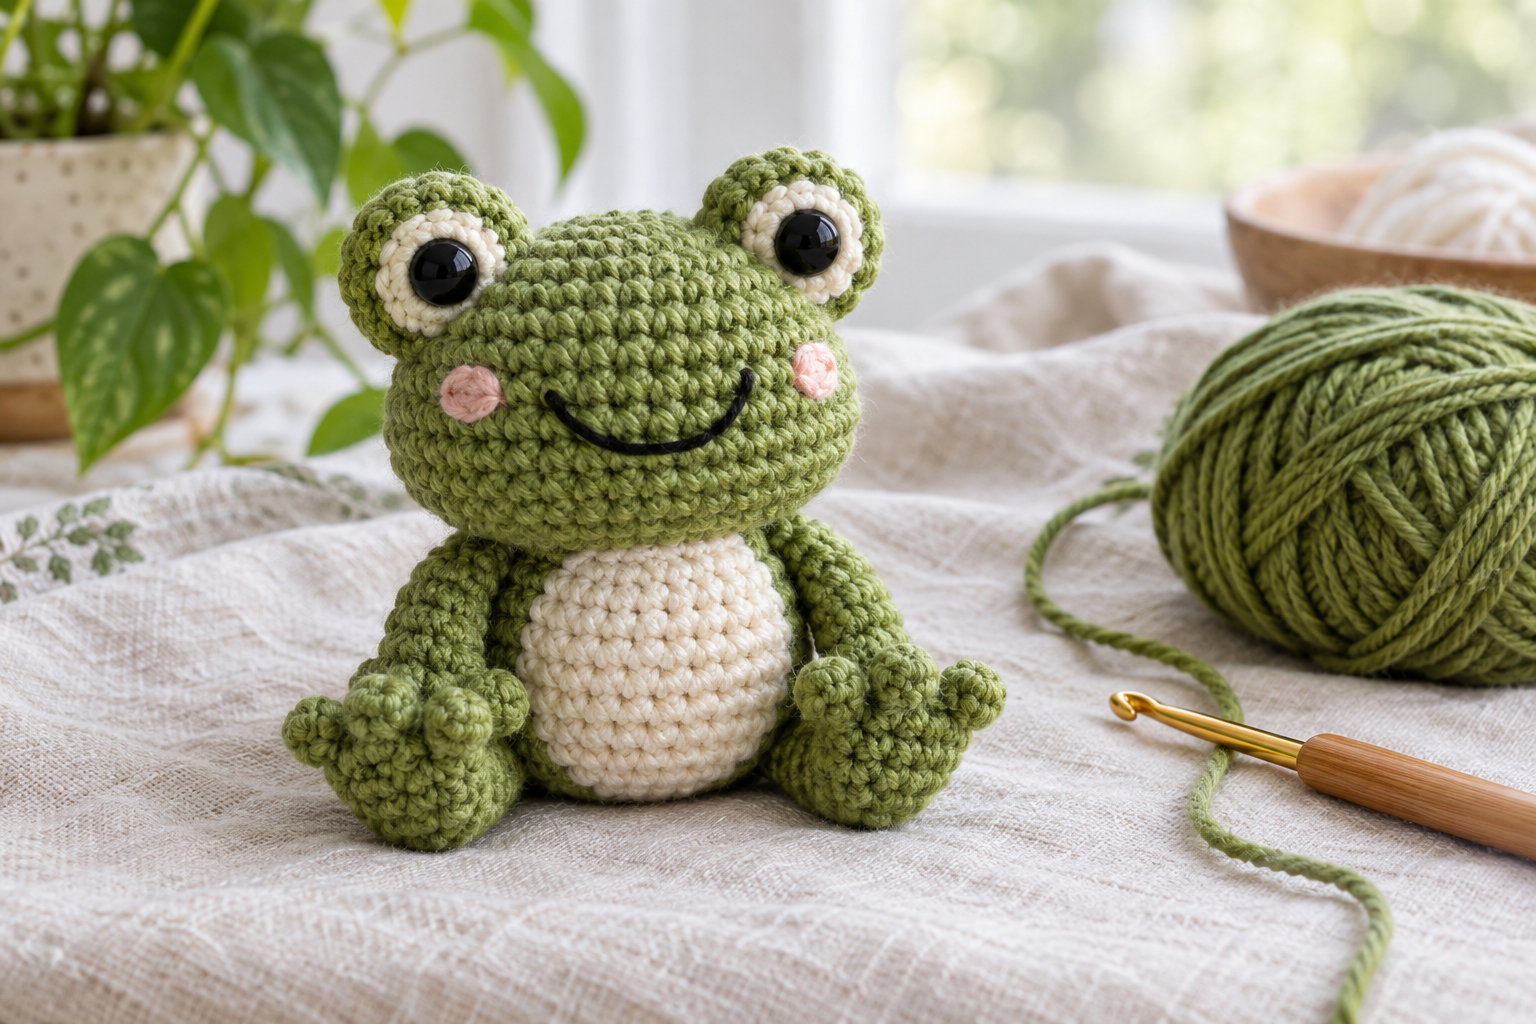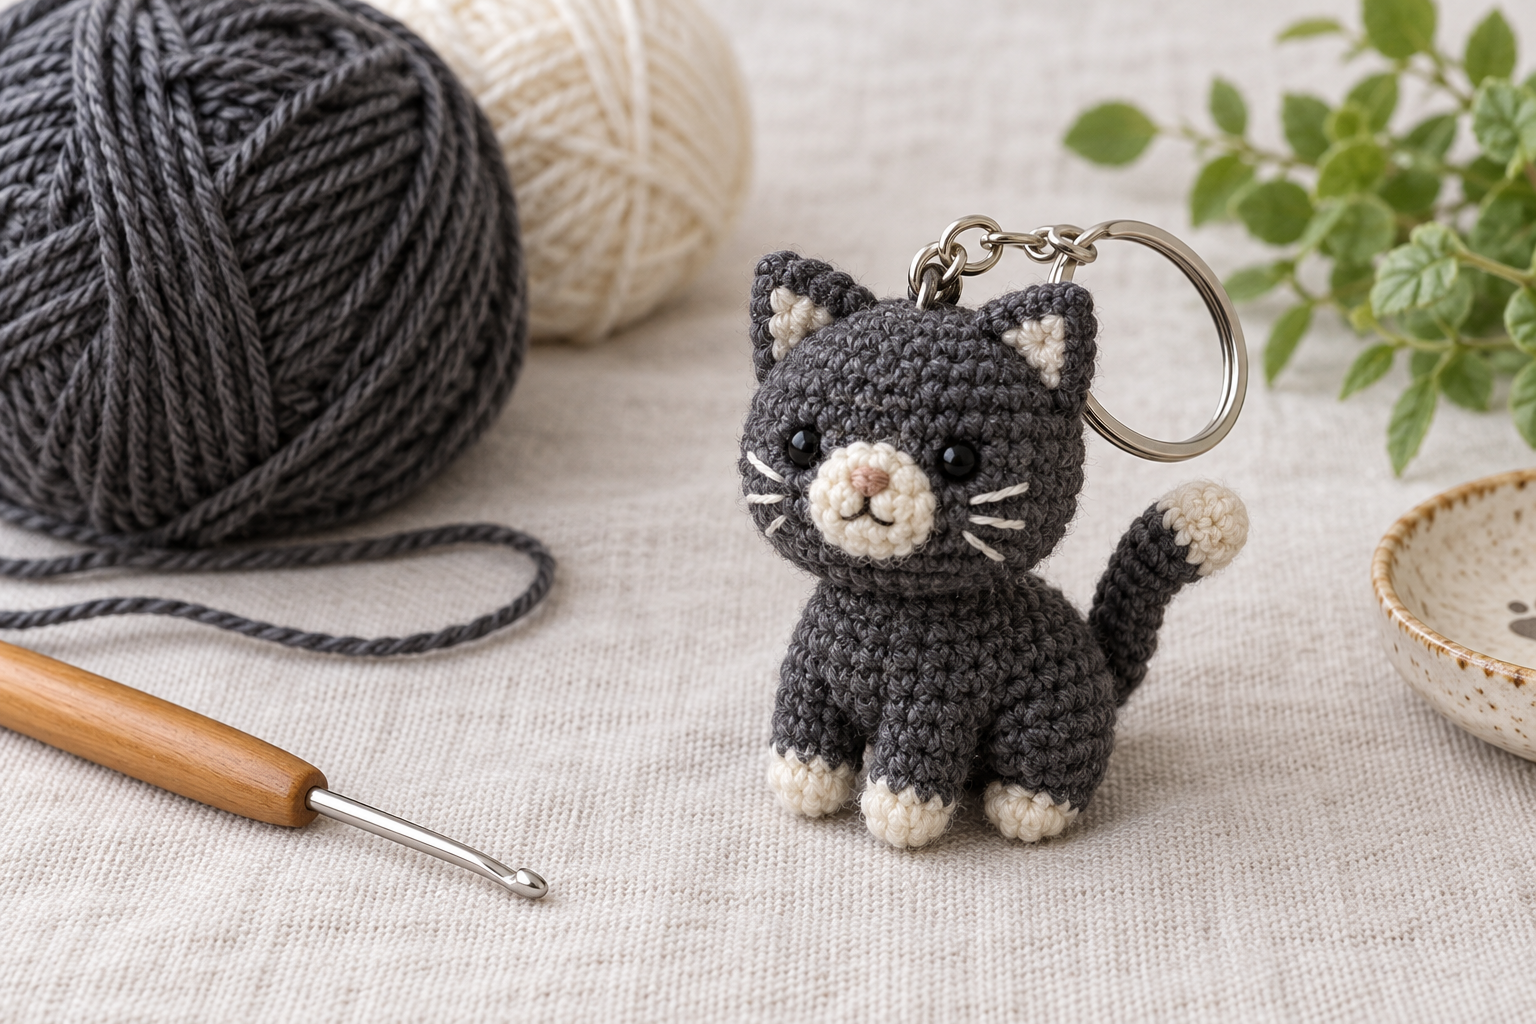
Easy Crochet Bee Amigurumi for Beginners
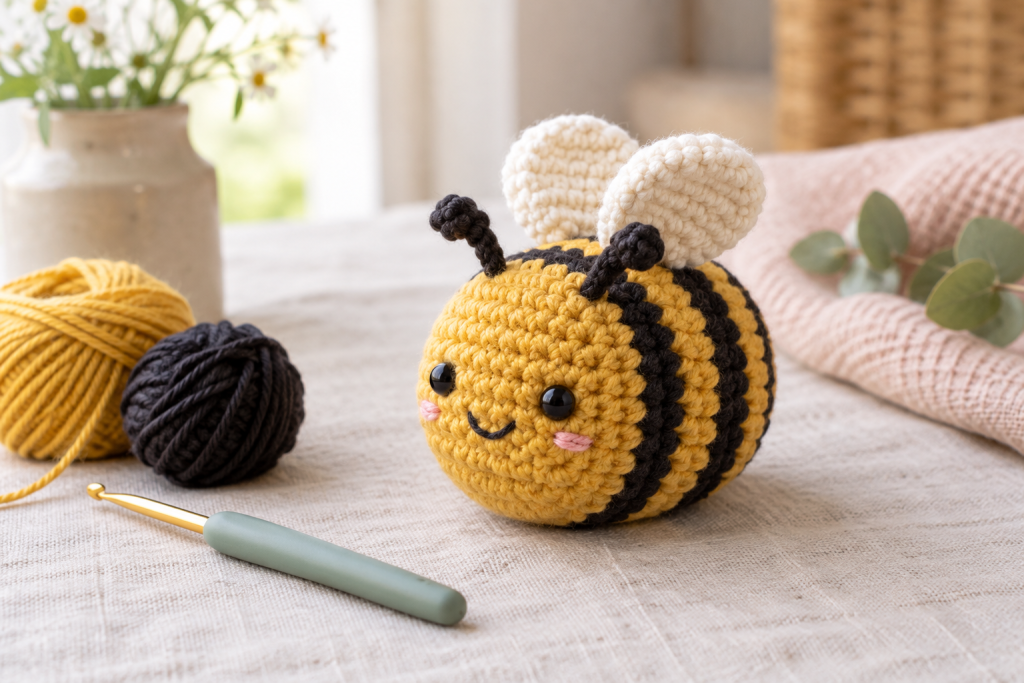
This small crochet bee is a friendly first amigurumi project: the body uses simple continuous rounds, the color changes are easy to see, and the wings give you a gentle introduction to attaching pieces. The guide below focuses on the decisions that most often determine whether a first bee looks neat and balanced.
Skill level: confident beginner
Useful skills: magic ring, single crochet, increase, invisible decrease
Typical finished size: 8–11 cm / 3–4¼ in
Working time: about 2–3 hours
Choose a bee style before you start
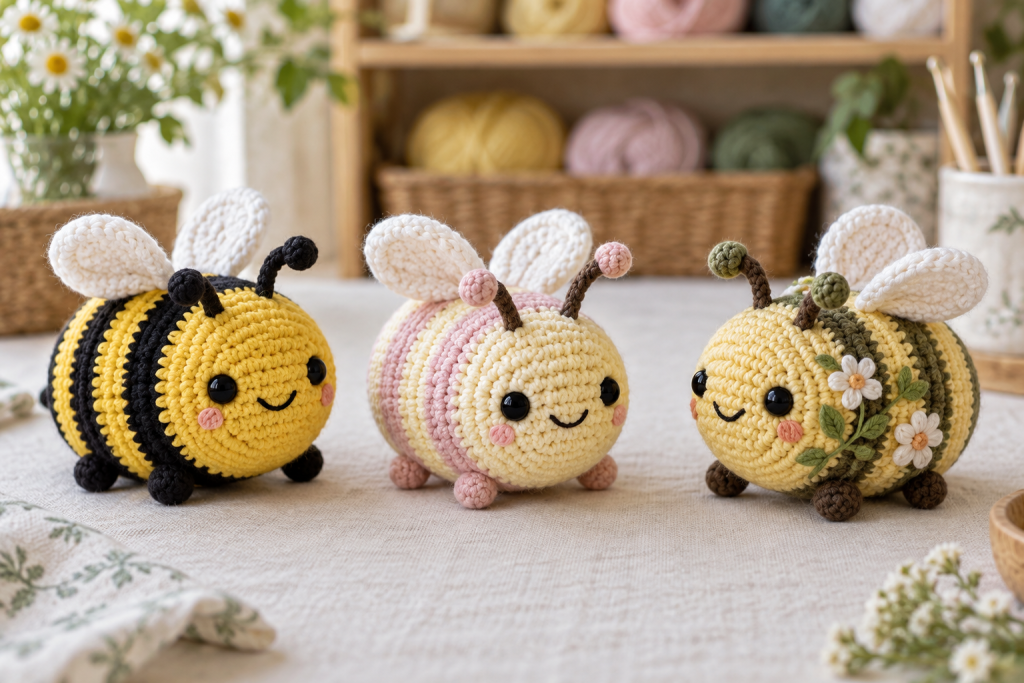
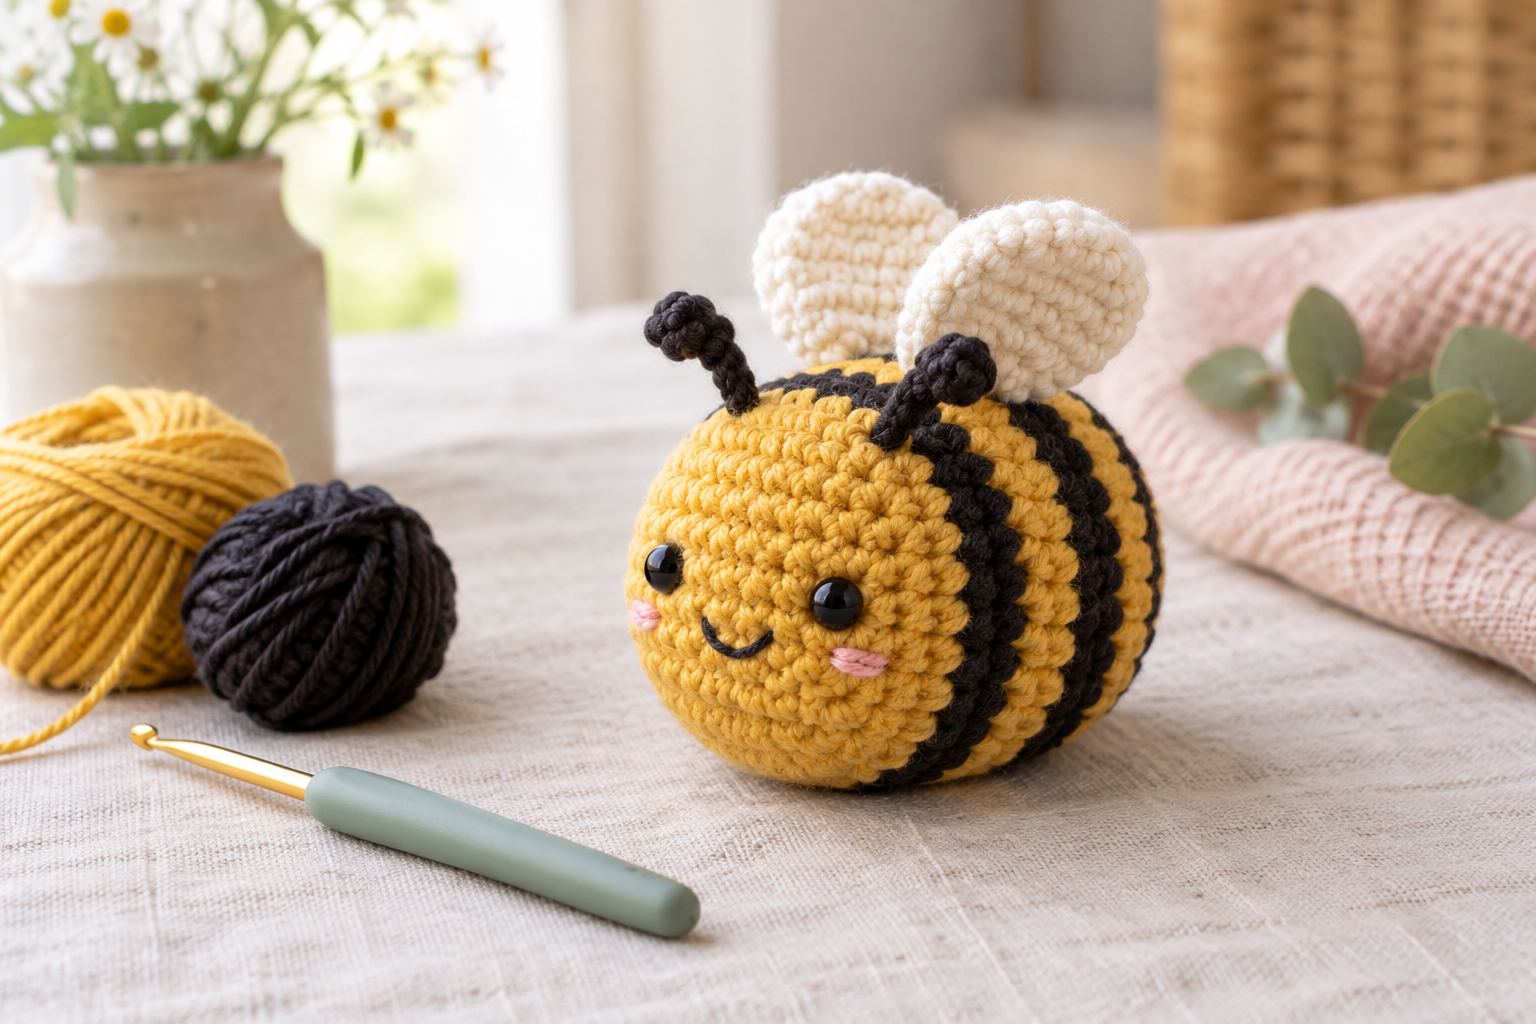
A classic yellow-and-black bee reads clearly in photos and is the easiest version for a beginner. A pastel version feels softer for nursery décor, while a flower-accented bee works well as a spring gift. Pick one direction before buying yarn so the wings, cheeks and accessories do not compete for attention.
Practical rule: use one dominant body color, one stripe color and one light wing color. Add only one extra accent—such as blush cheeks or a small flower—on your first version.
Build a color palette that keeps the face visible
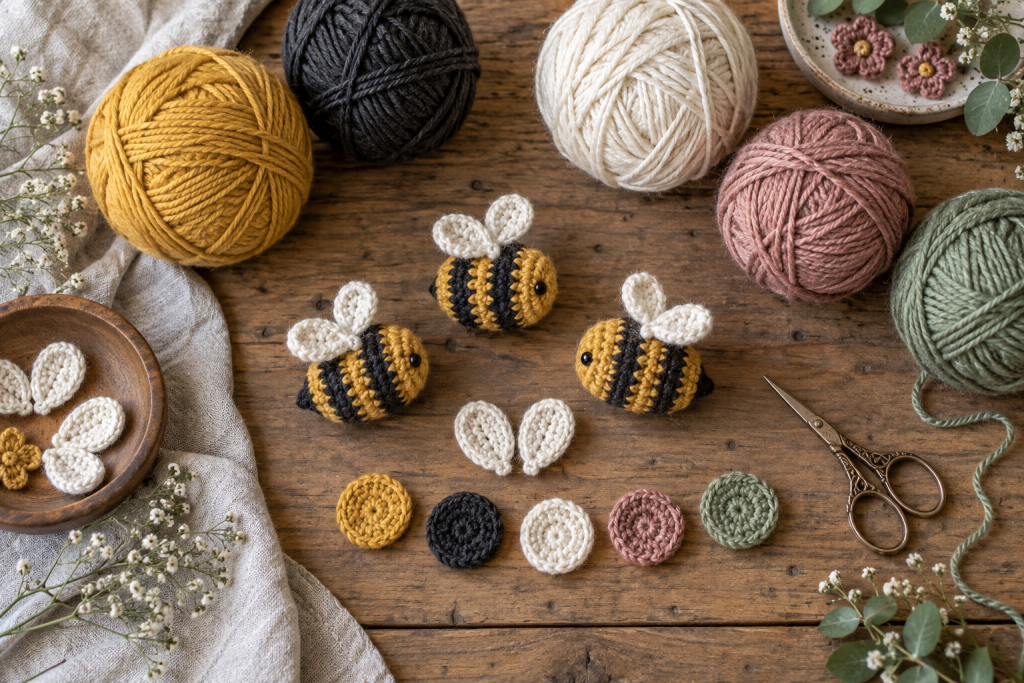
Very bright lemon yellow can lose stitch definition under strong light, while true black can make it difficult to count rounds. Mustard paired with charcoal is easier on the eyes and photographs well. If you use safety eyes, test them against the darkest stripe before committing: black eyes disappear when they sit directly on black yarn.
- Classic: mustard, charcoal and cream.
- Nursery: butter yellow, warm gray and ivory.
- Botanical: ochre, deep brown, cream and one muted green accent.
Match yarn and hook for a stuffing-proof fabric
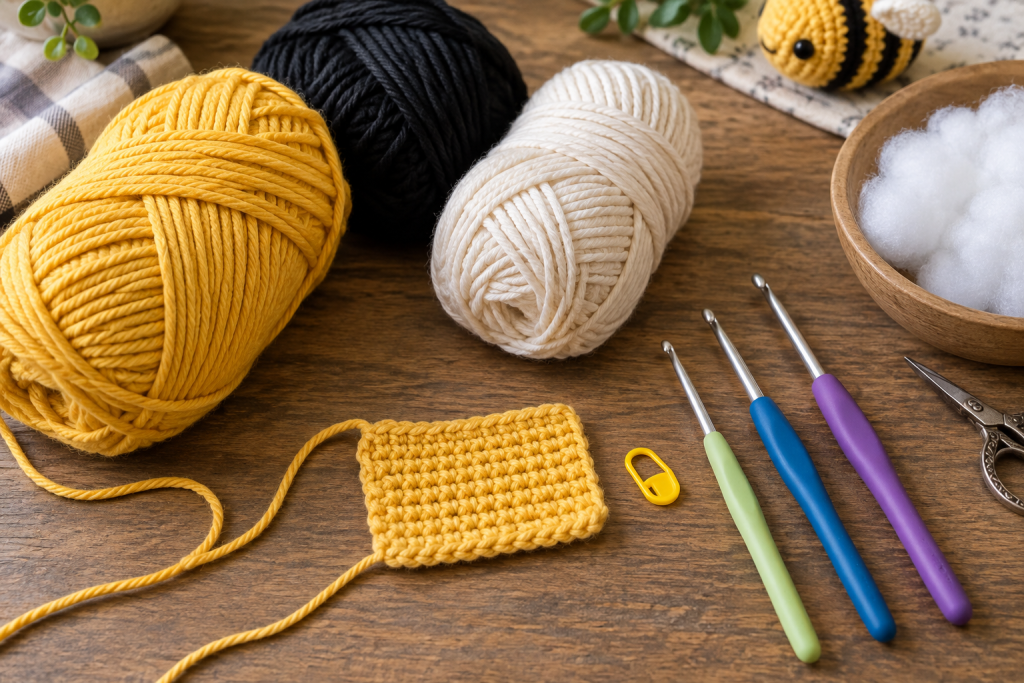
Smooth cotton or a cotton-acrylic blend in DK or light-worsted weight gives beginners the clearest stitch definition. Start with a hook roughly 0.5–1 mm smaller than the yarn label recommends. Crochet a two-inch swatch, stretch it over your finger and look for daylight. If large gaps open, move down one hook size instead of pulling every stitch tighter.
Chenille makes a cuddly bee but hides stitches and can shed when repeatedly unravelled. Save it for a second version after you understand the shaping. For a child under three, embroider the eyes with firmly secured yarn rather than using plastic safety eyes.
Use a construction order that prevents crooked wings
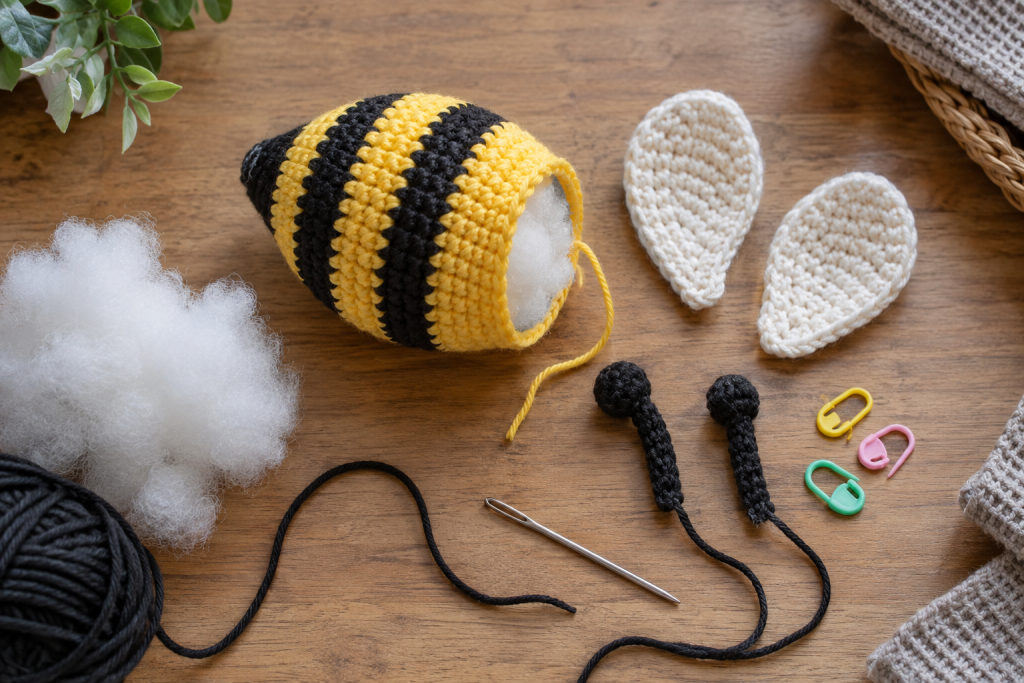
- Crochet the body from front to back. Place the face while the opening is still wide enough to reach inside.
- Change stripe colors cleanly. Complete the final yarn-over of the old stitch with the new color; carry unused yarn only when it will not show through.
- Stuff in small pinches. Fill the nose first, then roll the body between your palms after every few rounds.
- Close with an invisible finish. Thread through the front loops of the final stitches, pull gradually, then bury the tail through the body.
- Pin both wings before sewing. View the bee from the front, side and top. Sew only after their height and angle match.
If the body becomes pointed, you probably added too much stuffing near the closing rounds. Remove a small amount and redistribute it toward the center rather than forcing the last opening shut.
Personalize the bee without weakening it
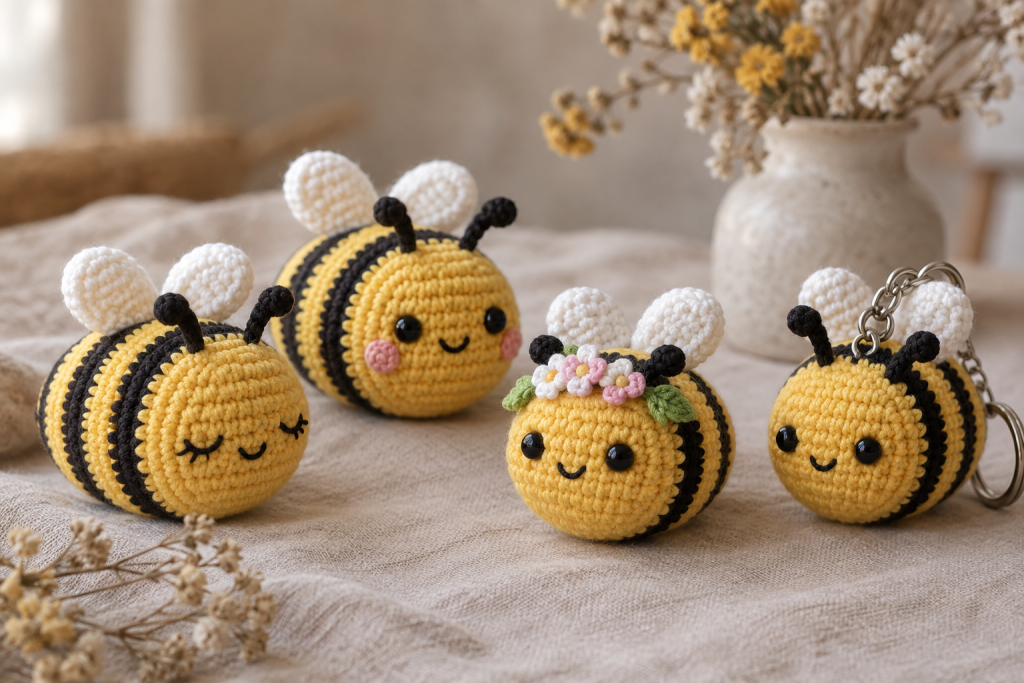
Embroidered sleepy eyes are safest for a nursery decoration. Rosy cheek stitches add expression without adding bulk. For a flower crown, sew through the flower centers and the bee fabric several times rather than relying on glue. To make a keychain, anchor a strong yarn loop through multiple body stitches before closing, then attach the metal ring to that loop.
Do a final pull test on every attached piece. Trim stray fibers, shape the wings with your fingers, and photograph the bee in indirect daylight so the stripe and stitch texture remain visible.
Common beginner fixes
- The color change forms a step.
- Place the join on the underside and use an invisible color-change method; a slight jog is normal in continuous rounds.
- The stuffing shows.
- Use smaller pinches, a smaller hook, or matching scraps of yarn behind the widest gaps.
- One wing sits higher.
- Count rows from the magic ring and pin both wings before making the first permanent stitch.
Continue your amigurumi practice
The next project should repeat one familiar skill while adding only one new challenge. These guides make a natural progression: