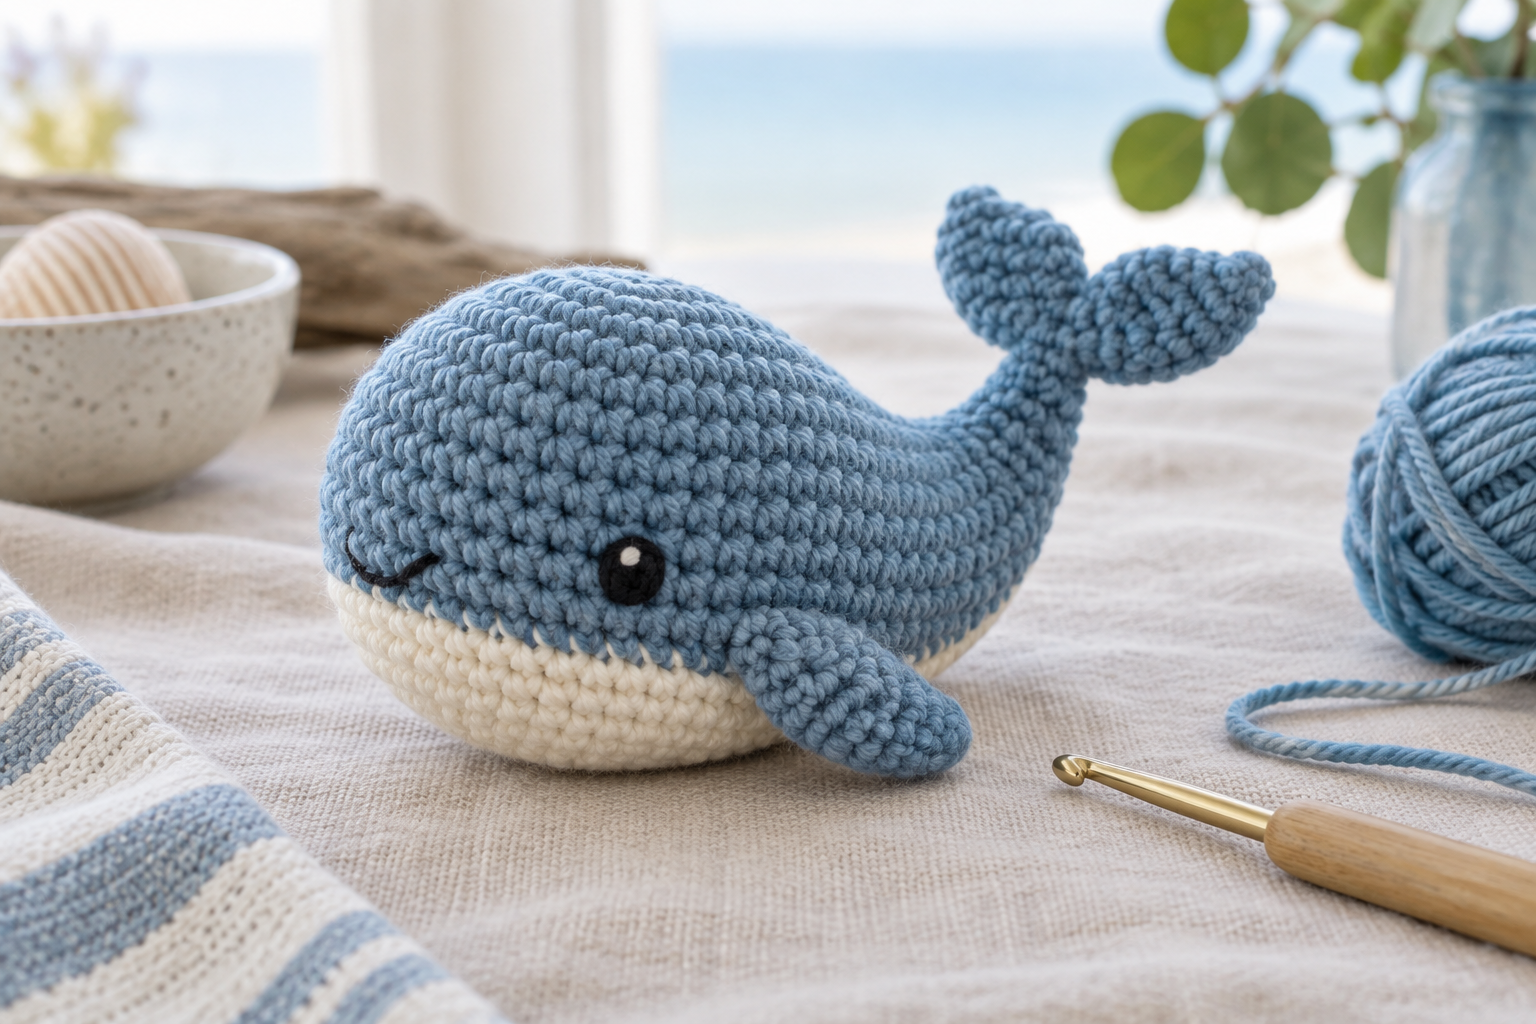
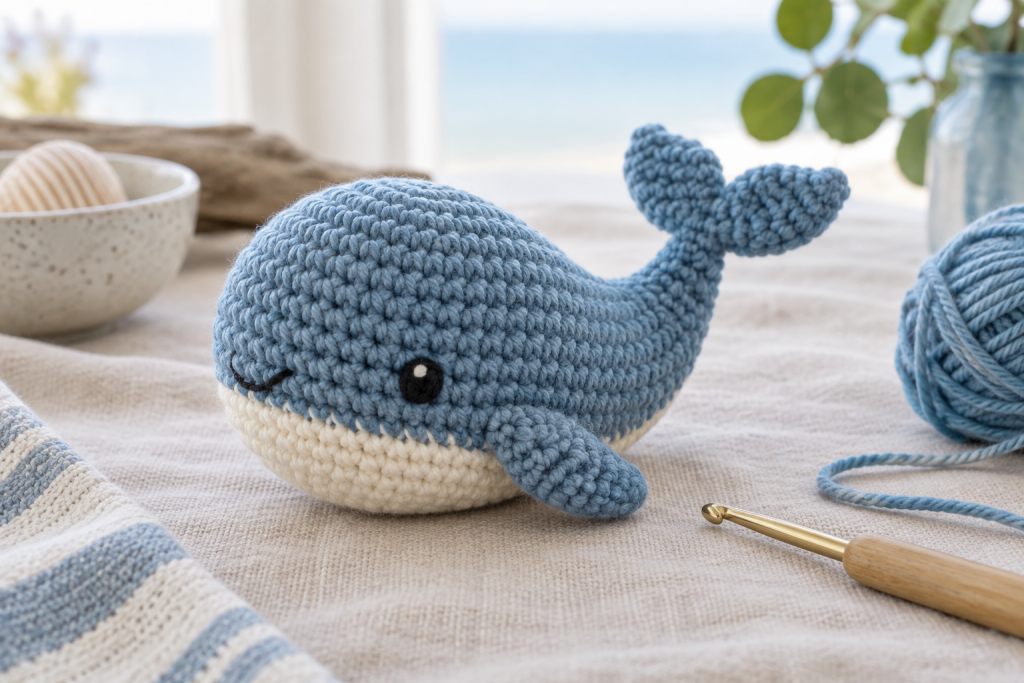
No-Sew Crochet Whale: A Simple Amigurumi Project
A no-sew whale is a smart second amigurumi project because the fins and tail can be formed as you crochet instead of being stitched on later. This guide explains the choices that affect shape, durability and finishing—not just the basic round-by-round routine.
Level: confident beginner
Time: 90 minutes–3 hours
Yarn: DK or light worsted cotton blend
Key technique: crocheting small features directly into a round
Decide how the whale will be used
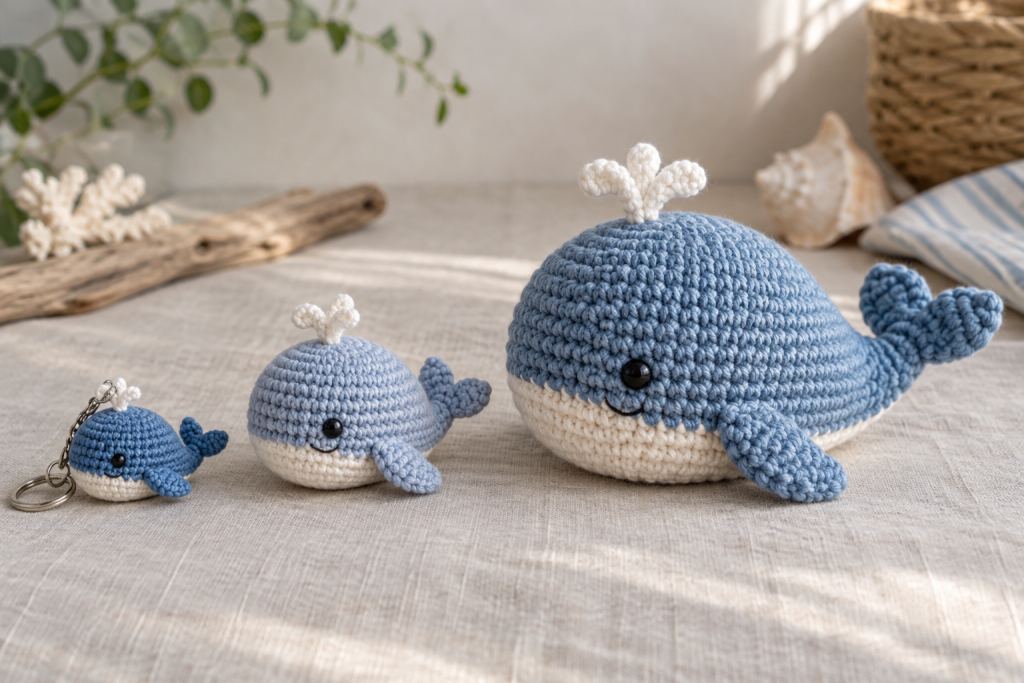
A keychain whale needs firm cotton, tight stitches and a strongly anchored hanging loop. A palm-size desk whale can use a softer blend and a little more stuffing. A nursery whale should have embroidered features and washable yarn. Choose the use first because it determines fiber, hook and eye treatment.
For a first attempt, aim for 9–12 cm long. It is large enough to see the shaping but small enough to finish in one sitting.
Plan materials around fabric density
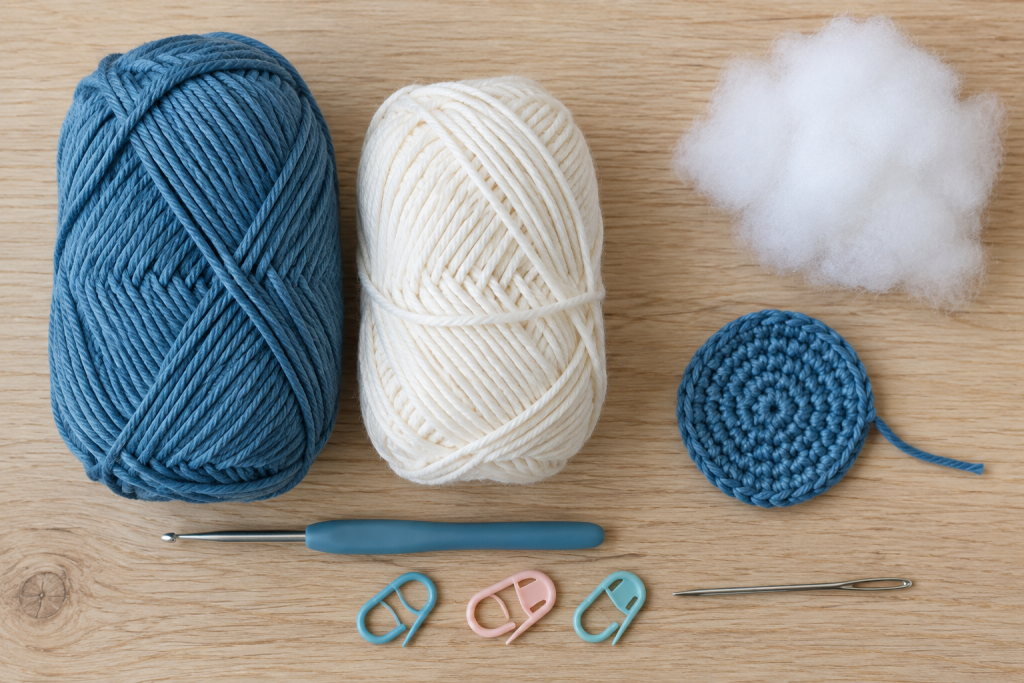
Use a hook 0.5–1 mm smaller than the yarn label suggests. Crochet a small round, place a little stuffing behind it and bend it. If white fiber shows through, reduce the hook size. If your hand aches or the hook cannot enter the stitches cleanly, move back up a size.
- 20–35 g main-color yarn
- A small amount of cream for an optional belly
- Locking marker for the first stitch of each round
- Polyester fiberfill added in small tufts
- Black embroidery yarn and a blunt tapestry needle
Follow a calm one-piece workflow
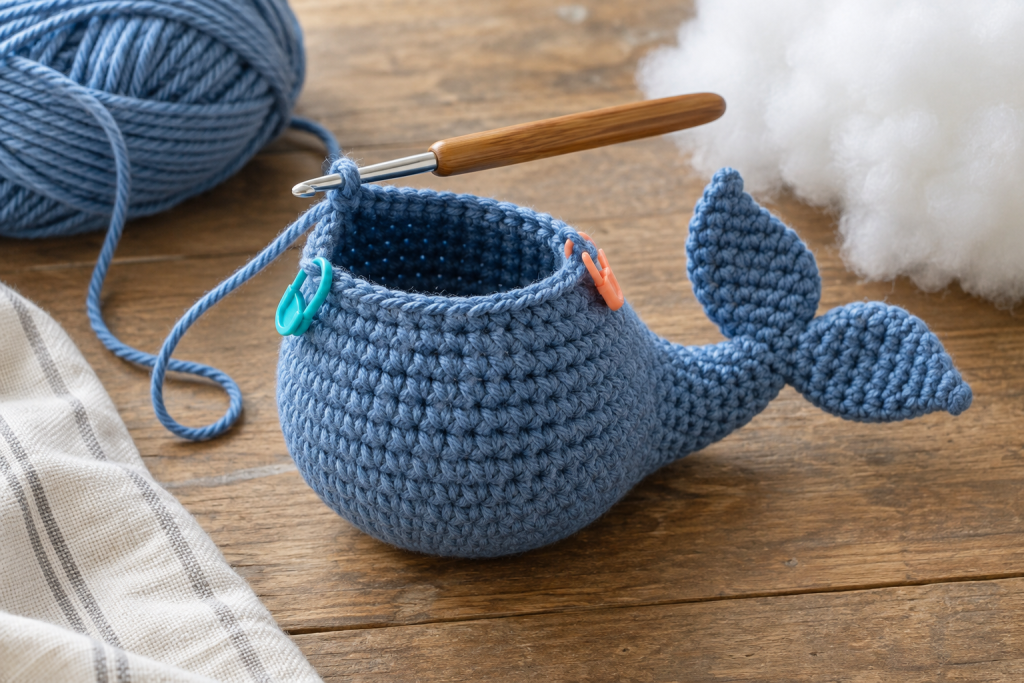
- Shape the head gradually. Spread increases over several rounds to avoid a flat disc.
- Mark the underside. Use a second removable marker so the belly color and fins stay centered.
- Form fins with chains or bobble-like stitches. Count the stitches between both sides instead of estimating by eye.
- Begin stuffing before the opening narrows. Support the head and center first, leaving the tail base flexible.
- Create the tail flukes directly. Match their stitch counts and check the whale from above before closing.
A whale that curves to one side usually has uneven stuffing, not incorrect crochet. Roll it gently, remove dense lumps and redistribute the fill before completing the last round.
Make the face and finish child-aware
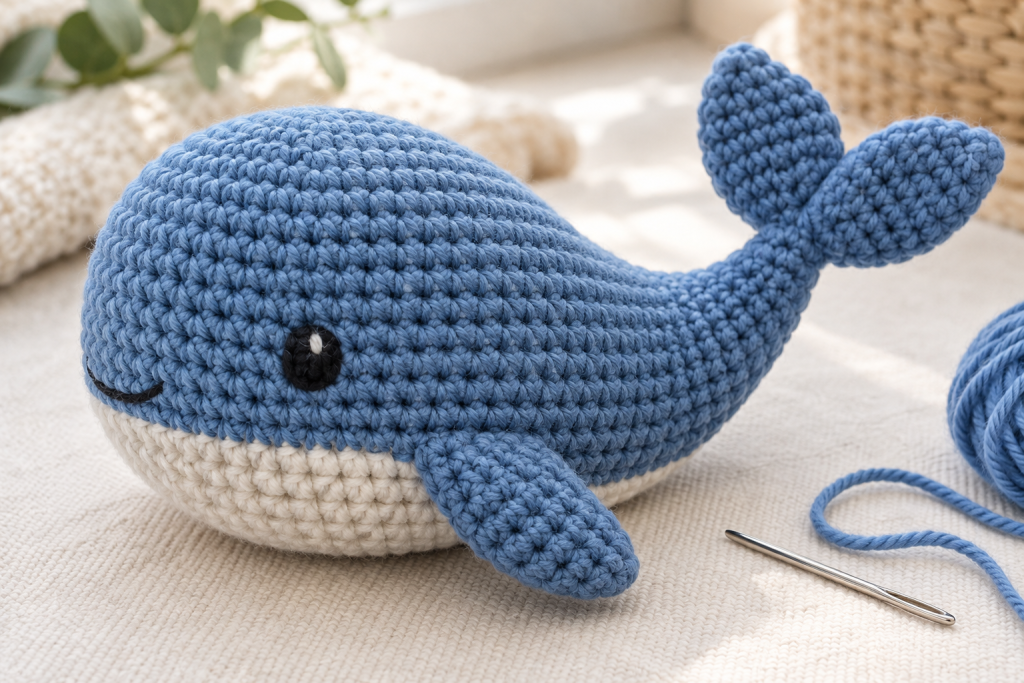
For a nursery item, embroider the eyes with several short stitches and knot the yarn inside before the opening closes. Run the finishing tail through the body in two different directions; tension from the stuffing helps lock it in place. Check the tail base and fins with a firm pull.
Do not call plastic eyes “safe” for every age. If the recipient is unknown, embroidery is the more cautious choice. Also include care instructions based on the yarn label and advise air drying to protect the stuffing distribution.
Turn the whale into a thoughtful gift
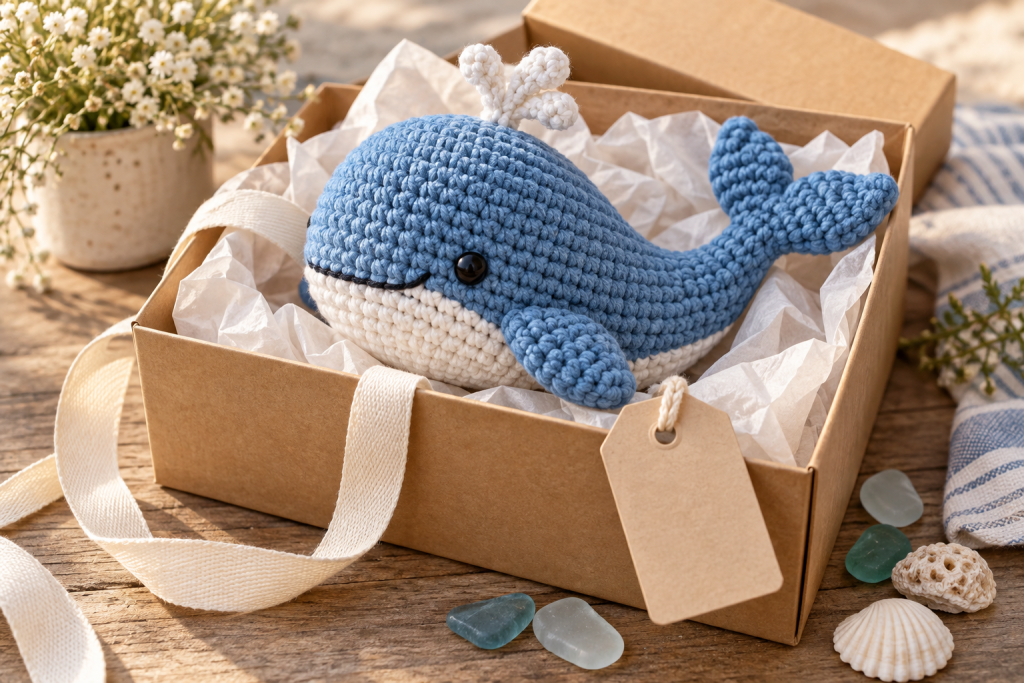
Let the whale sit for an hour after finishing, then reshape the body and tail. Package it without crushing the flukes. A small card can list fiber content, washing guidance and the maker’s name. For a baby shower, pair it with an ocean-color washcloth; for a market item, offer two sizes rather than many nearly identical colors.
Troubleshooting notes
Tail twists: one fluke probably has an extra stitch or the closing tension is uneven. Belly rotates: continuous rounds naturally drift, so move the marker placement rather than forcing the color section to follow the original start point. Body looks lumpy: use smaller tufts and tease compacted fill apart before inserting it.
Build the next skill
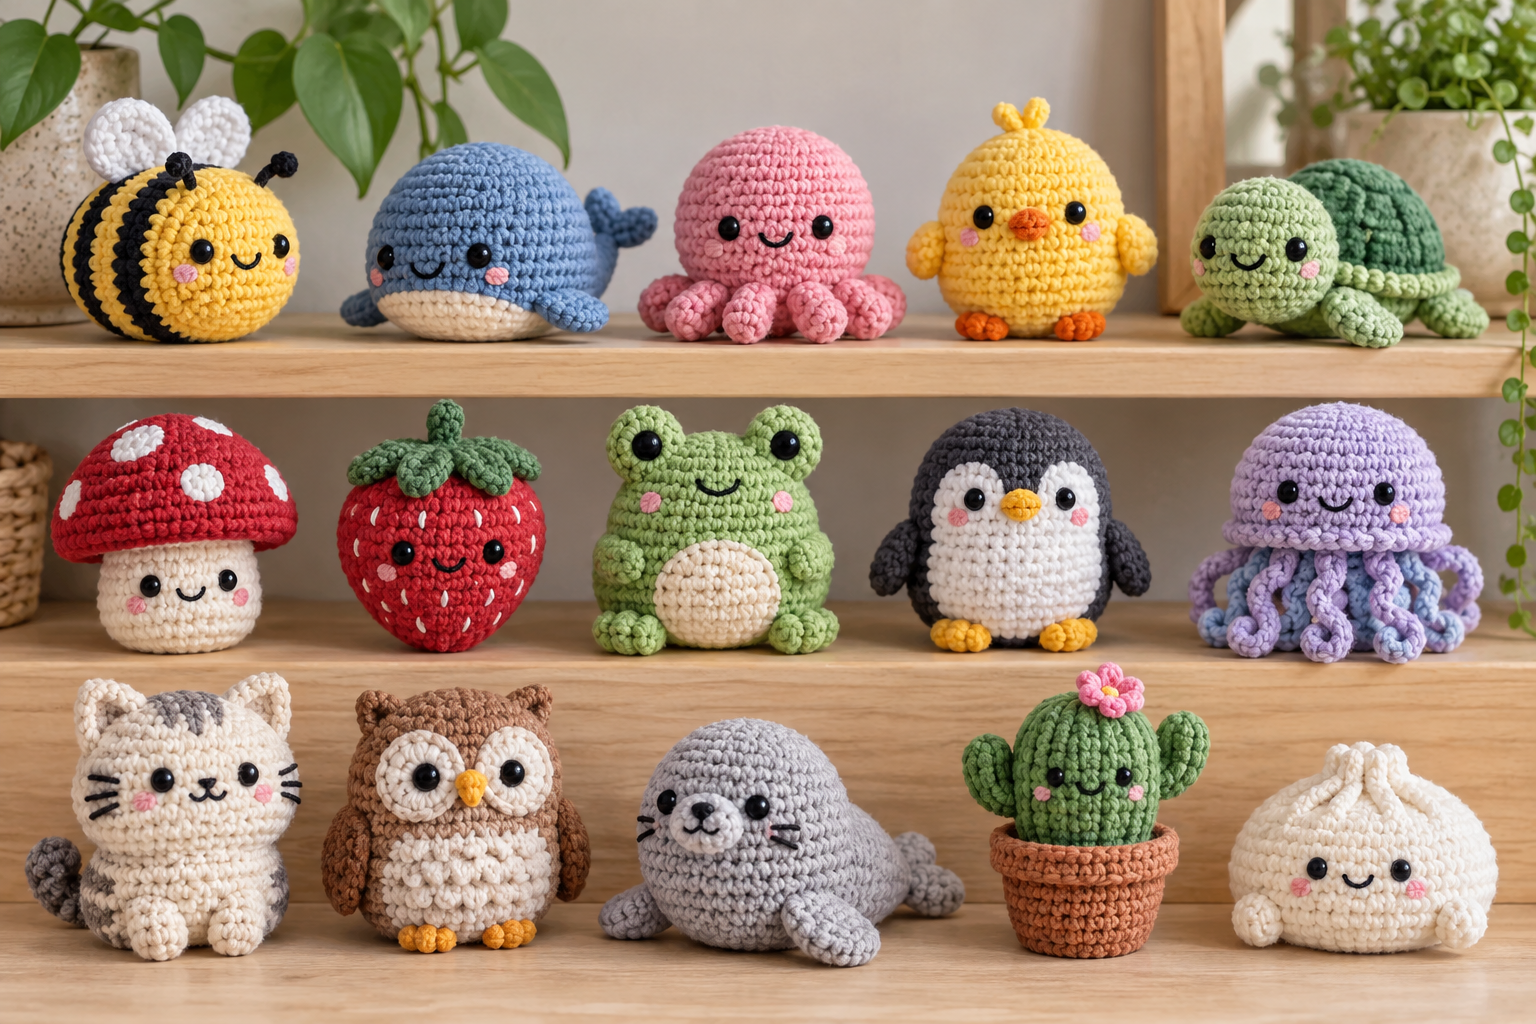
After the whale, try a mini octopus for repeated tentacle shaping, a frog plushie for proportion practice, or return to the beginner crochet bee to work on attached wings and stripe changes.