15 Easy No-Sew Amigurumi Ideas for Beginners
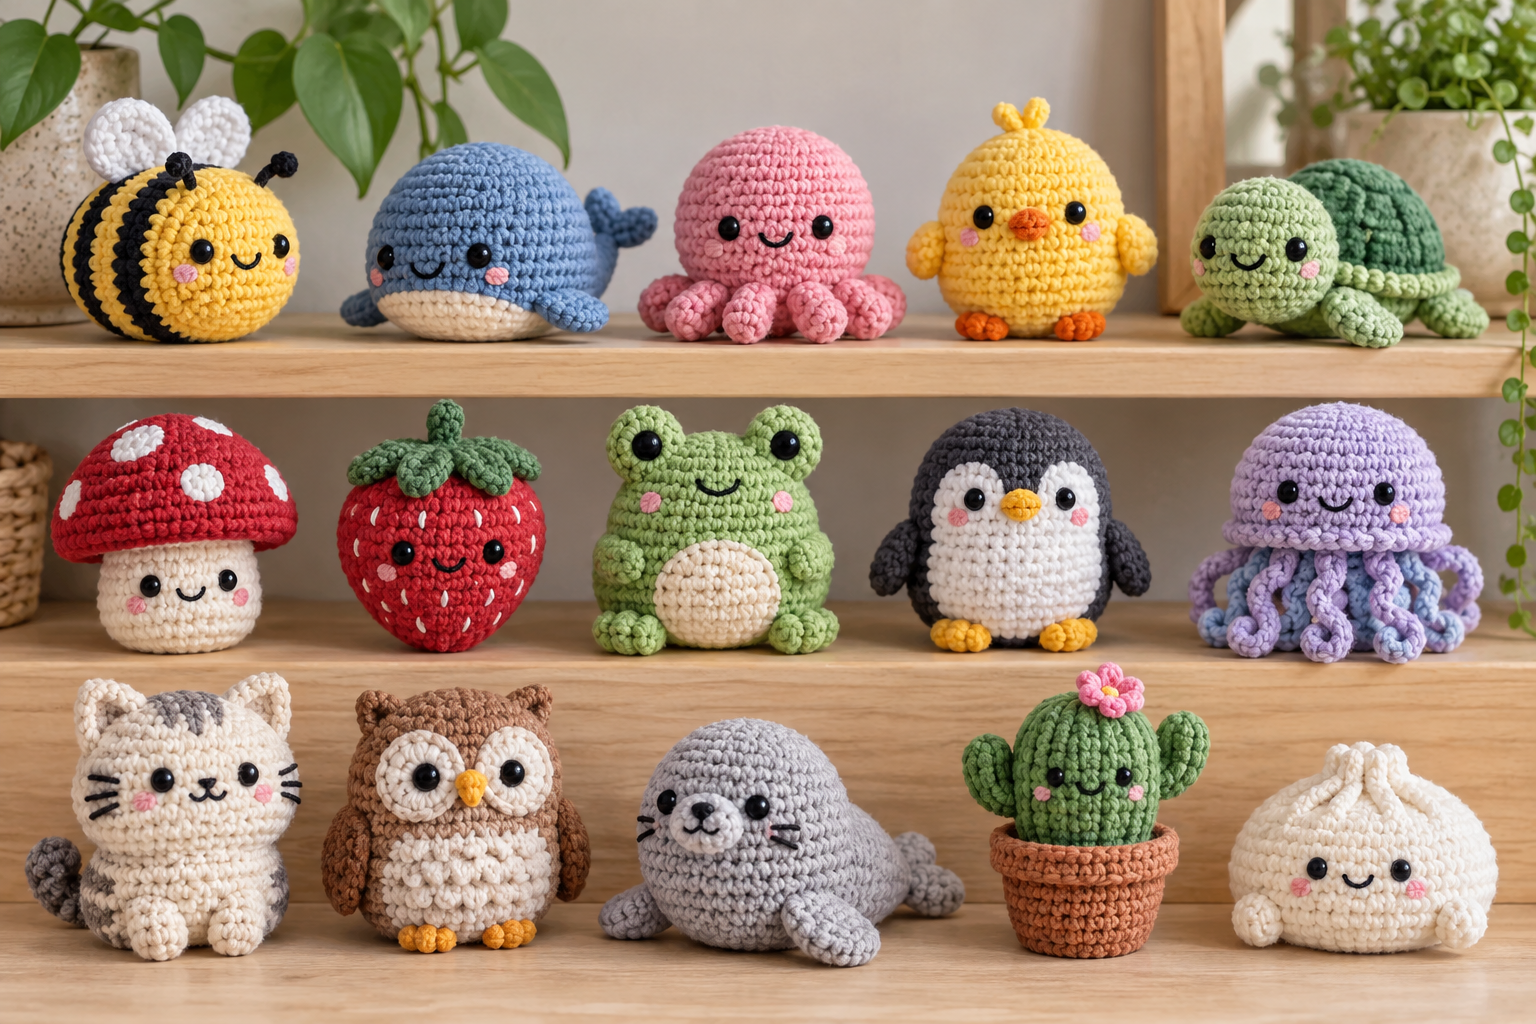
No-sew amigurumi reduces assembly by crocheting ears, fins, legs and other pieces into the body rounds. It does not mean there is literally no finishing: you still close the final opening and weave tails securely. These 15 ideas are grouped by the skills they teach so beginners can choose a sensible next project.
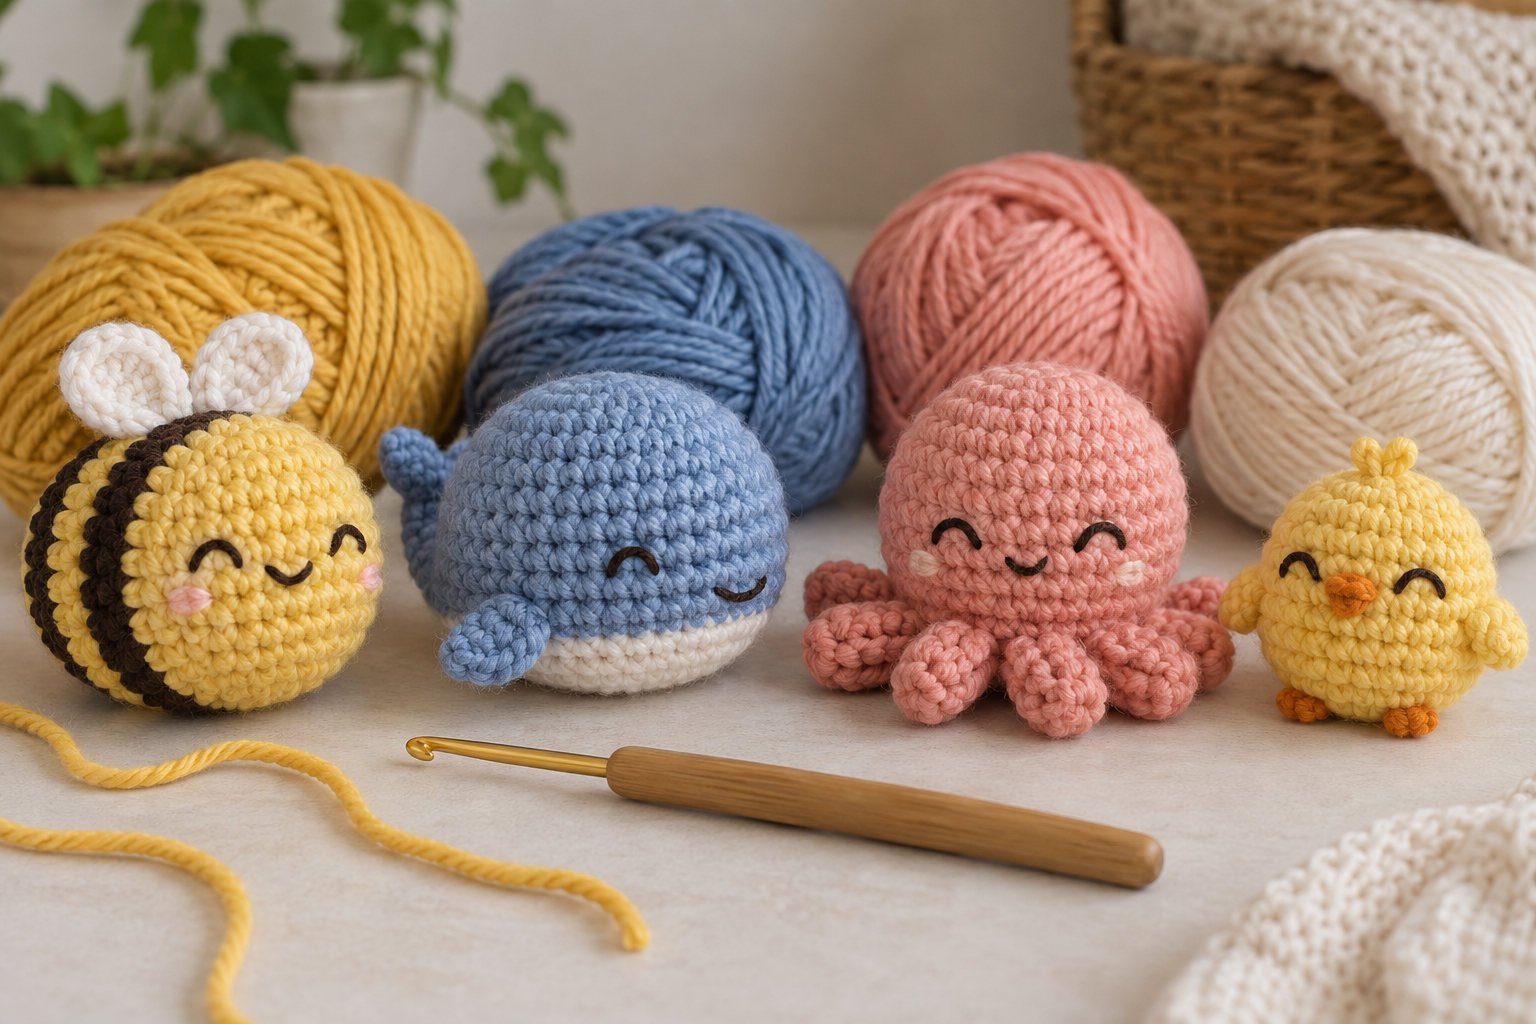
Four round animals that teach the basics
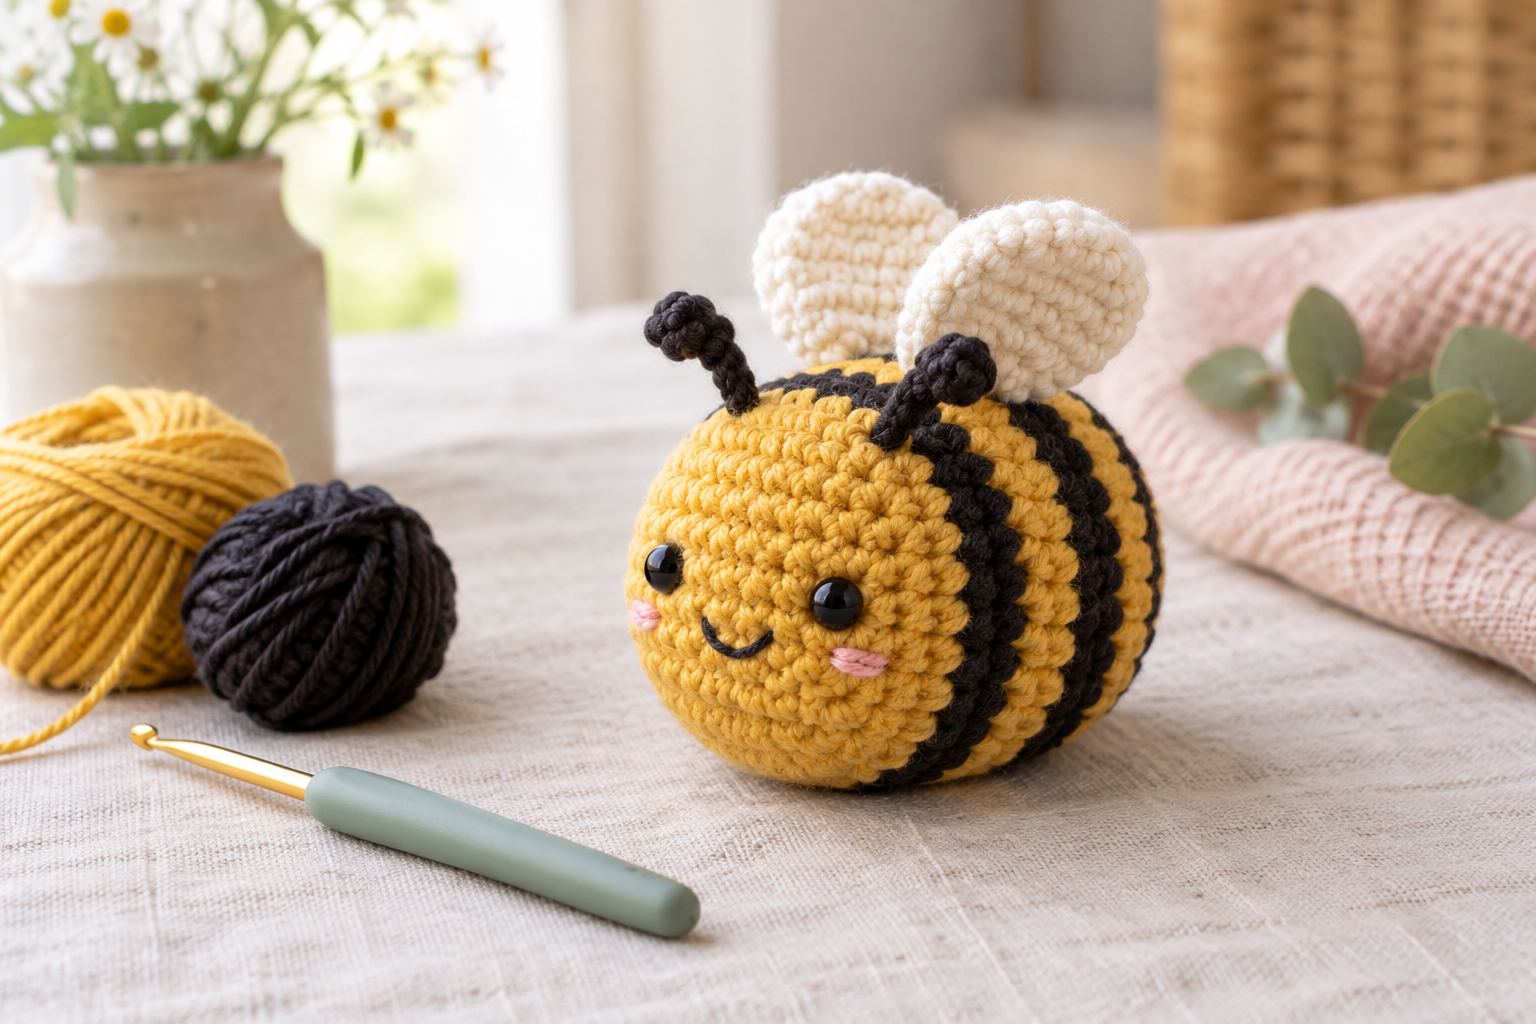
1. Round bee
A striped sphere teaches clean color changes. Work flat wings first, then crochet their top edges into a body round. Our beginner crochet bee guide explains placement and face spacing.
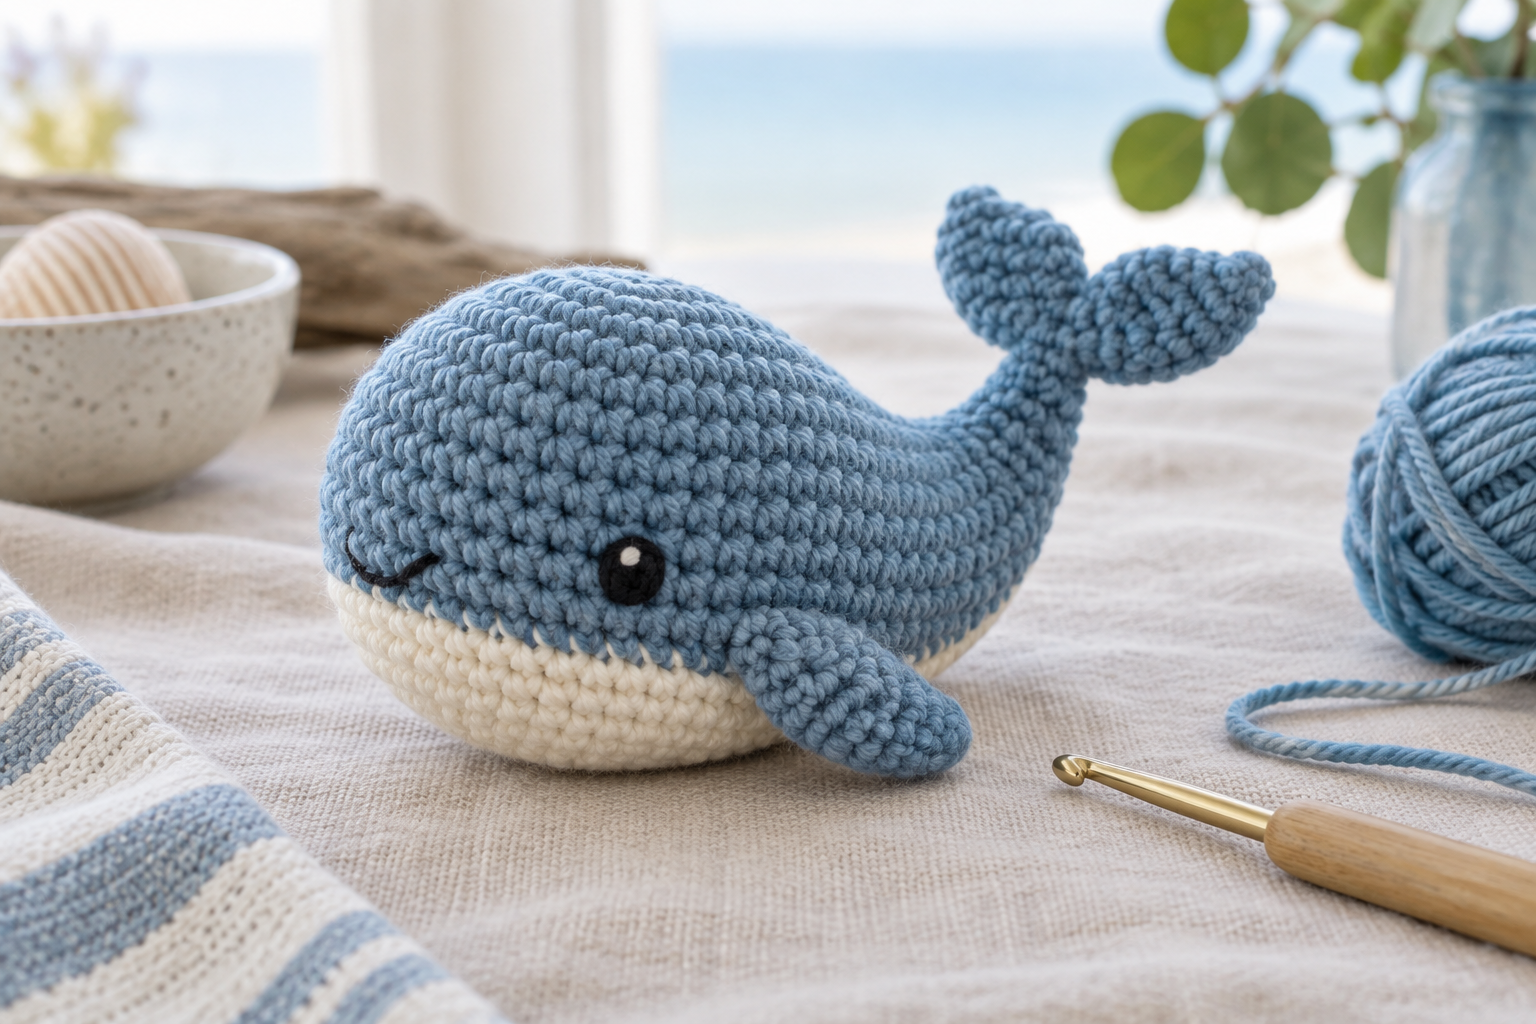
2. Pocket whale
A whale adds a color-change belly and two small fins. Mark the center front before attaching either fin so the pair stays balanced. See the no-sew whale planning guide.
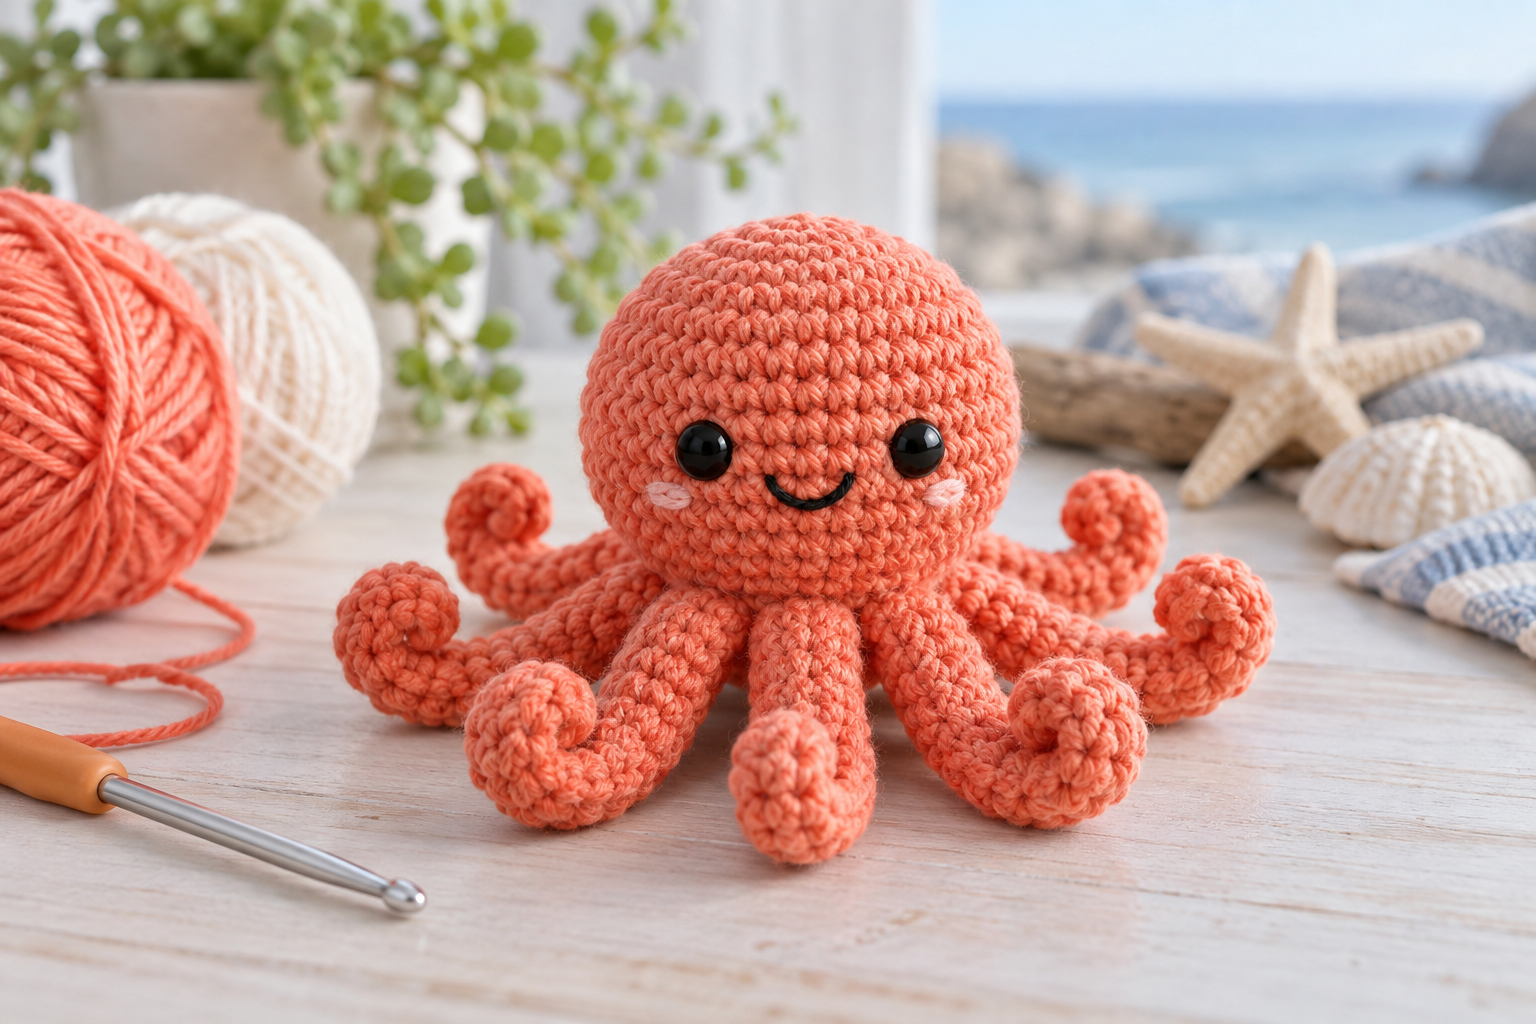
3. Chubby octopus
Short curled tentacles can be made from chains and worked directly into the last body rounds. Keep them short for a tidy toy and review the easy octopus guide before stuffing.
4. Tiny chick
A chick uses a nearly round body, a small embroidered beak and two integrated wings. It is a good project for practicing invisible decreases.
Three nature-inspired shapes
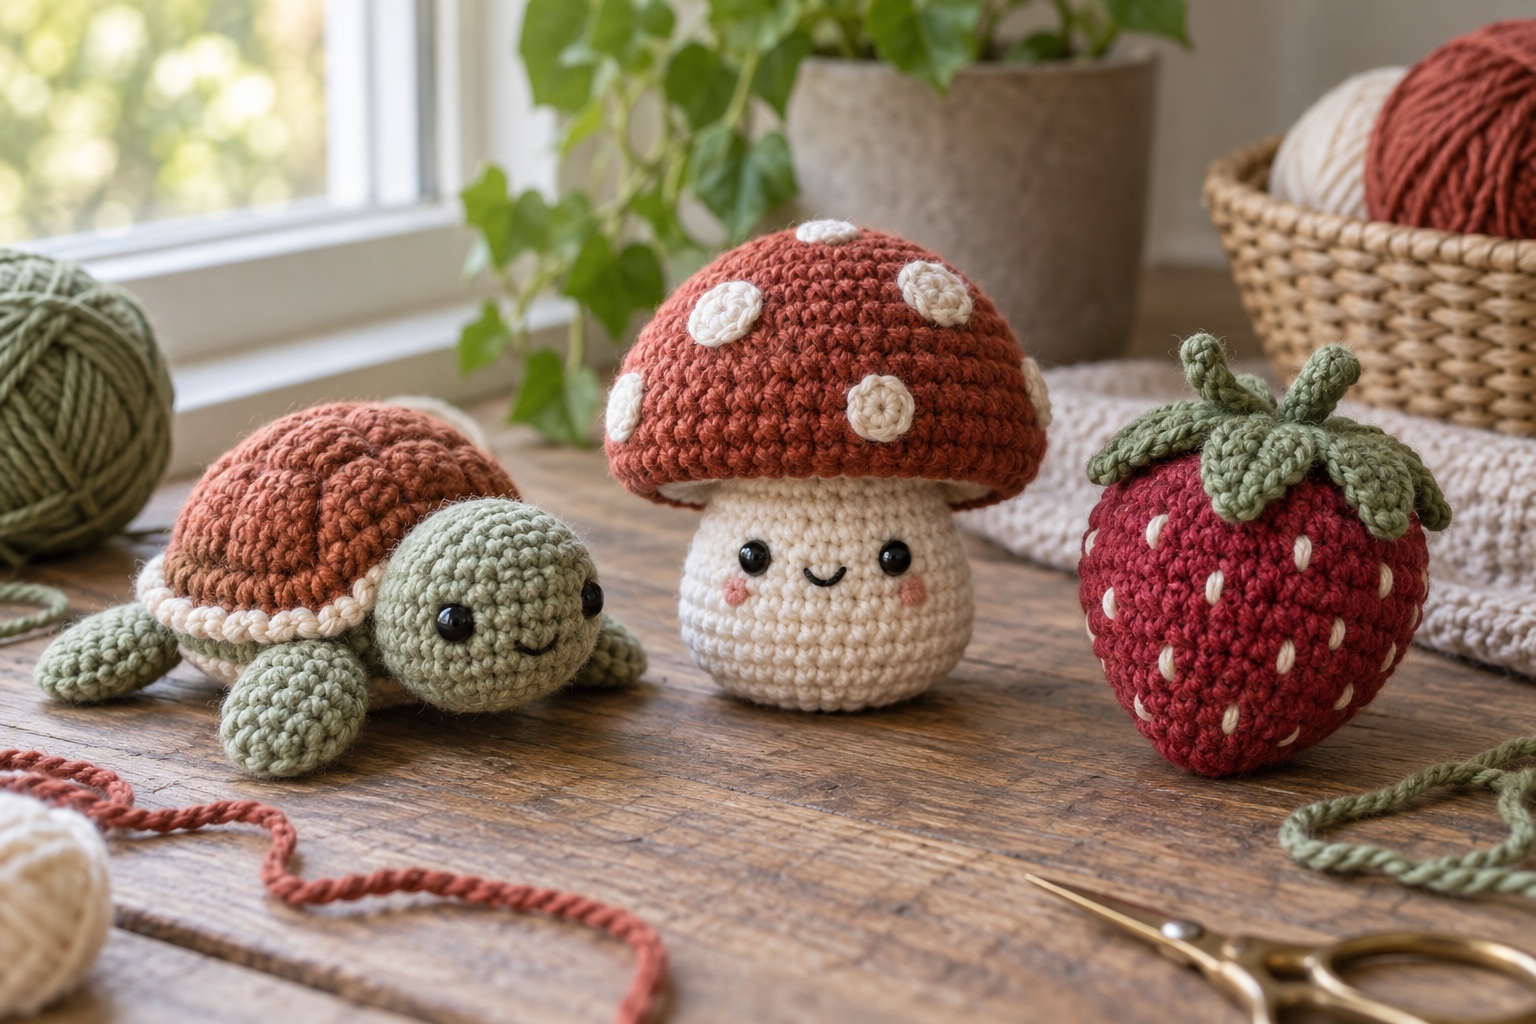
5. Mini turtle
Work the flippers and tail ahead of time, then capture their final stitches while joining shell rounds. The shell may use a separate color without requiring a sewn-on overlay.
6. Woodland mushroom
A cap with controlled increases creates a clear silhouette. Keep spots embroidered or crochet them into the cap rather than attaching small loose pieces; compare cap shapes in the mushroom amigurumi guide.
7. Plump strawberry
Use evenly spaced decreases to form the point. Crochet the leafy top into the closing rounds and embroider seeds after stuffing so the surface does not pucker.
How join-as-you-go construction actually works
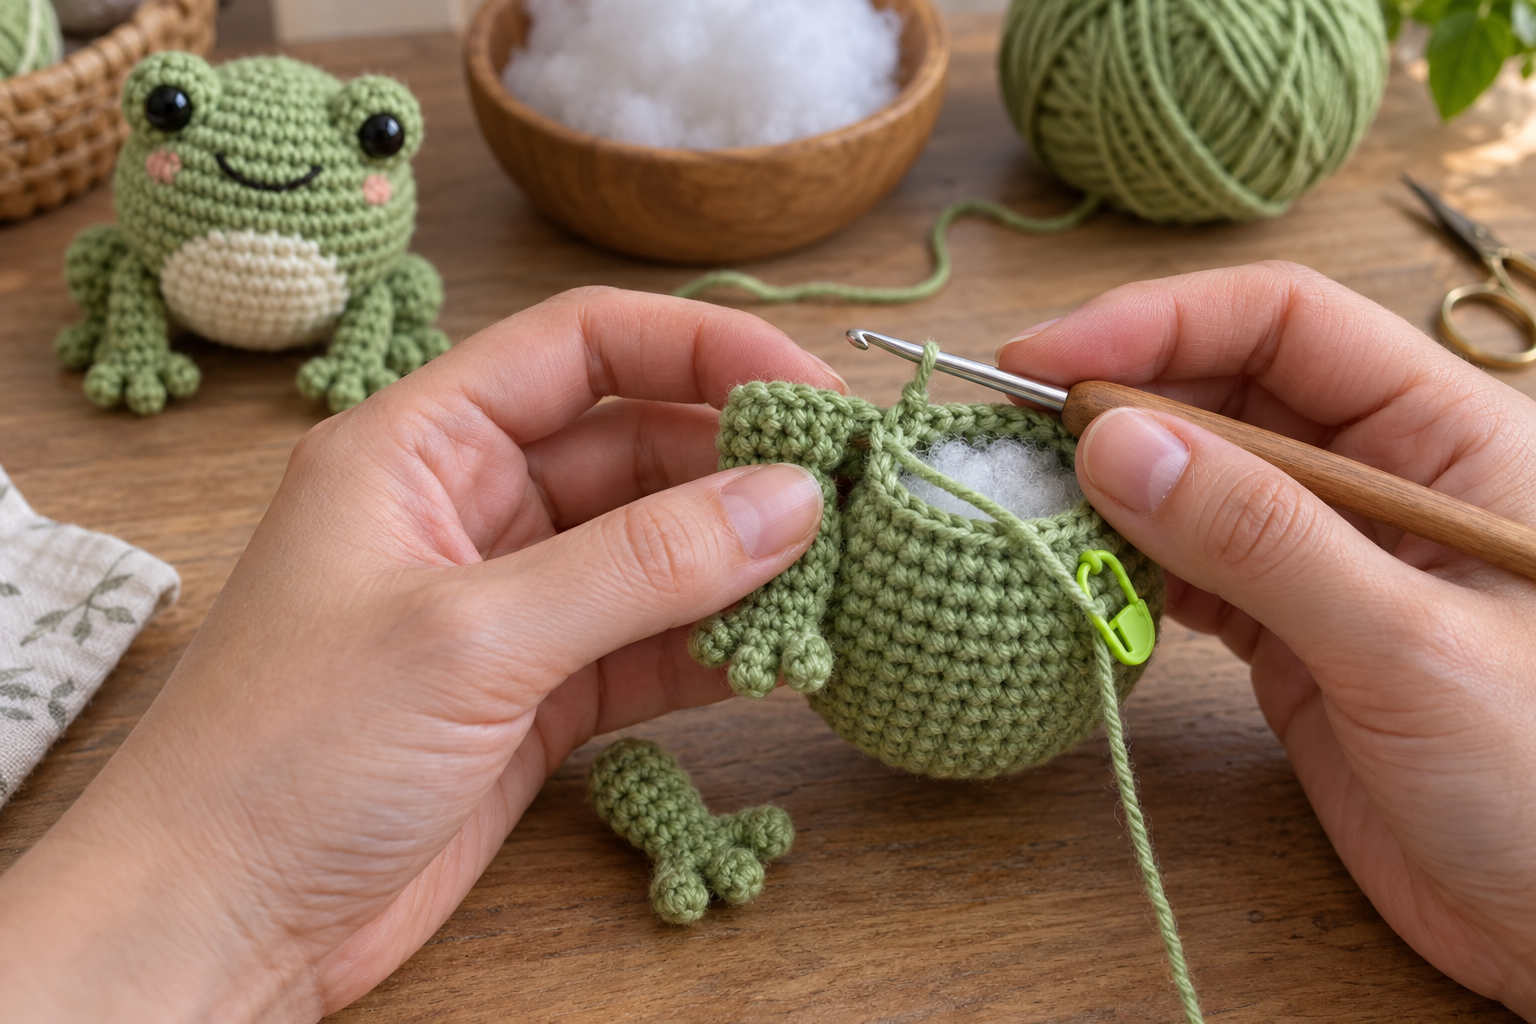
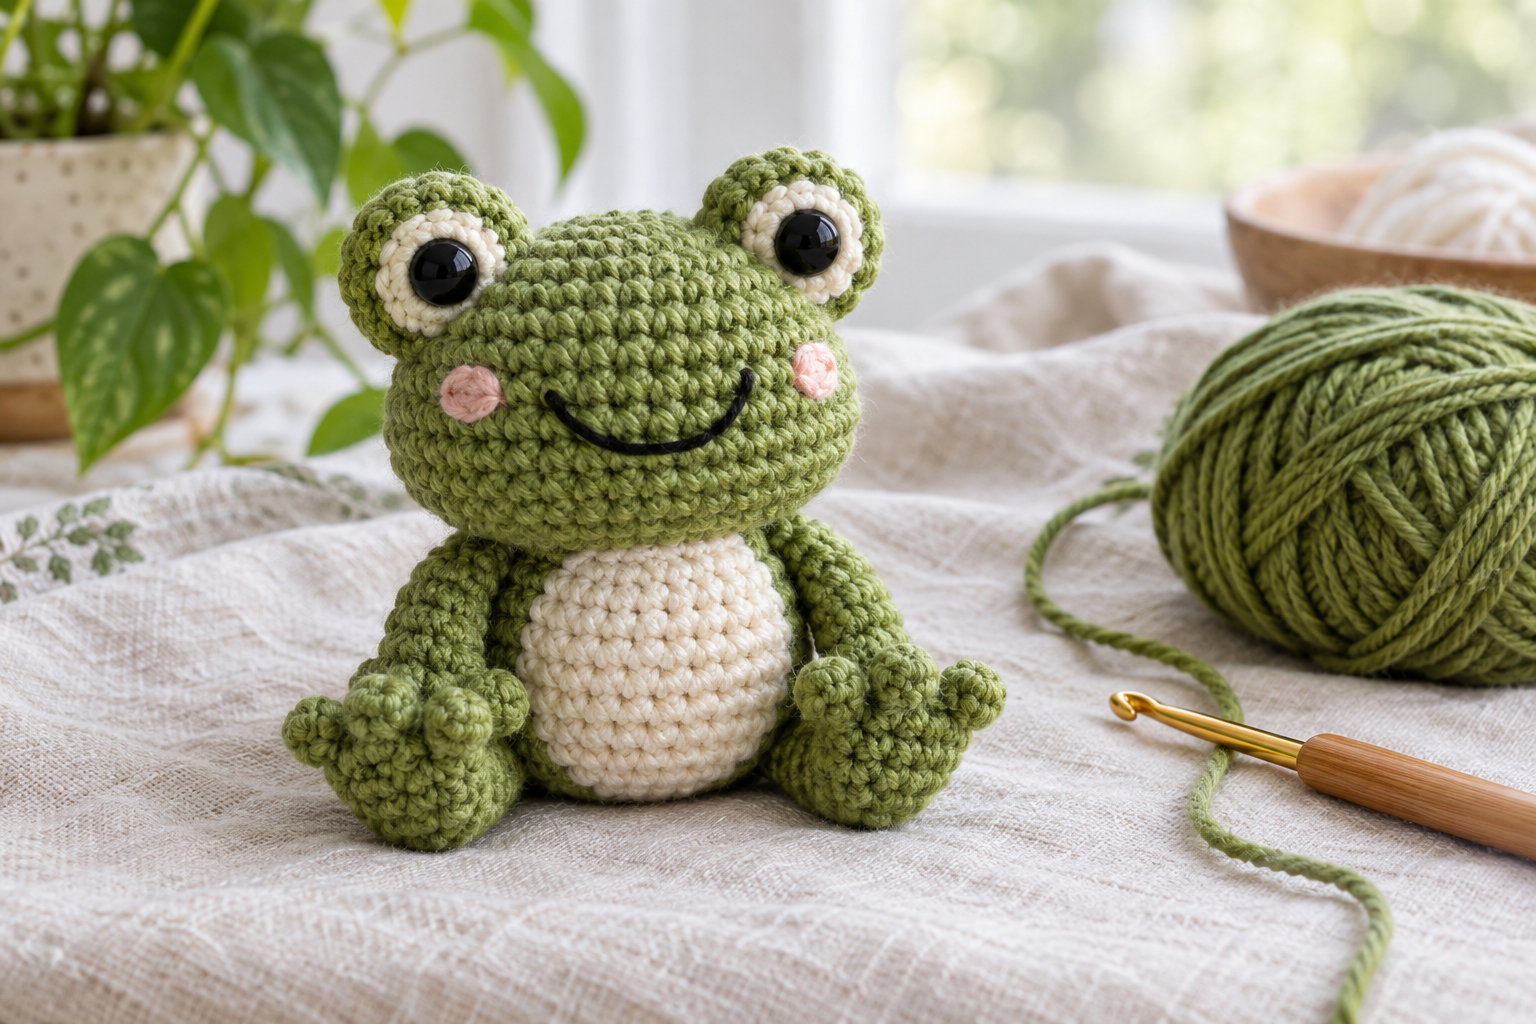
Make appendages first and leave their final loops accessible. Pin them to a lightly stuffed body, check the view from the front and back, and mark the joining stitches. During the body round, insert the hook through both the appendage and body stitch, then complete the stitch normally. Count again after every join: accidentally skipping a body stitch changes the shaping. The no-sew frog guide shows why leg angle matters before attachment.
8. Sitting frog
Folded legs create a stable base. Join them slightly forward of the side seams so the body does not tip backward.
9. Small seal
A tapered body, integrated side flippers and embroidered muzzle make a streamlined first marine animal.
10. Tiny cactus
Build the pot and cactus as connected sections, then crochet small arms into the upper rounds. Use embroidery for flowers when the toy is intended for a child.
Four small gifts with distinct silhouettes
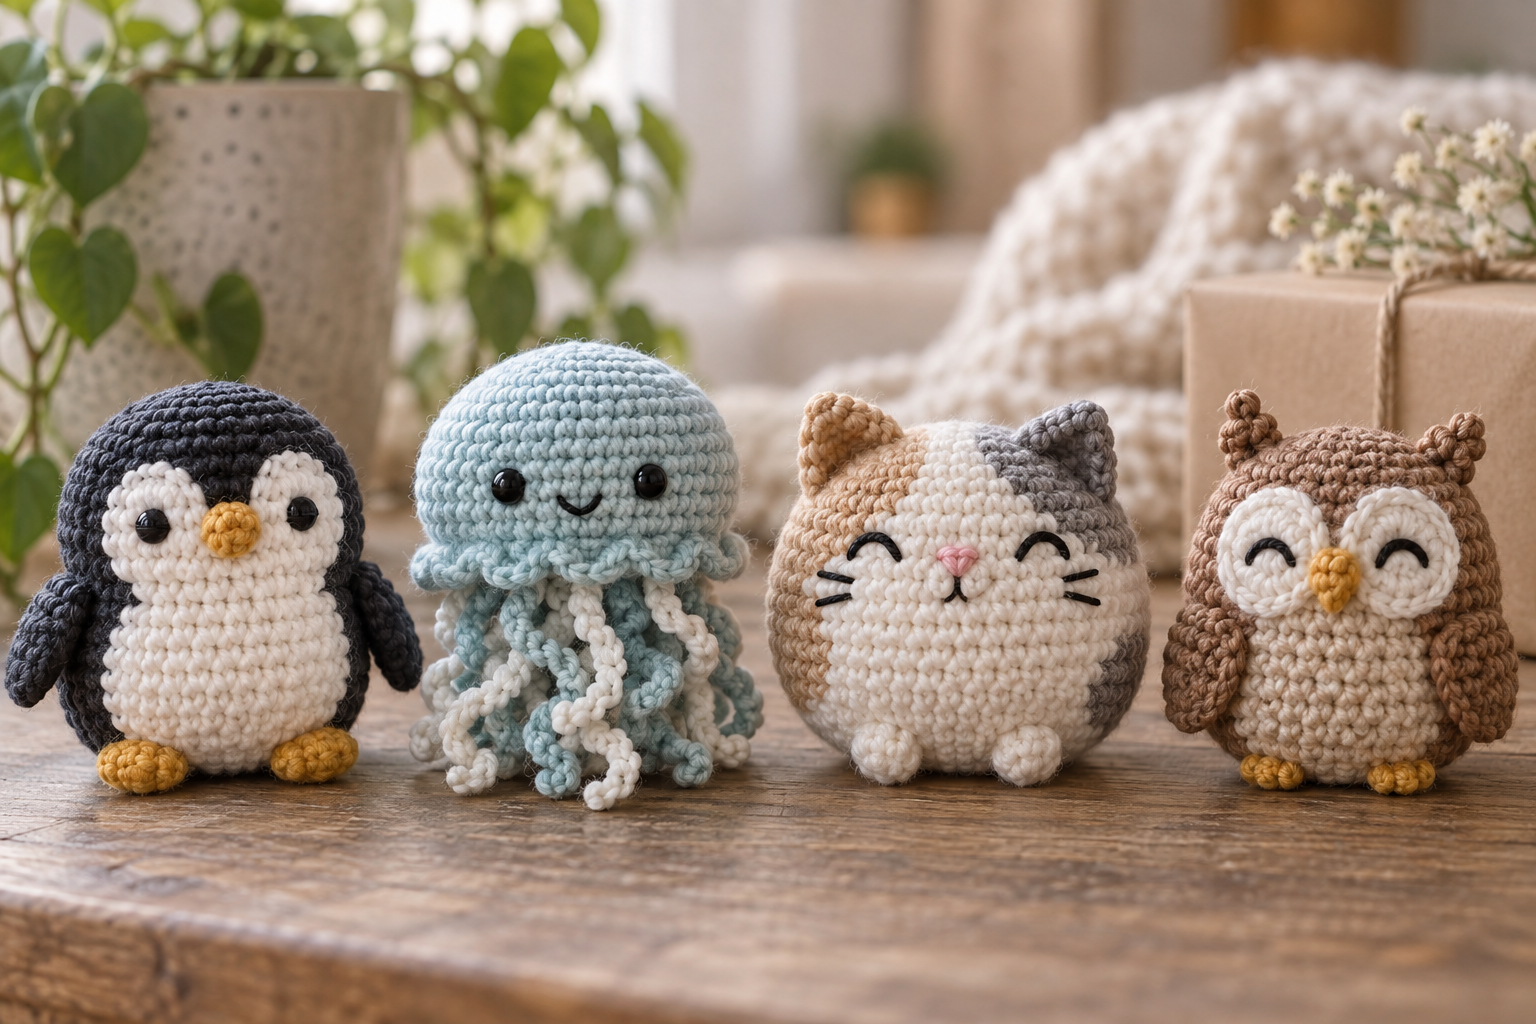
11. Pocket penguin
A contrasting belly can be carried as tapestry colorwork to avoid an appliqué. Integrated wings should sit level with the upper belly; use the penguin amigurumi guide for proportion checks.
12. Soft jellyfish
Crochet tentacles directly around the underside. For young children, use short solid tentacles instead of long chains that can snag.
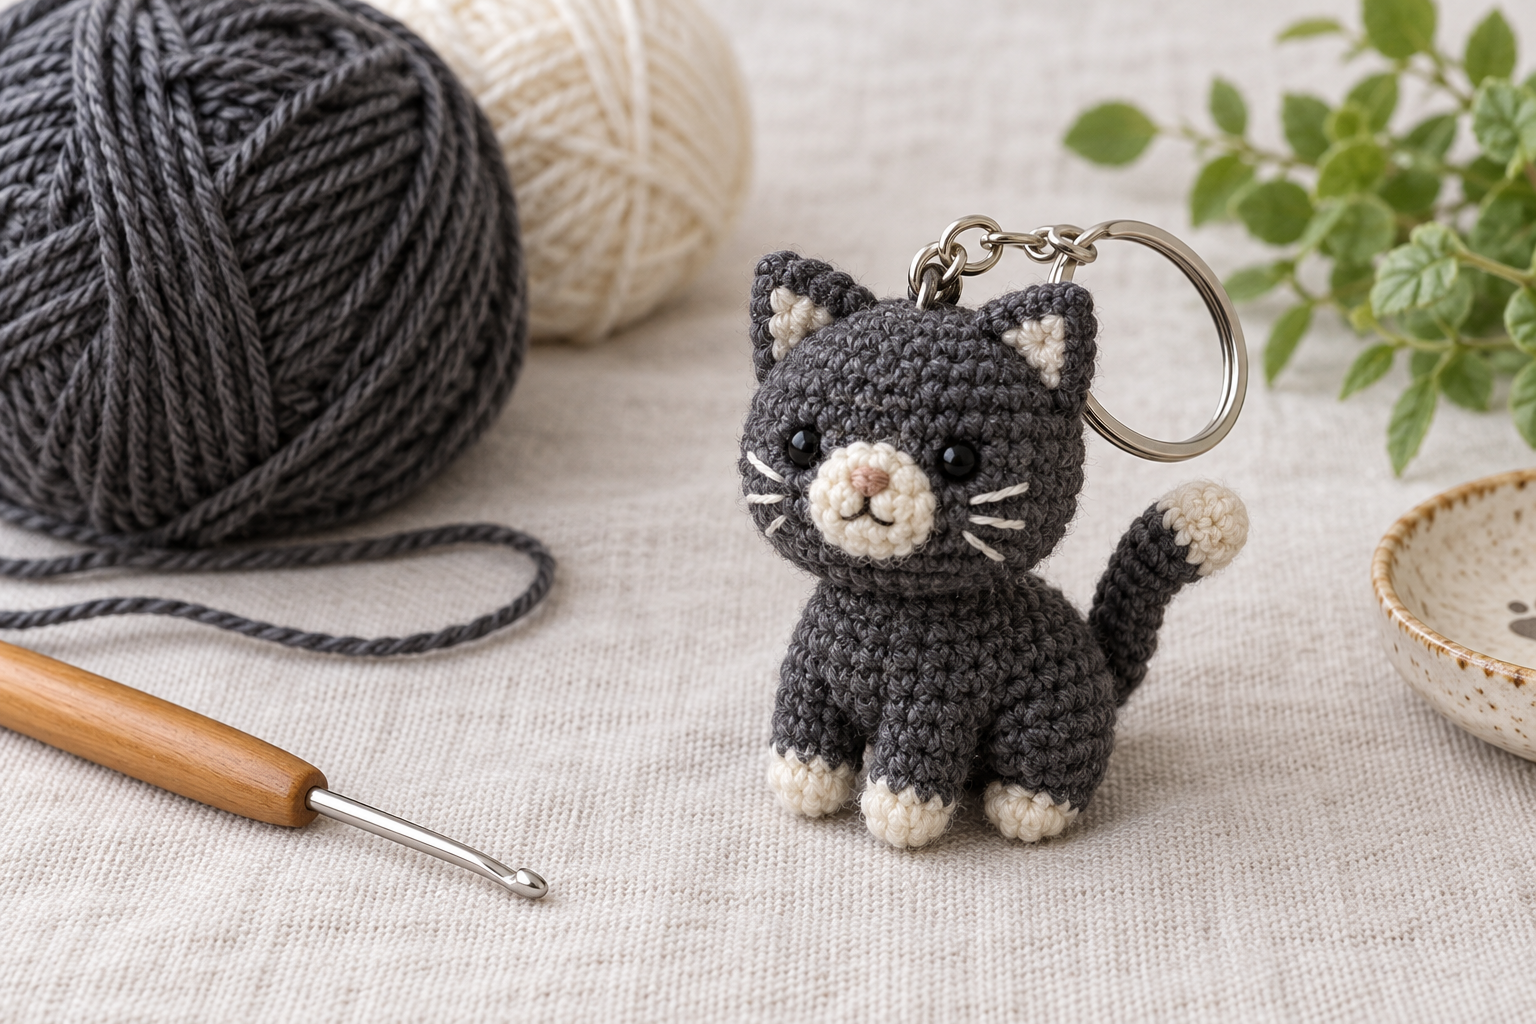
13. Round cat
Shape ears with increases and decreases in the continuous body rather than making separate triangles. Embroidered whiskers keep the face soft.
14. Mini owl
Use surface color changes for the eye area and form tiny ear points in the last rounds. Avoid glued felt when the figure will be handled often.
Finish with a safety and quality check
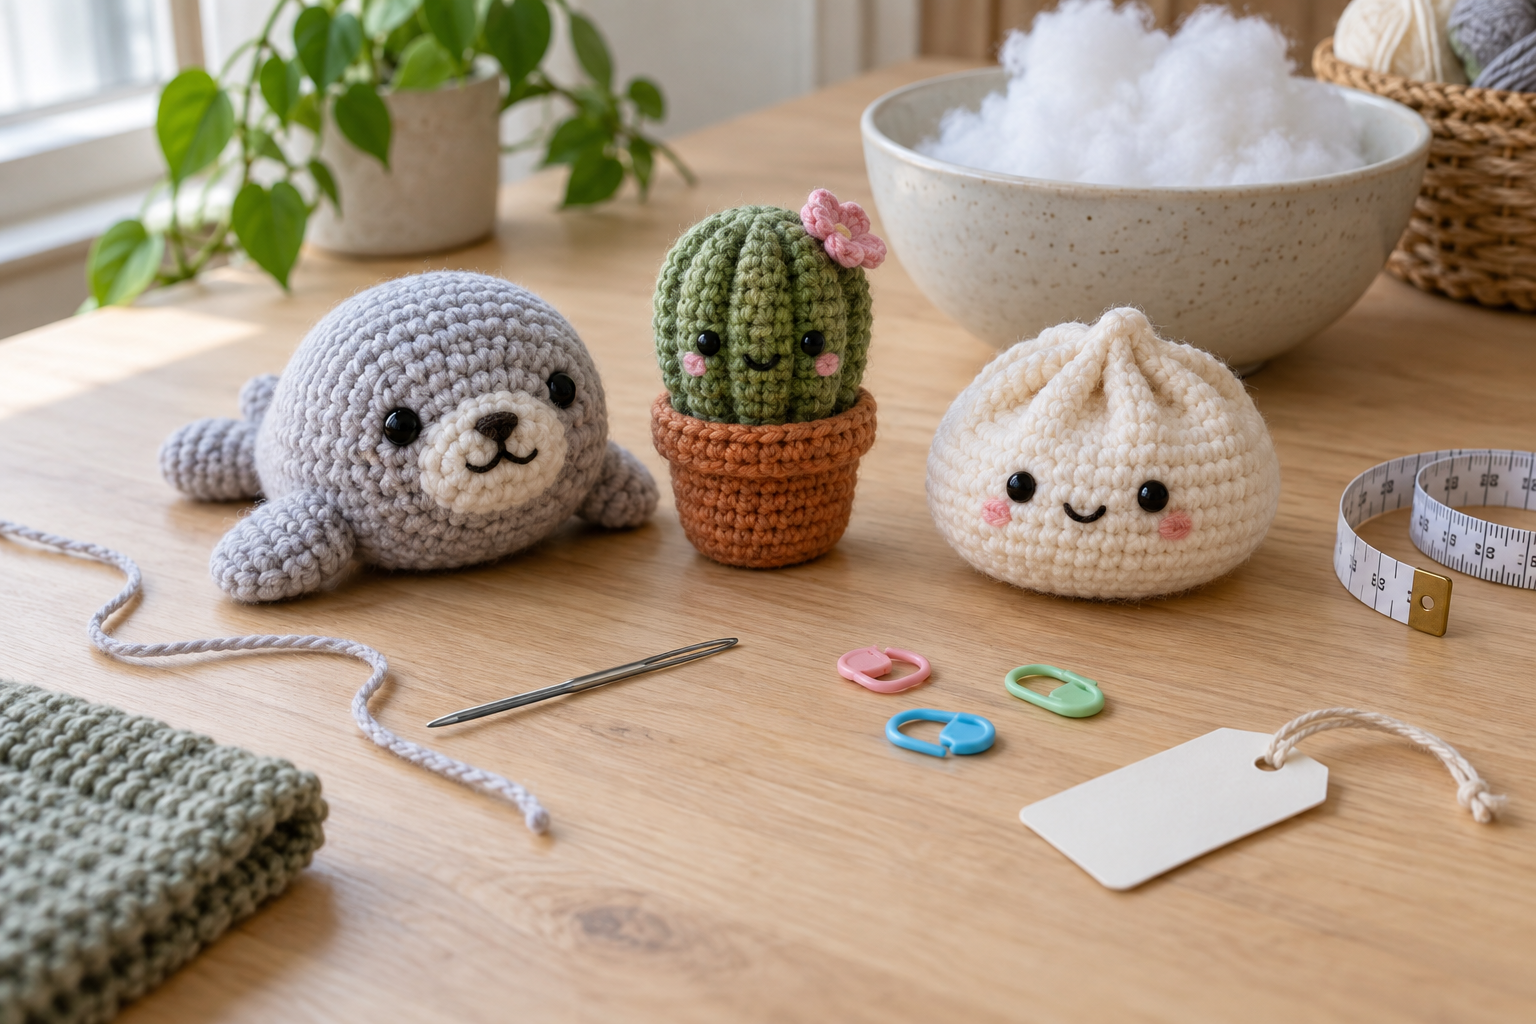
15. Dumpling friend
A gathered top and tiny integrated arms make an excellent scrap-yarn project. Keep the folds shallow so stuffing cannot show through.
Stuff in small portions and stop before the stitches spread. Close with a blunt needle, weave the tail through several directions and inspect each join by gently pulling it. Embroidered features are preferable for babies and toddlers; safety eyes can detach and are not suitable for children under three. Record the yarn, hook, final size and care method so a gift recipient knows how to clean the toy.