Crochet Strawberry Plushie for Beginners
A crochet strawberry is a small project with several useful lessons: controlled tapering, even stuffing, surface embroidery and a clean leafy finish. The best version begins with its intended use, because a keychain and a cushion need very different fabric density.
Level: beginner
Time: 1–3 hours
Size: 6–20 cm depending on yarn
Main skills: decreases, stuffing and surface embroidery
Choose a strawberry style with a clear purpose
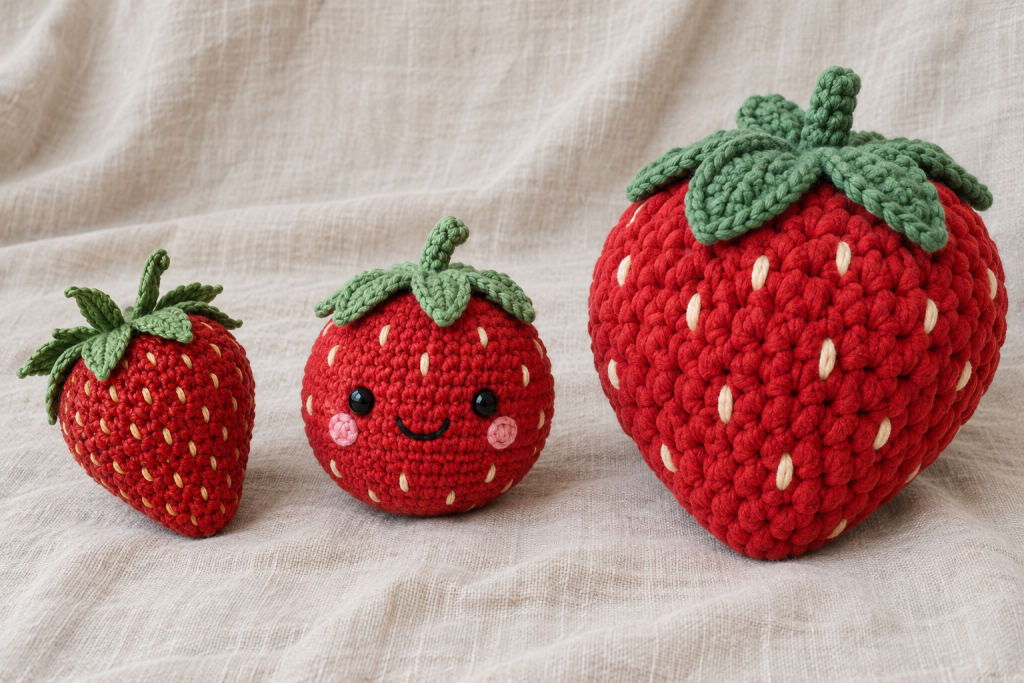
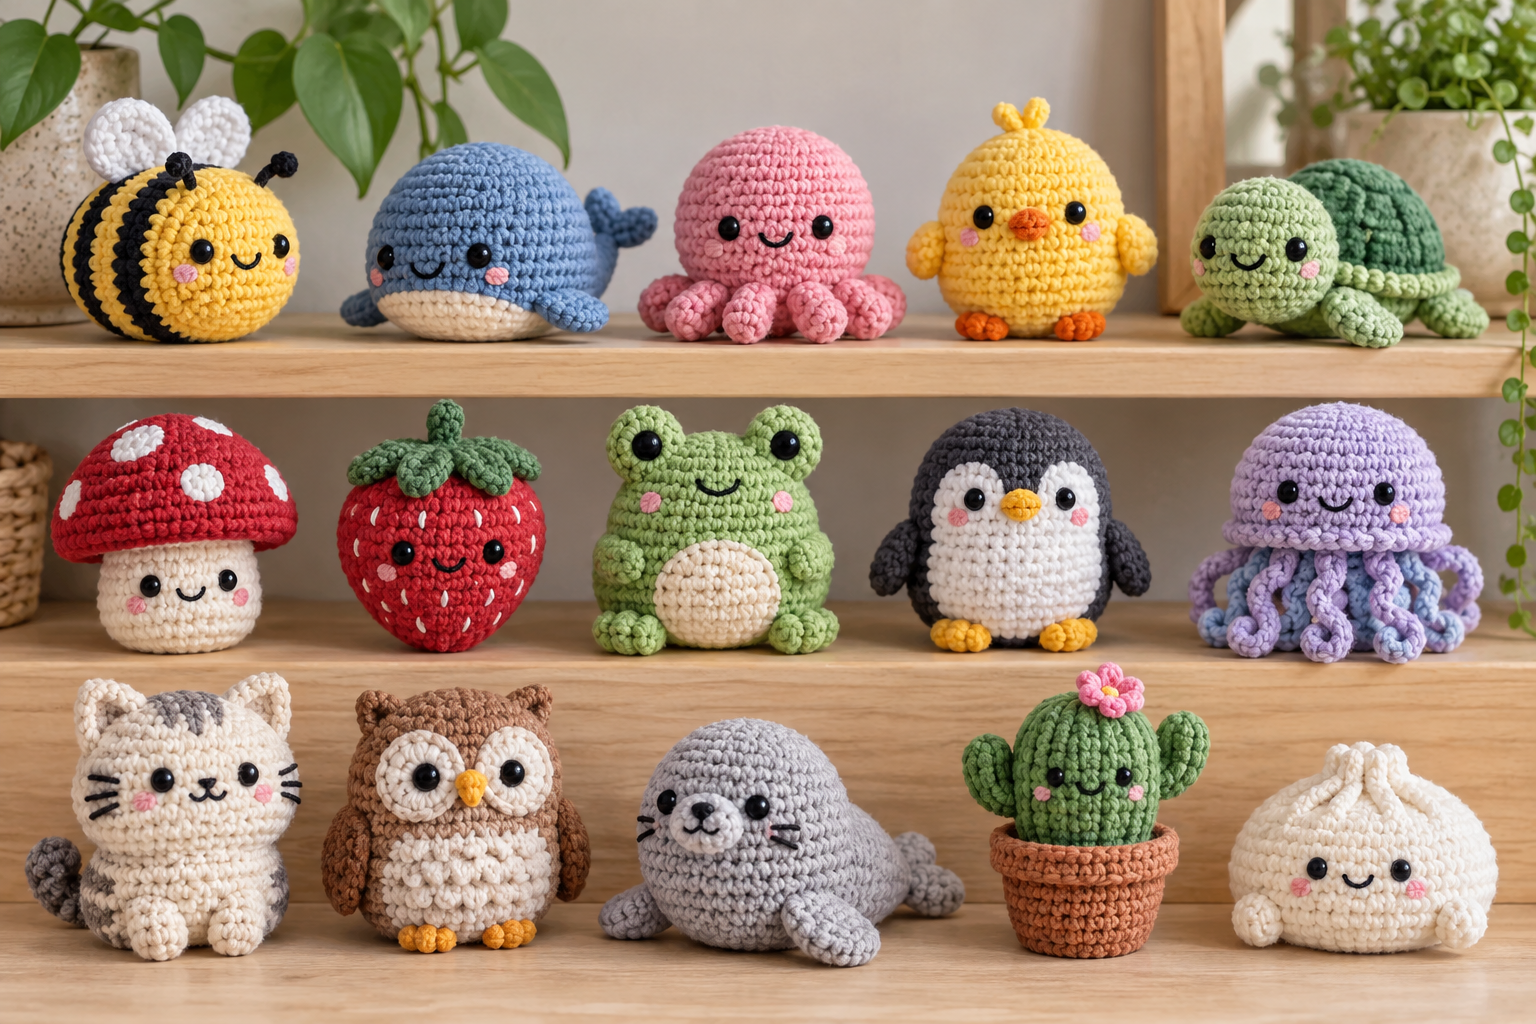
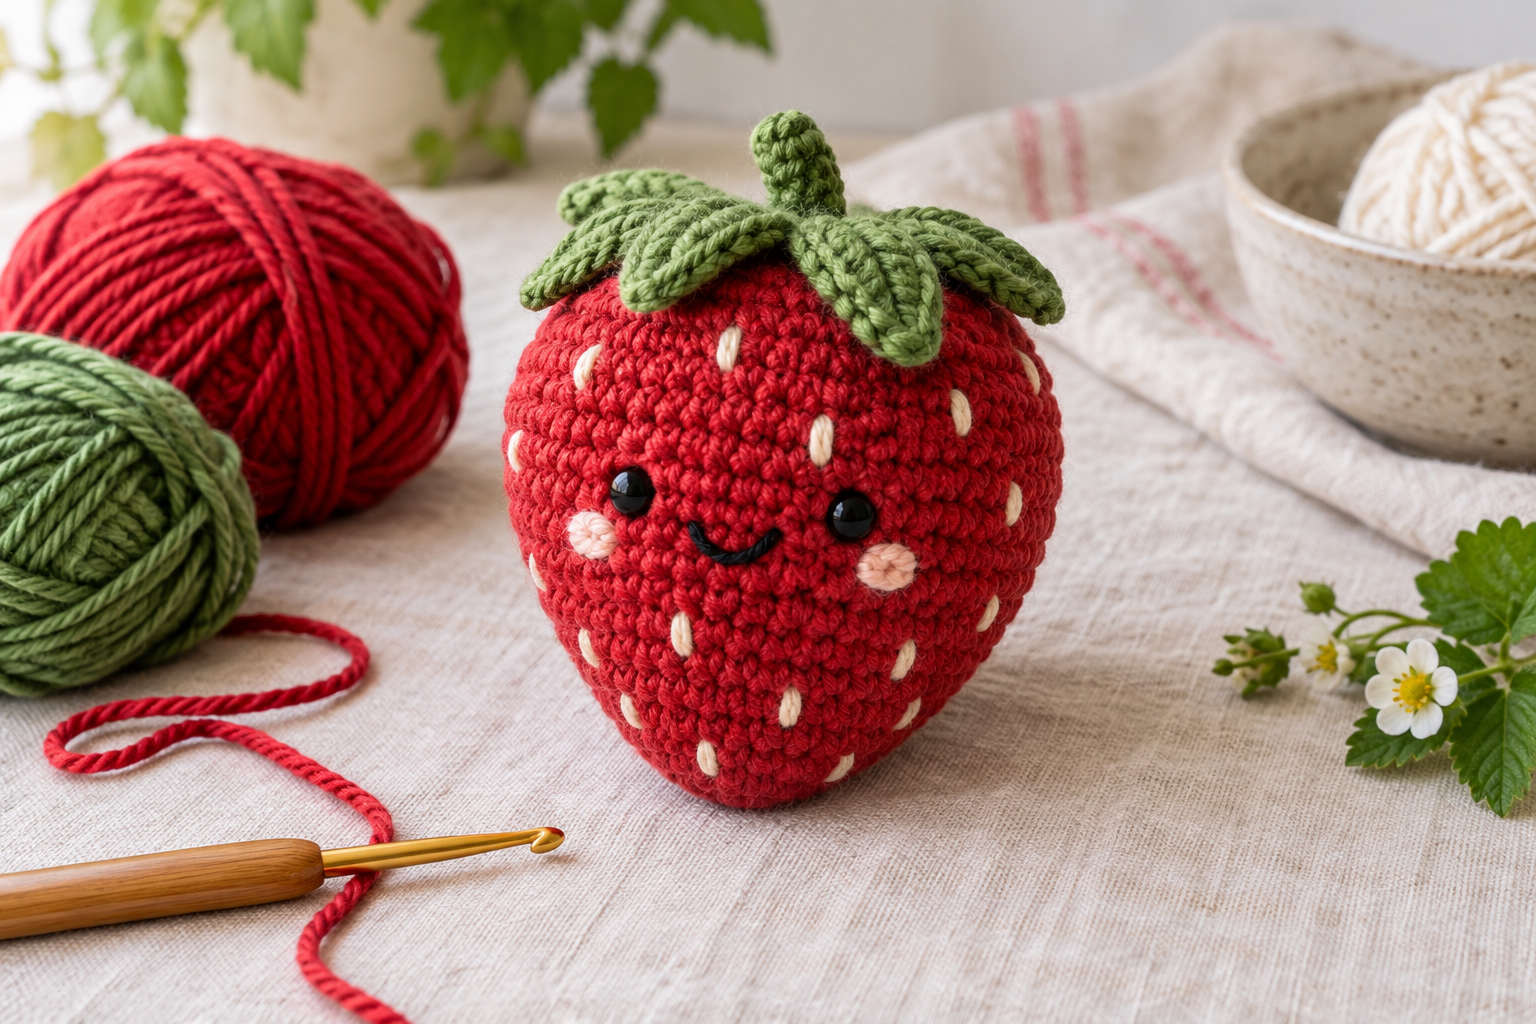
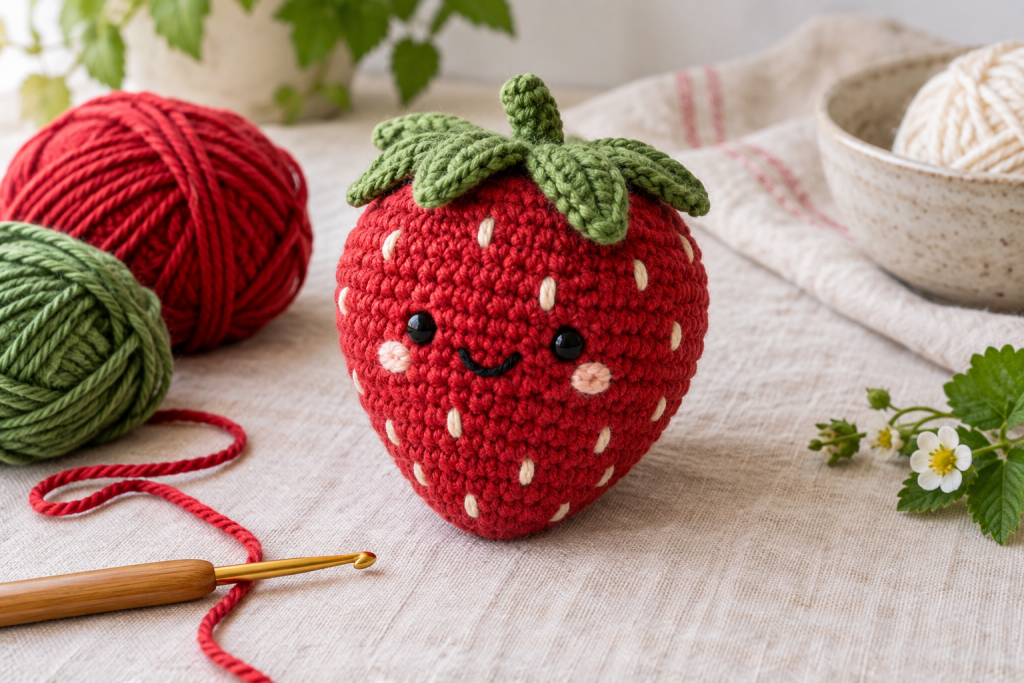
A realistic berry has a broad shoulder and gradual point. A kawaii version is rounder to leave space for the face. A cushion needs thicker yarn, gentler shaping and a broad base so it does not look like a cone. Decide before crocheting where the eyes, seeds and leaves will sit.
Build a practical yarn palette
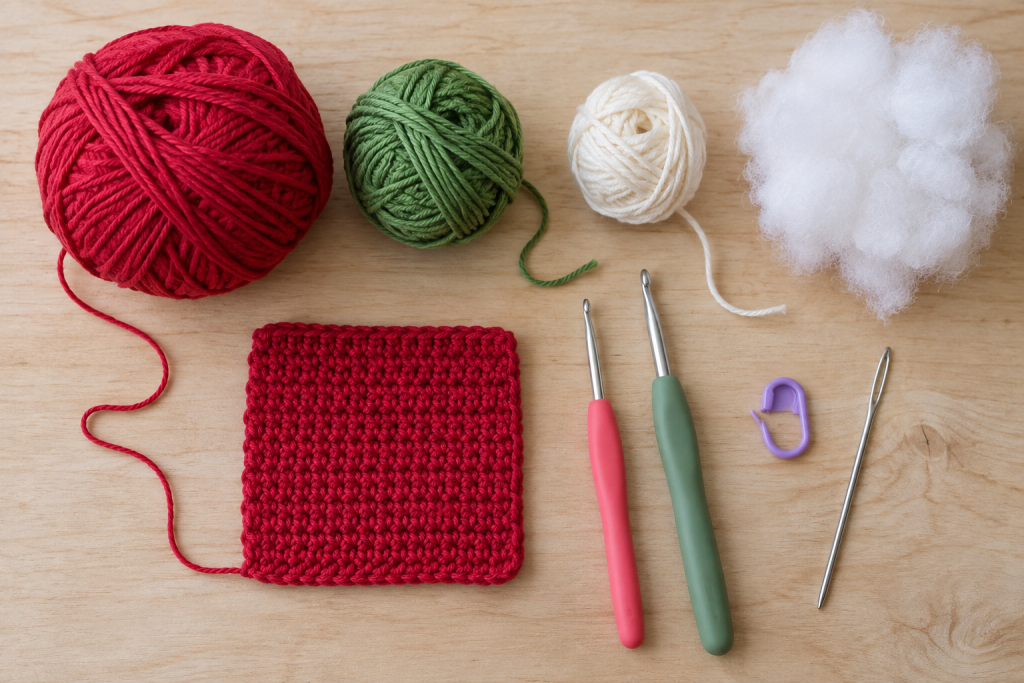
Choose berry red rather than a very bright scarlet if you want visible stitch texture in photographs. Leaf green should contrast clearly without becoming the only focal point. Cream or pale yellow seed stitches read more softly than pure white. Cotton provides structure; acrylic is lighter and squeezier; chenille suits cushions but makes embroidery less precise.
Make a dense swatch and stretch it over your finger. If stuffing appears, reduce the hook size before beginning the body.
Shape the point without creating a lump
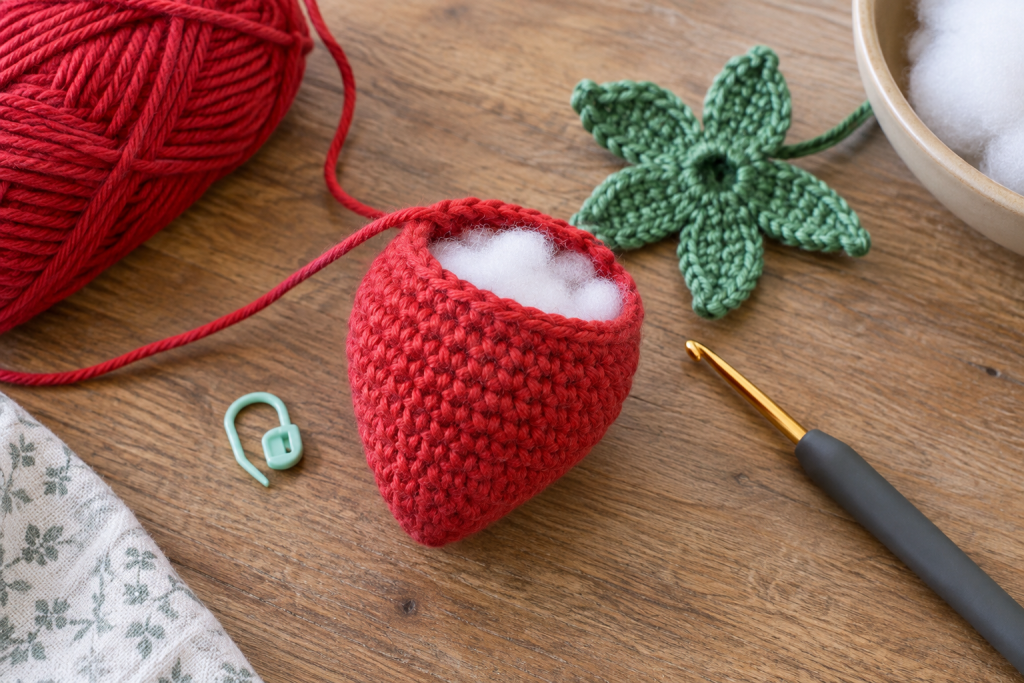
- Crochet the widest rounds and mark the center front if adding a face.
- Begin stuffing while the opening is comfortable to reach.
- Add small amounts after every few decrease rounds.
- Use an invisible decrease through the front loops to reduce visible ridges.
- Leave the final centimeter slightly softer, close through the front loops and massage the fill toward the point.
If the strawberry bends, a dense stuffing lump is usually sitting on one side. Pull it apart with a blunt tool and redistribute it instead of forcing the crochet fabric straight.
Embroider seeds that follow the form
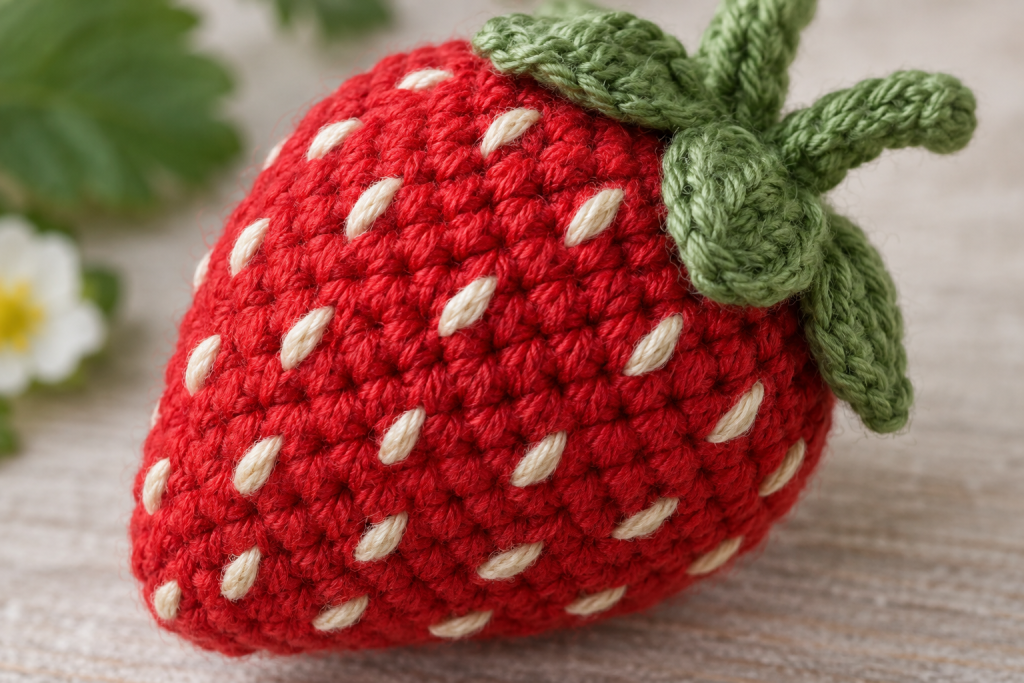
Plan seed placement with removable pins before threading the needle. Space the seeds farther apart near the widest area and slightly closer near the point. Keep each stitch short enough that it cannot snag. Knot securely inside when possible, or bury the tail in several directions through the stuffed body.
Sew leaves around the center first, then anchor the tips only if you want them to lie flat. Avoid glue on washable or child-handled projects.
Adapt the construction for four uses
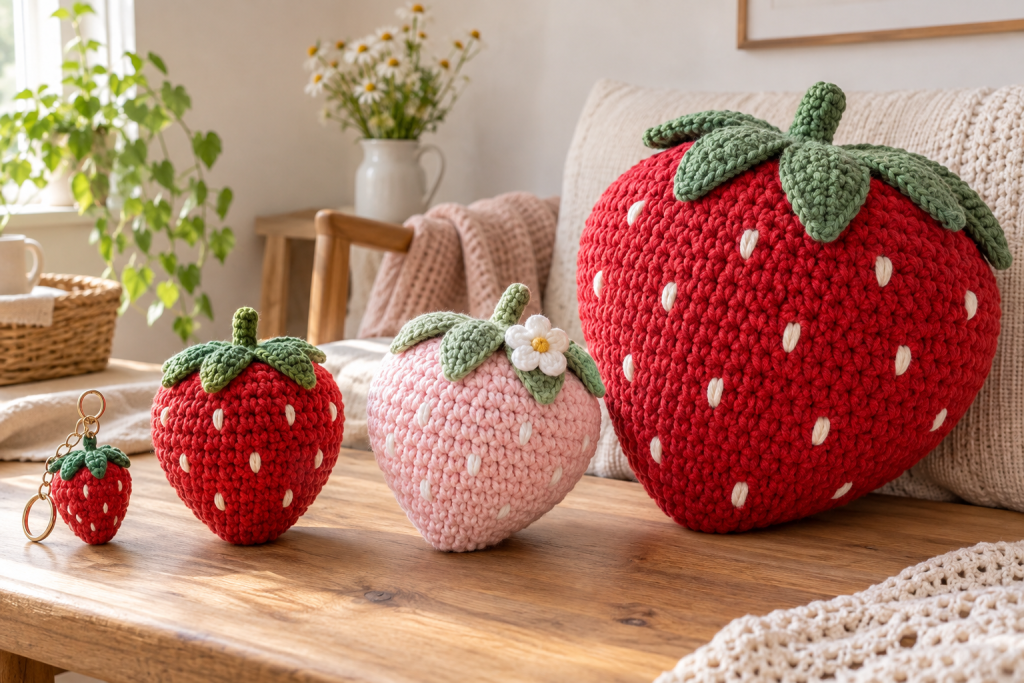
- Keychain: dense cotton and a loop anchored through multiple body stitches.
- Sensory object: embroidered details and varied but secure stitch textures.
- Nursery décor: washable yarn, soft colors and no detachable components.
- Cushion: bulky yarn, moderate stuffing and a wide, comfortable silhouette.
Finishing and care
Pull-test the leaf crown, embroidery and hanging loop. Follow the yarn label for washing, protect small projects in a mesh bag and air dry after reshaping the point. Include fiber content and care information when gifting or selling.
Continue with another small project
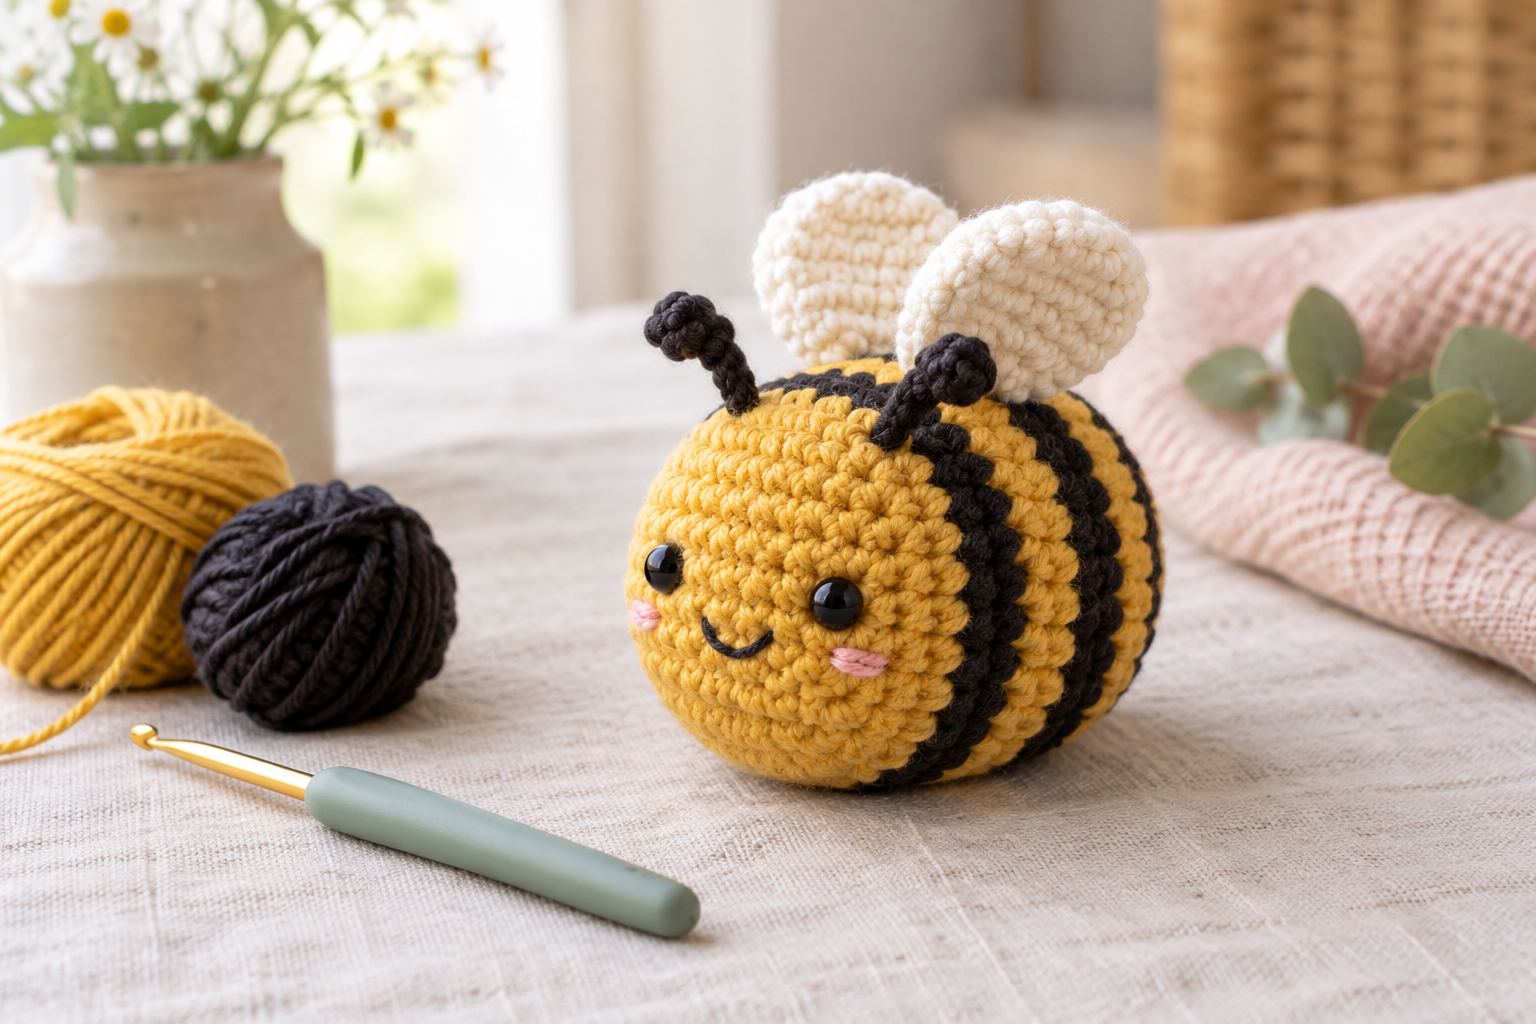
Try the tiny bunny for direct feature construction, the beginner bee for stripe changes, or the cat keychain for secure hardware.