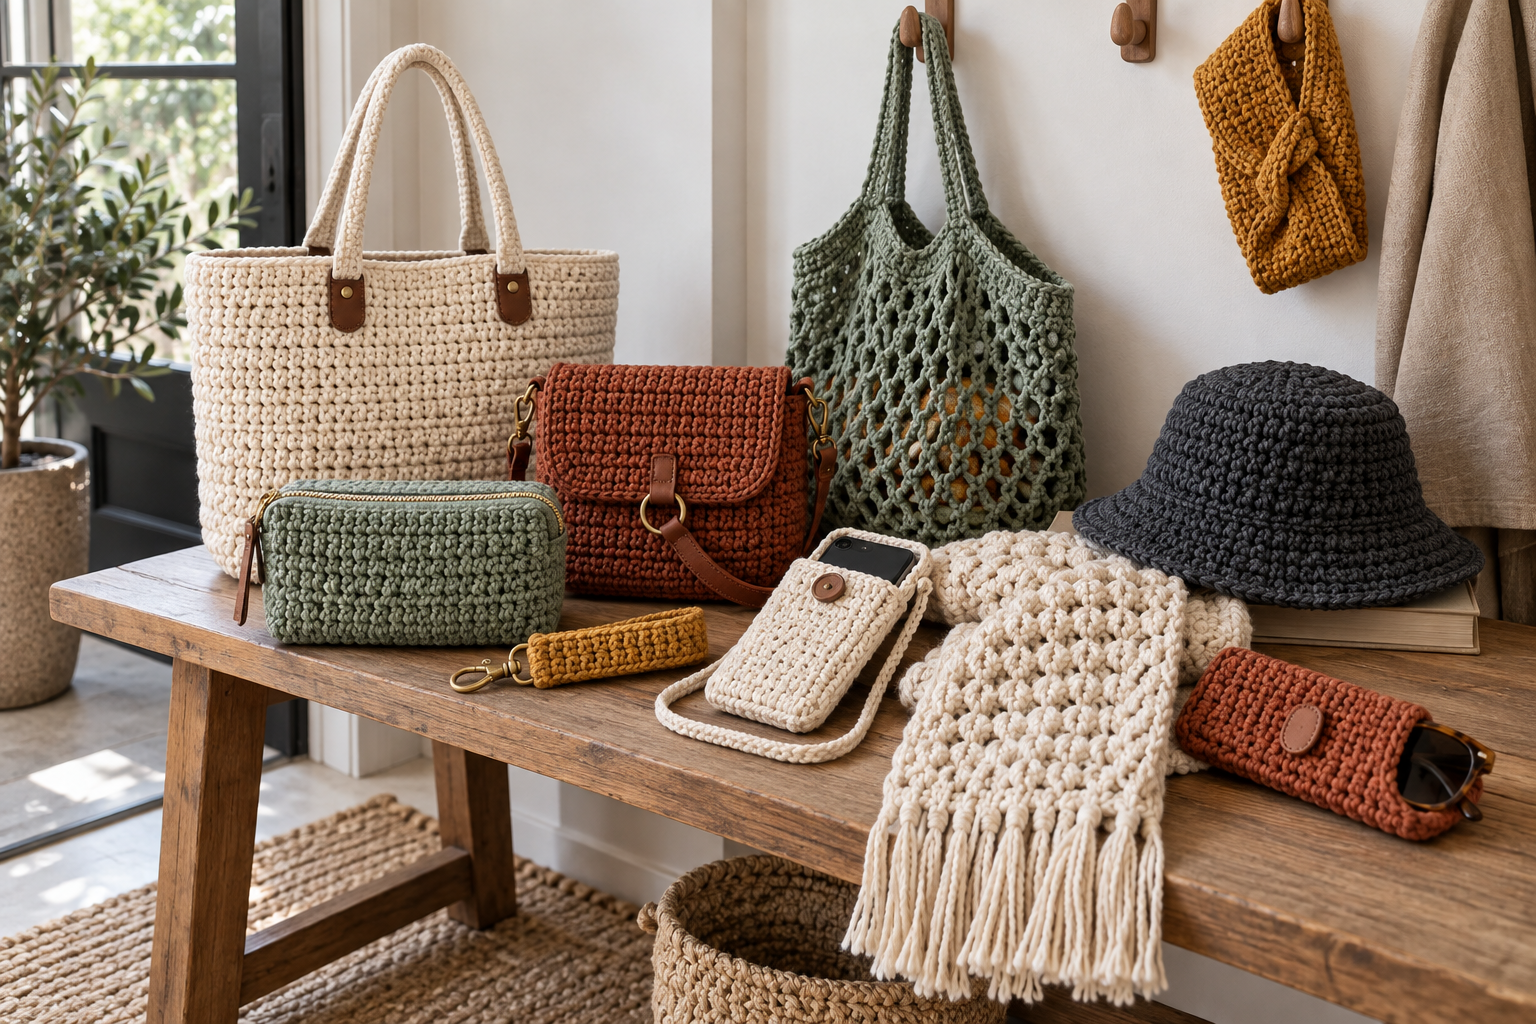
Crochet Sunglasses Case for Beginners
A useful crochet sunglasses case must fit the folded frames, resist stretching and keep rough stitches or hardware away from the lenses. This beginner planning guide shows how to size the case from the actual glasses and add realistic protection without making the pouch bulky.
Measure the folded glasses, not an old case
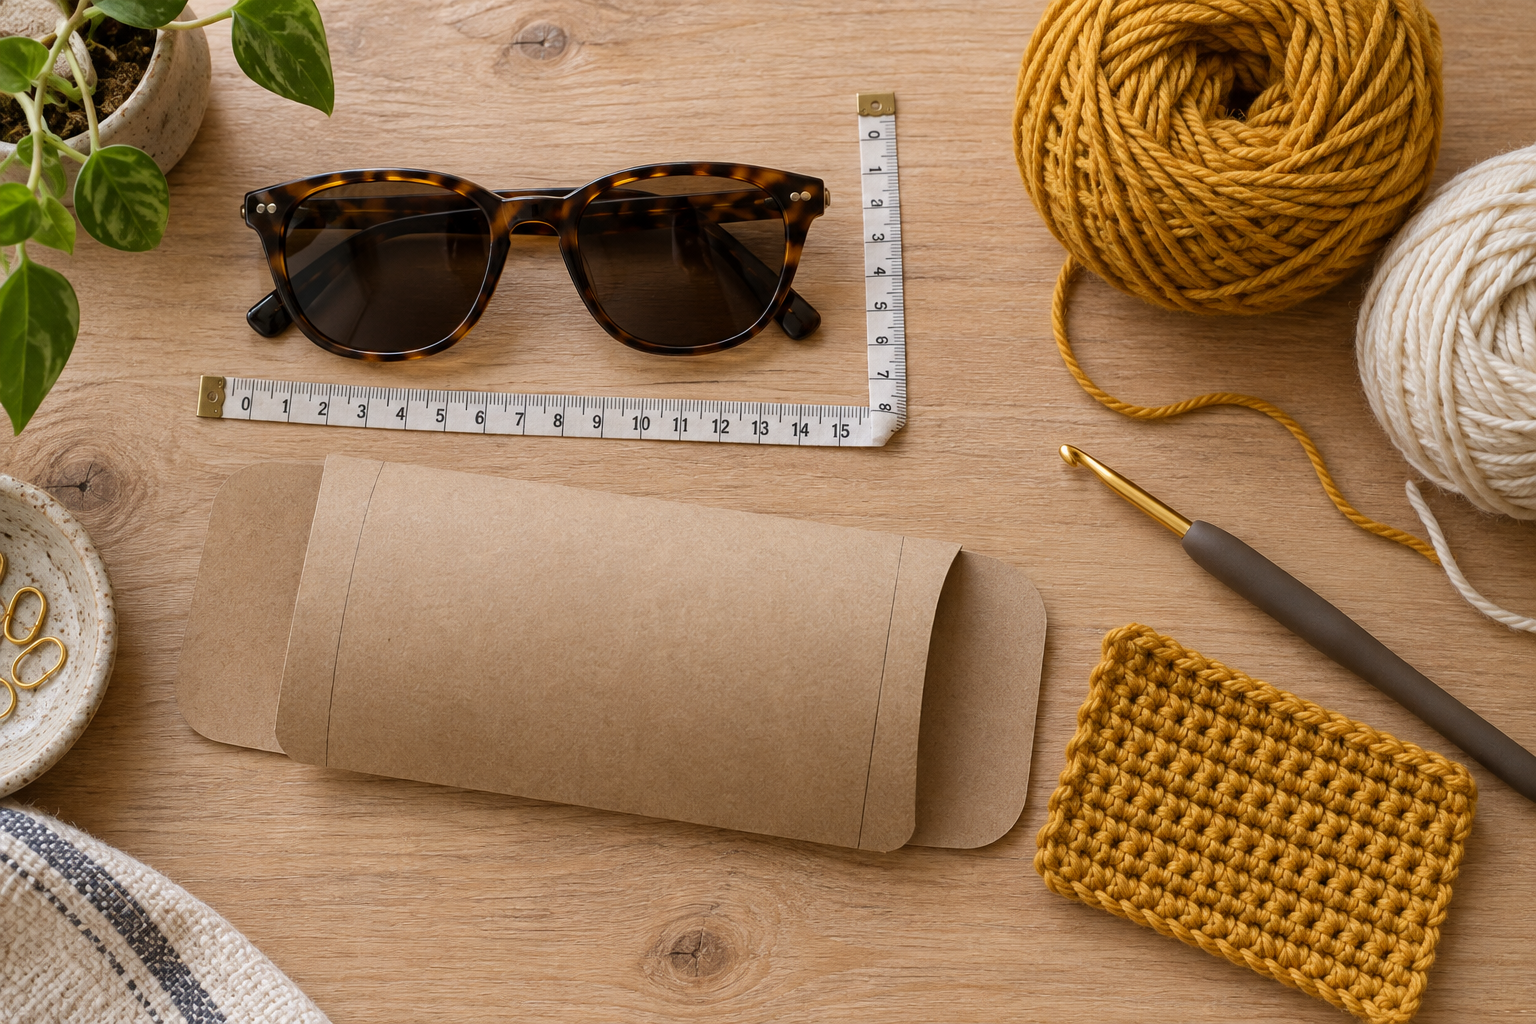
Fold the arms and measure the widest point, total height and thickest point. Add ease for the lining and for a thumb to remove the glasses, but avoid a loose fit that lets them move around. Wrap a paper rectangle around the frames and tape one side temporarily. If the glasses slide in without pressure on the hinges, use that flattened paper width and height as your target after blocking.
Build a dense outer fabric and a soft interior
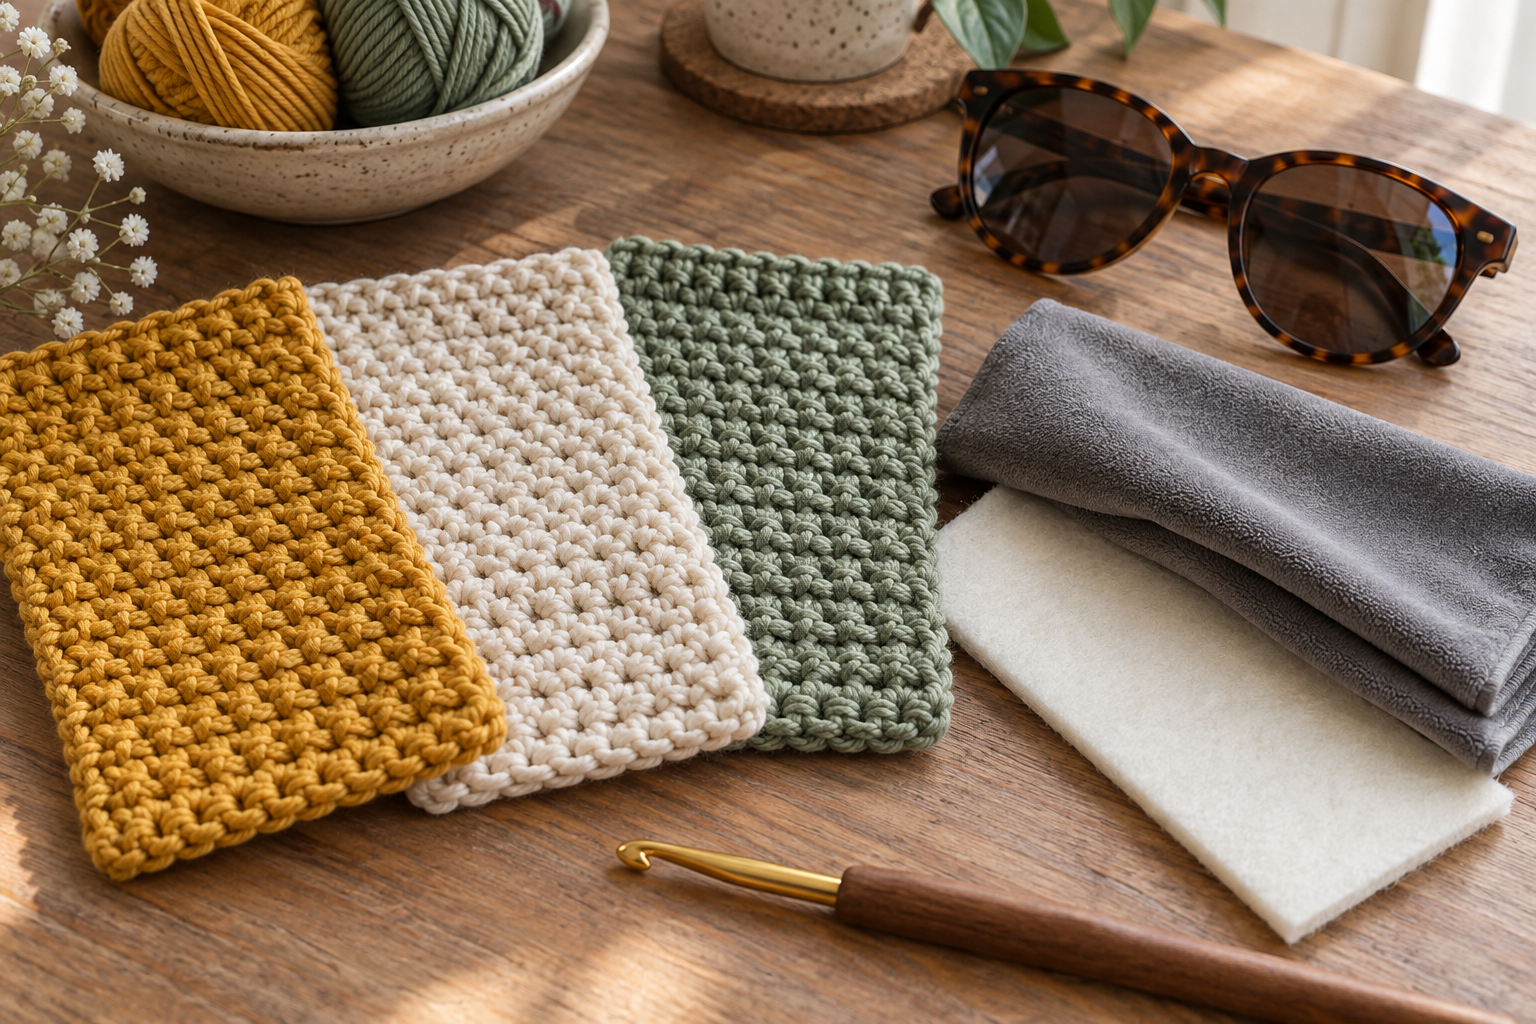
Smooth cotton or a tightly spun blend gives clear stitches and less fuzz near the lenses. Work a washed swatch with a smaller hook than you would use for a drapey accessory, then rub it gently against the lining to check for pilling. Crochet alone is not crush-proof: microfiber helps prevent scratches, while a thin felt layer adds light cushioning. A rigid commercial case is still the safer choice for expensive glasses in crowded luggage.
Shape the case around your paper model
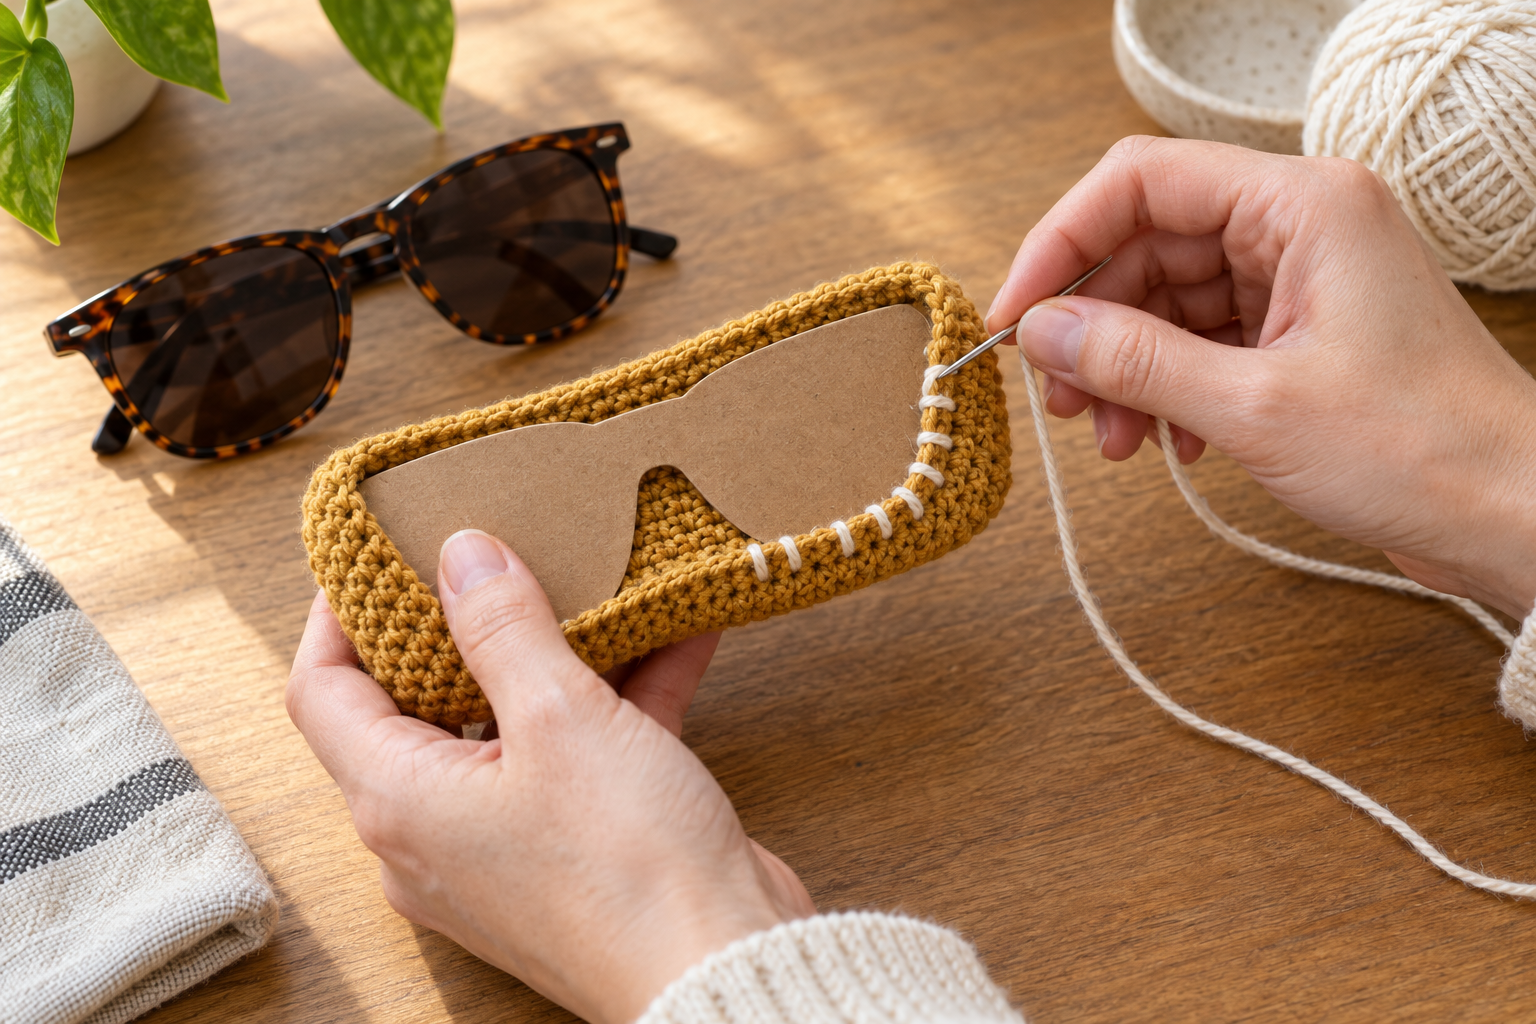
Crochet one rectangle and fold it, or make two matching panels. Check the finished, washed fabric against the paper model before joining. Use a low-profile slip-stitch or mattress-style seam and keep the joining yarn relaxed enough for the edge to lie flat. Pause halfway, insert the paper model and correct any tight spots before closing the final side.
Add lining and padding after blocking
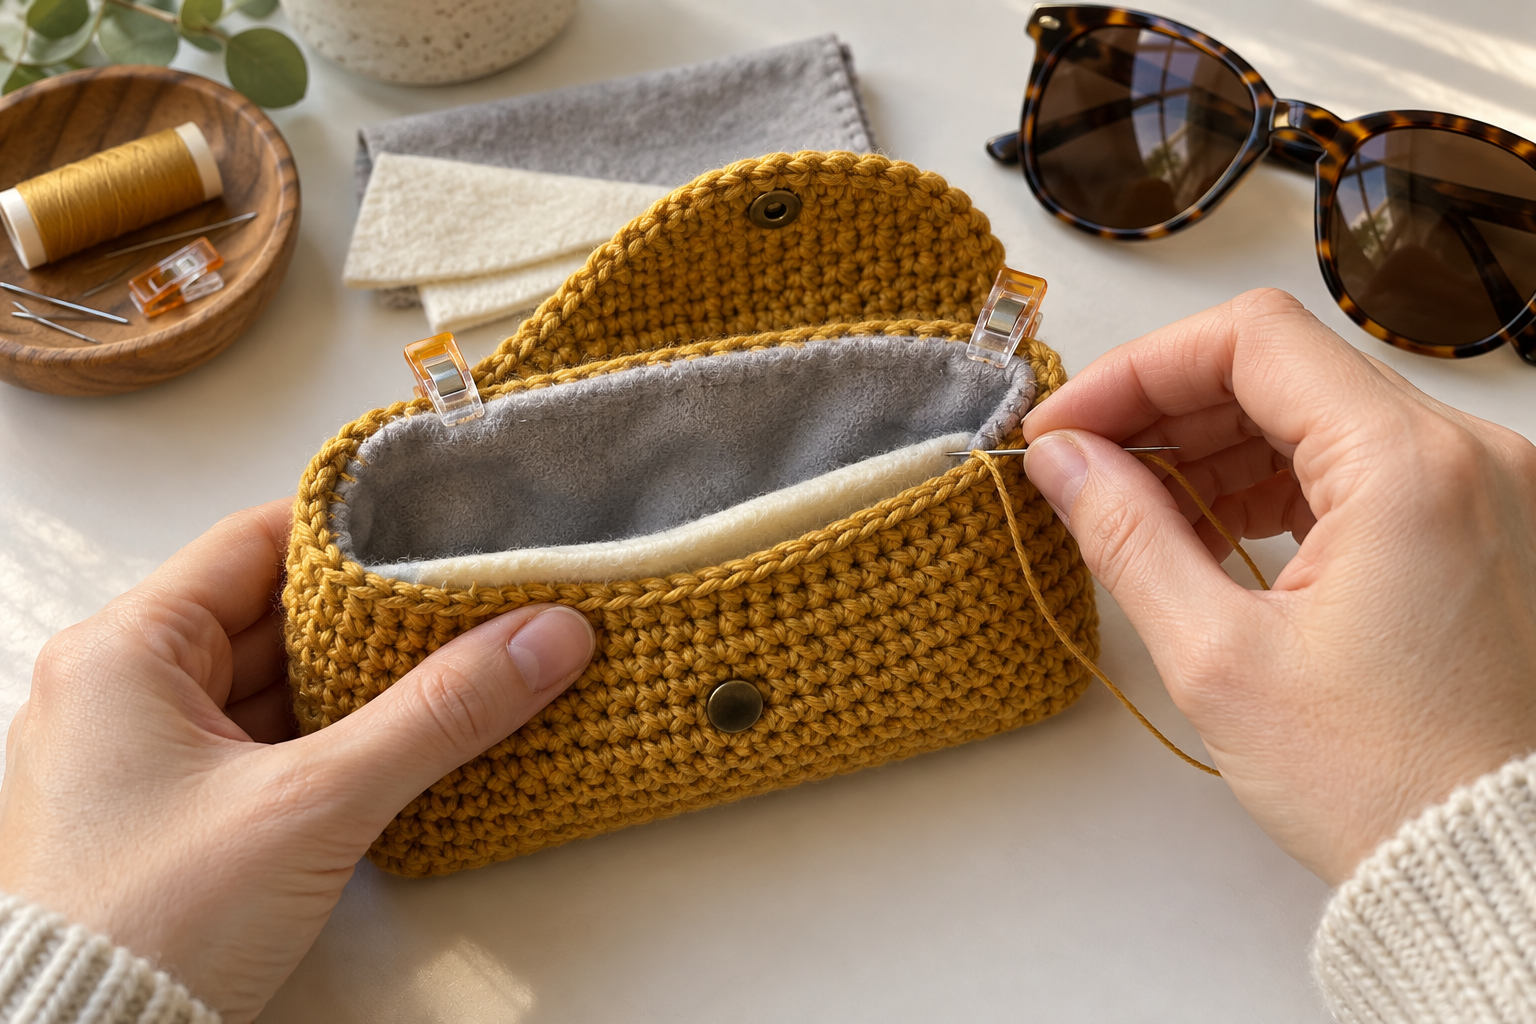
Block and dry the crochet shell first. Cut the microfiber from the paper model with a small seam allowance; cut felt slightly smaller so it does not bunch at the corners. Baste the layers, slide them into the shell and hand-sew the lining just below the opening. Keep knots between layers and run a fingertip around the interior to find exposed thread ends or hardware.
Choose a closure that cannot scratch the lenses
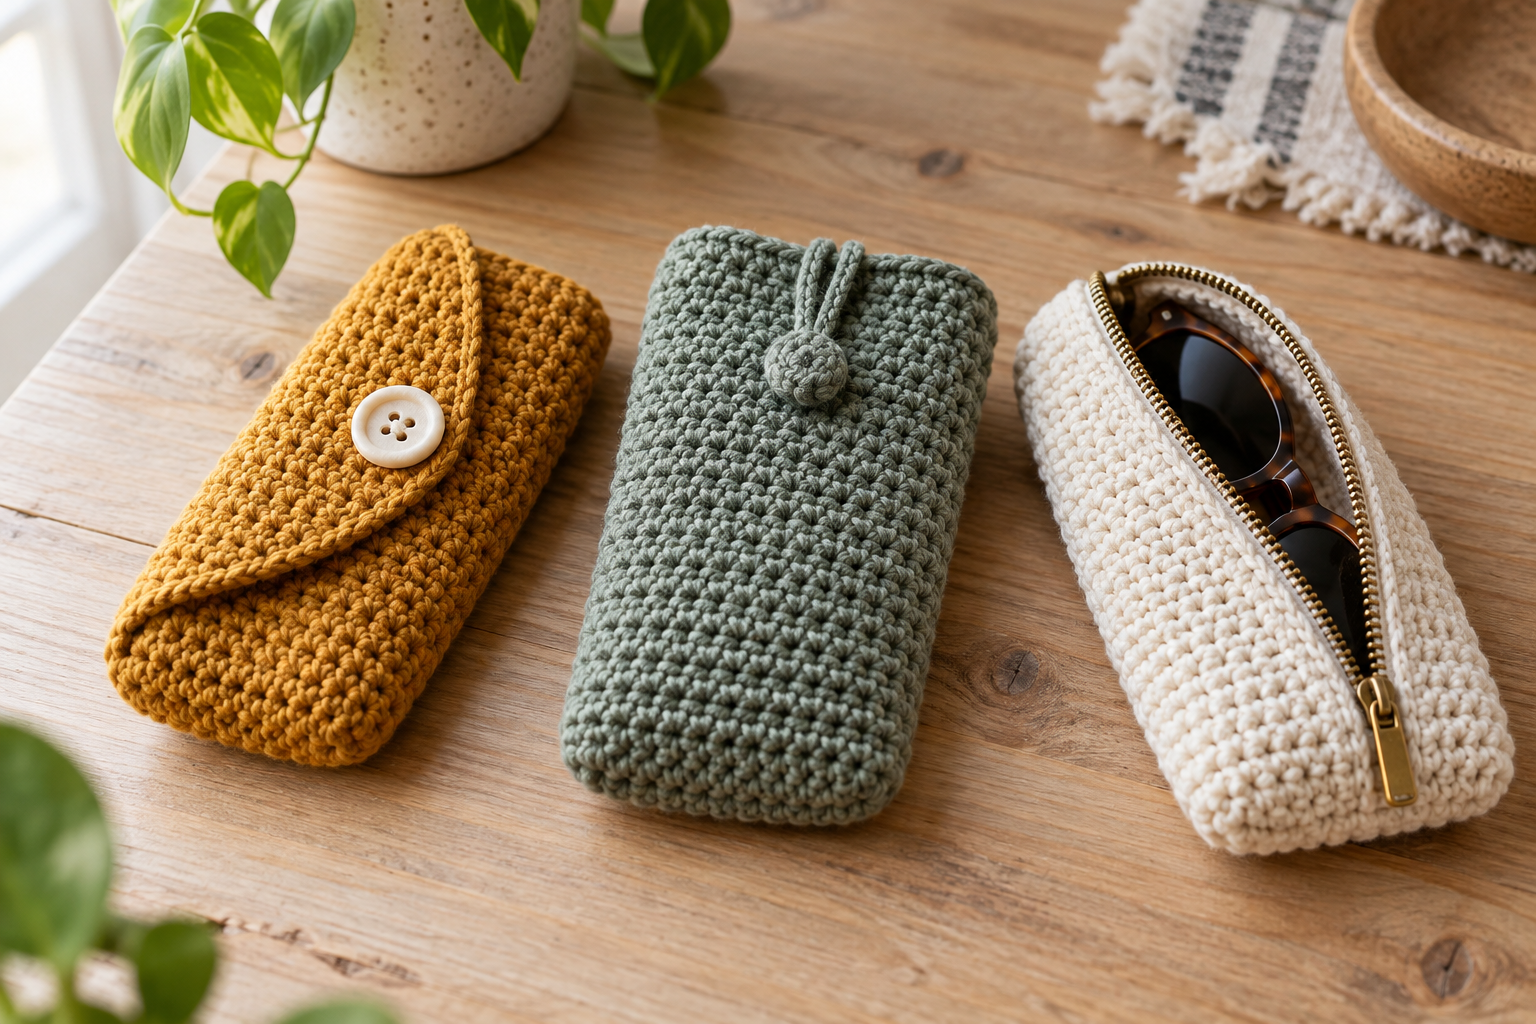
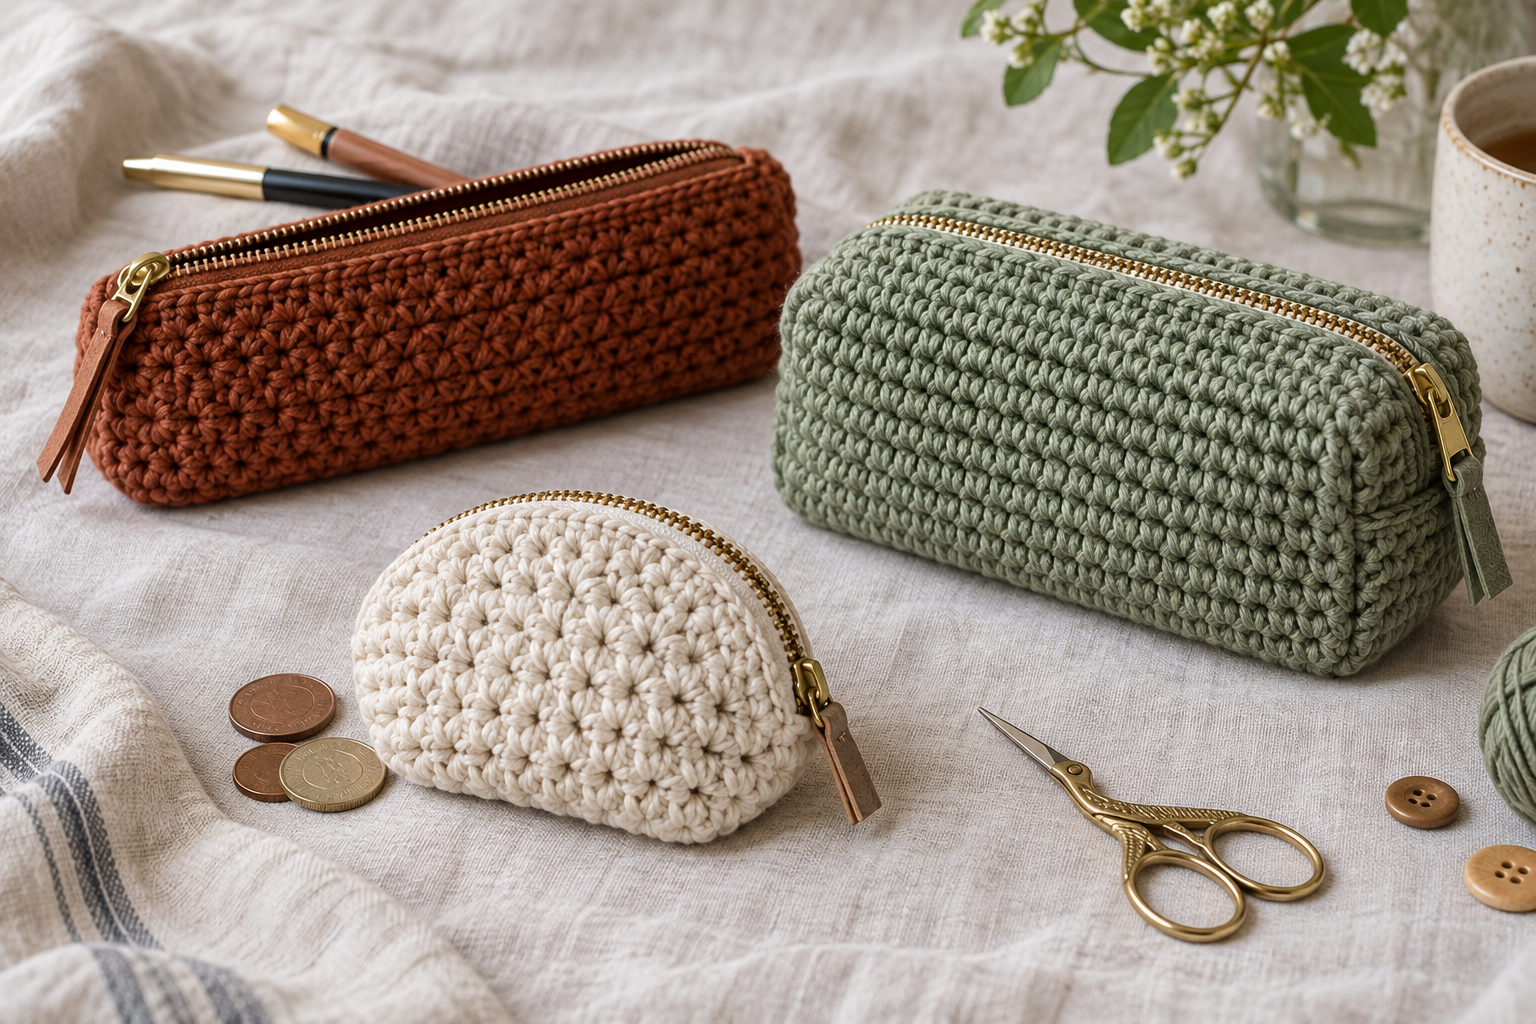
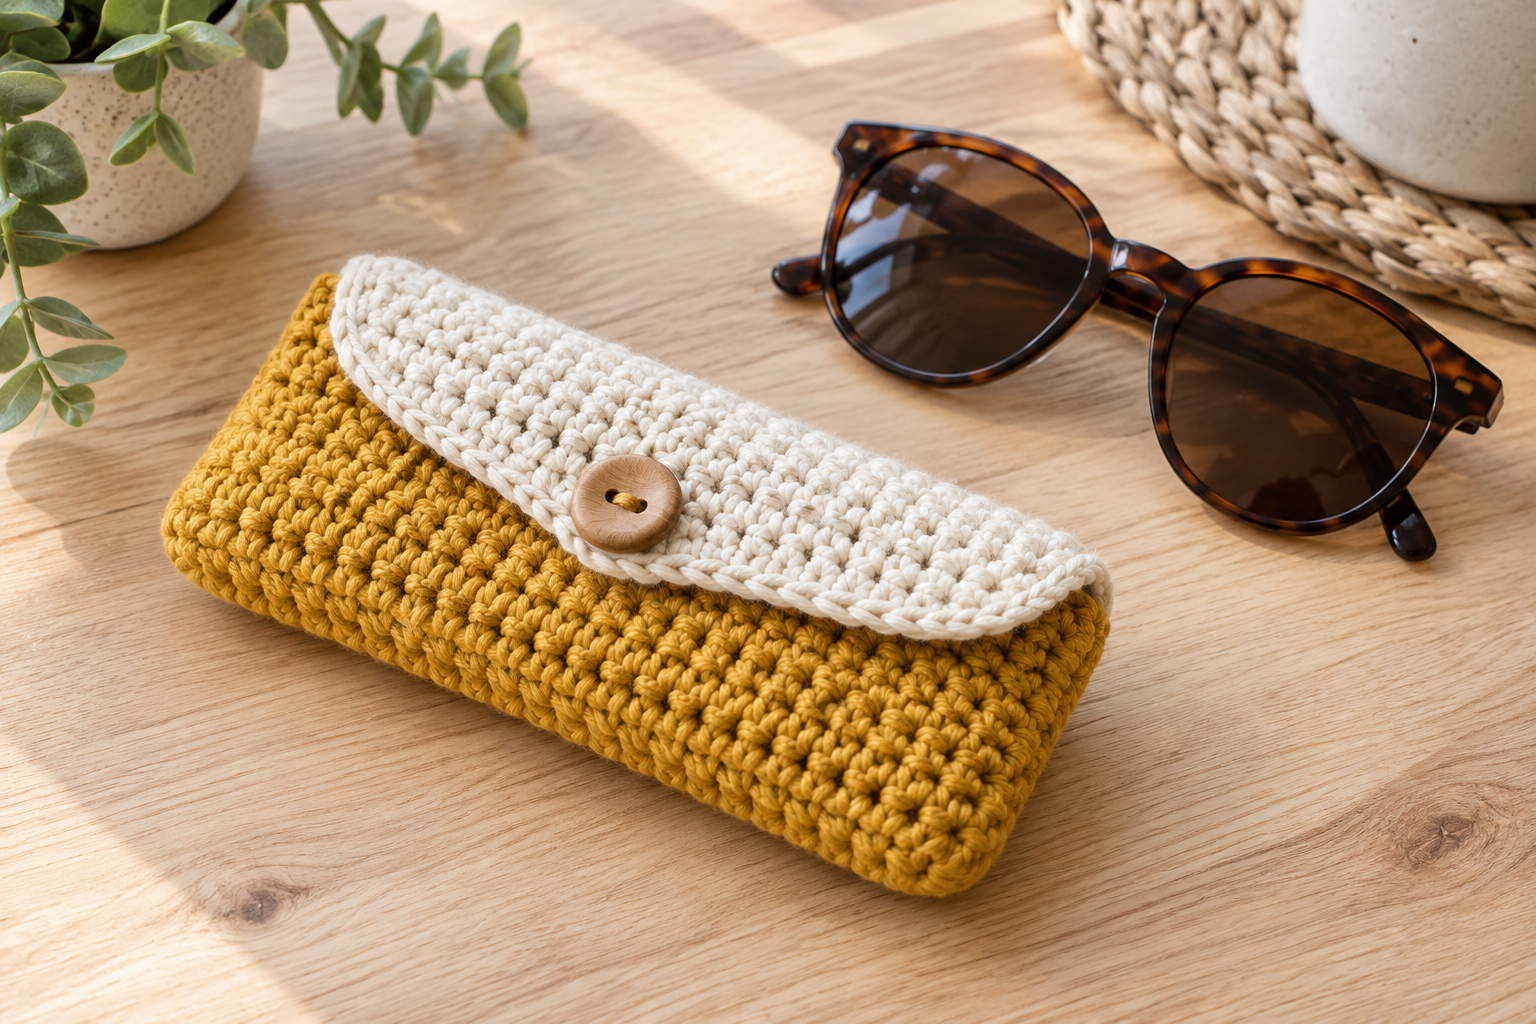
A button flap is beginner-friendly when the button is sewn only through the outer layer and backed securely. A short crocheted tab avoids loose cords. A zipper gives the most complete closure, but its teeth and ends must be covered by the lining; practice the installation with this crochet zipper pouch guide. Test every closure with the glasses inside and confirm that no hard part presses against a lens.
Use and care for the case realistically
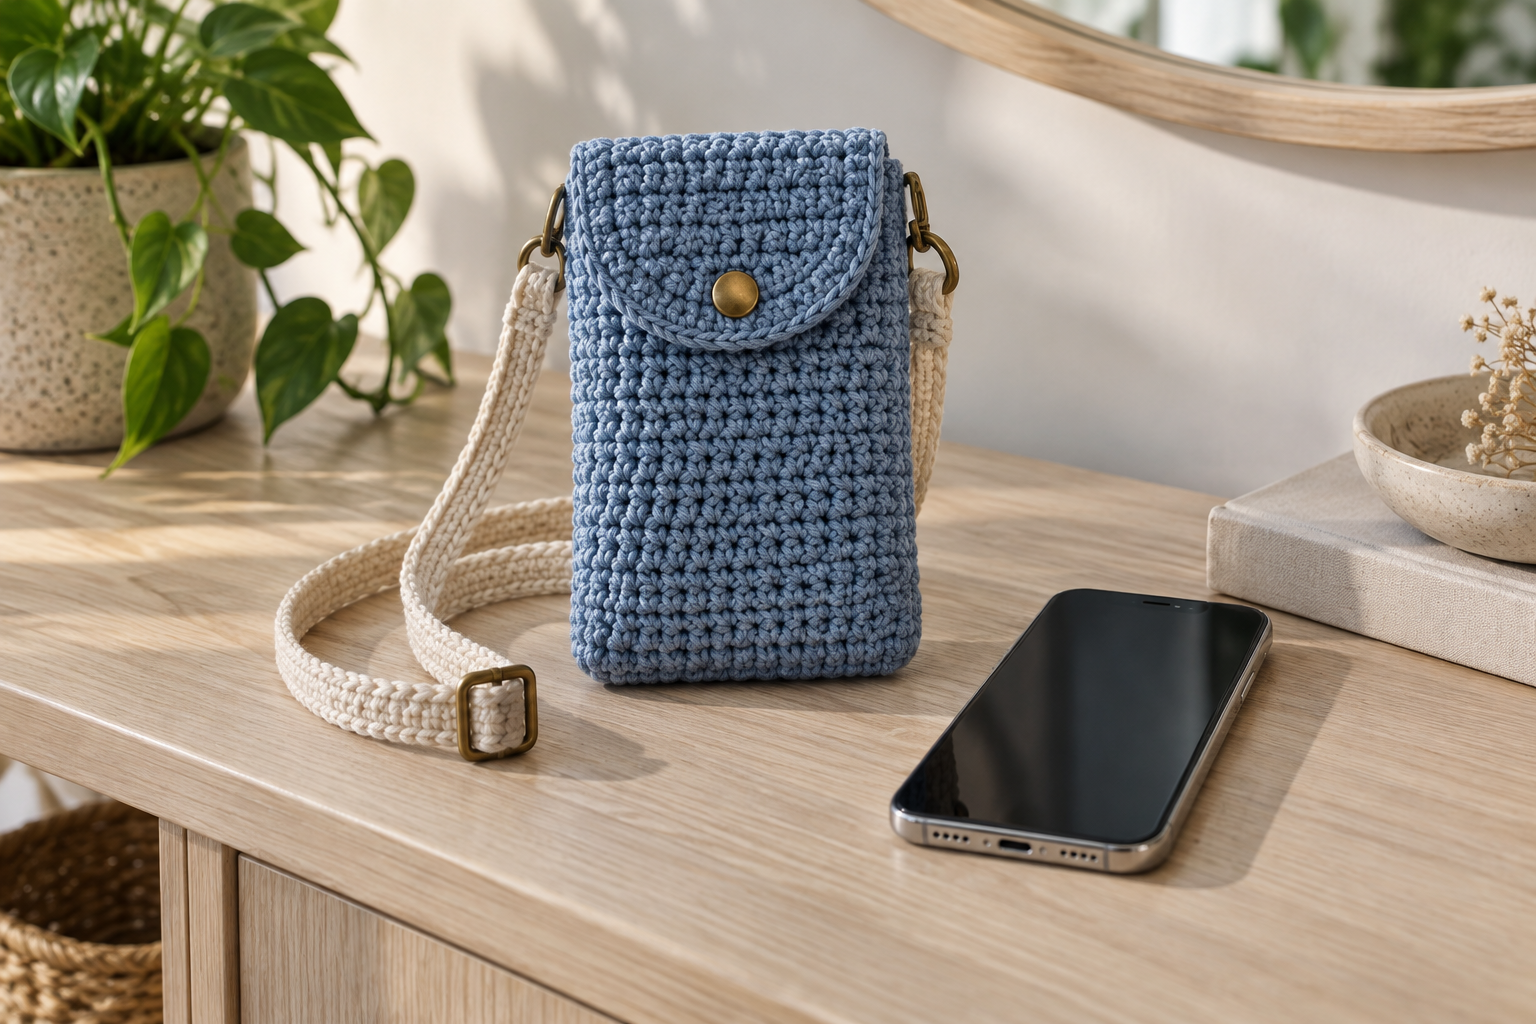
Shake out grit before inserting glasses, spot-clean promptly and follow the yarn and lining care instructions. Air-dry with the case open, then reshape it around the paper model rather than the glasses. Inspect the closure, seams and lining regularly. For coordinated small projects, use the same yarn in an adjustable phone pouch or turn short leftovers into crochet keychains.