Easy Crochet Zipper Pouch Planning Guide
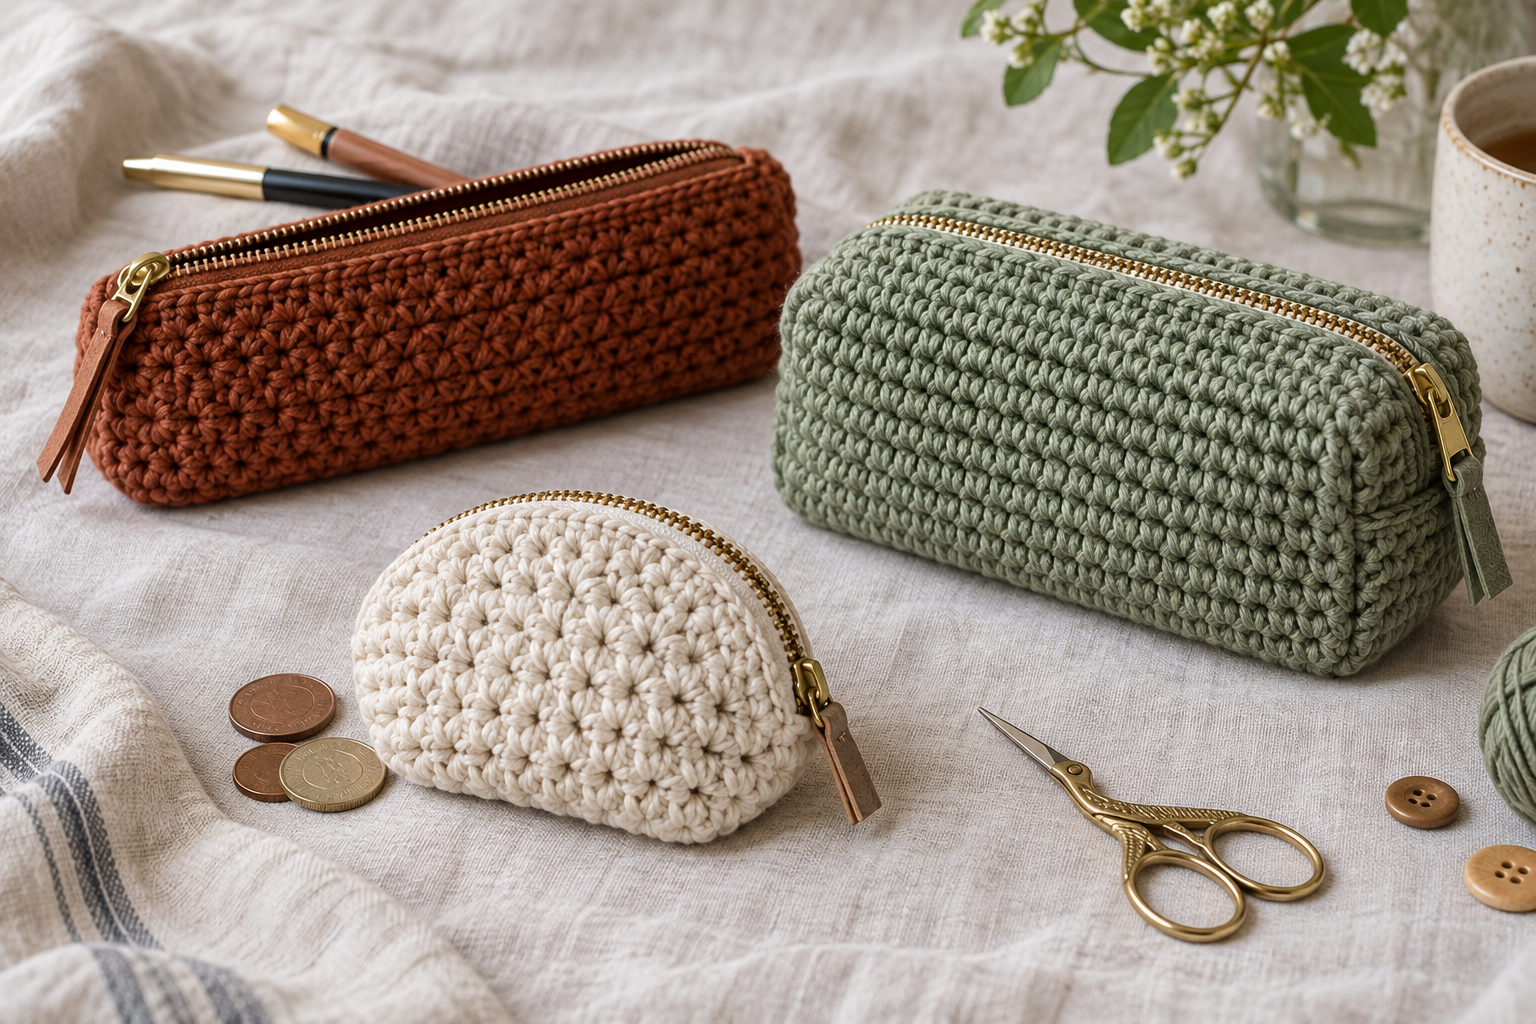
A neat zipper pouch begins with the zipper length and intended contents—not with an arbitrary foundation chain. This planning guide explains how to size dense crochet panels, stabilize the opening, sew the zipper evenly and add a clean lining.
Choose the job, zipper and finished dimensions
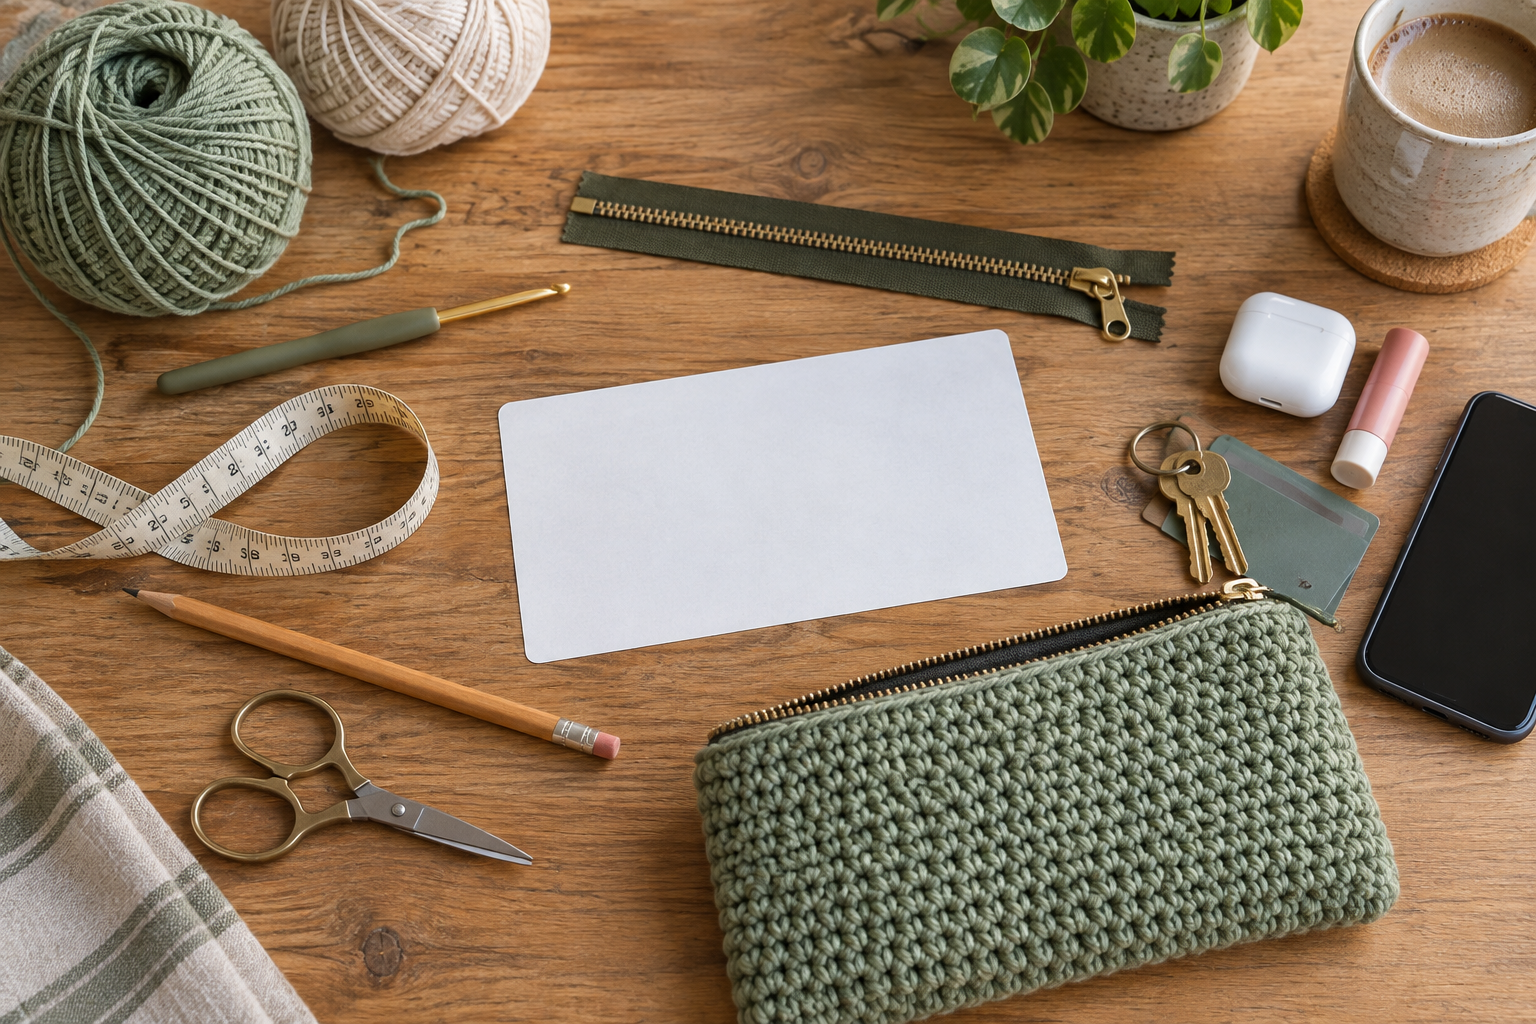
Select a zipper whose teeth are slightly longer than the largest object. The fabric tape extends beyond the teeth, so measure both before drafting. Make a paper rectangle at the proposed size, fold it into a pocket and test the contents. Add depth with boxed corners only when bulky tools need room.
Swatch for density and a straight opening
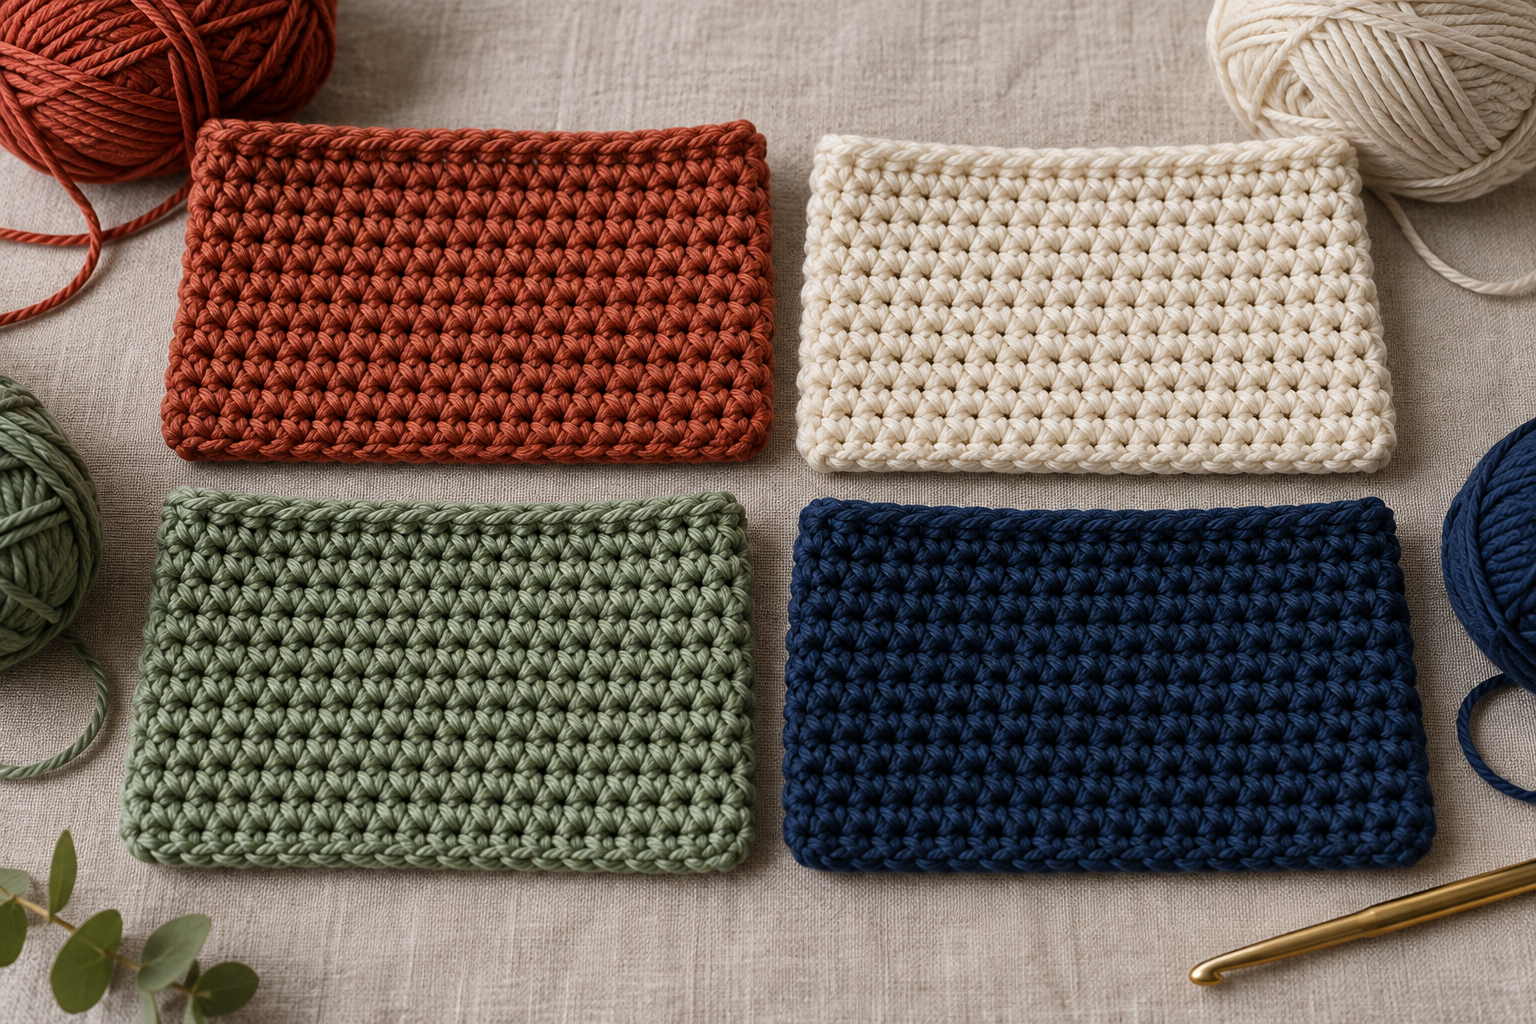
Work a washed swatch in the chosen stitch, then calculate panel width from the finished gauge. Keep both top edges identical and avoid decorative stitches that create large gaps beside the zipper. If the edge waves, correct tension or stitch count before assembly; a zipper will not hide a distorted opening.
Install the zipper before closing every seam
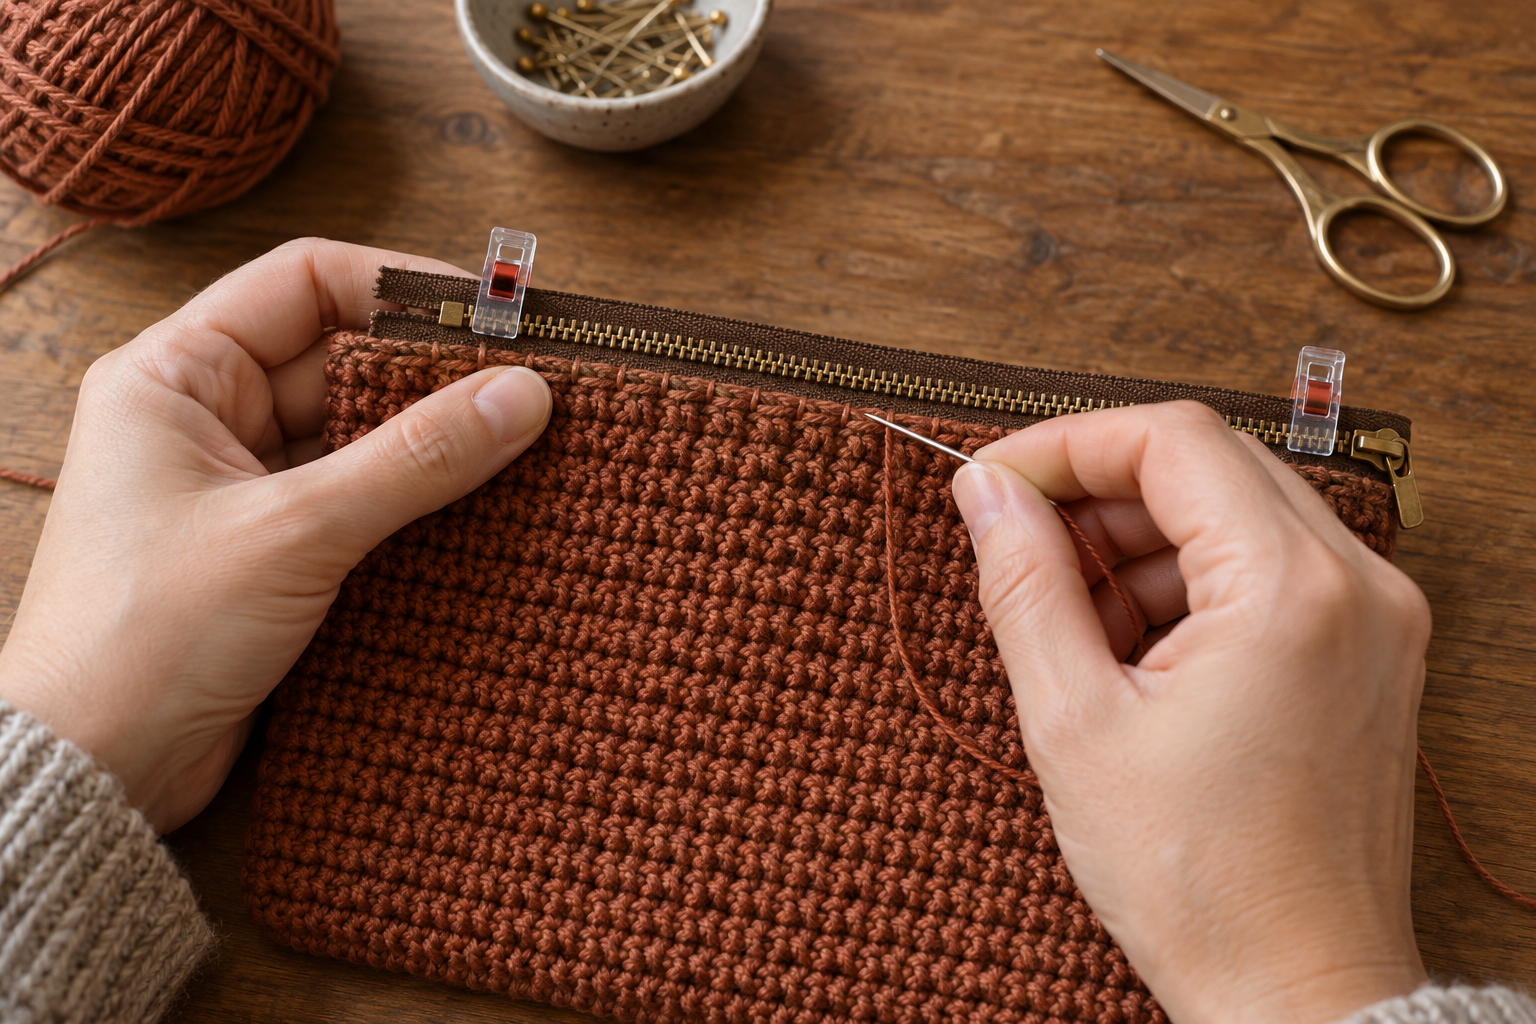
Block the panels, mark their centers and align those marks with the zipper midpoint. Leave equal zipper tape at both ends. Hand-sew with strong matching thread through the tape and around crochet posts, keeping stitches small and consistent. Open and close the zipper repeatedly before securing the second side.
Fit the lining to the blocked crochet shell
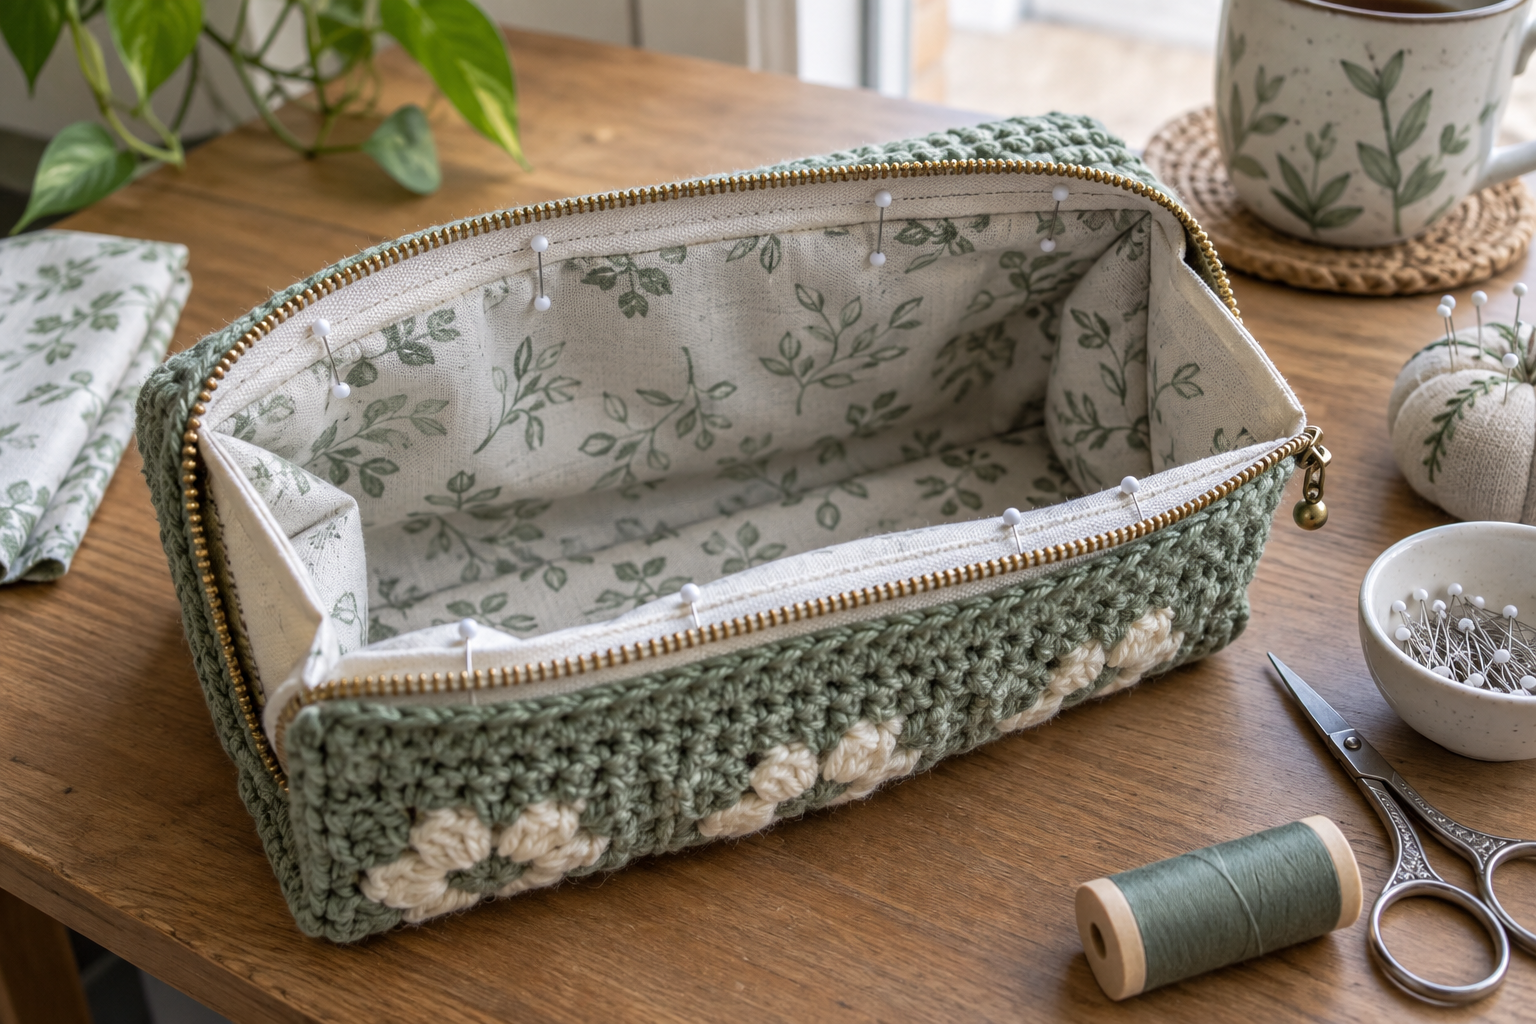
Sew the lining as a separate pouch using washable woven cotton. It should sit smoothly inside without pushing the crochet outward. Fold the raw upper edge under, pin it just below the zipper seam and slip-stitch by hand. Keep every lining stitch clear of the zipper teeth and exterior yarn.
Finish, test and organize by use
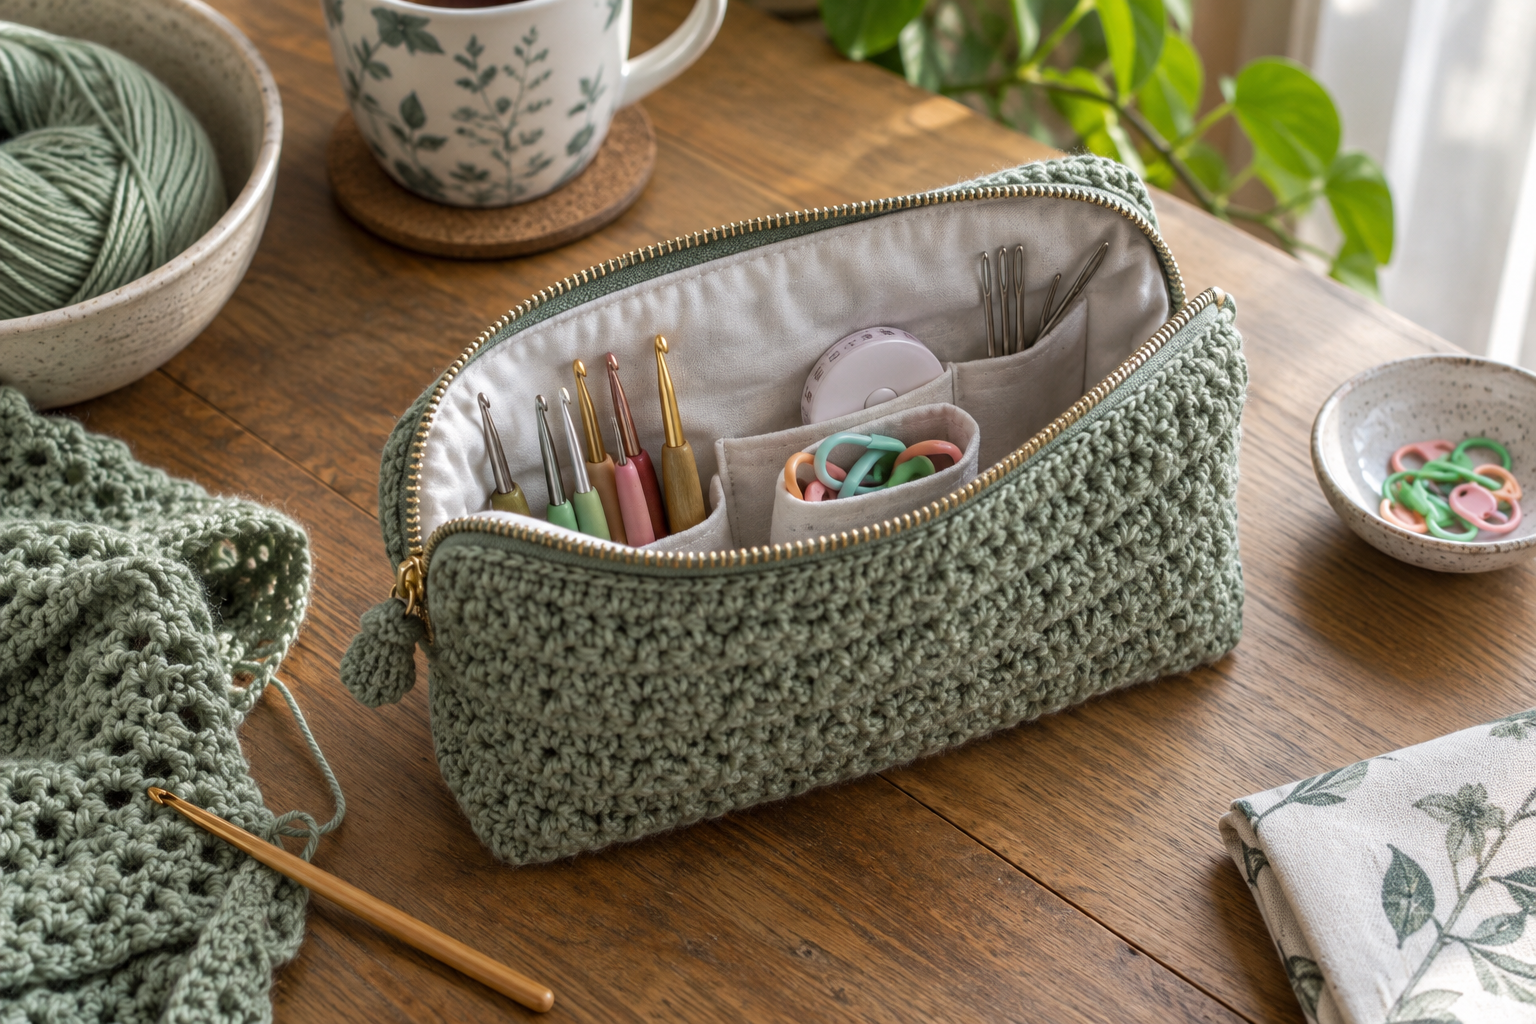
Weave yarn tails in several directions and inspect the zipper ends, seams and lining. Load the pouch, close it and gently turn it in every direction over a table. For tools, add fabric pockets before installing the lining. For coins or keys, choose tightly woven lining and reinforced corners.
Use the pouch as part of a larger system
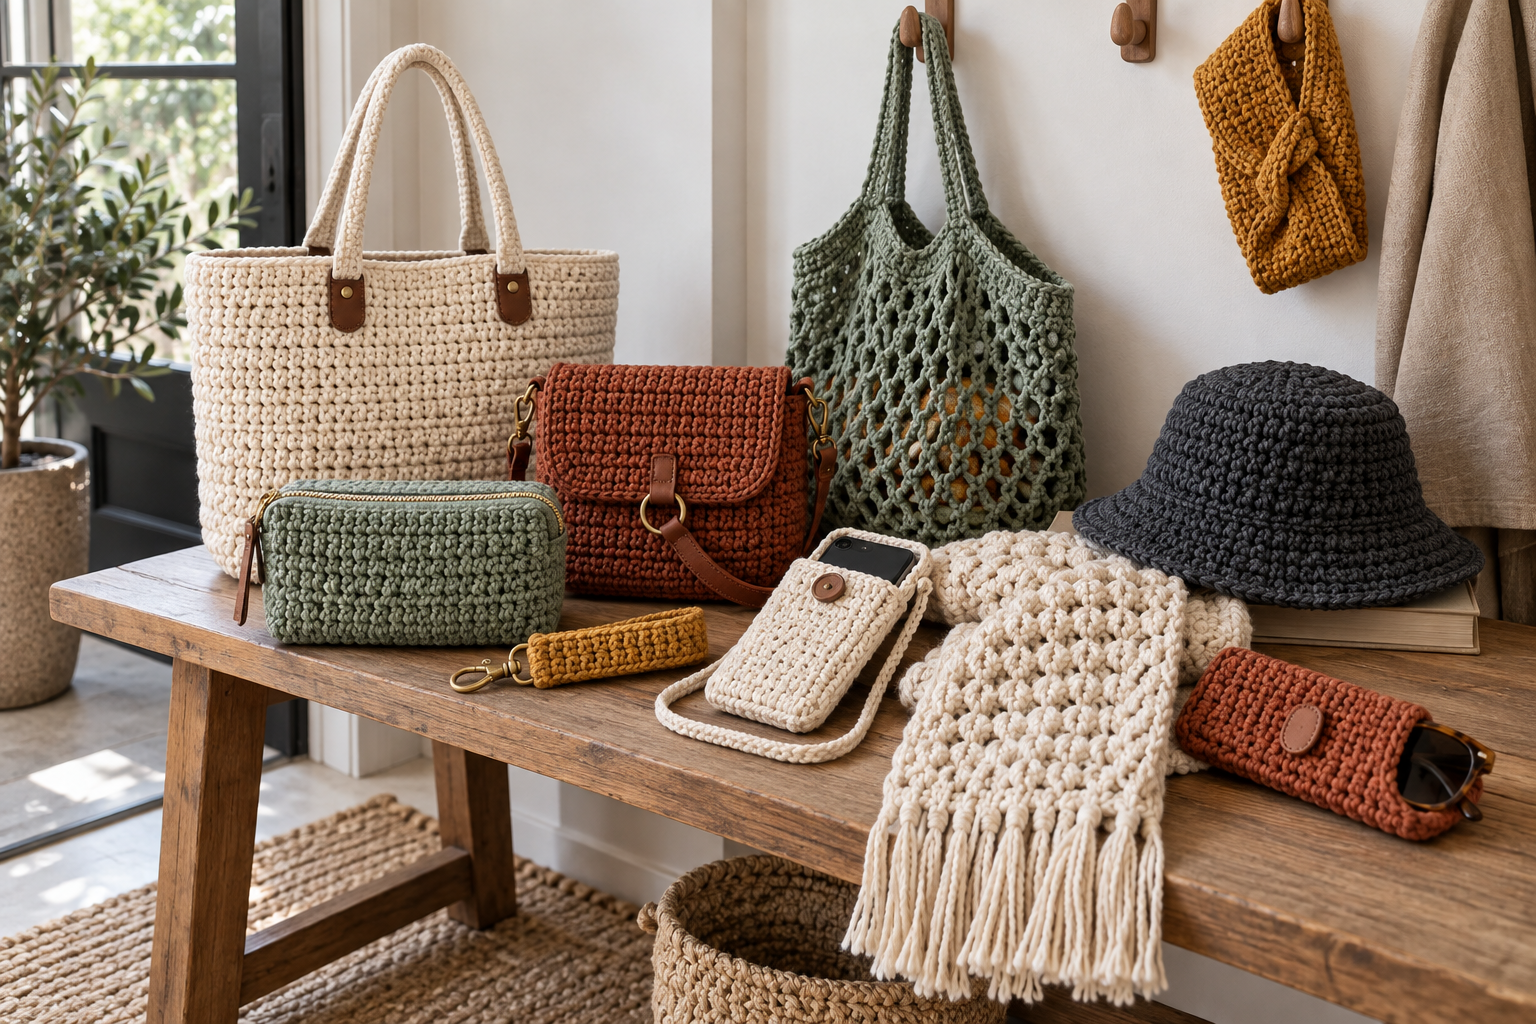
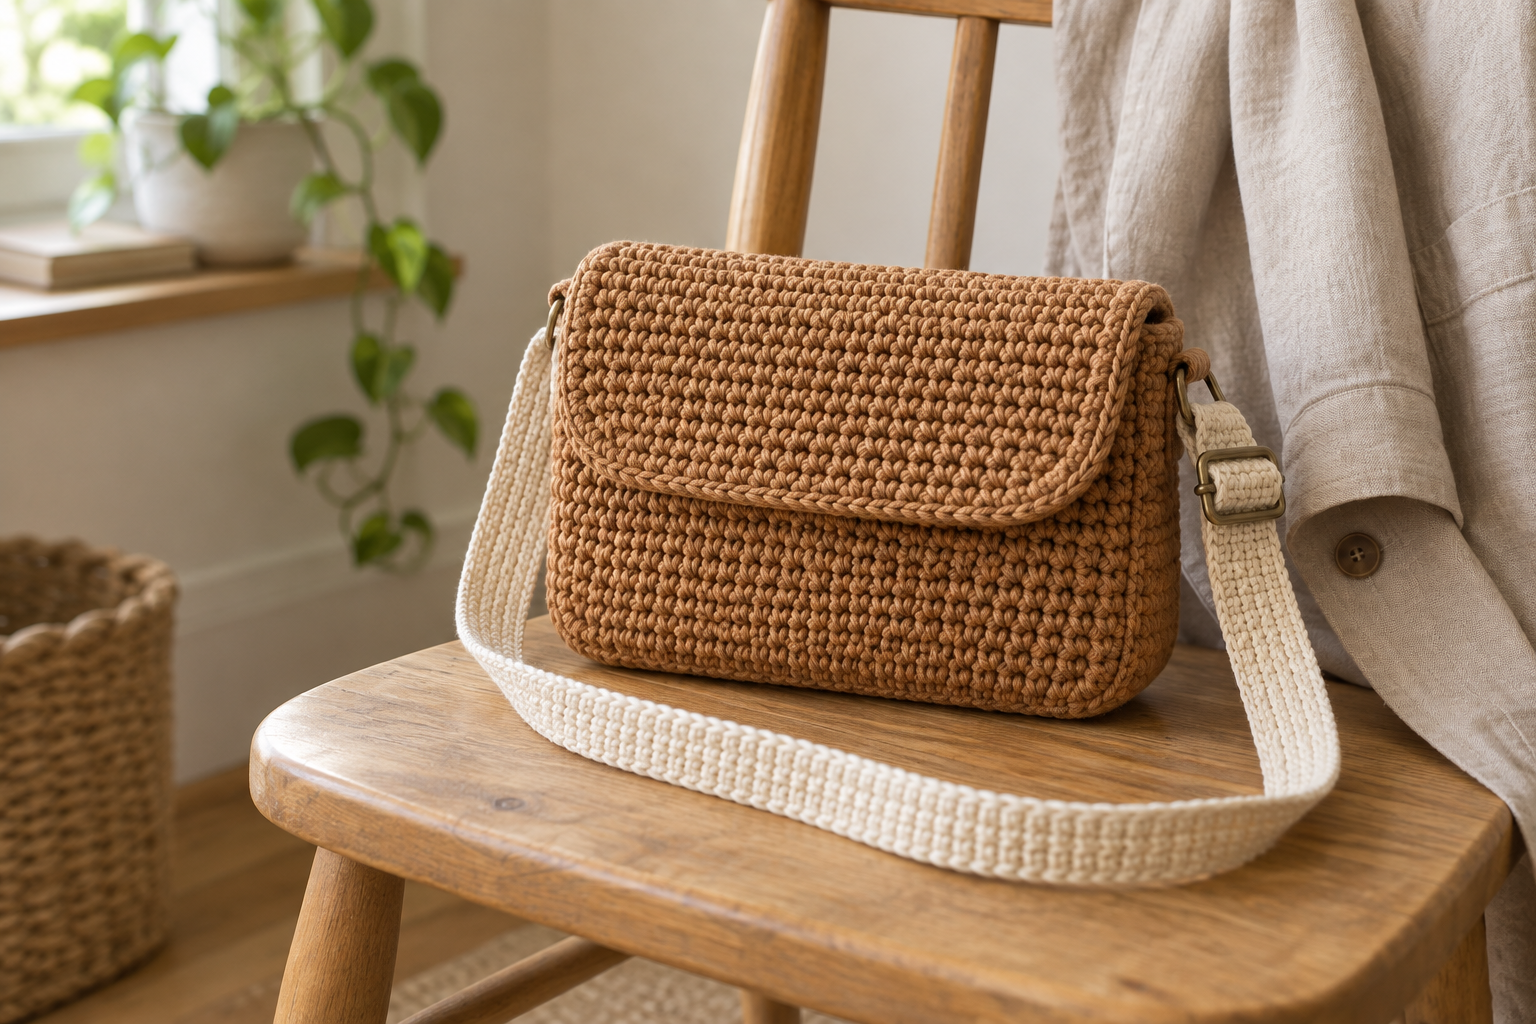
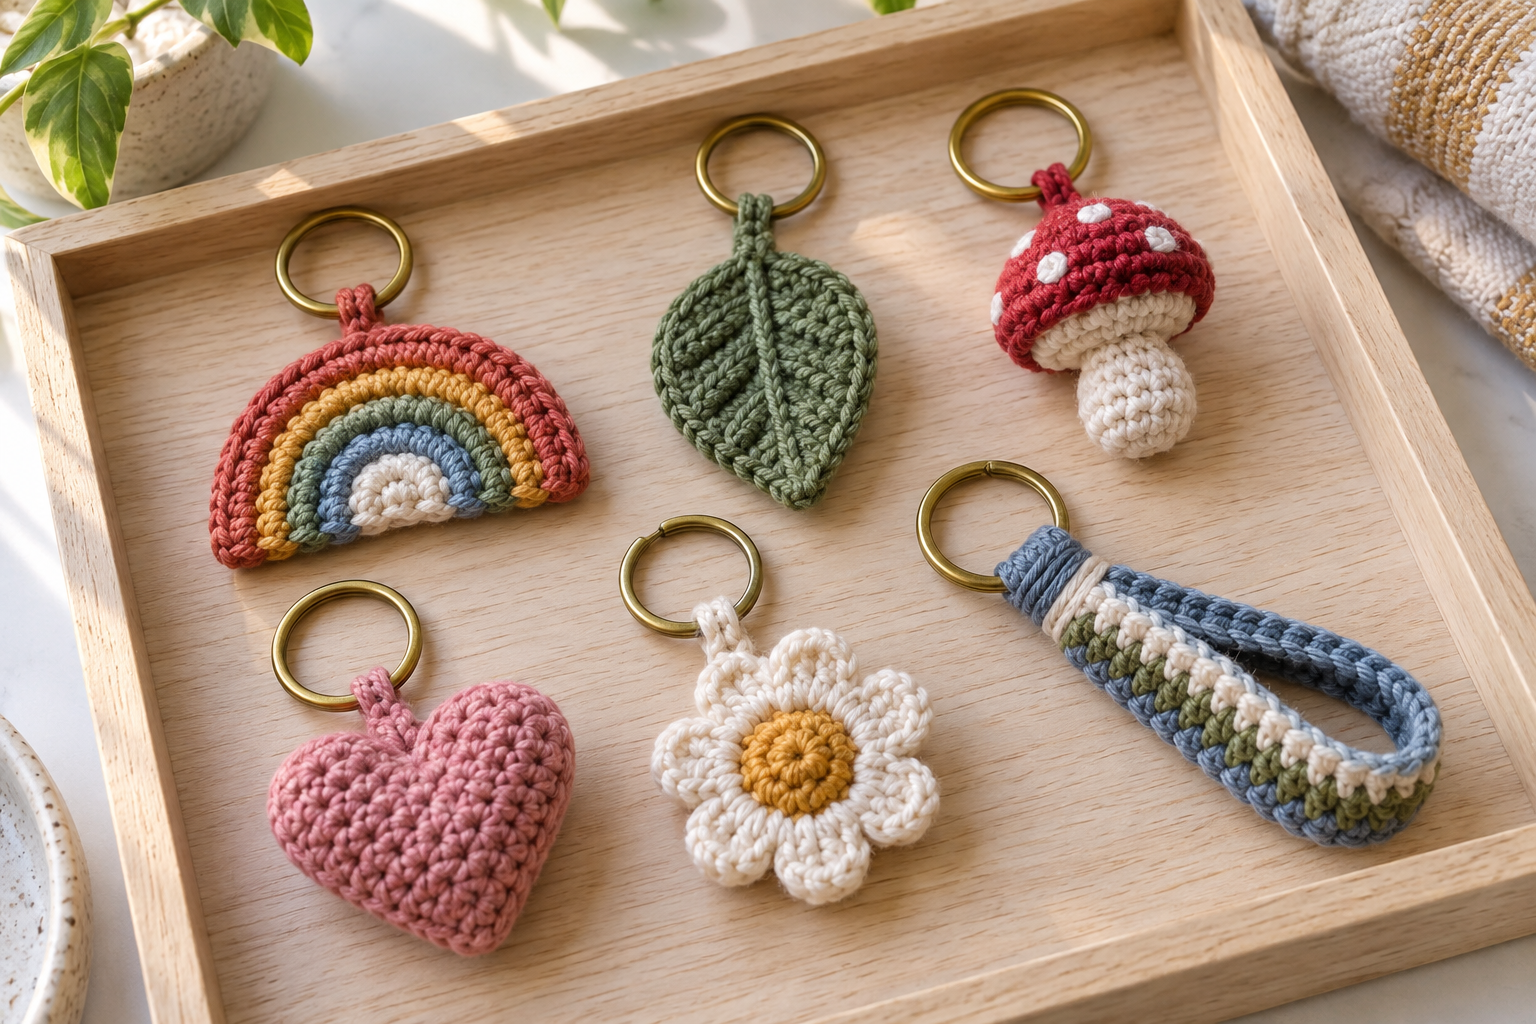
Clip or place it inside the modern crochet tote, coordinate it with a beginner crossbody bag, or attach a removable tab inspired by these crochet keychain ideas. Keep the pouch removable so each piece can be washed according to its materials.