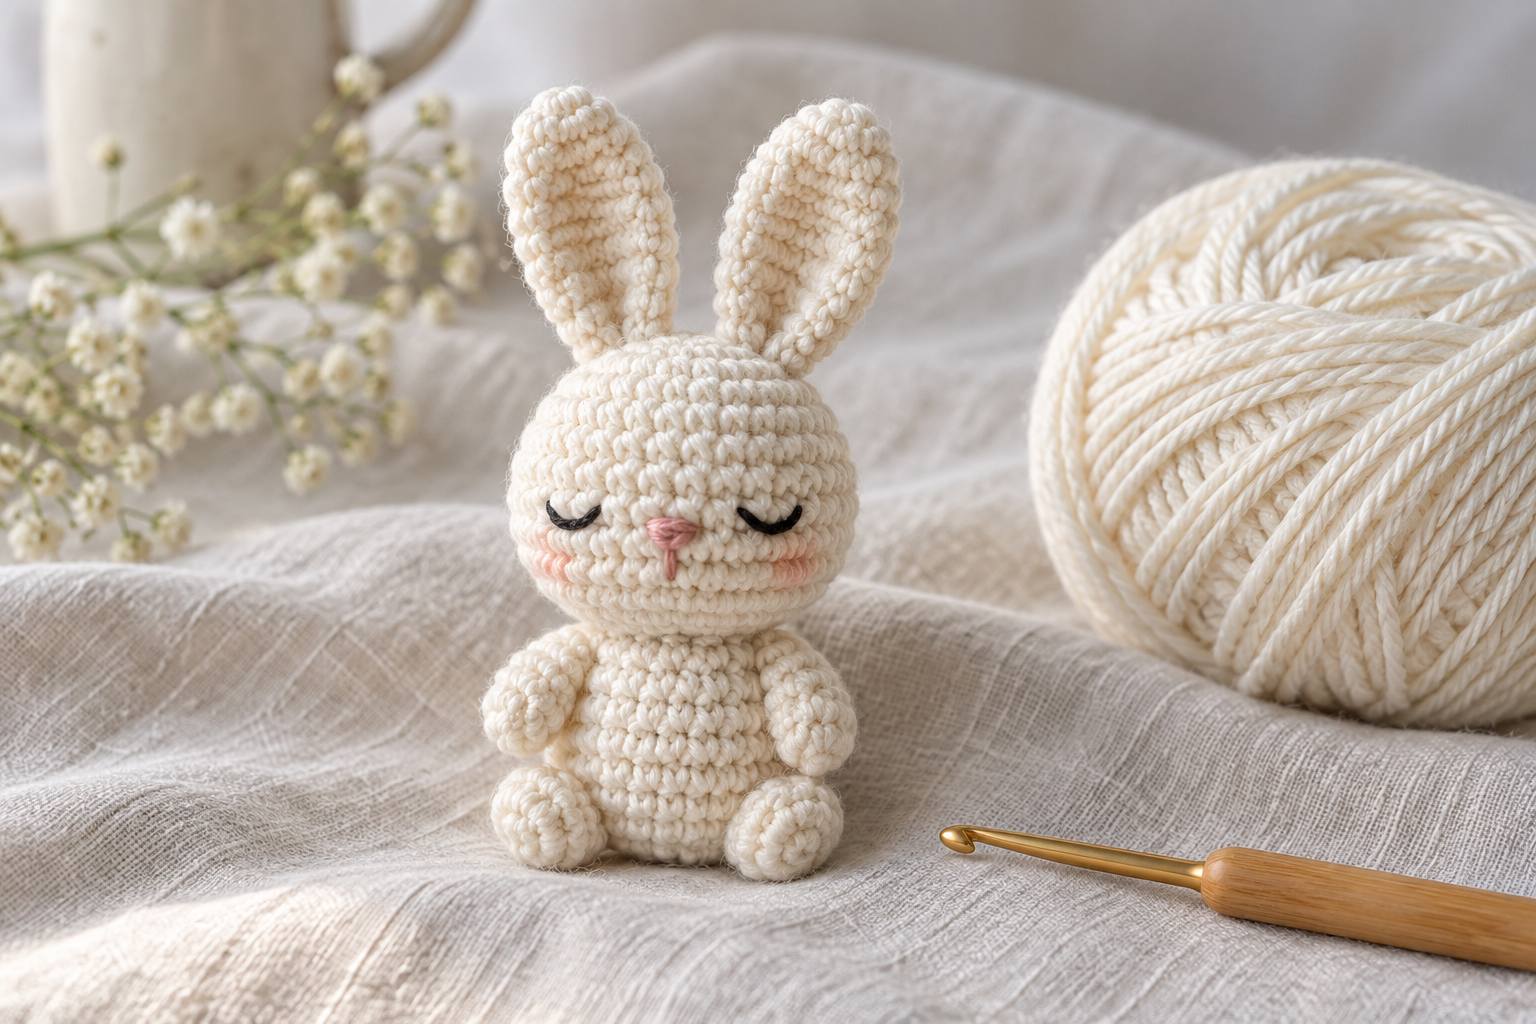
Tiny Crochet Bunny: No-Sew Project Ideas
A tiny no-sew bunny rewards careful placement more than complicated technique. When ears and limbs are formed directly into the rounds, there are fewer loose pieces—but each placement decision becomes more visible. This guide helps you keep the silhouette balanced and the finish secure.
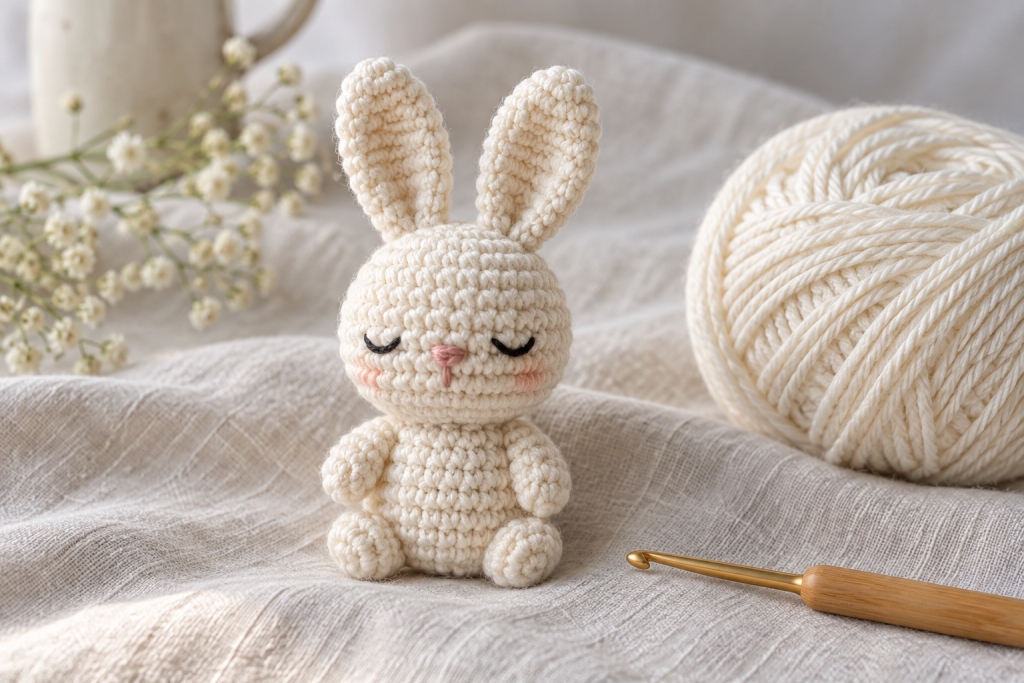
Level: confident beginner
Time: 1½–3 hours
Finished size: 7–13 cm
Main skill: forming features directly into continuous rounds
Choose the size from the intended use
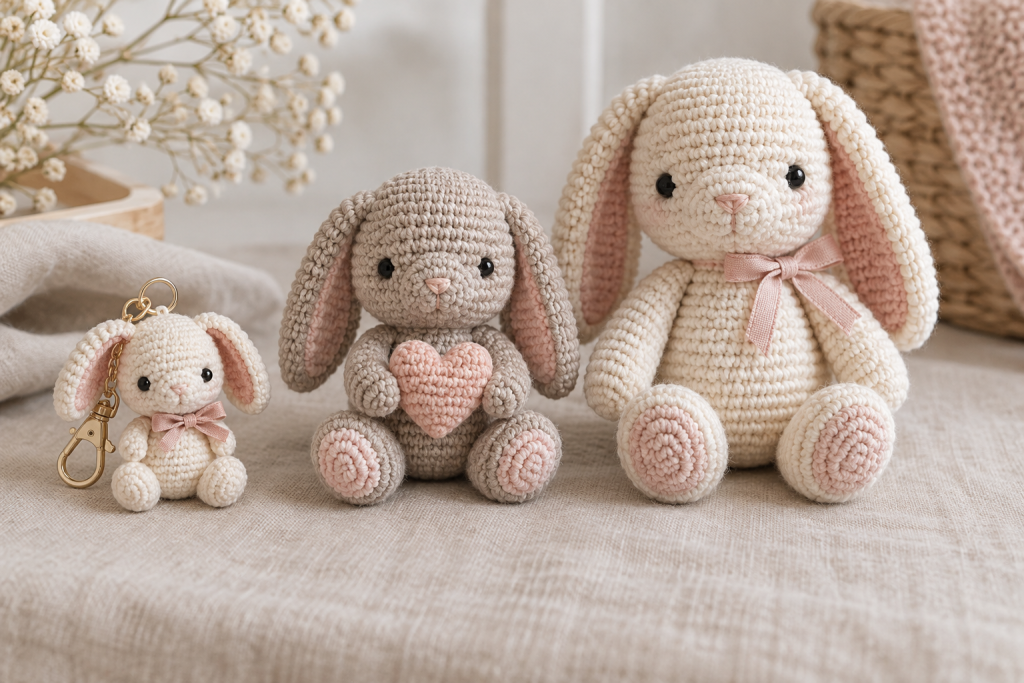
A bag charm needs dense cotton fabric and a reinforced hanging loop. A palm-size bunny is easiest for learning because the stitches remain visible. A nursery version should use washable yarn and embroidered facial features. Do not enlarge only the hook: pair a thicker yarn with an appropriate hook so the stuffing stays covered.
Prepare materials for compact construction
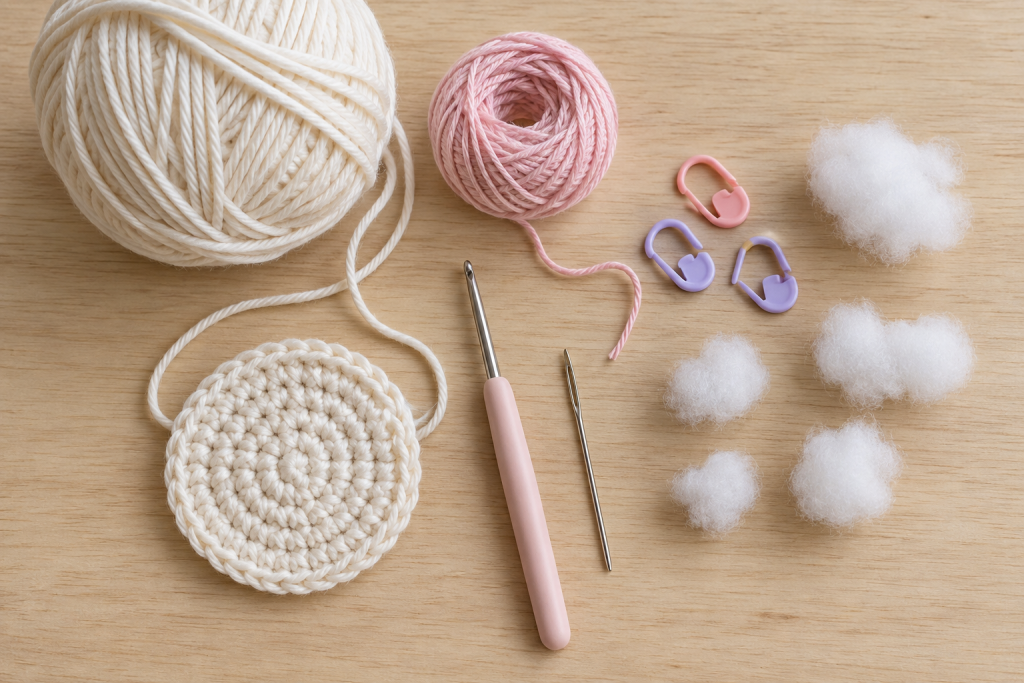
Choose smooth DK or light-worsted yarn for your first bunny. Use a hook approximately 0.5–1 mm smaller than the label recommendation, then check that you can still insert it without straining. Keep two different marker colors: one for the round start and one for the center front.
Embroidery yarn creates a softer face than thick black yarn. For a young child, avoid plastic eyes, glued felt, bells and loosely tied ribbon.
Work features into the correct rounds
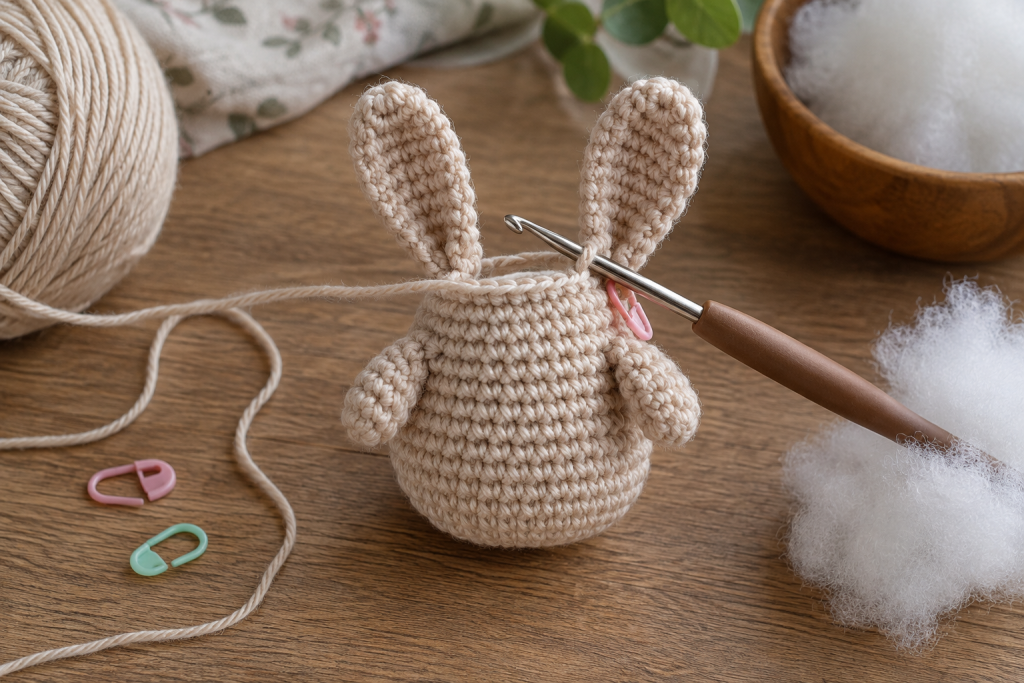
- Shape the head and place the face before the opening narrows.
- Mark the center back and count equal distances to both ear positions.
- Form each ear with identical chains and stitch counts.
- Add arms on the same round and verify their distance from the center front.
- Stuff the head firmly, the body moderately and the base lightly enough to close neatly.
Continuous rounds drift slightly. Treat the visible center line as your reference instead of assuming the original first stitch remains perfectly centered.
Align ears and expression before closing
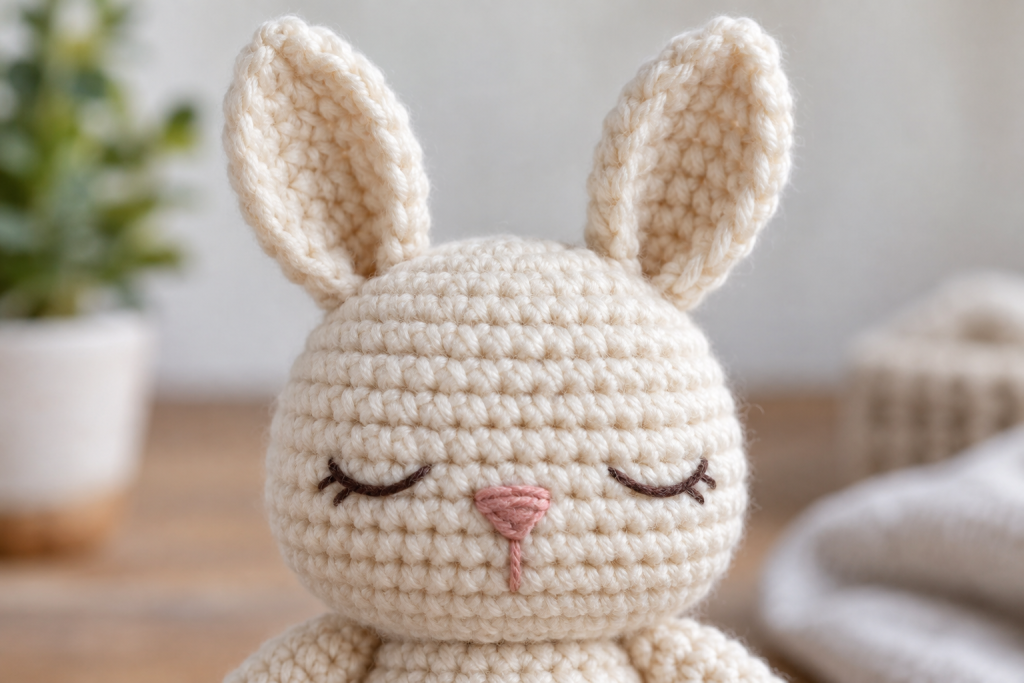
View the bunny straight on, then rotate it upside down; asymmetry is often easier to see from the unfamiliar angle. If one ear leans, reshape its base with one or two discreet anchoring stitches. Keep the eyes on the same row and center the nose between them rather than between the outer ear edges.
Finish and package it as a gift
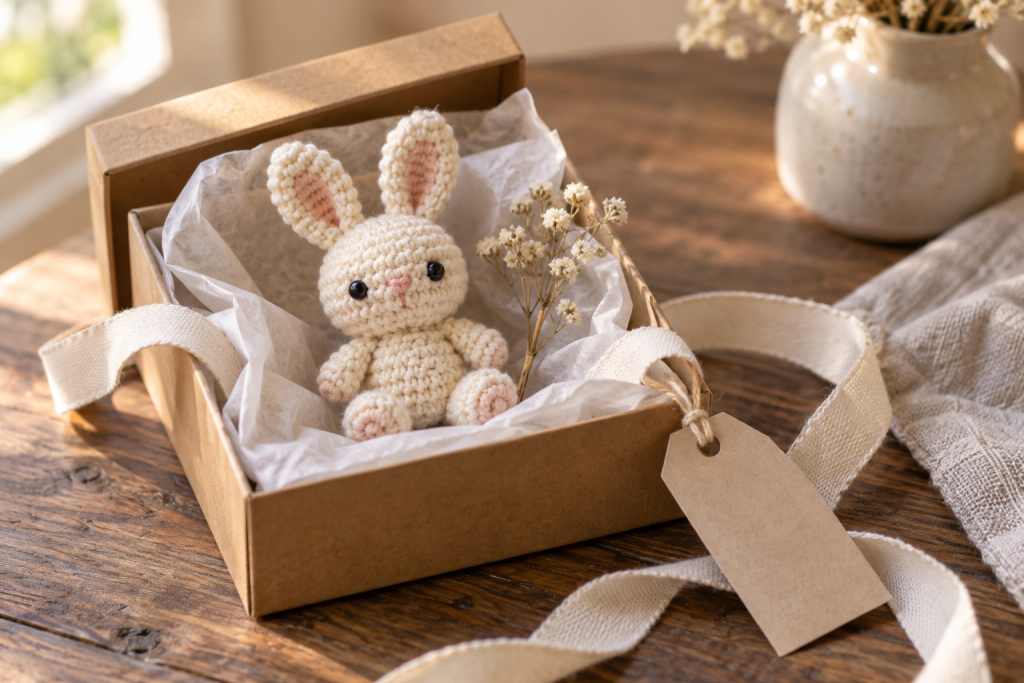
Pull-test every formed limb and the hanging loop. Bury ends through several stuffed rows and trim only after the fabric relaxes. Package the bunny upright rather than folding the ears. Include the fiber content and care method on a separate card; never describe handmade toys as suitable for every age without considering their components.
Quick fixes
Ears differ in length: compare chain and return-stitch counts. Body twists: redistribute stuffing and realign the closing round. Face looks low: place eyes before finishing and evaluate them with the ears folded into position. Base puckers: remove a little stuffing before tightening the final front-loop closure.
Continue with another compact project
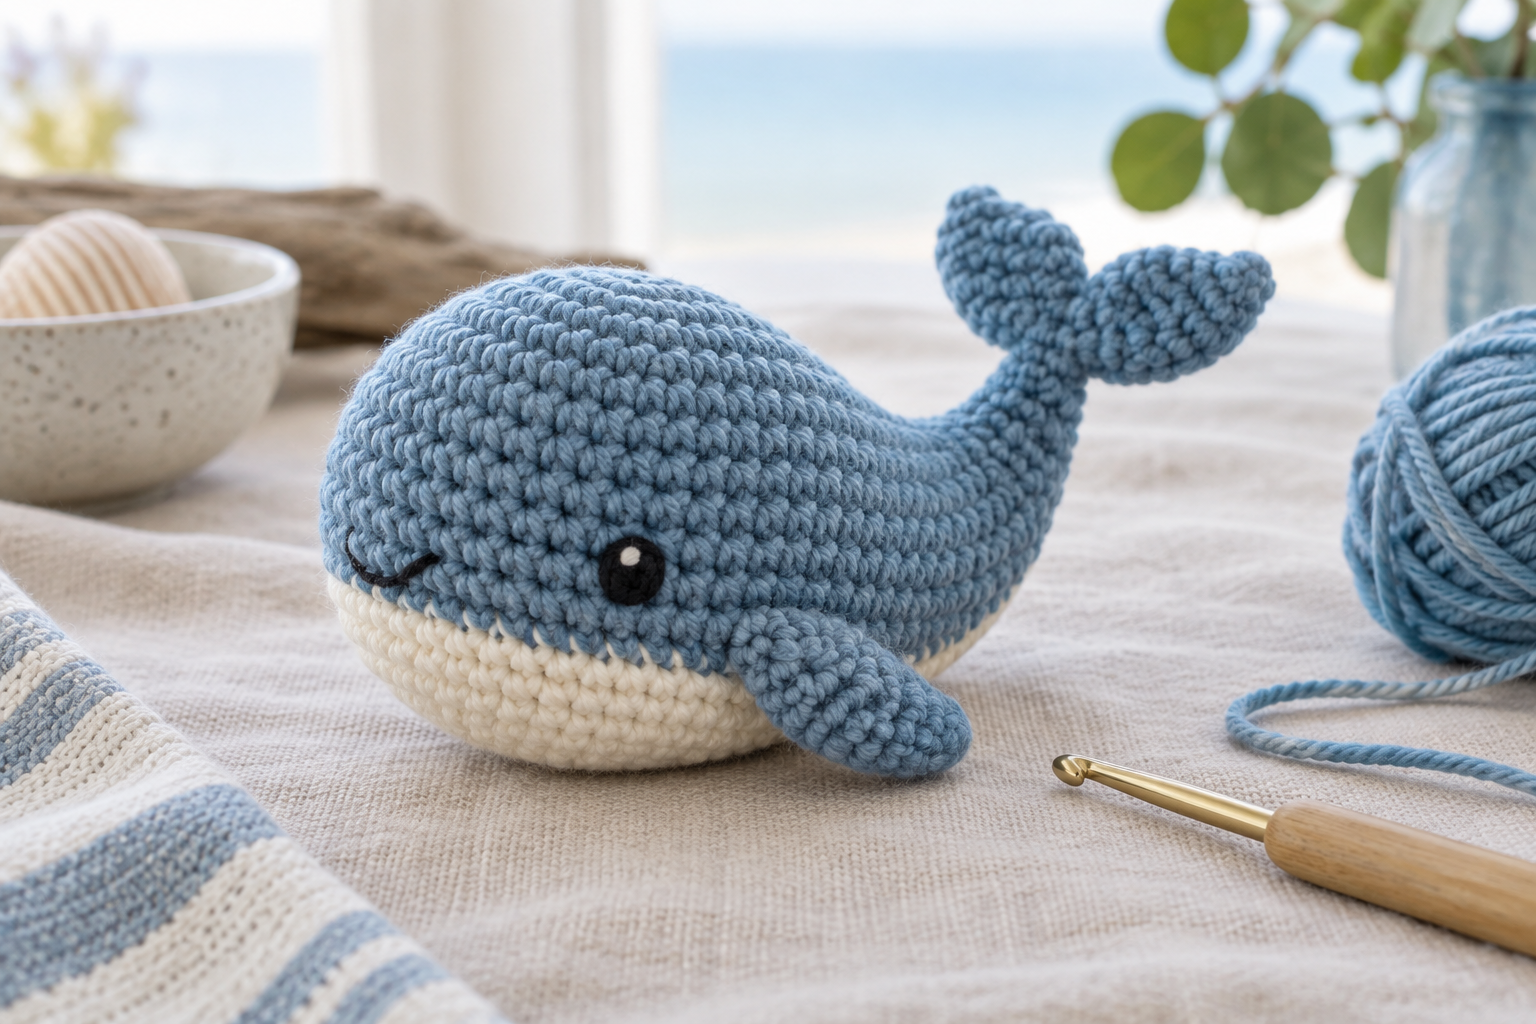
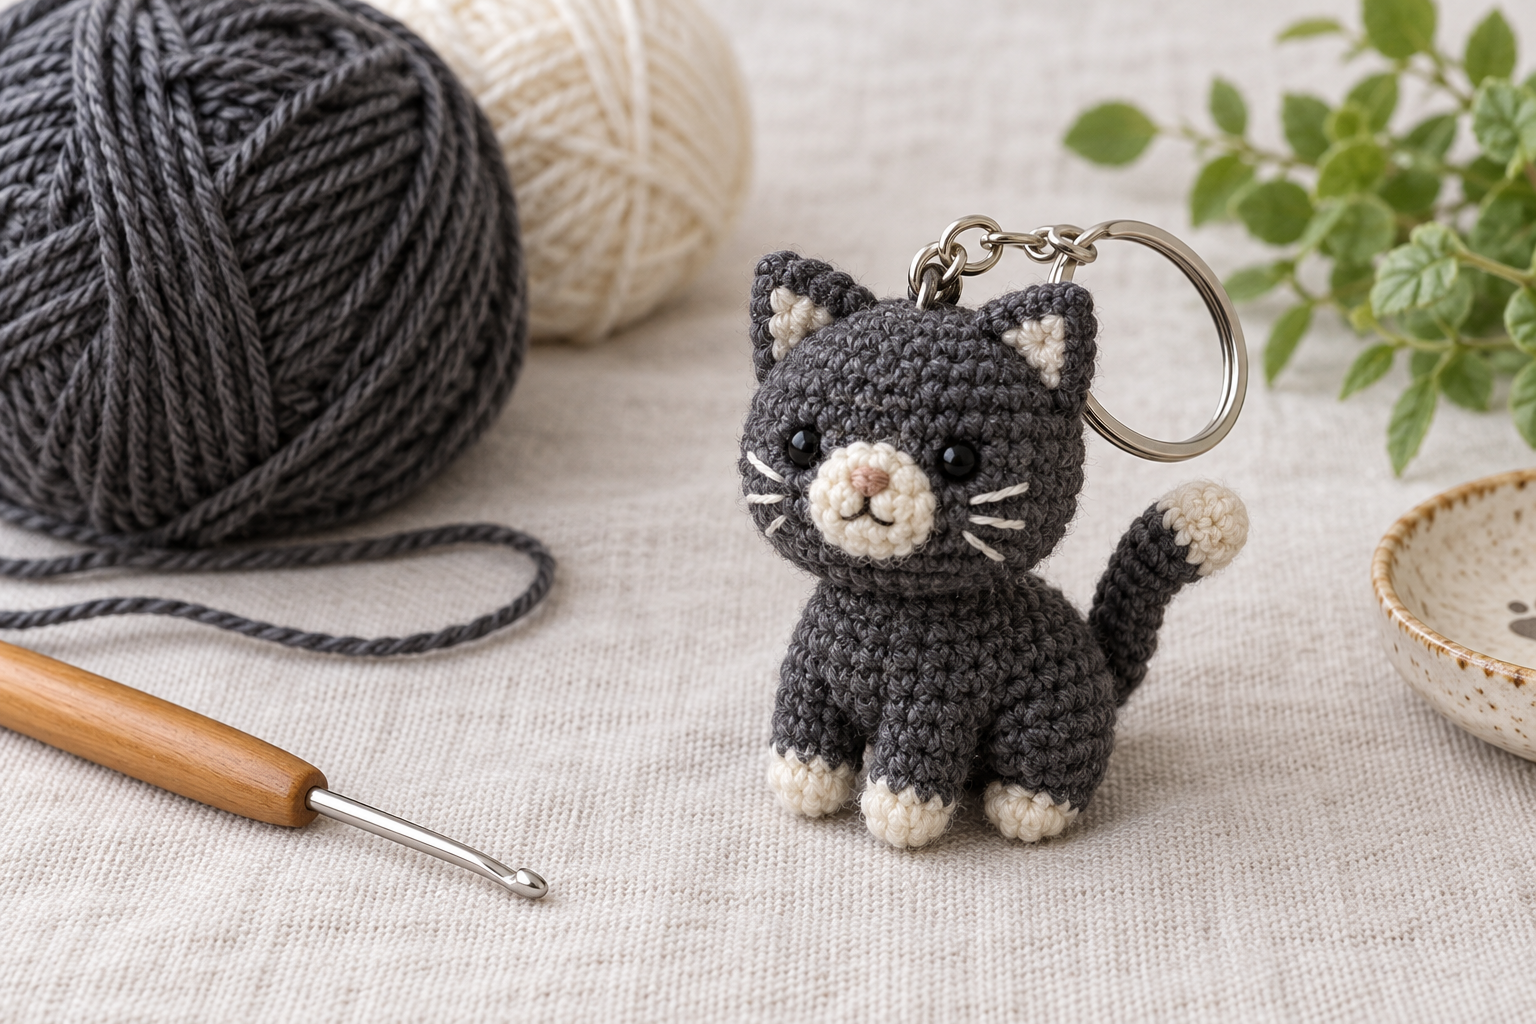
Practice one-piece shaping with the no-sew whale, color and surface detail with the strawberry plushie, or reinforced hardware with the cat keychain.