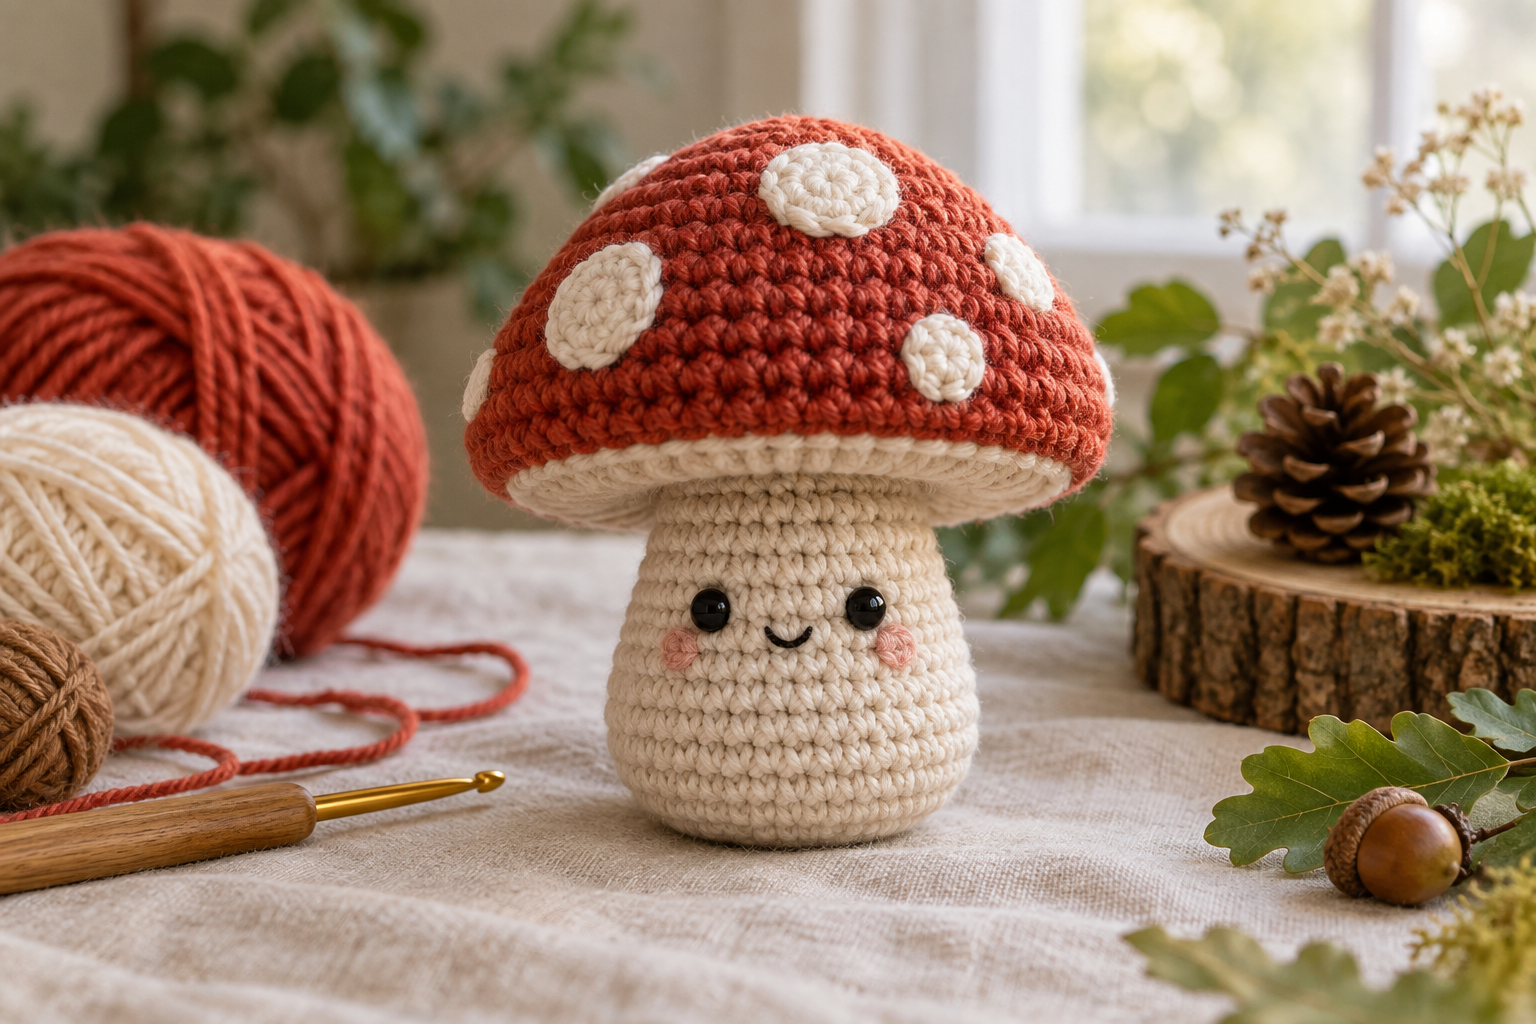
Easy Amigurumi Mushroom Crochet Guide
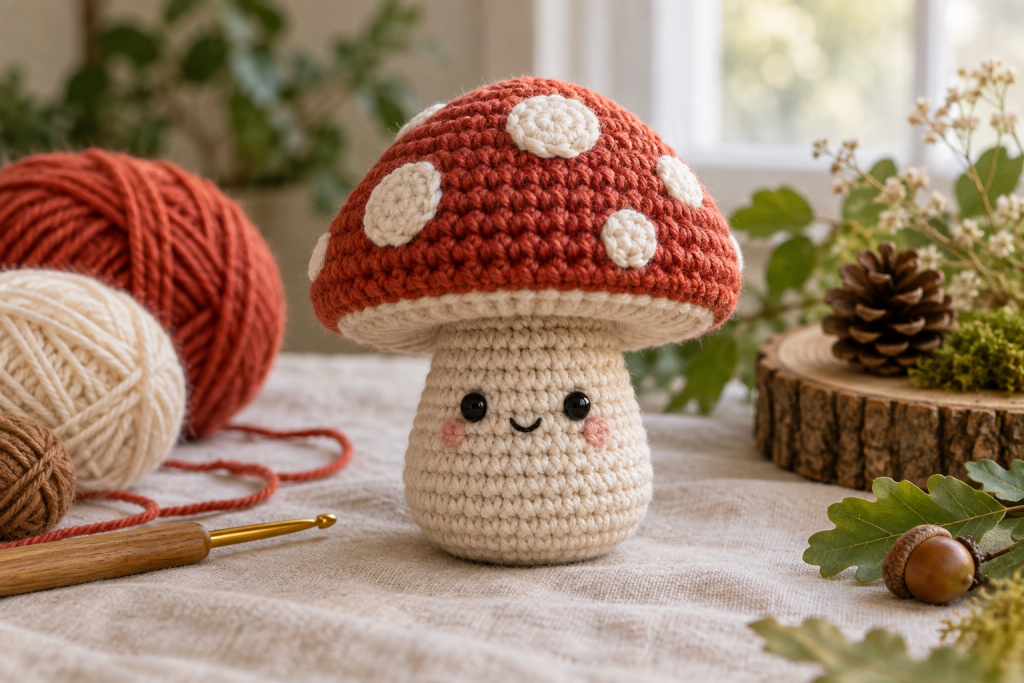
A crochet mushroom looks simple, but its character depends on three shapes working together: a smooth cap, a stable stem and an underside that joins them without puckering. This guide focuses on structure, clean assembly and purposeful variations.
Level: confident beginner
Time: 2–4 hours
Size: approximately 10–15 cm
Main techniques: working in rounds, shaping and joining two curved pieces
Choose materials for structure and stitch clarity
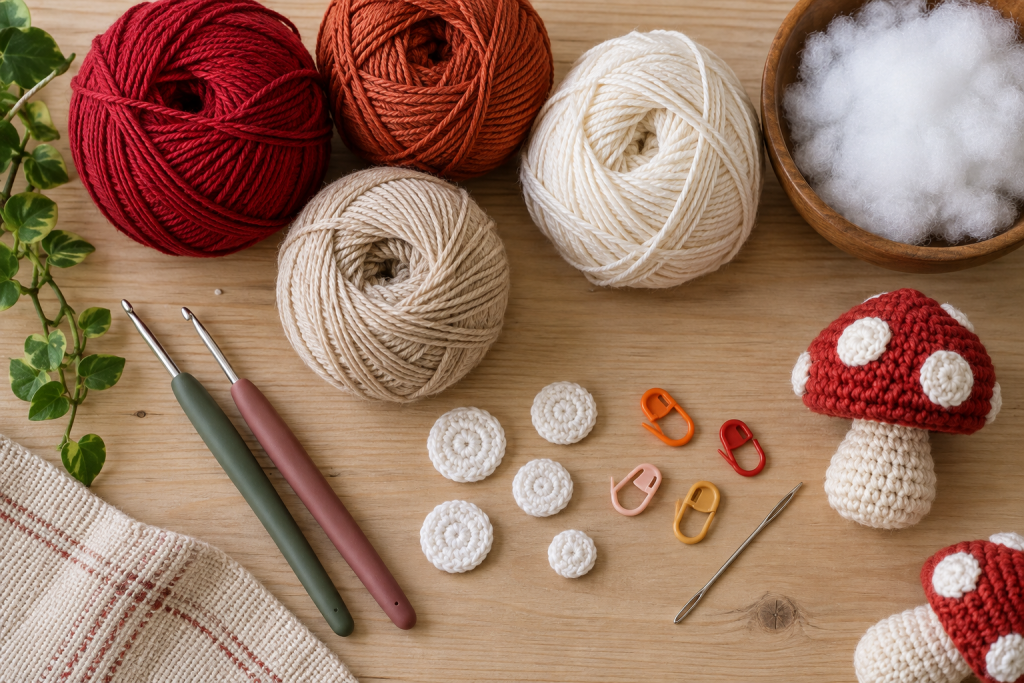
DK or light-worsted cotton gives a crisp cap and a stem that can support it. A soft acrylic blend produces a lighter toy but may need slightly firmer stuffing at the base. Choose a hook that creates dense fabric without making your hand strain. Test by stretching a small swatch over a fingertip—if stuffing would show, reduce the hook size.
Crocheted spots are more durable than felt or glued decorations. For a young child, embroider facial details and sew every spot through several cap stitches.
Understand the construction before crocheting
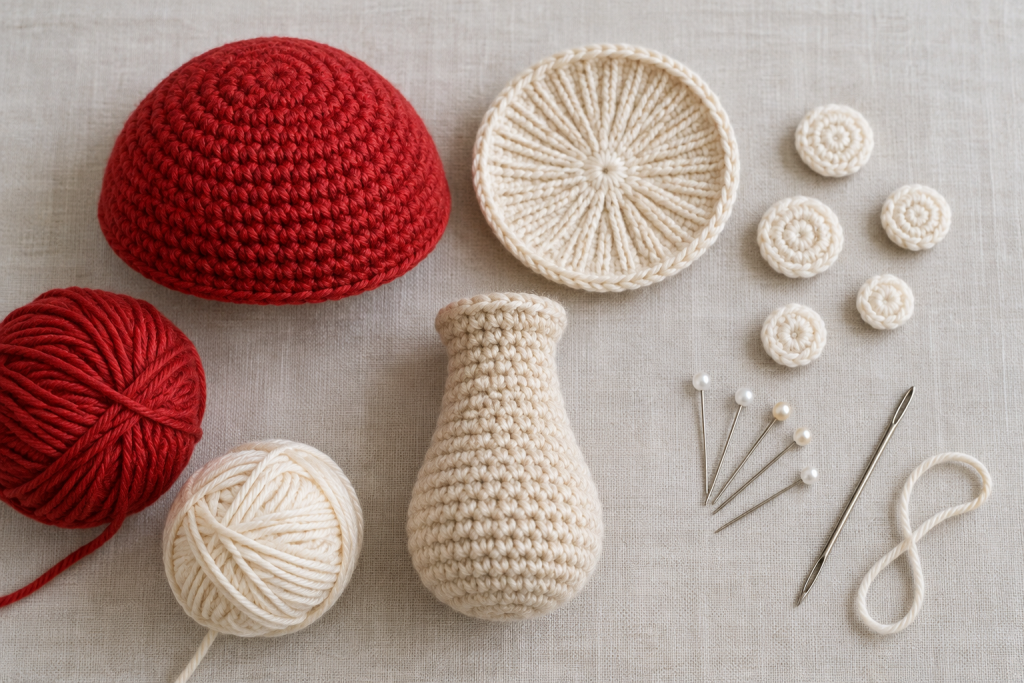
The cap is usually a shallow dome, not a tightly stuffed ball. The underside should match its final circumference, while the stem needs enough width at the top to support the center. Crochet the larger pieces first, lay them together and adjust the final underside round if its edge is visibly smaller or larger than the cap.
- Make the cap and stop before closing the lower edge.
- Crochet the stem from the base upward, widening gently near the top.
- Create the underside disc and test it inside the cap.
- Prepare spots last so their size suits the finished dome.
Shape the cap without overstuffing it
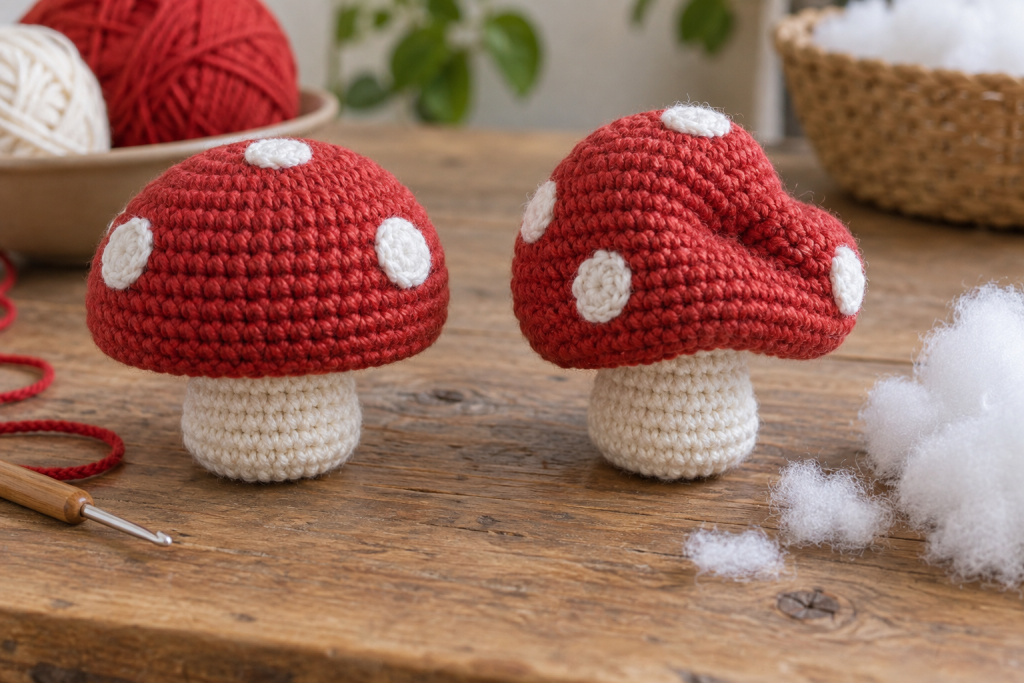
Add stuffing from the center outward, leaving the outermost edge flexible for sewing. Press the dome with a flat palm and rotate it frequently. If the edge flares, the cap may need less fill or a slightly smaller underside. If the top looks pointed, move stuffing away from the center rather than adding more around it.
Join the pieces for a clean underside
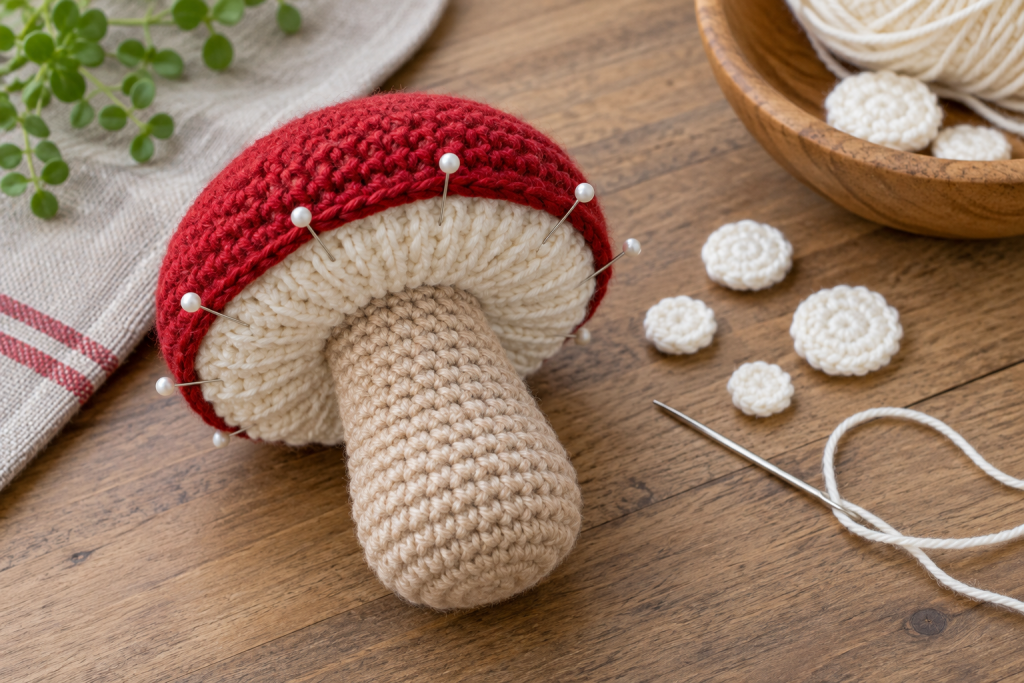
Mark four equal points on both the cap and underside. Pin those points first, then divide each remaining section again. Sew through full stitches—not loose surface fibers—with a matching yarn. Add the final stuffing before the last quarter closes, checking that the stem remains centered from every direction.
Bury the finishing tail through the stuffed center, bring it out several centimeters away and trim only after gently stretching the surface back into place.
Use variations that change the purpose
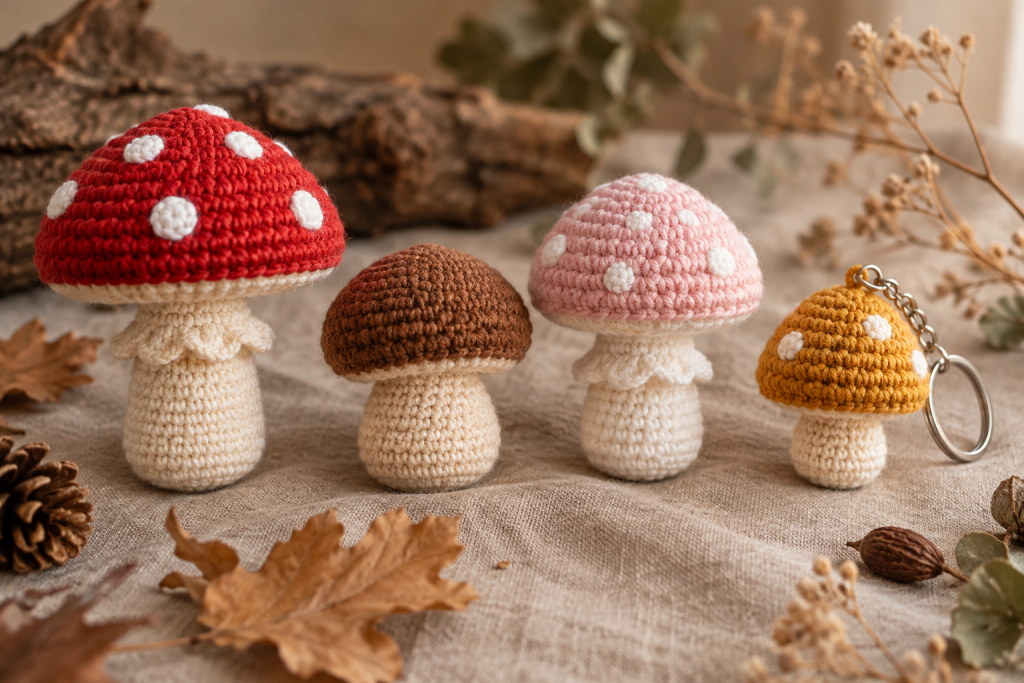
- Classic red: strong contrast and easy-to-see spots.
- Woodland brown: natural décor with textured beige details.
- Pastel nursery: embroidered features and washable yarn.
- Keychain: smaller scale, firm fabric and a reinforced hanging loop.
Care and display
Store the mushroom upright so the cap is not crushed. Spot-clean when possible; for washable yarn, place it in a mesh bag and air dry after reshaping. A small weighted insert can improve a display piece, but it should be enclosed in a sewn fabric pouch and omitted from toys intended for young children.
Continue building amigurumi skills
Try the crochet turtle for layered assembly, the mini bear for gift-focused finishing, or the beginner bee for clean stripe changes.