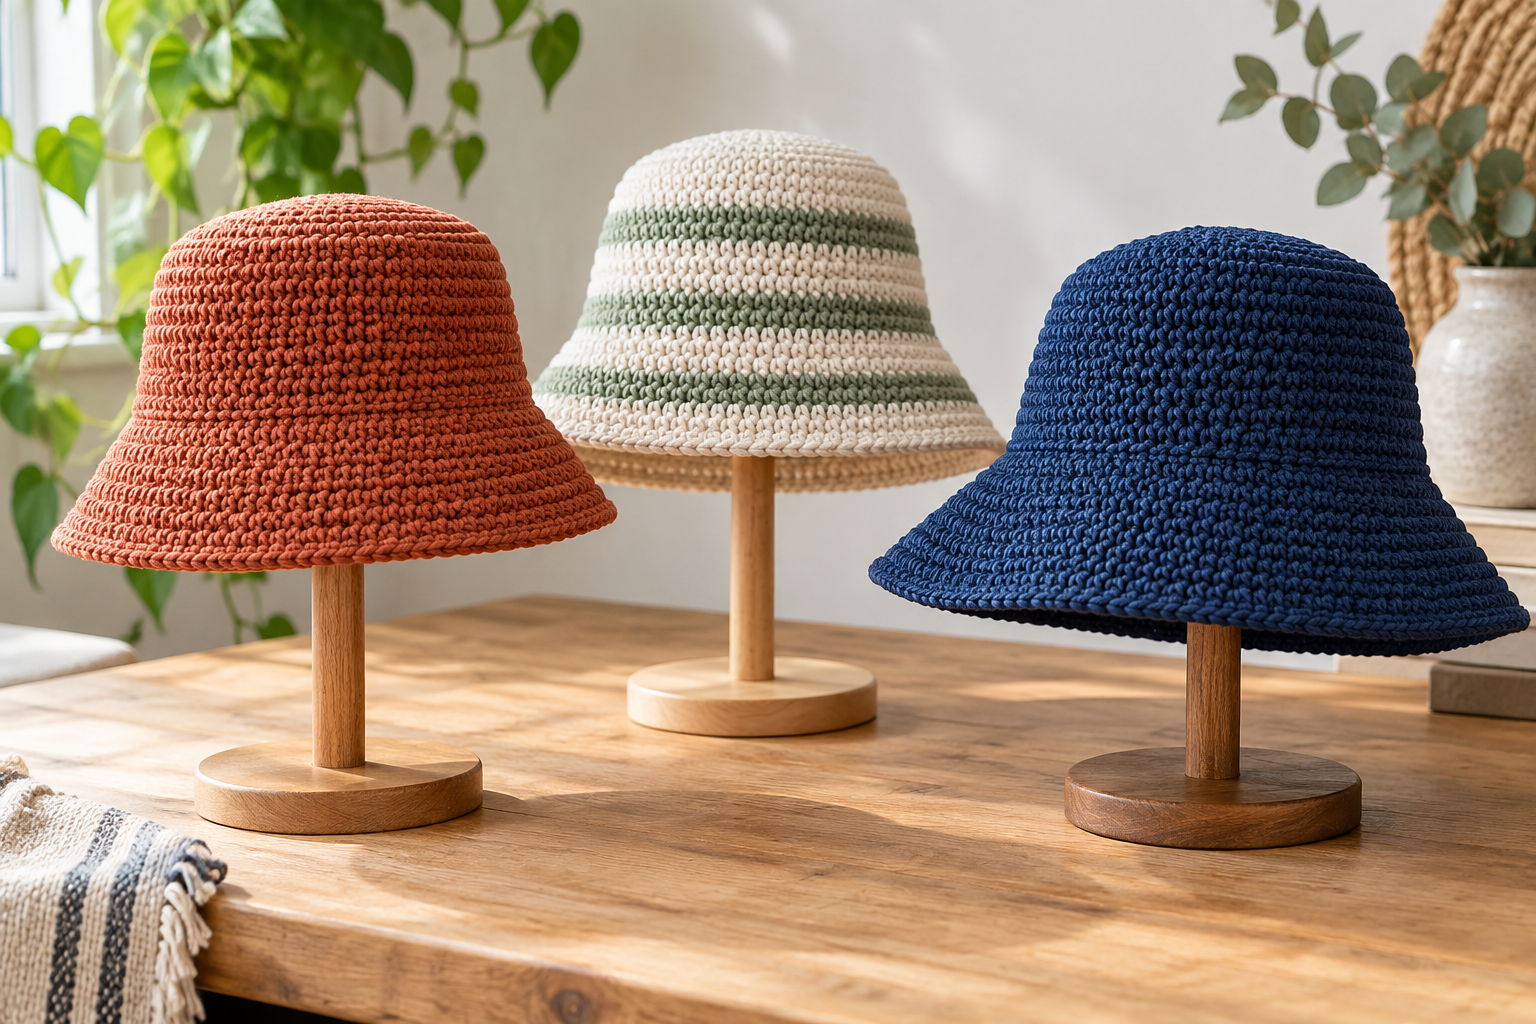
Beginner Crochet Bucket Hat Ideas
A well-fitting bucket hat comes from head measurements and washed gauge, not from age labels or a generic stitch count. Use this beginner guide to control the crown, side depth and brim while learning what each shaping change does.
Measure fit and make a washed swatch
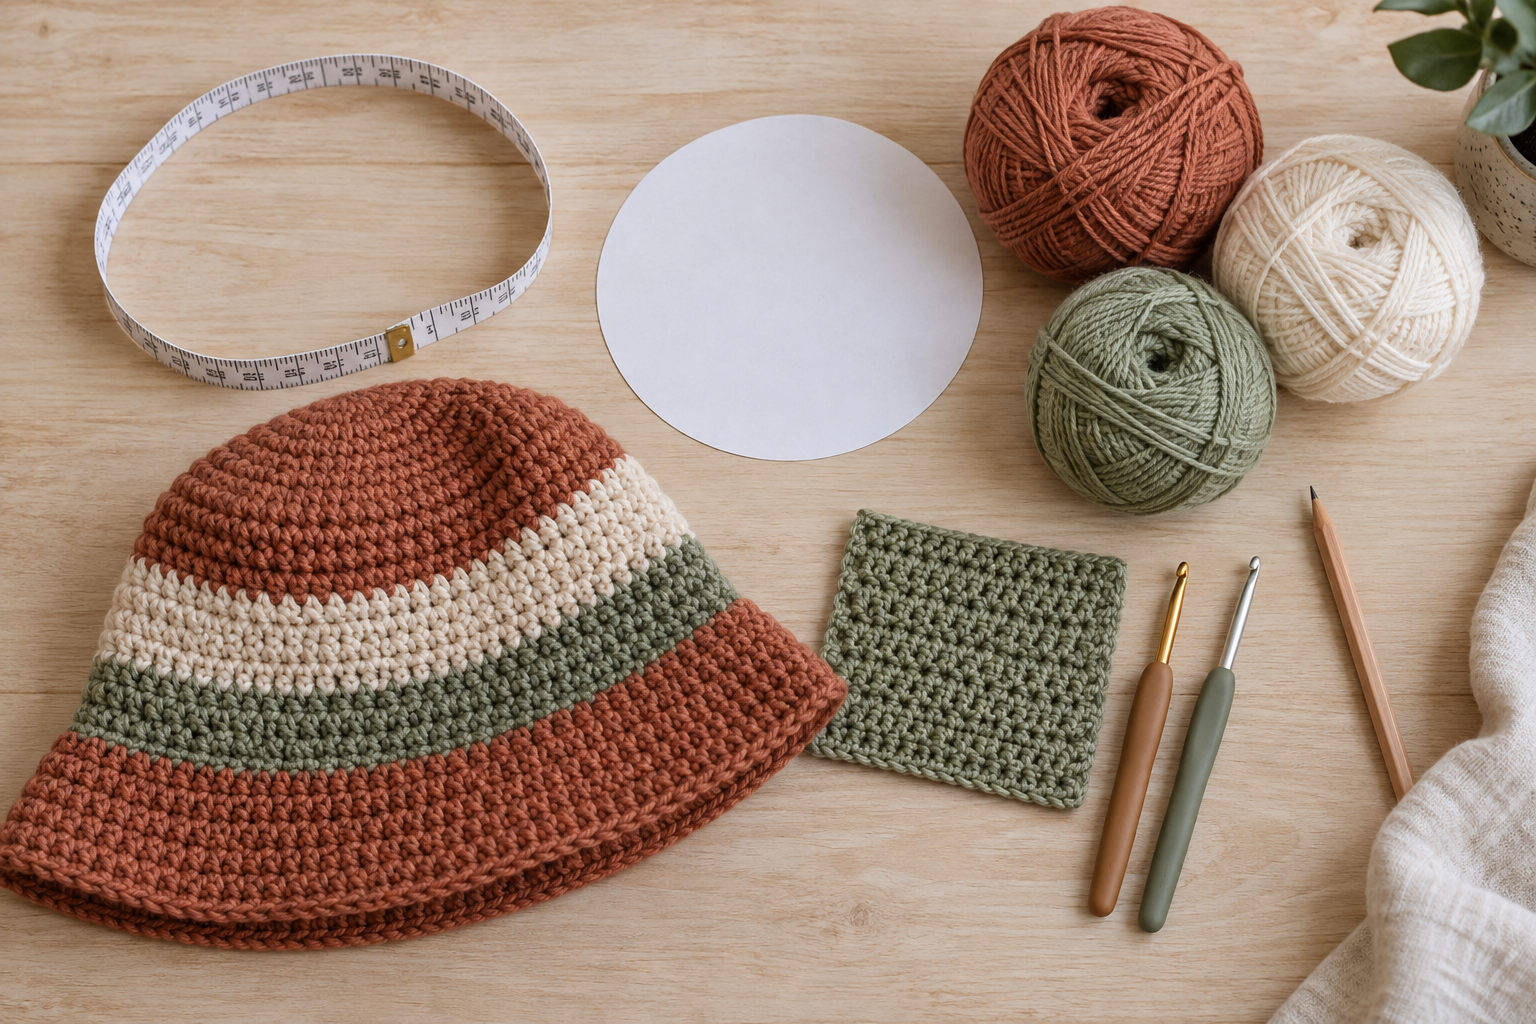
Record head circumference and the desired crown-to-brim depth. Crochet and wash a substantial swatch in smooth cotton or a cotton blend, then measure gauge after drying. The finished hat normally needs slight negative ease, but the correct amount depends on yarn stretch and stitch density; test the band rather than relying on a fixed percentage.
Build a flat crown before working downward
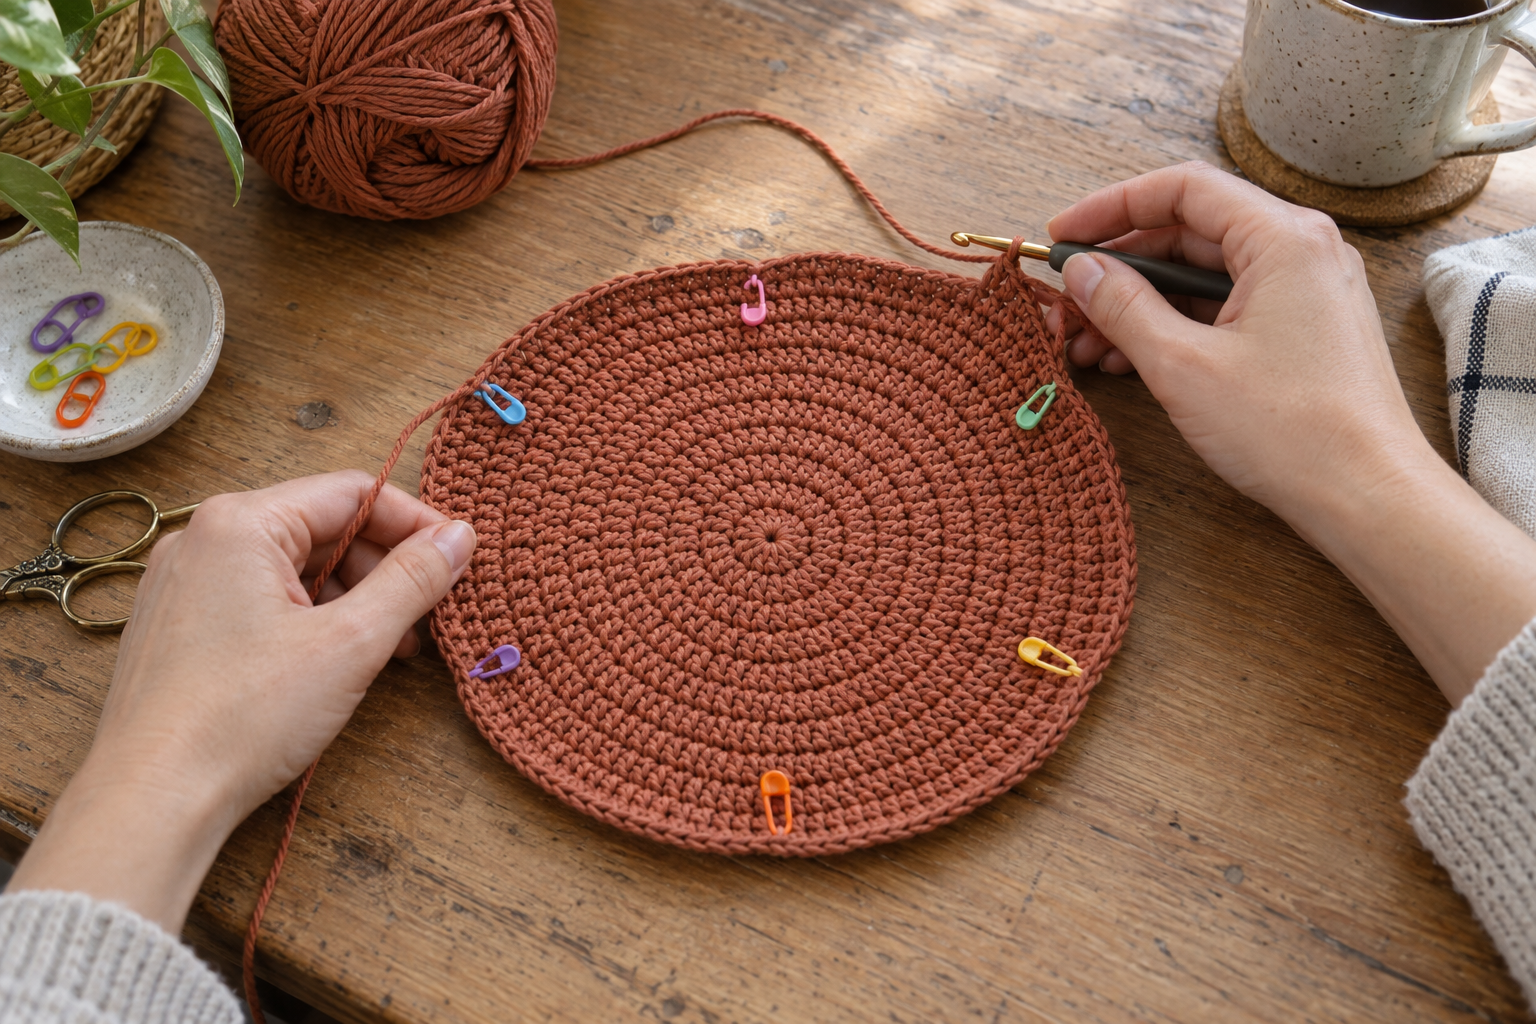
Mark increase sections and count every round. Place the crown flat after each increase round. If it cups too early, the circle may need additional increases; if it ripples, it may have too many. Stop increasing when the crown diameter corresponds to the required circumference at your actual gauge.
Create the side band and check depth in stages
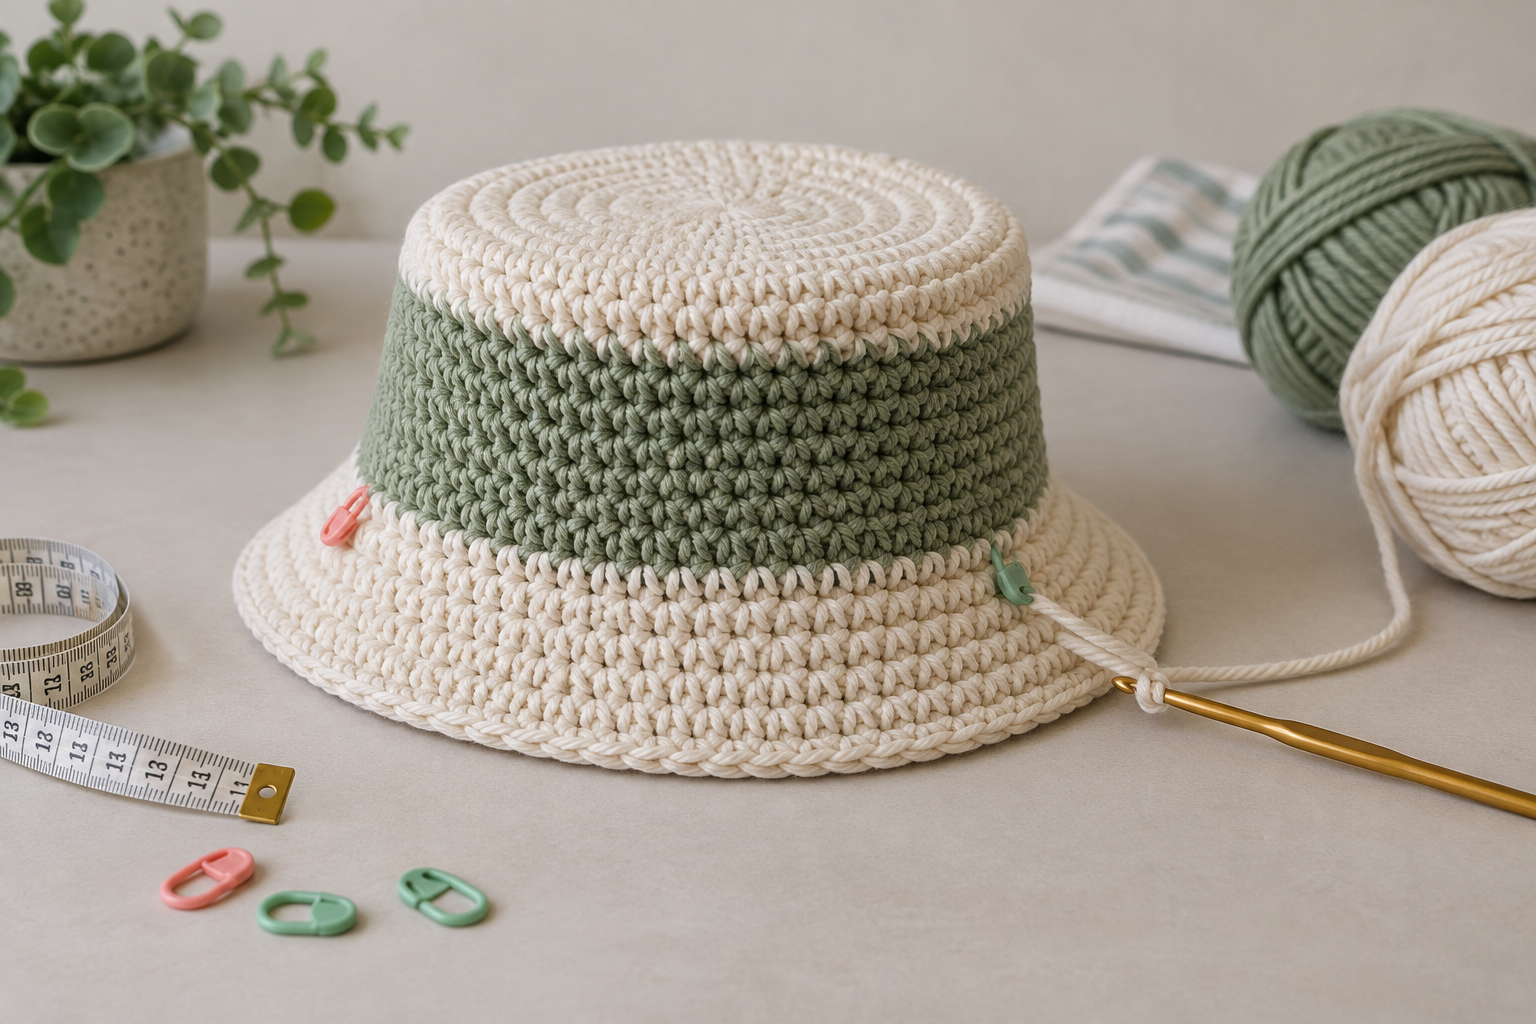
Work without increases to form the sides. Try the hat on periodically or compare it with a correctly sized hat, keeping stretch consistent. Add color changes at the round marker and carry unused yarn only when it does not create bulky floats. The brim starting point should sit comfortably above the ears.
Choose brim structure for the intended look
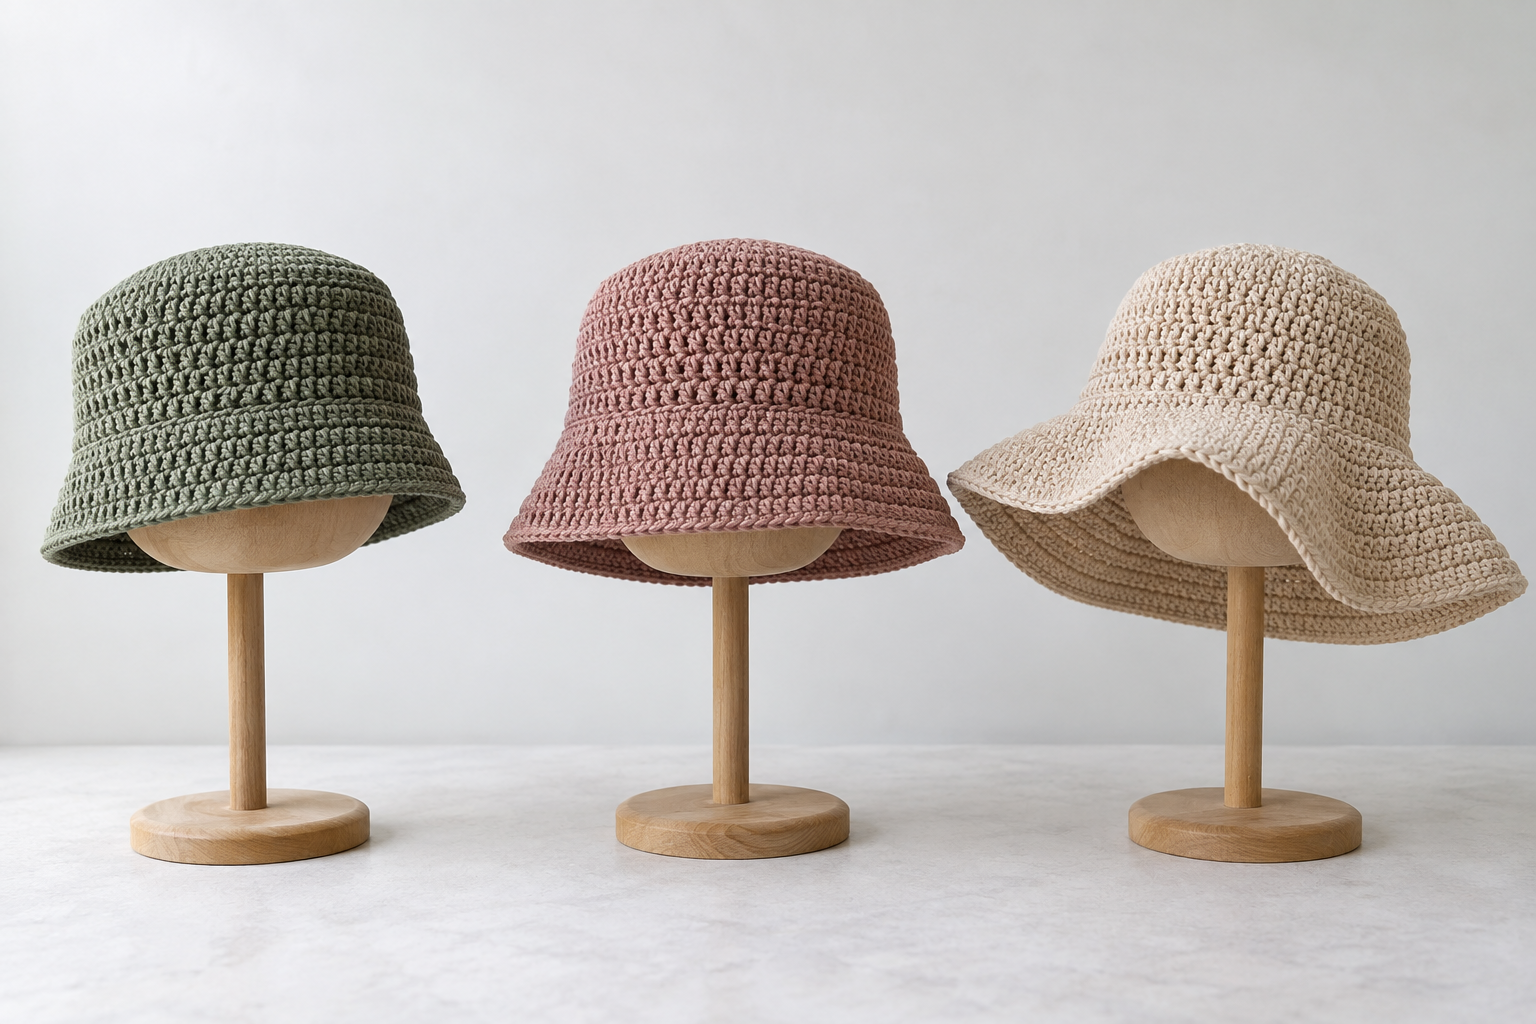
A short dense brim is beginner-friendly and holds shape. A relaxed medium brim needs balanced increases, while a wide brim may require firmer yarn or removable millinery support. Keep checking for waves and revise the most recent round before the distortion multiplies. Crochet fabric alone should not be assumed to provide a tested sun-protection rating.
Finish and block according to the fiber
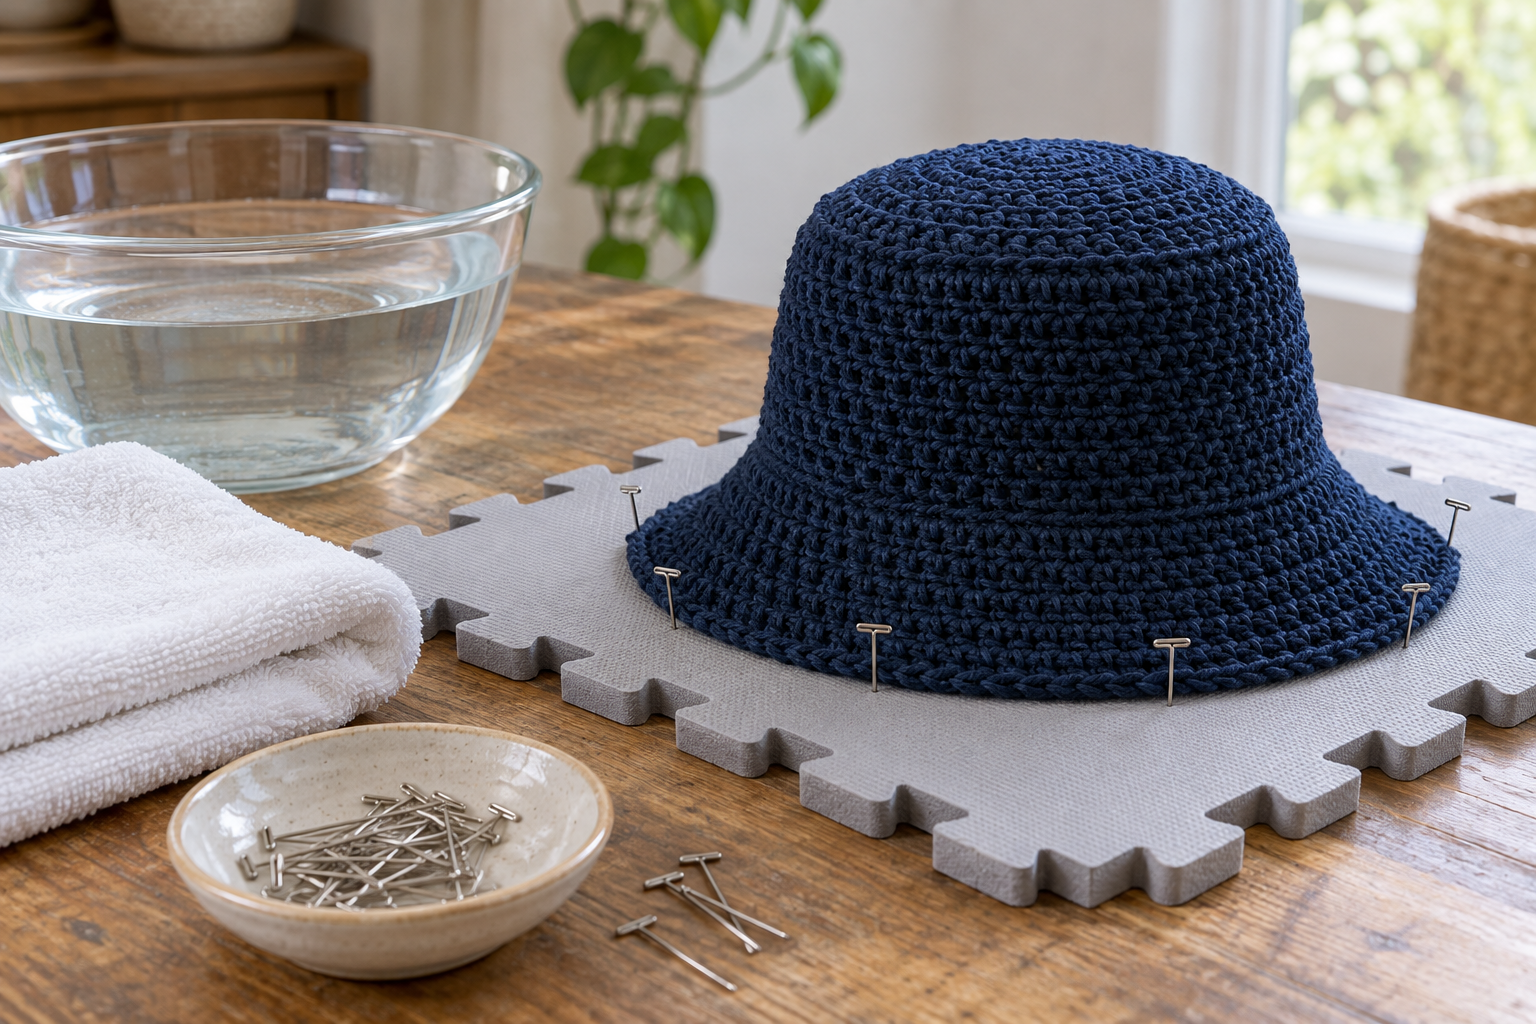
Weave tails securely, wash according to the yarn label and support the wet hat while lifting it. Shape the crown and brim without stretching the band circumference. Dry fully on a breathable surface and remeasure; note any changes so the next hat can be adjusted at the crown or side rounds.
Coordinate handmade accessories
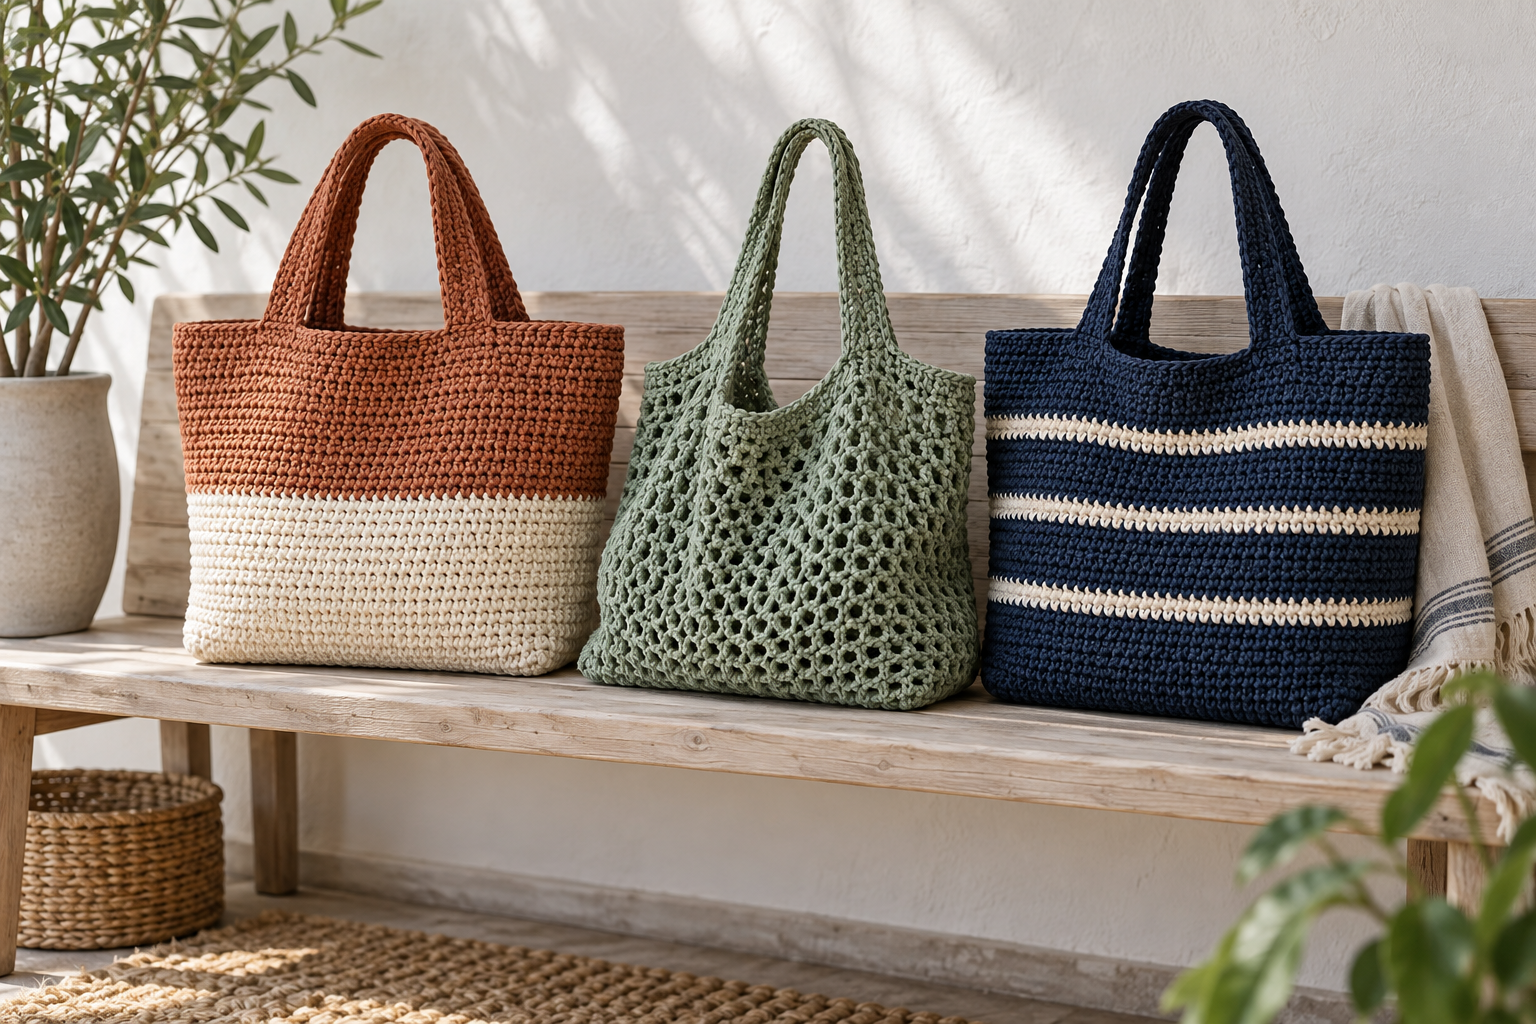
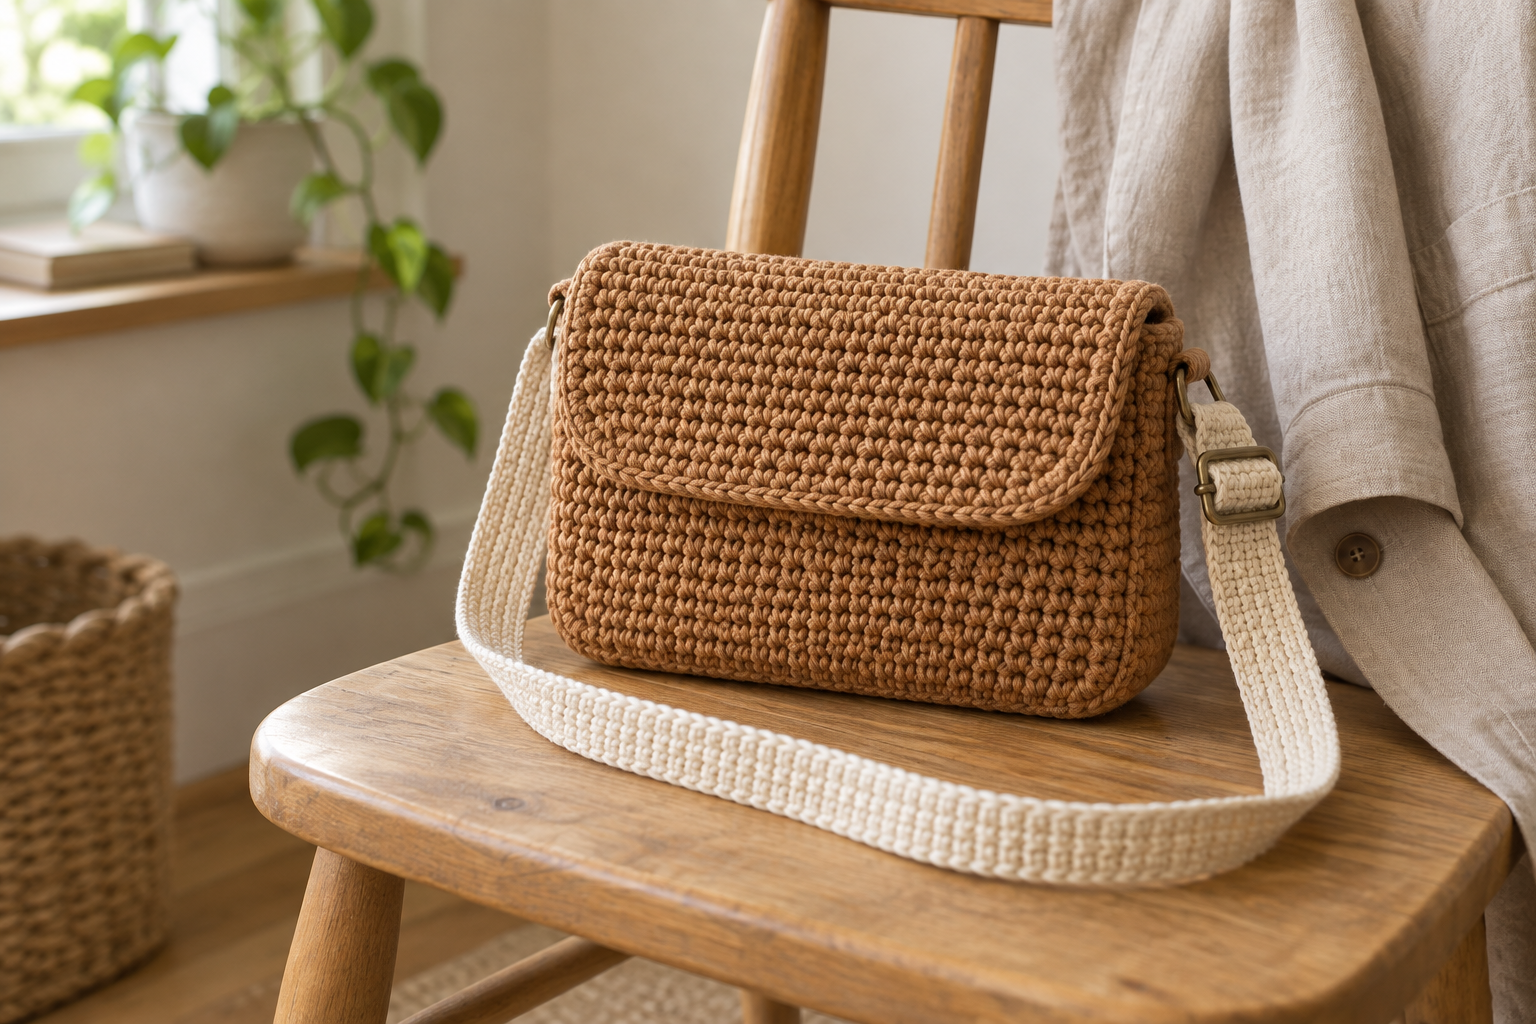
Use leftover yarn for one of these seasonal crochet headbands, repeat a texture in a modern crochet scarf, or match the hat’s accent stripe to a practical crochet tote bag.