Crochet Turtle Amigurumi for Confident Beginners
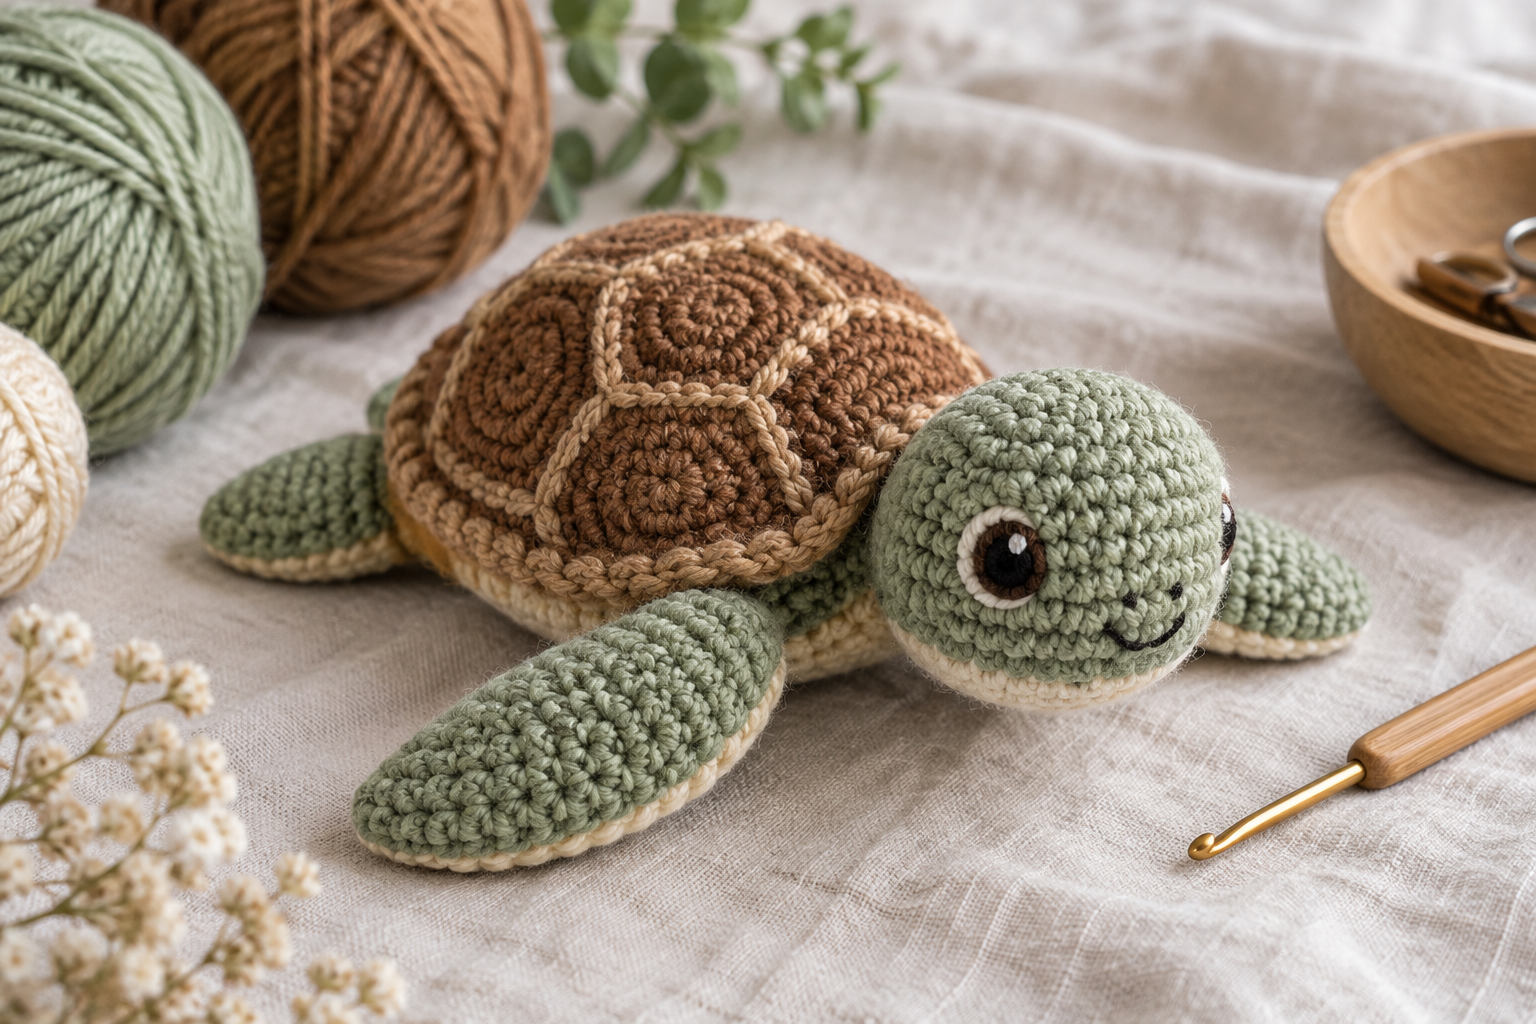
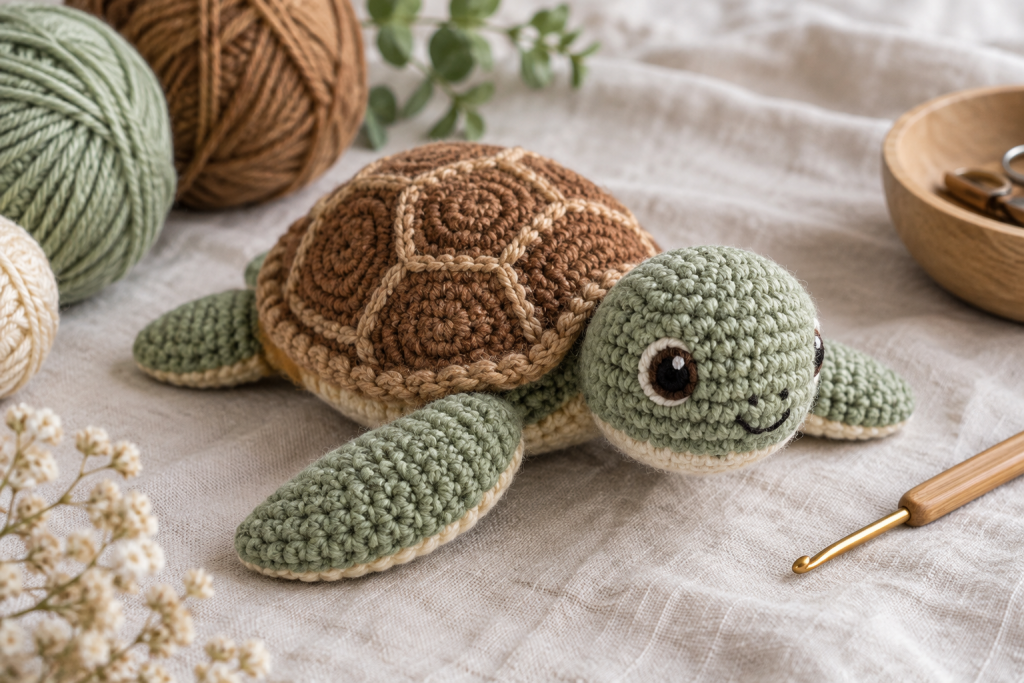
A crochet turtle is a useful bridge from beginner shapes to confident assembly. The shell gives structure, while the head, four flippers and tail teach you to position several pieces around one center without losing symmetry.
Level: confident beginner
Time: 4–7 hours
Size: approximately 15–22 cm
Main challenge: layered shell assembly
Select a construction style
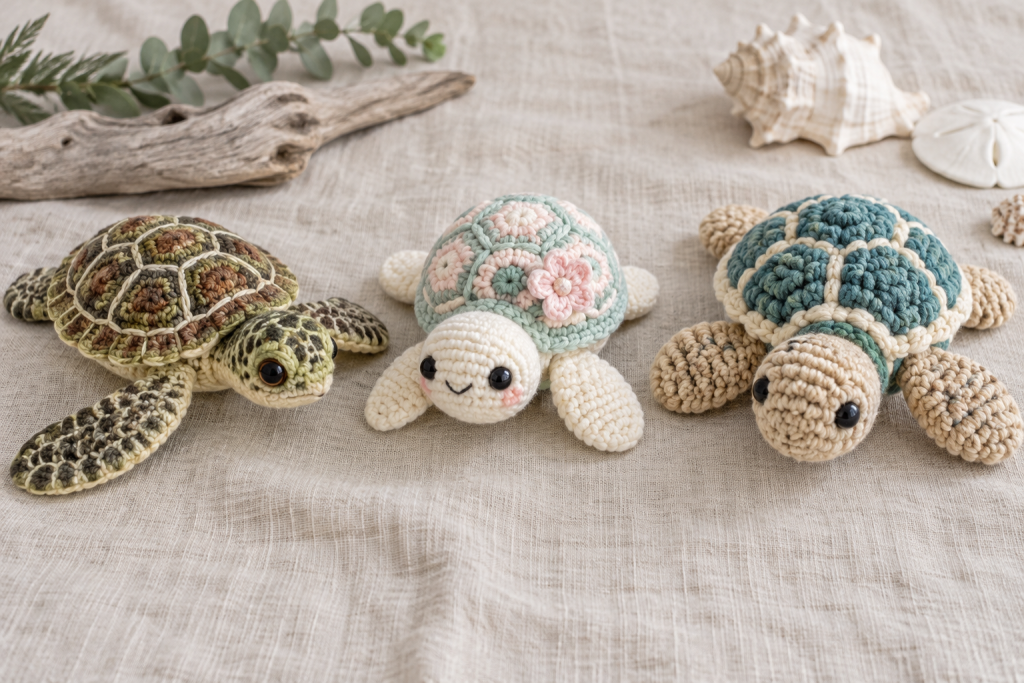
A flat-flipper sea turtle has the clearest silhouette and works well as shelf décor. A pastel version suits a nursery when every feature is embroidered. A chunky plush turtle uses thicker yarn and fewer rounds but makes stitch counting harder. For your first layered turtle, use smooth DK or worsted yarn and a medium-size project.
Plan shell colors and texture together
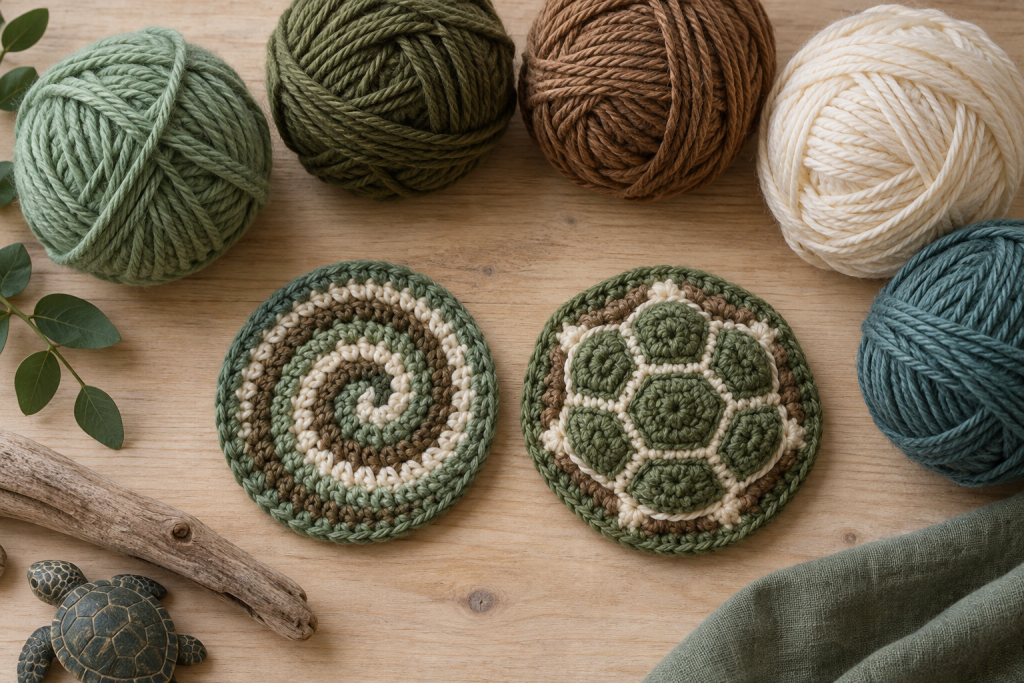
Choose the shell first, then select a body color that remains visible beside it. Olive with warm brown feels natural, sage with cream is softer, and muted teal with sand suggests a sea turtle. If the shell includes front-post stitches or colorwork, keep the head and flippers plain so the finished project has one focal point.
Make a small textured swatch. Dense raised stitches may require a hook 0.5 mm larger than the smooth belly even when both pieces use the same yarn.
Match every paired component before assembly
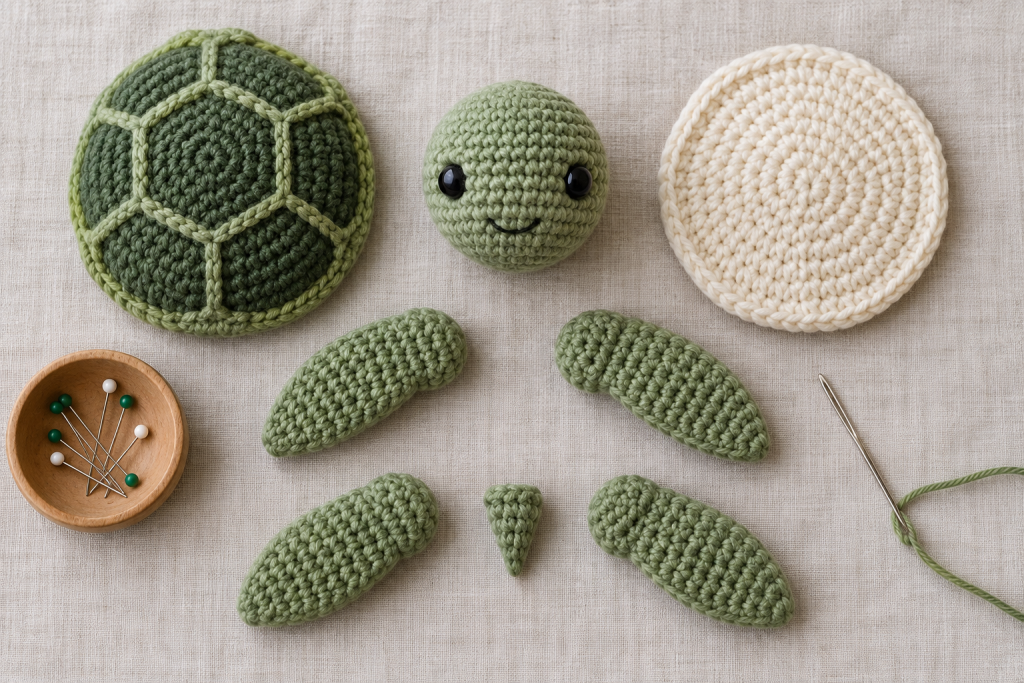
Crochet both front flippers consecutively, then both rear flippers. Record any adjustment immediately rather than trusting memory. Stuff the head firmly at the neck but leave the flippers unstuffed or very lightly filled so they lie naturally. The belly disc and top shell should finish with compatible stitch counts.
- Mark the center front and center back of both shell layers.
- Place the head at the center front and tail directly opposite.
- Position front flippers slightly ahead of the side midpoint.
- Angle rear flippers slightly backward for a swimming silhouette.
Build a smooth shell sandwich
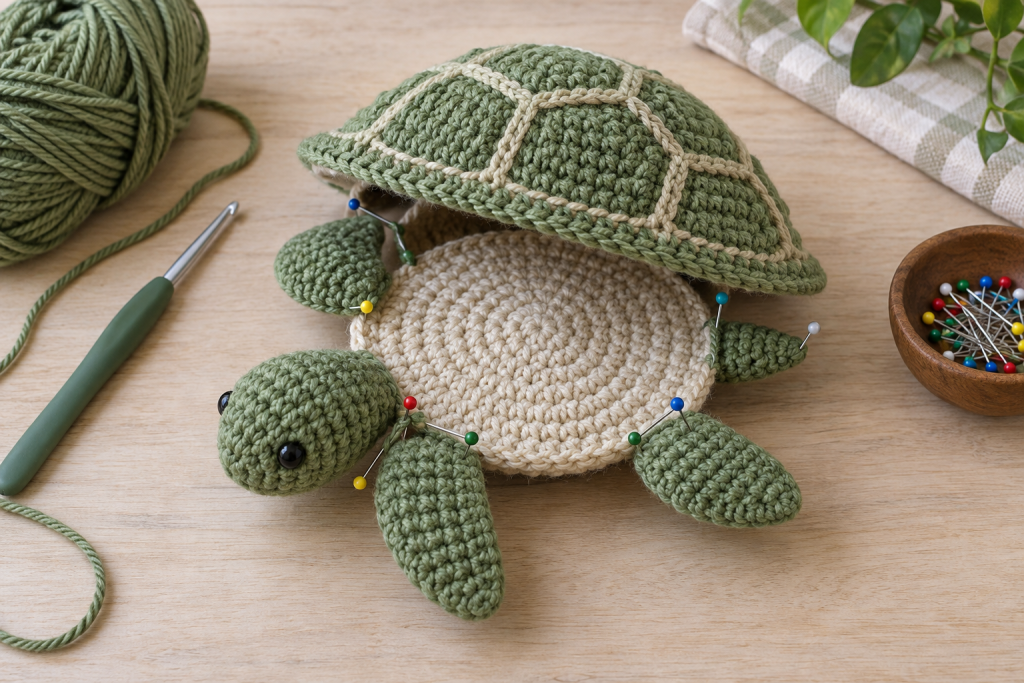
- Lay the belly right side down and distribute the appendages around its edge.
- Pin through full stitches and count the gaps between each piece.
- Place the top shell over the arrangement and match quarter markers.
- Join slowly, removing one pin at a time and adding stuffing in thin layers.
- Before closing, set the turtle down and check that the shell is level.
If the shell ruffles, the outer edges have unequal stitch counts or one layer has been stretched. Ease a difference of one or two stitches across a wide section; remake the final round when the mismatch is larger.
Finish for the turtle’s intended use
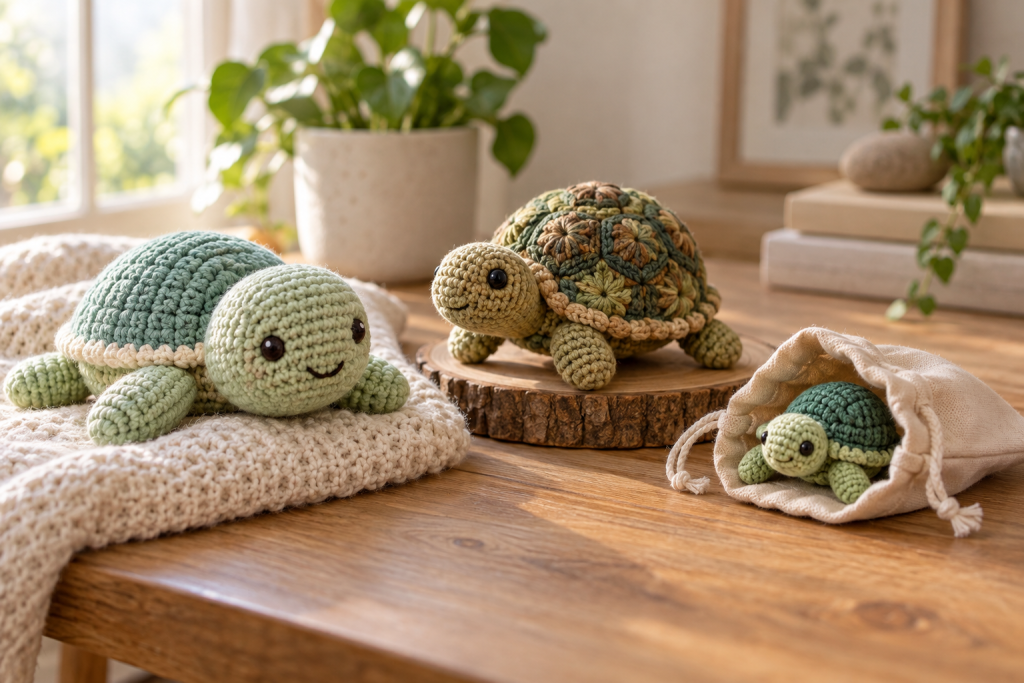
Use embroidered eyes and washable yarn for a child’s turtle. A display turtle can include more shell texture but still needs securely sewn components. For a travel mascot, choose cotton, keep the stuffing modest and carry it in a breathable washable pouch. Avoid glued decorations on any version intended for handling.
Care and reshaping
Follow the yarn label, wash gently in a mesh bag and support the shell while wet. Air dry flat with the flippers arranged in their intended angles. If the shell becomes compressed, massage the stuffing outward from the center rather than pulling the crochet fabric.
Choose your next amigurumi lesson
Make the no-sew whale for continuous shaping, the frog plushie for paired-leg proportion, or the tiny bunny for compact no-sew construction.