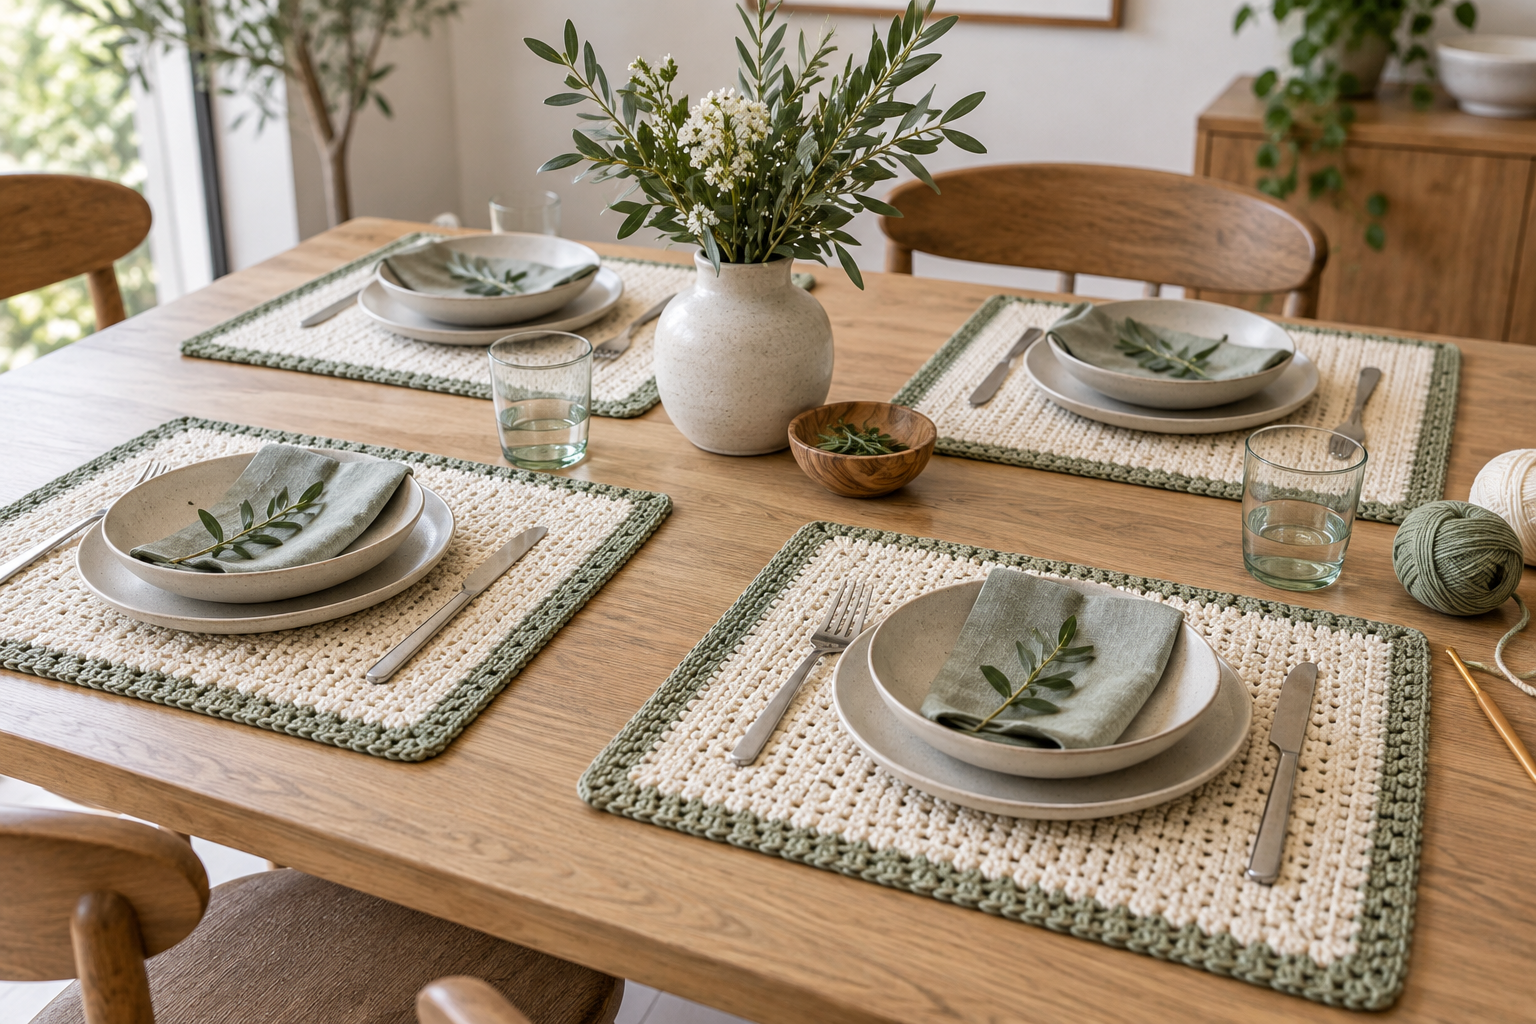
Modern Crochet Placemat Set for Beginners
A placemat set needs consistent dimensions, a flat stable surface and yarn that tolerates repeated washing. This beginner guide explains table-based sizing, batch production and testing the finished mats with real dishes.
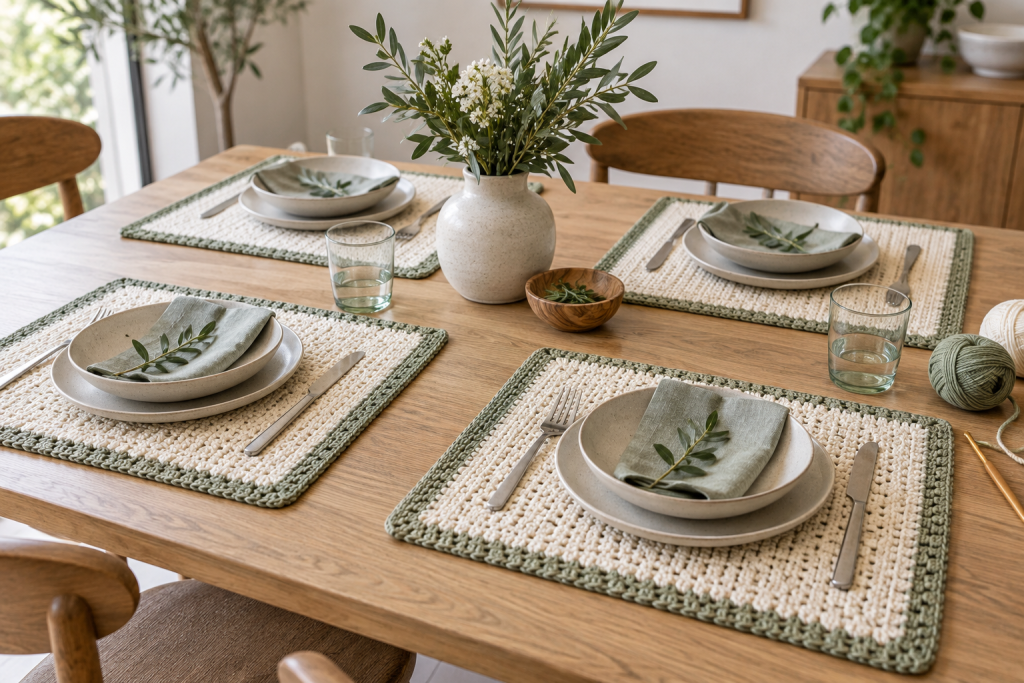
Level: beginner
Time: 3–6 hours per mat
Common size: approximately 30 × 45 cm / 12 × 18 in
Best fiber: washable cotton or cotton-linen
Size the mat around a complete place setting
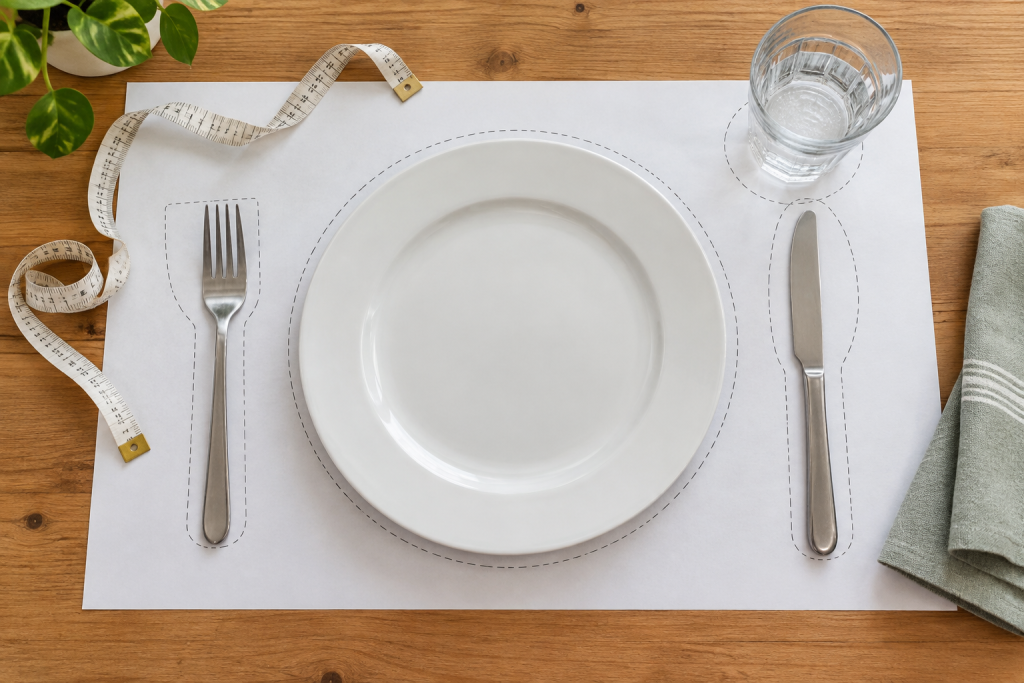
Measure the available table width per person, then arrange the dishes on paper. Leave clearance around the plate and enough distance from the table edge. Round tables often need narrower or wedge-shaped mats; do not automatically use standard rectangular dimensions.
Choose flat stitches and washable fiber
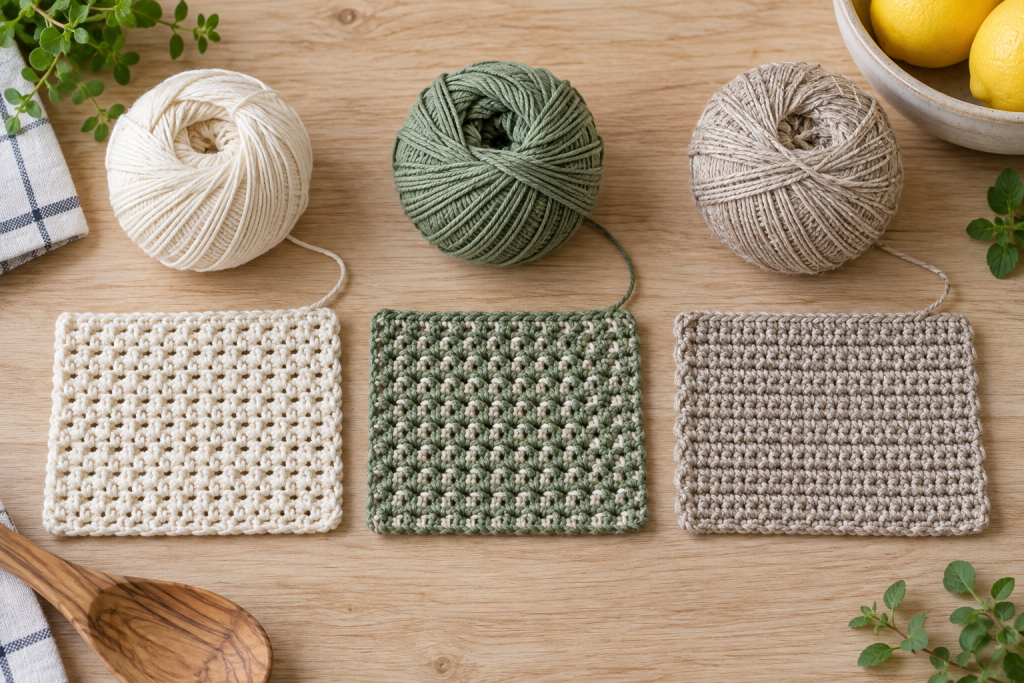
Kitchen cotton is durable and absorbent. Mercerized cotton gives clearer stitches but may feel smoother. Cotton-linen dries well and creates crisp edges. Avoid tall bobbles under glasses and plates, open lace that catches cutlery, and fibers that melt or distort near heat. Placemats are not trivets for hot cookware.
Make one tested reference mat
Complete the first mat, wash it and measure the dry result before starting the full set. Record hook size, starting count, rows, yarn weight used and final dimensions. Adjust the pattern for shrinkage now rather than discovering a mismatch after four pieces.
Work the remaining mats as a controlled batch
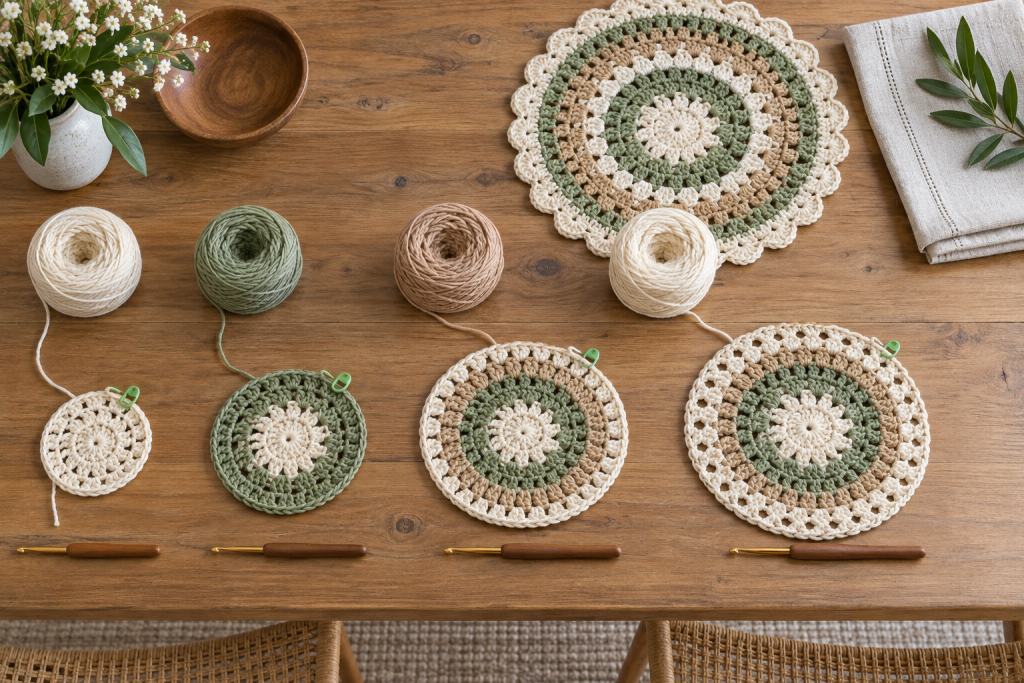
- Prepare equal yarn quantities and label dye lots.
- Complete the foundations for every mat.
- Work an equal number of rows on each before moving forward.
- Use the finished reference to check width and length.
- Add borders in the same session with identical corner counts.
Do not mix unwashed and washed measurements. Cotton can change enough to make an apparently matched set uneven later.
Block every mat to one template
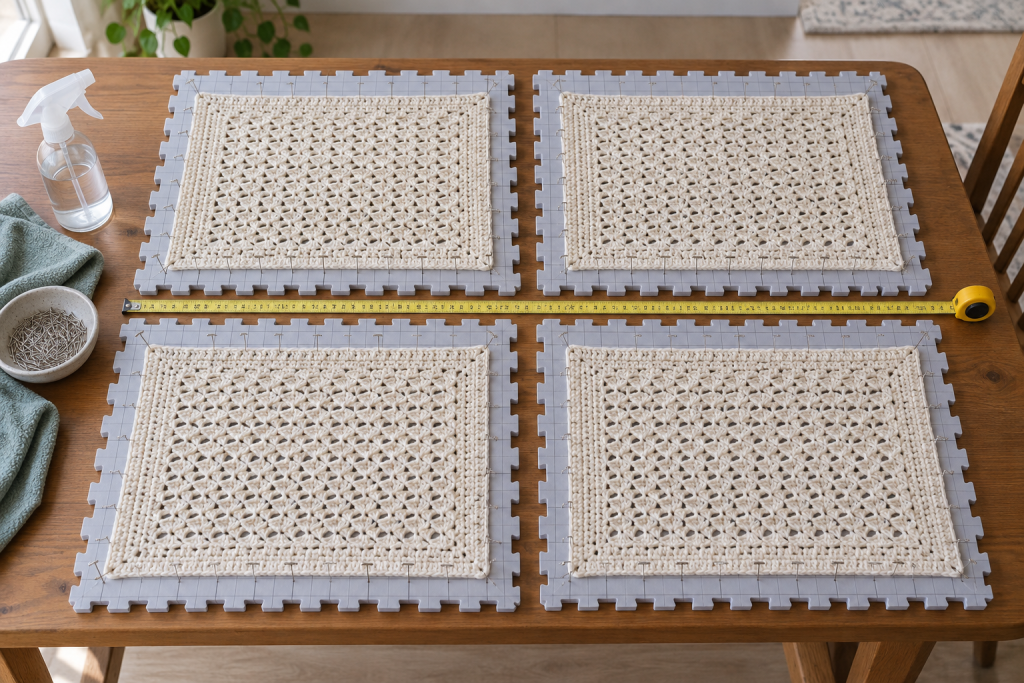
Wash according to the yarn label, remove excess water without twisting and pin each mat to the recorded final size. Measure both diagonals to check that the rectangle is square. Let all pieces dry completely before stacking.
Test stability and care
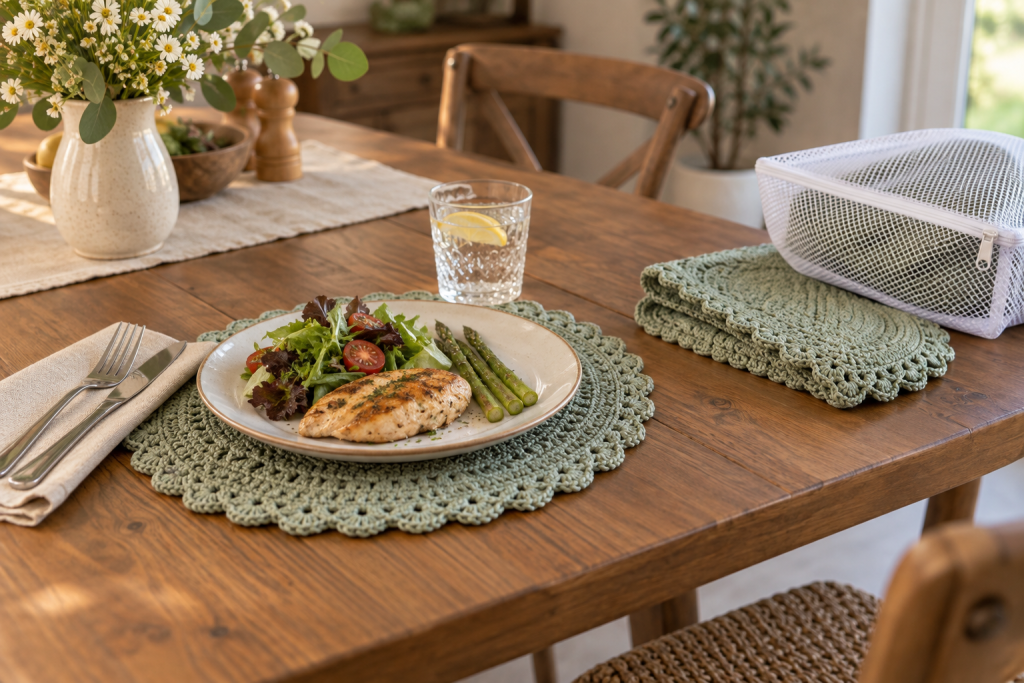
Use ordinary tableware to test the mat. Confirm that glass stems and cup bases remain stable. Treat stains promptly, launder as recommended and reshape while damp. Store flat or rolled; tight folds can leave ridges beneath dishes.
Complete the table setting
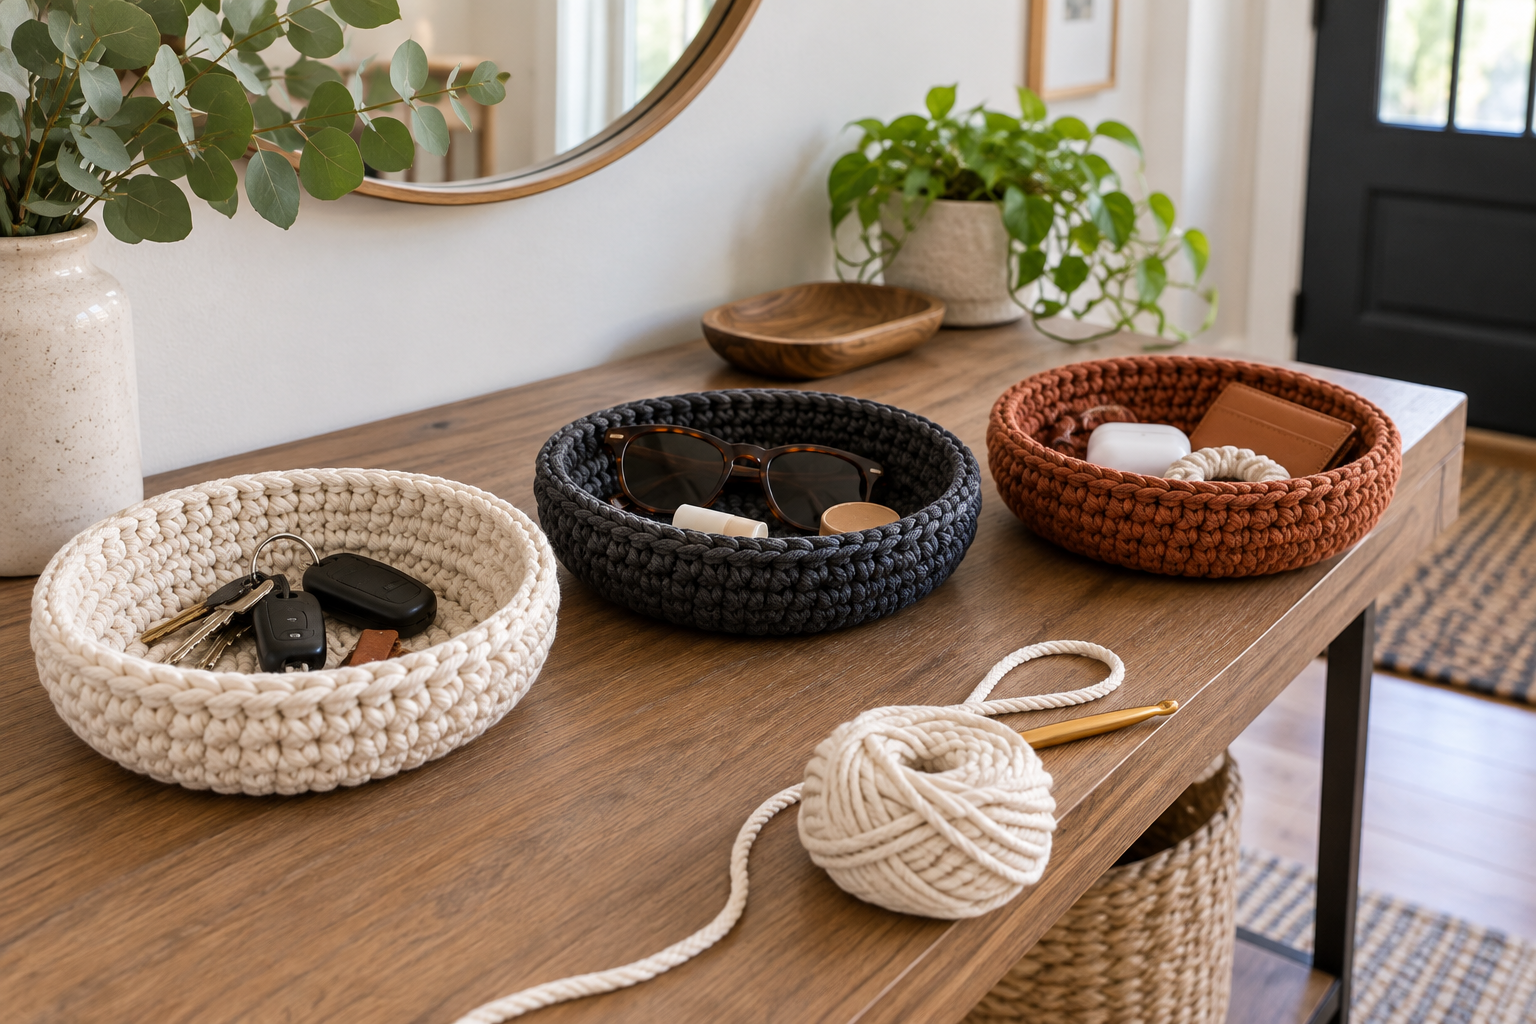
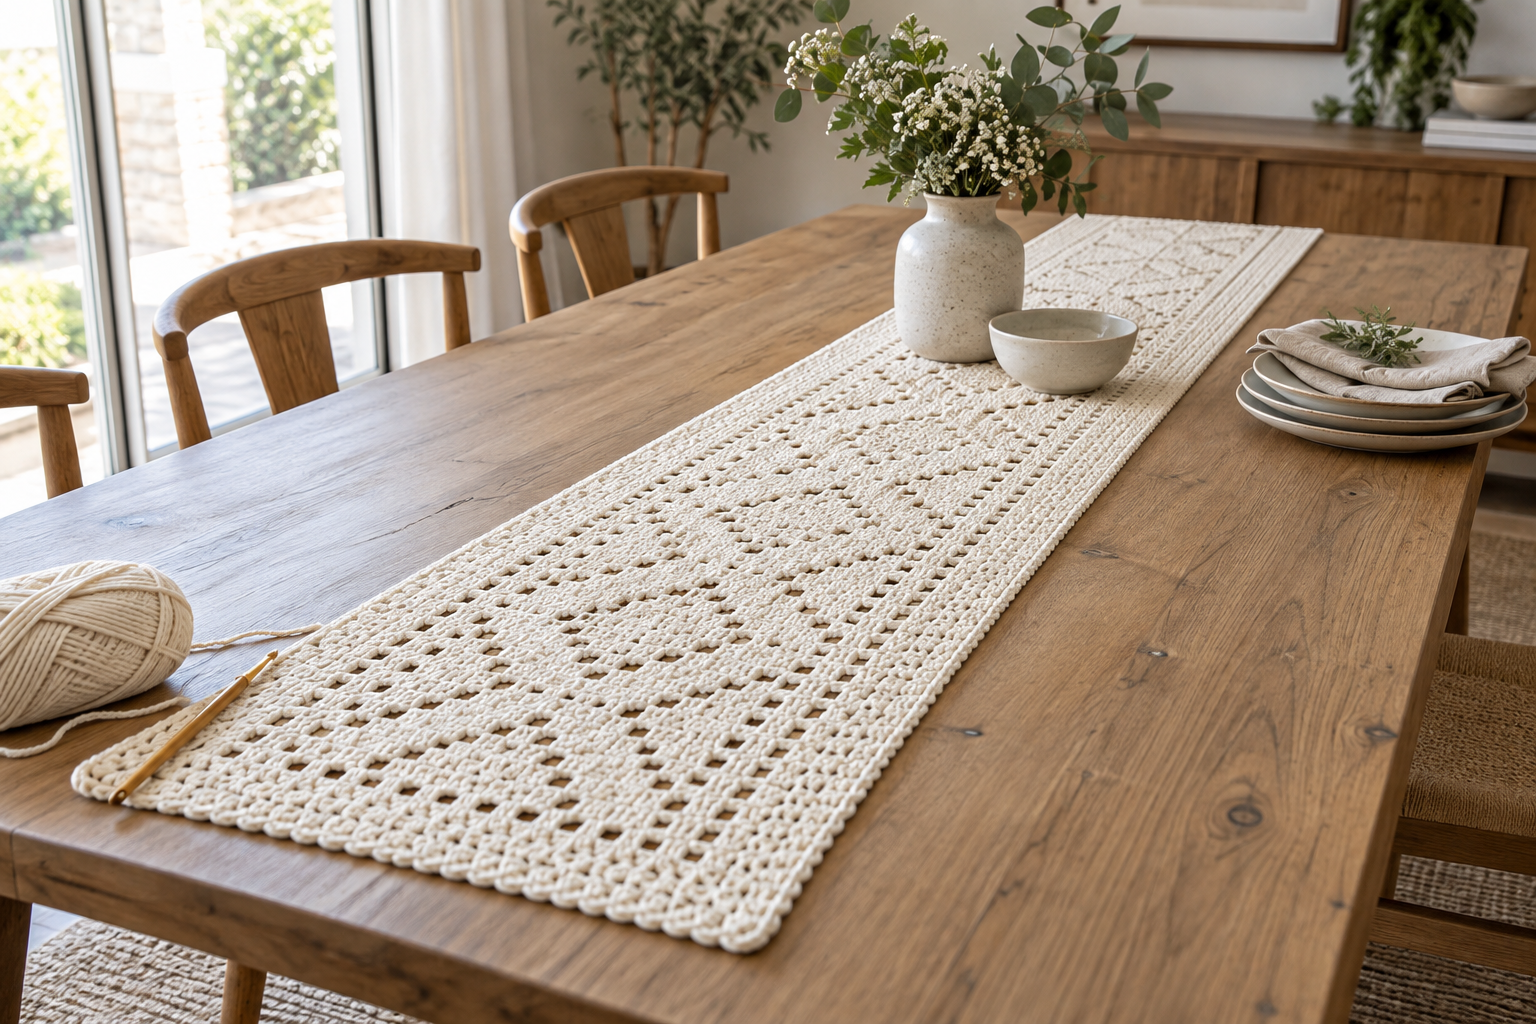
Add a coordinated crochet table runner, matching cotton coasters, or a nearby storage basket for napkins.