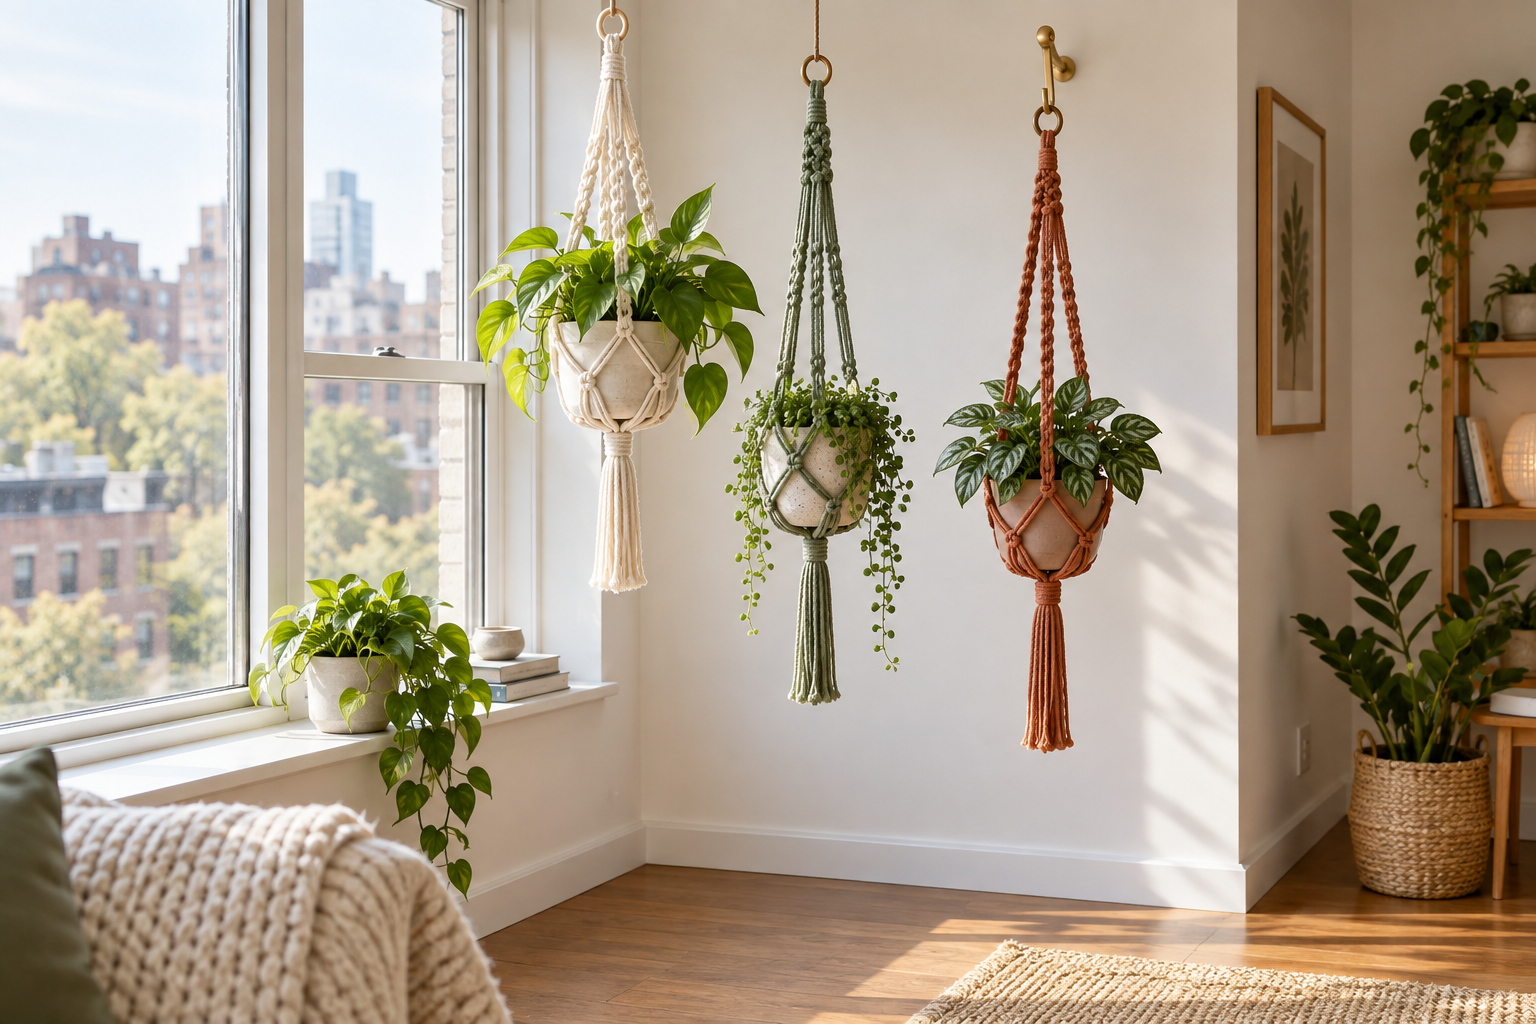
Crochet Plant Hanger Ideas for Small Spaces
A crochet plant hanger is load-bearing décor, so appearance comes after pot weight, strap symmetry and correct mounting. This guide covers planning and cautious testing for lightweight plants in small spaces.
Level: intermediate
Time: 3–7 hours
Best use: lightweight pot and plant
Critical step: test finished weight and use mounting hardware rated for the wall or ceiling
Measure the pot and calculate total weight
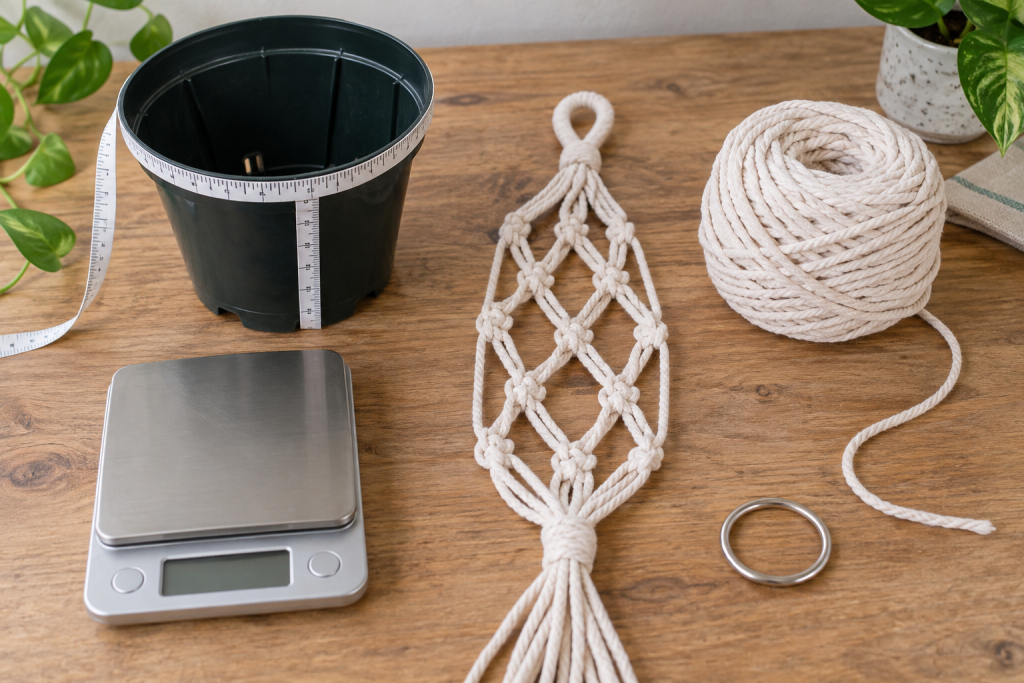
Measure the rim circumference, height and base. Weigh the planted pot after watering and draining, then add a safety margin. Choose the hanging location only after you know the load. Use a lightweight nursery pot inside a decorative cachepot when possible.
Select cord and hardware deliberately
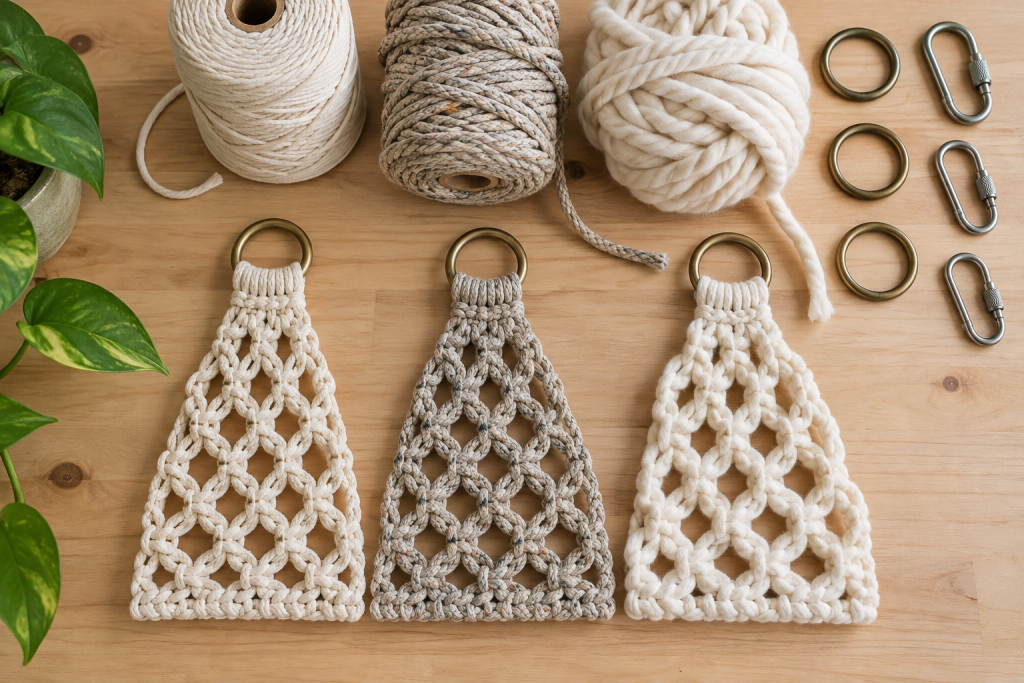
Cotton cord offers grip and visible stitch definition. Braided recycled cord may be strong but varies by manufacturer. Smooth bulky yarn can stretch and is better reserved for very light display pots. Inspect metal rings and clips for closed, smooth edges. Never assume handmade fiber or hardware has a load rating unless the manufacturer provides one.
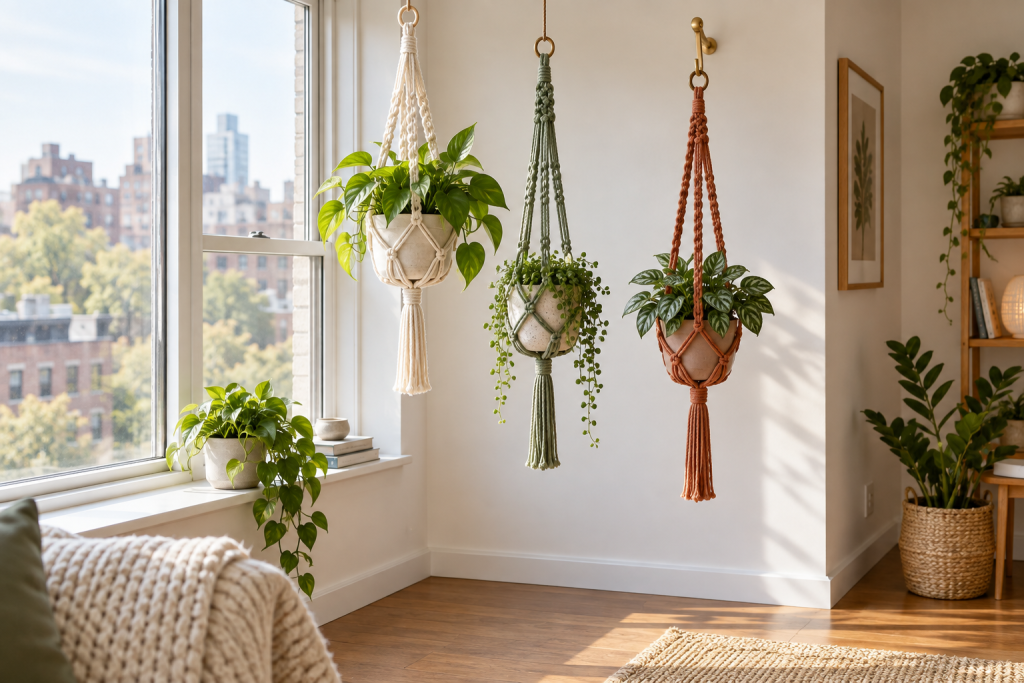
Build a centered basket and equal straps
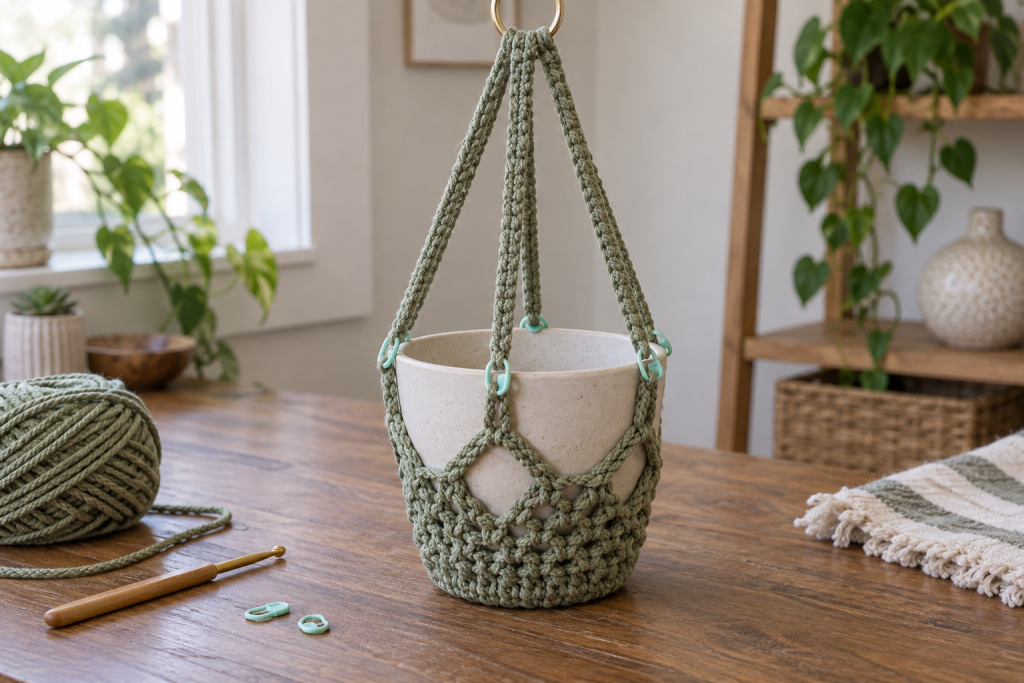
- Crochet a base that supports the pot without blocking drainage.
- Build a basket high enough to prevent the pot tipping.
- Mark three or four equal strap positions.
- Make every strap with the same stitch and row count.
- Join straps to a closed ring and verify the pot sits level while empty.
Open decorative mesh must remain smaller than the widest part of the pot so it cannot slip through.
Perform a cautious low-level load test
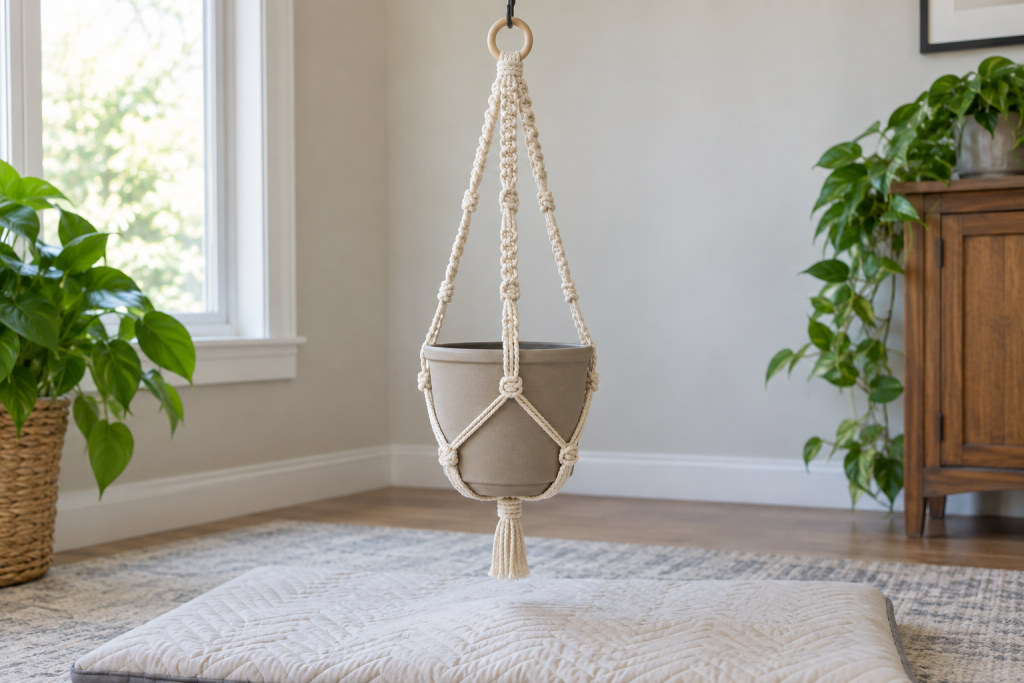
Test with an empty practice pot, then gradually add non-fragile weight up to the intended wet load plus margin. Leave it suspended low for several hours and inspect straps, joins and ring contact points for stretching or abrasion. Do not proceed if stitches shift or the pot tilts.
Use suitable mounting hardware
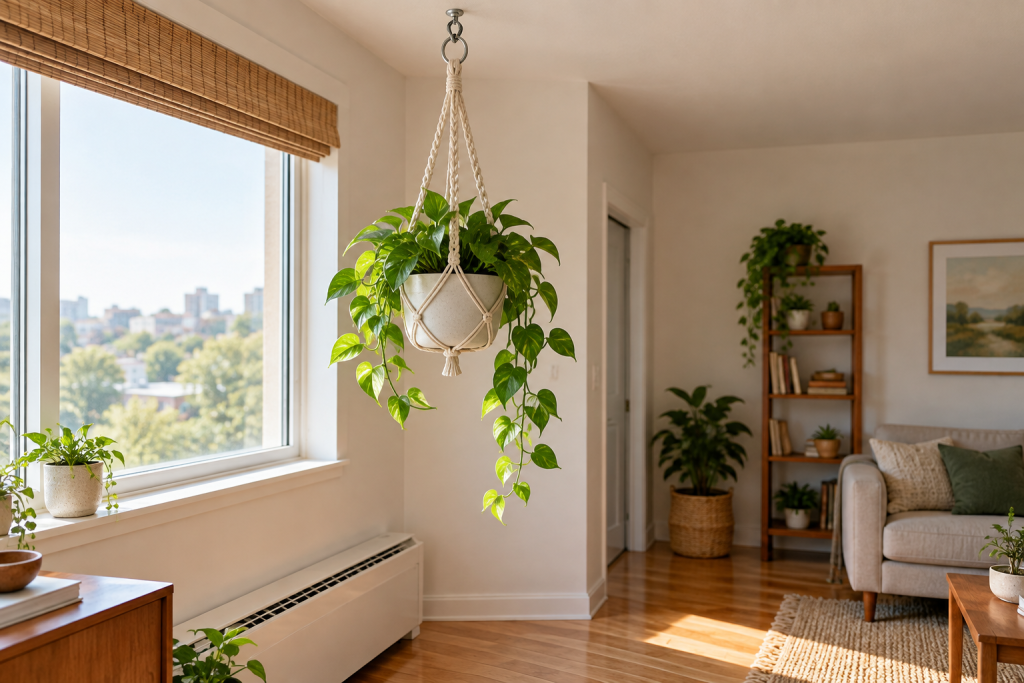
Follow mounting-hardware instructions for the actual ceiling or wall construction. When unsure, use a qualified installer. Keep the hanger away from beds, cribs, play areas, walkways, heaters and electrical equipment. Remove the pot for watering, let it drain fully and wipe the outside before returning it.
Inspect and maintain it
Check the ring, cord and mount monthly and after every move. Retire the hanger if fibers fray, joins loosen or straps become uneven. Wash only when the cord manufacturer permits it, and retest after drying because fiber dimensions may change.
More small-space crochet décor
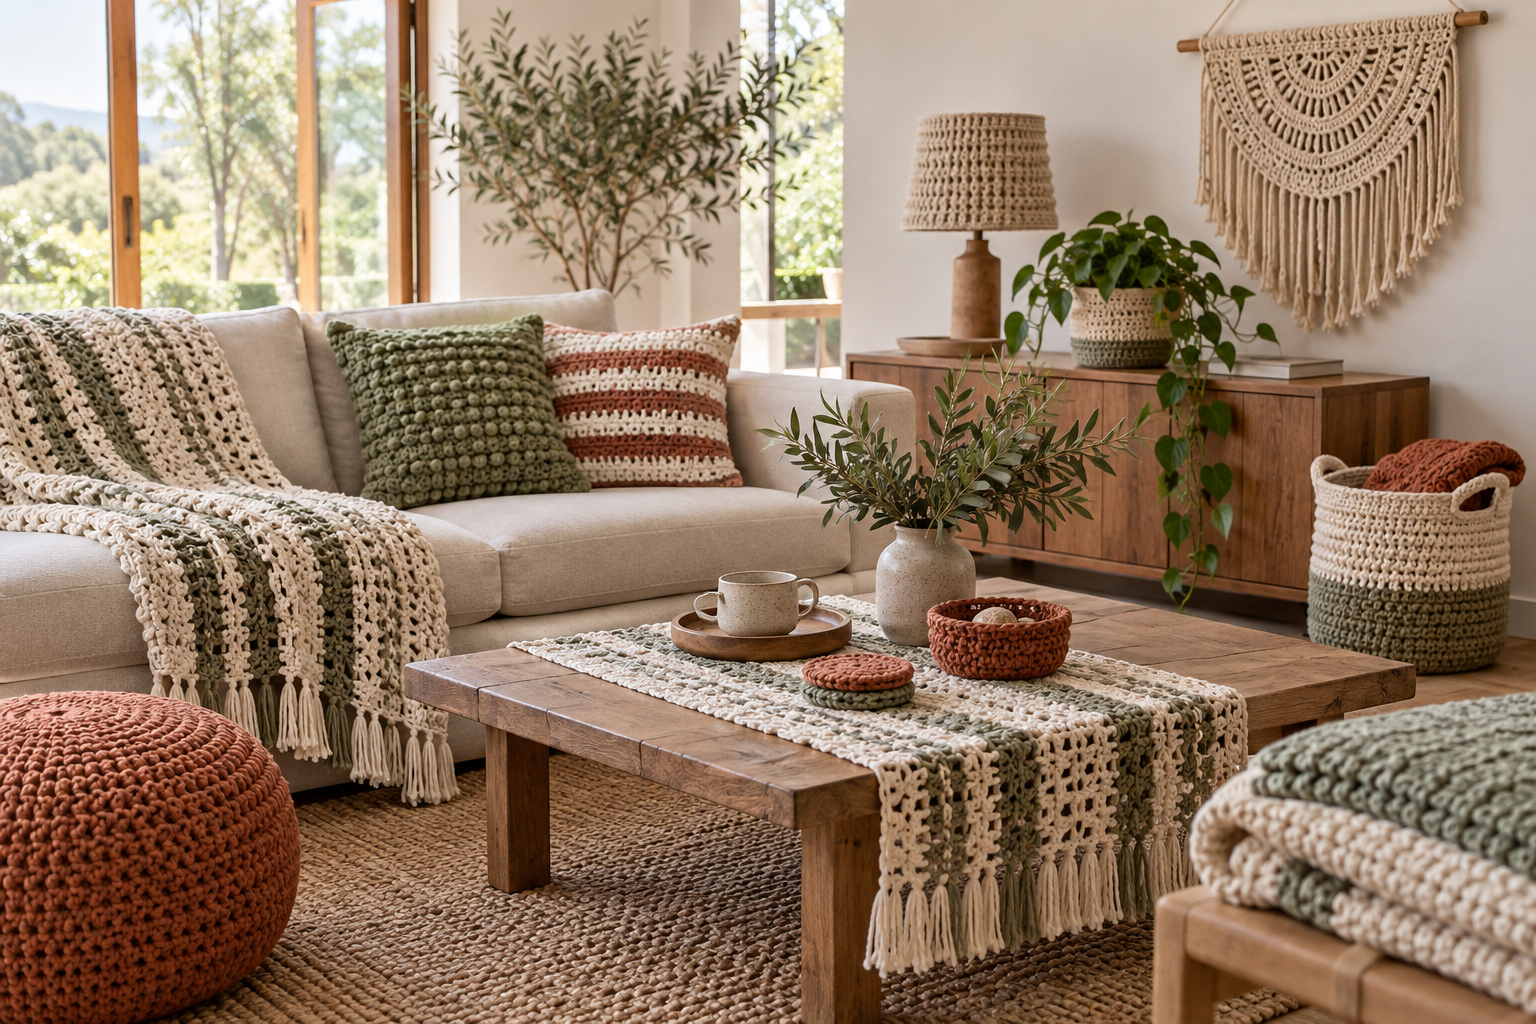
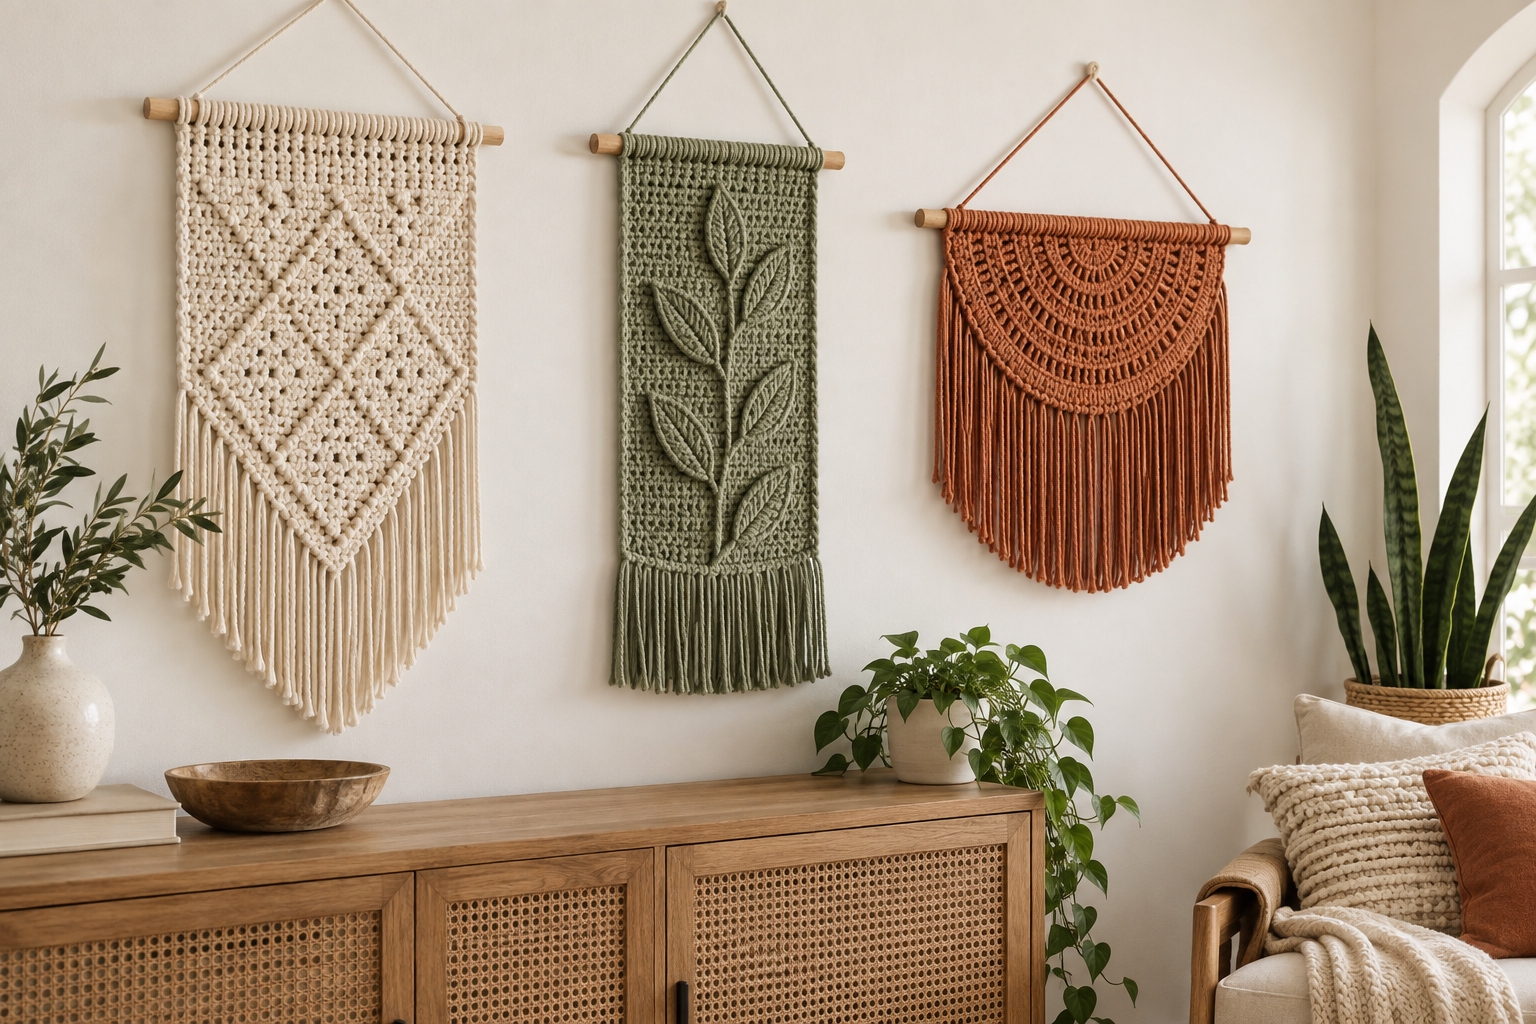
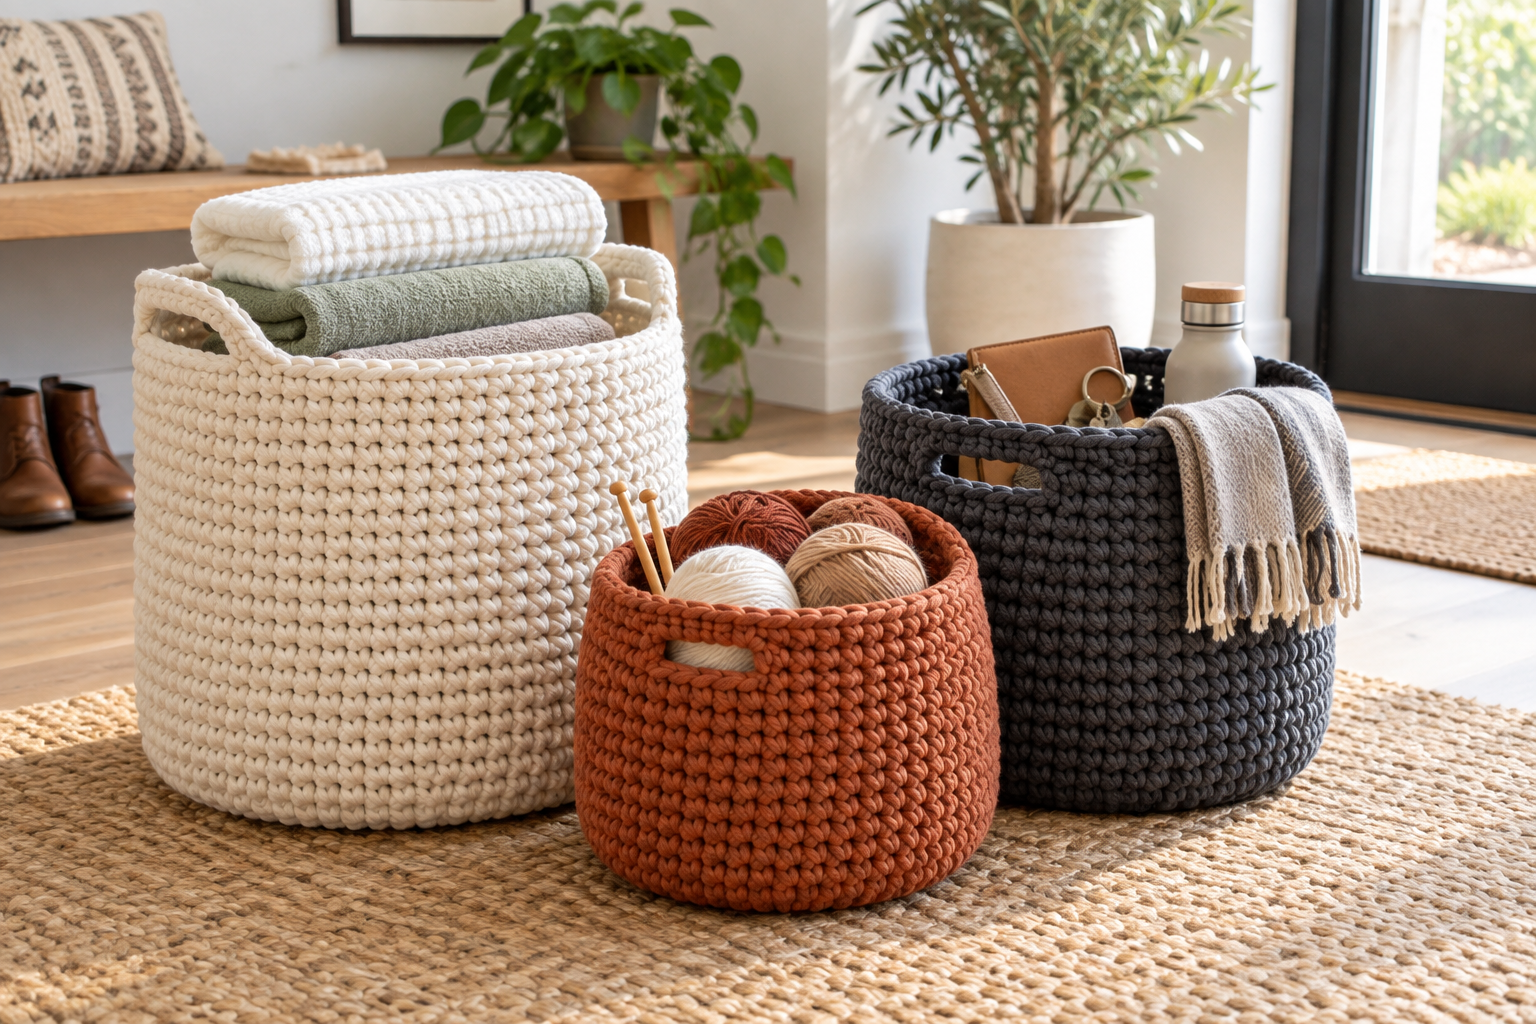
Use a non-hanging plant pot cozy, create a lightweight wall hanging, or organize supplies in crochet baskets.