Crochet Wall Hanging Ideas for Beginners
A crochet wall hanging should be planned for a specific wall, supported evenly and mounted according to its finished weight. This beginner guide combines composition, material choice, straight construction and safer installation.
Level: beginner to confident beginner
Time: 4–12 hours
Support: smooth dowel, prepared branch or metal ring
Installation: matched to finished weight and wall type
Plan the composition at full scale
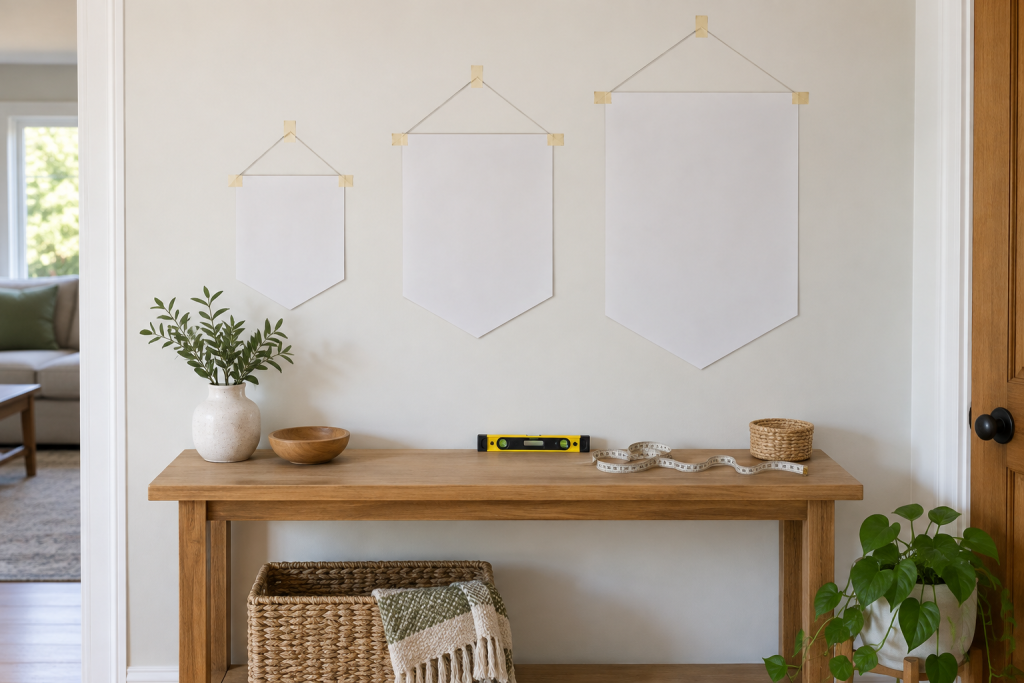
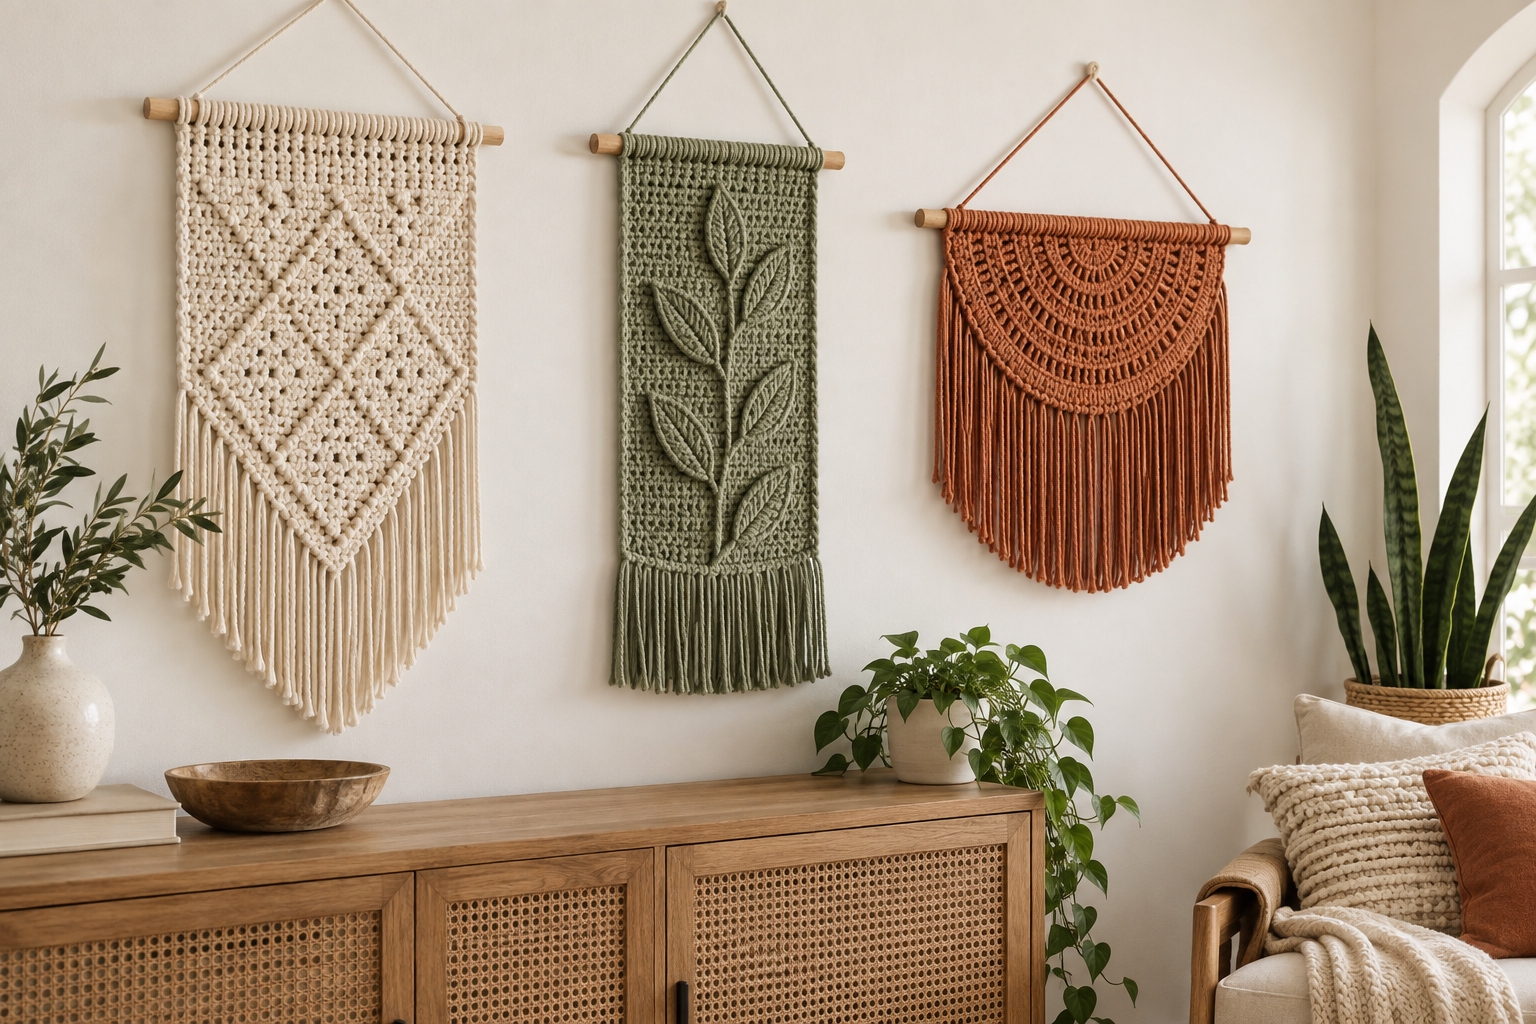
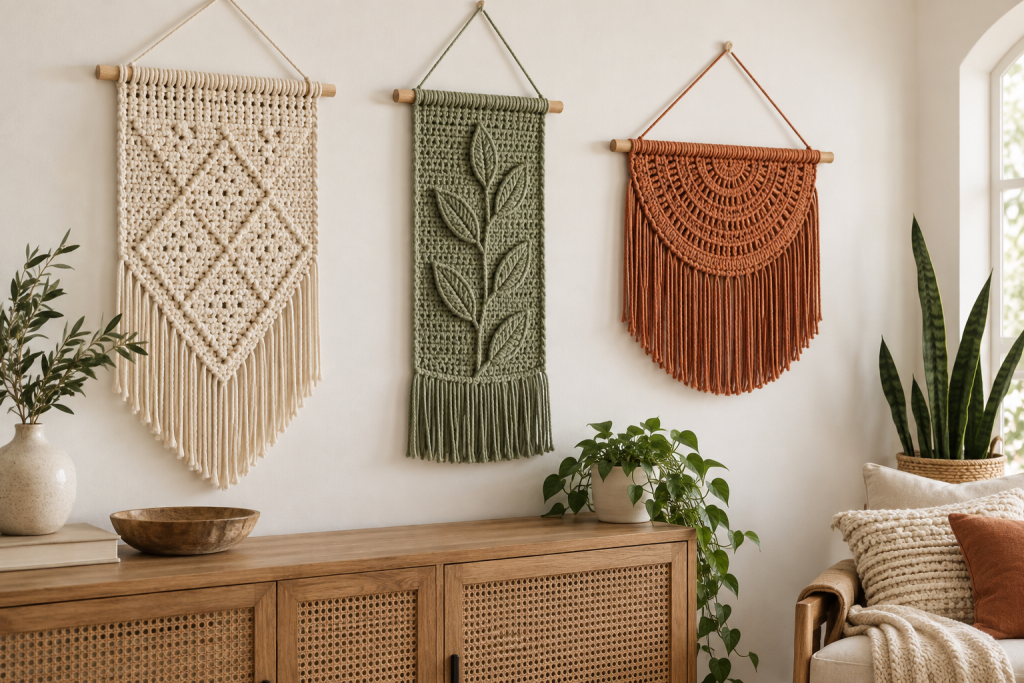
Measure the available wall area and mark furniture width below it. Tape up paper templates and view them from across the room. A single hanging can occupy roughly one-half to two-thirds of the furniture width, but the surrounding negative space matters more than a rigid rule.
Match yarn and support to the design
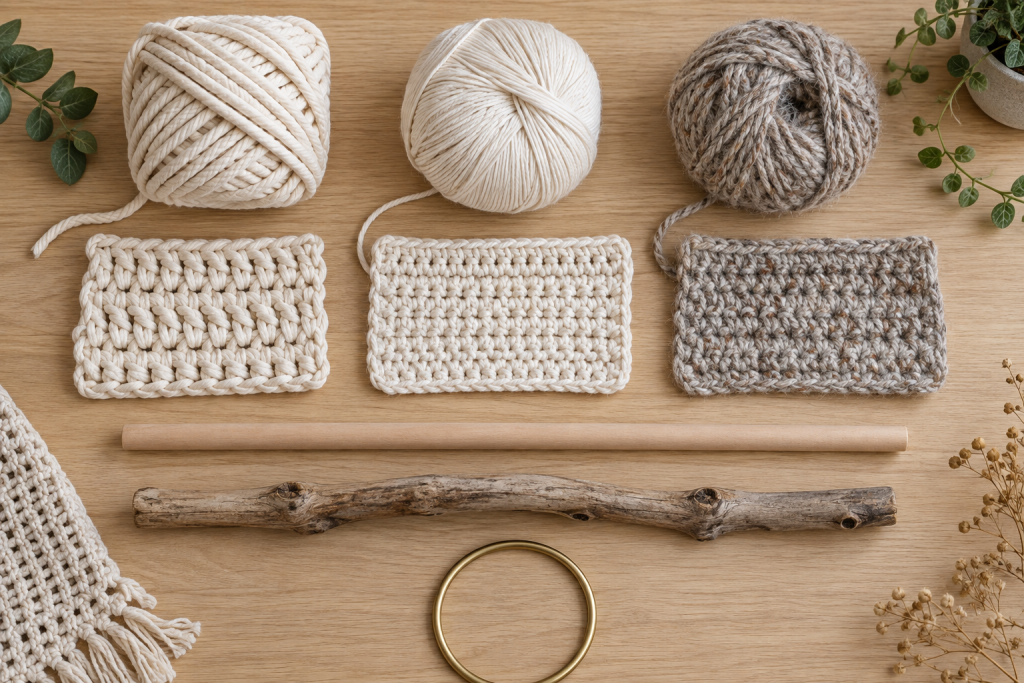
Smooth cotton holds clean lines and is easiest for beginners. Wool blends soften fringes but may collect dust. Heavy cord needs a stronger support and wall fixing. Sand a branch, remove loose bark and check for insects before bringing it indoors. Inspect every dowel for cracks and splinters.
Keep motifs and edges aligned
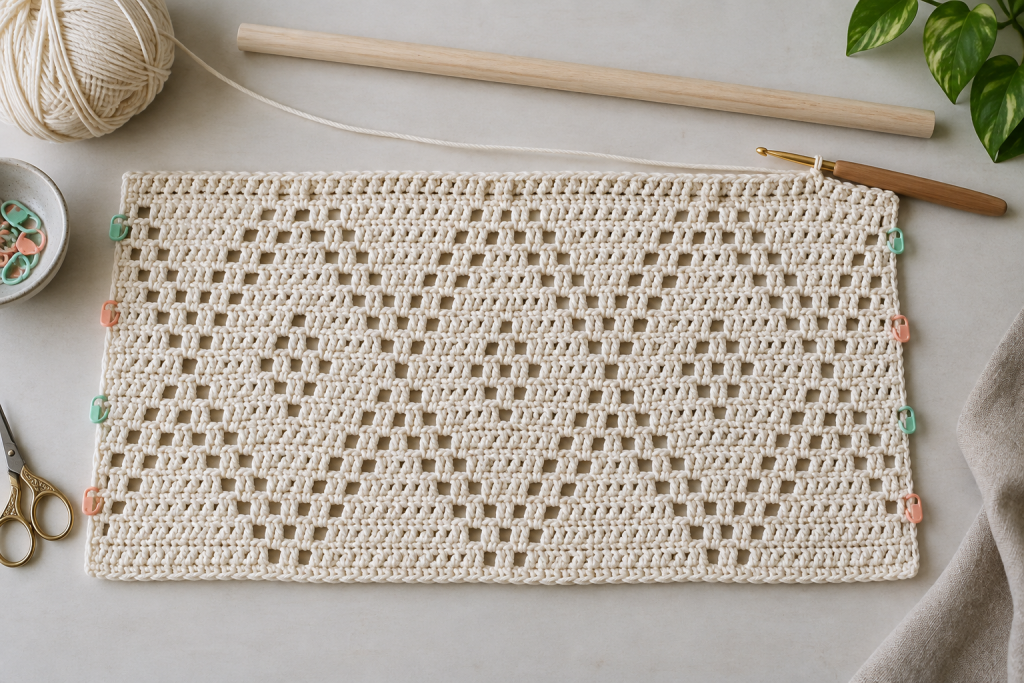
Make a swatch containing one complete motif. Mark the first and last stitch and each repeat. Lay the work flat regularly to find taper or twist. For color blocks, change yarn at the final yarn-over of the previous stitch and secure tails on the back where they cannot cast visible shadows through openwork.
Attach the panel evenly
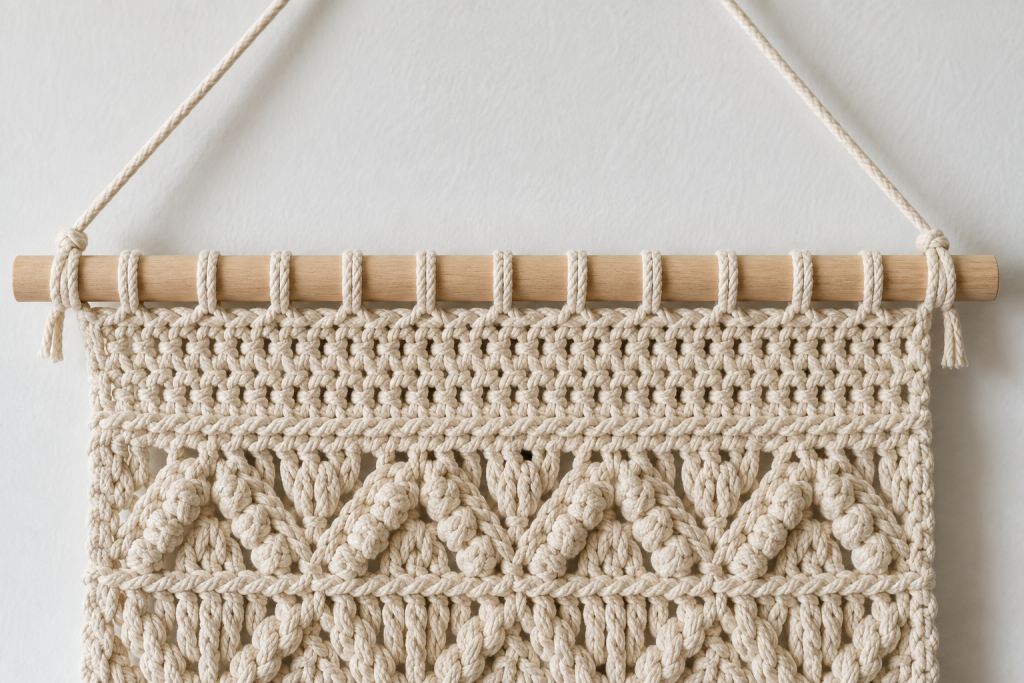
Block the panel first. Mark its center and quarter points, then match them to the support. Crochet loops, lark’s-head attachments or sewn channels should all be consistent in length. Tie the hanging cord securely at both ends and test it while the piece lies over a soft surface.
Install according to weight and location
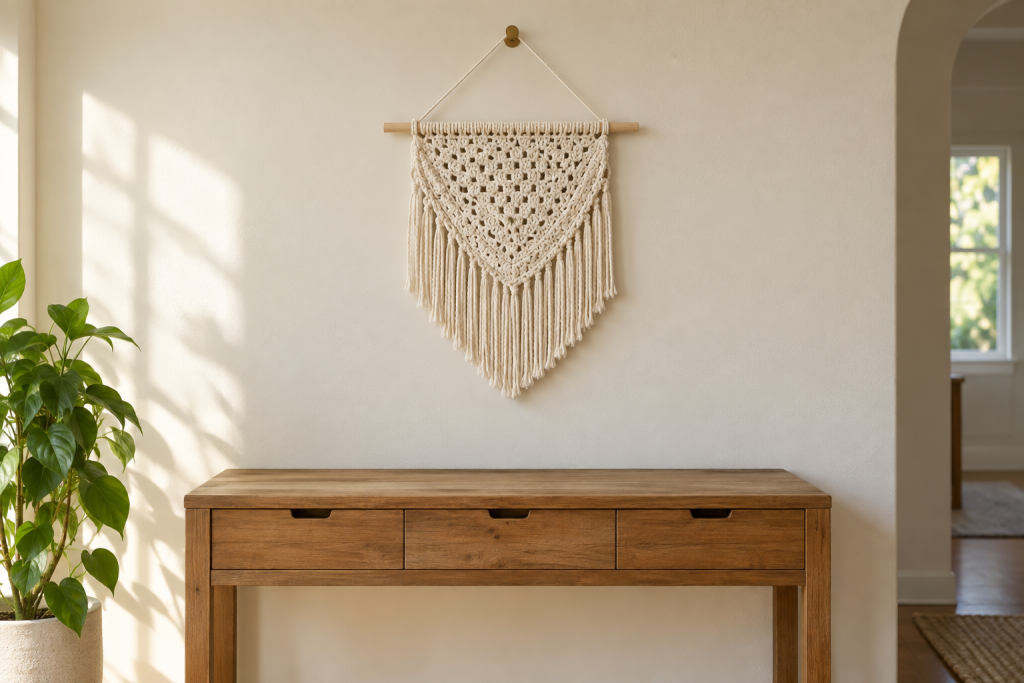
Weigh the completed piece, then follow the mounting-hardware manufacturer’s limits and instructions for your wall type. Do not hang heavy dowels above a bed, crib or play area. Keep yarn away from candles, heaters, cooking surfaces, damp zones and air vents that collect dust.
Clean without distorting the support
Dust gently with low suction through a screen or use a soft cloth according to fiber needs. Remove the panel from the dowel before wet cleaning when possible. Dry flat and reattach only when completely dry.
Coordinate handmade décor
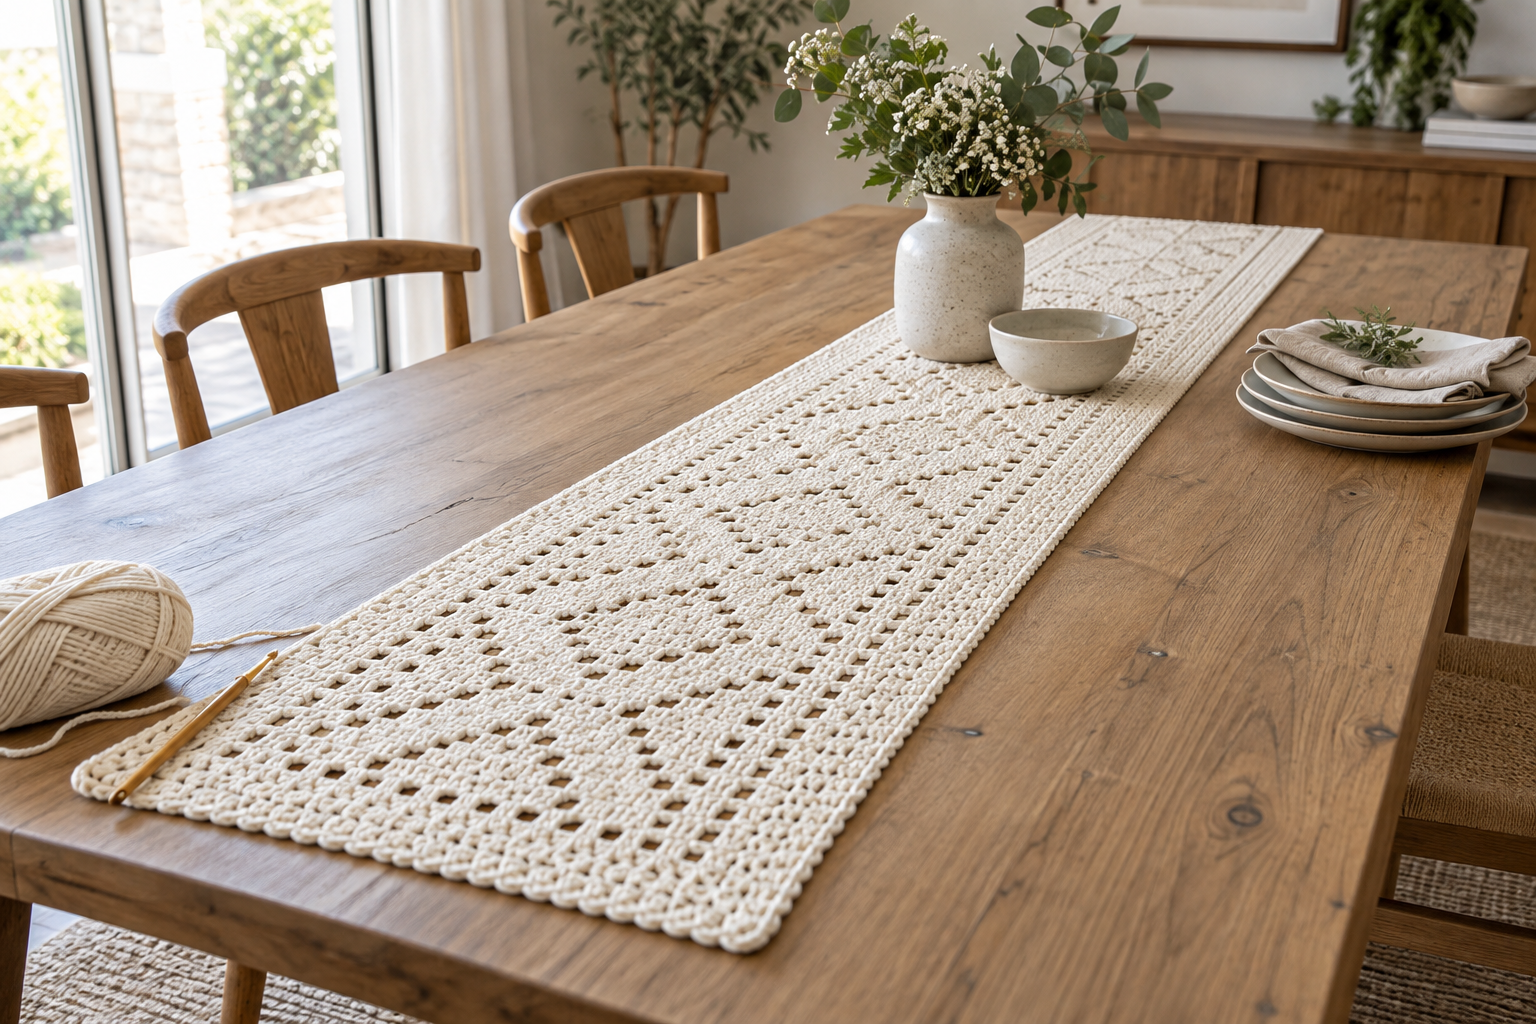
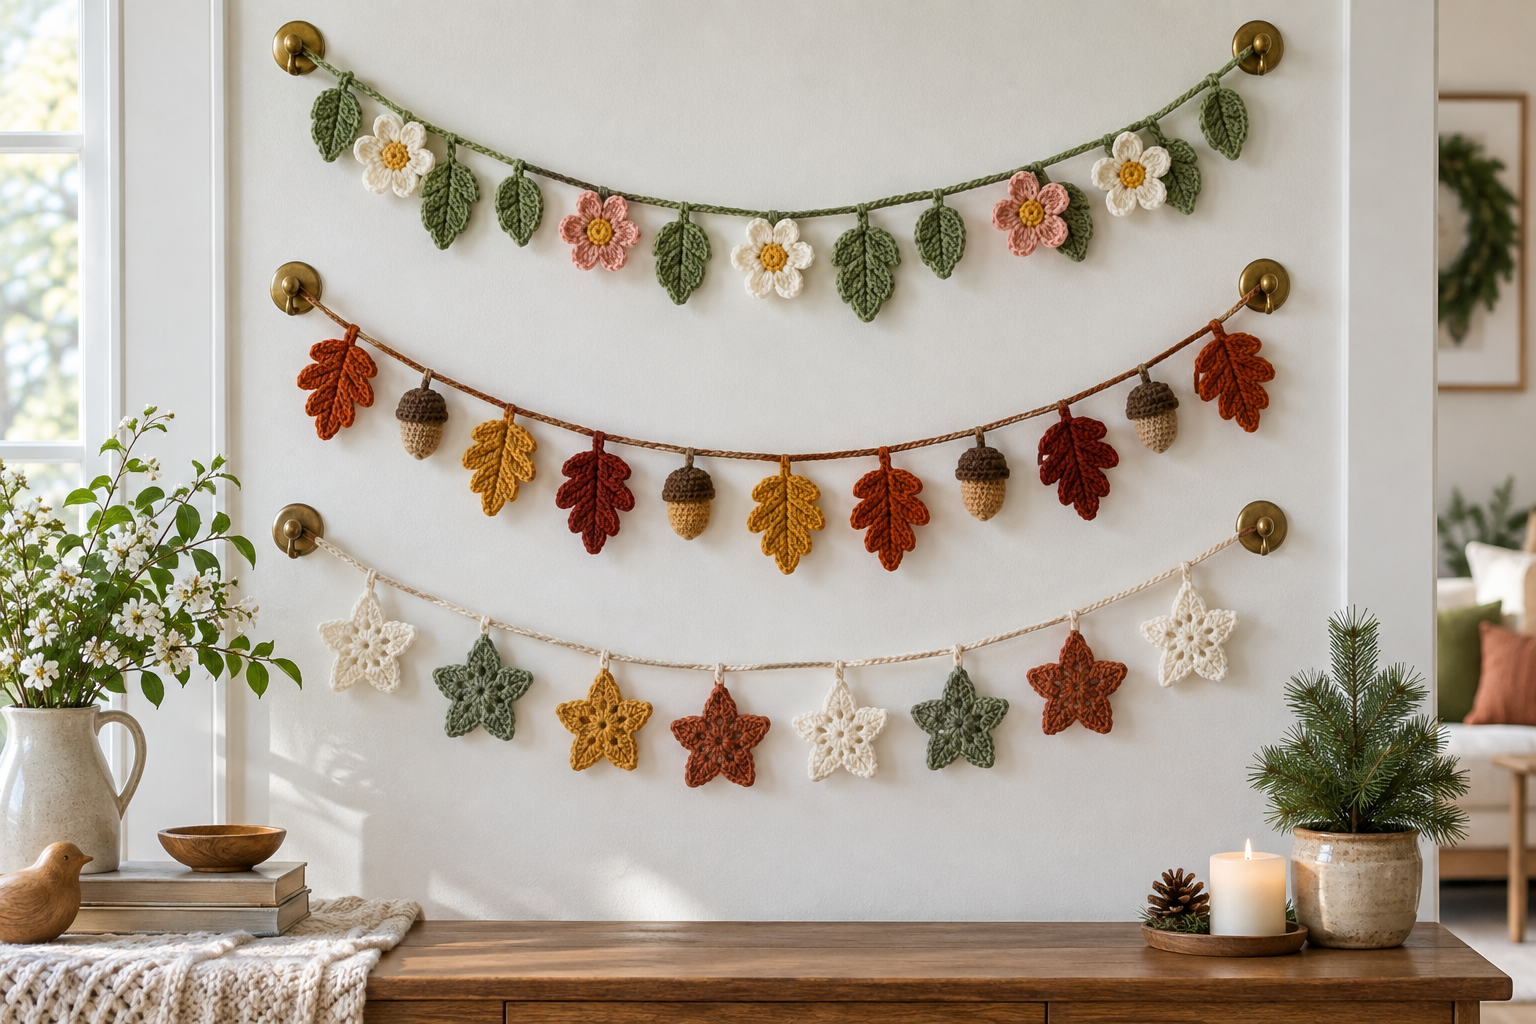
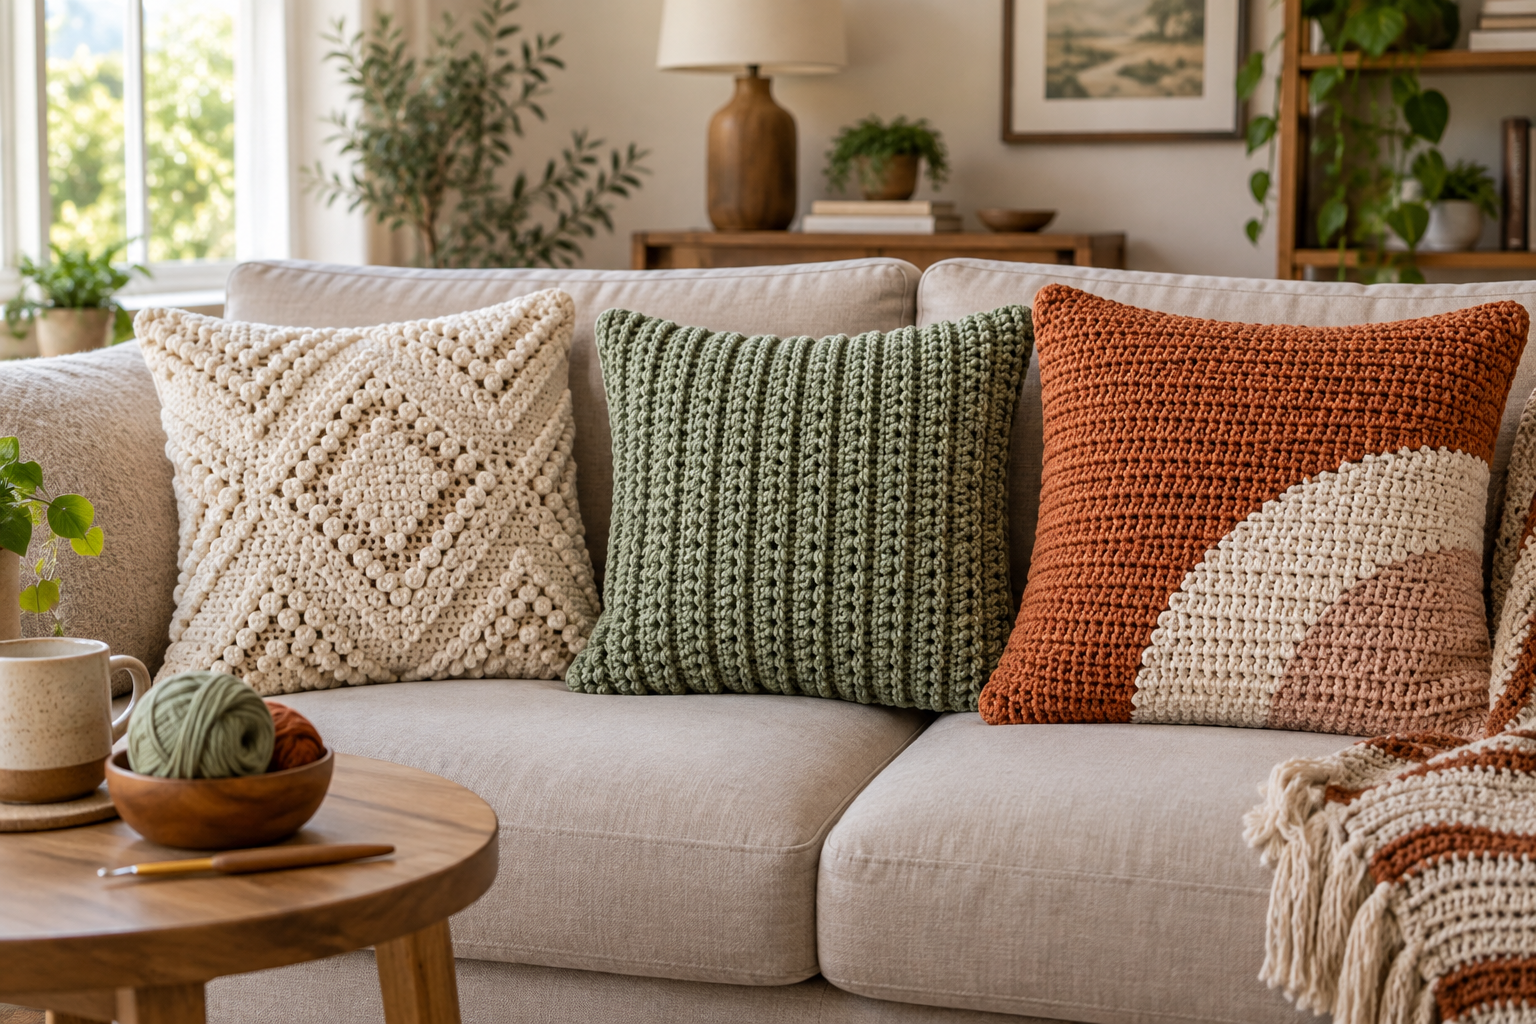
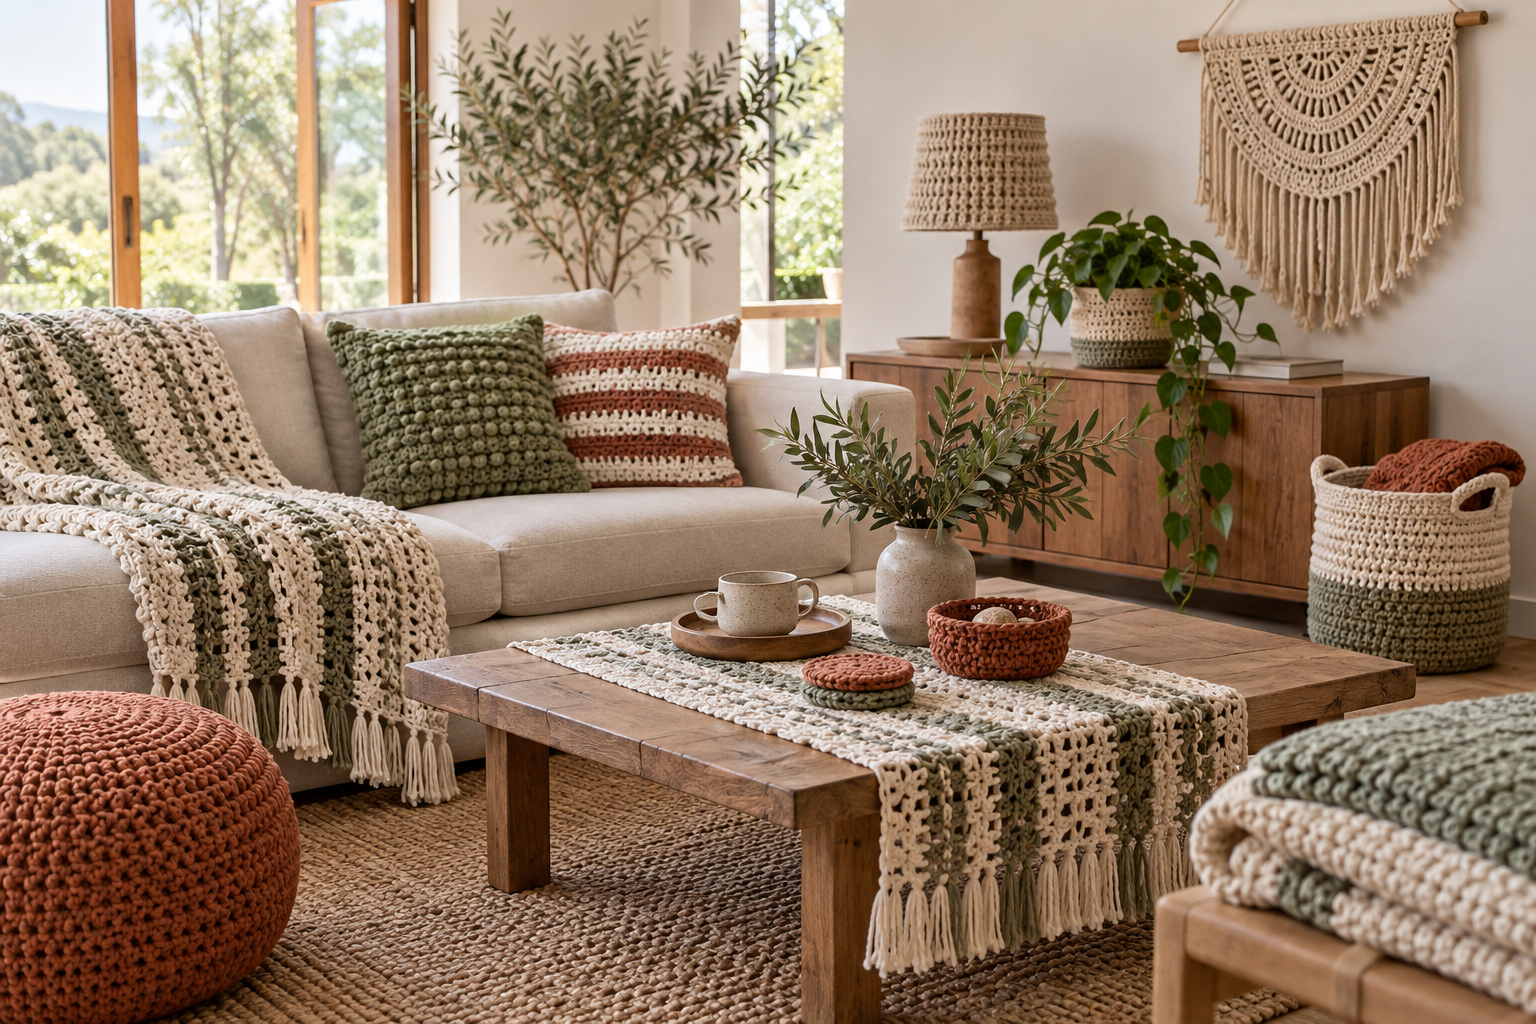
Repeat the palette in cushion covers, a narrow table runner, or a lightweight seasonal garland.