Crochet Cushion Cover Ideas for a Cozy Living Room
A successful crochet cushion cover fits the insert closely, opens for washing and balances texture with everyday comfort. This guide explains measurement, fabric choice, removable constructions and finishing for a modern living room.
Level: confident beginner
Time: 8–18 hours
Construction: matching panels or one folded rectangle
Best feature: removable washable cover
Measure the insert, not its label
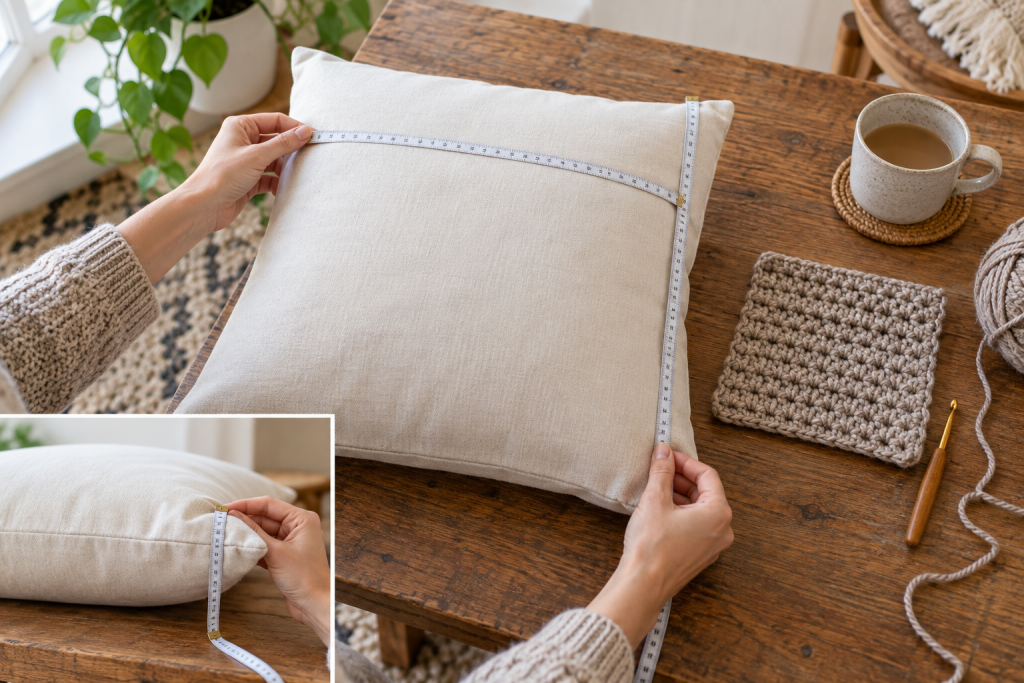
Measure seam to seam across the center of the insert without compressing it. Crochet fabric stretches, so the finished flat cover is usually equal to or slightly smaller than the insert face. Thick inserts require more depth allowance at the edges. Make and wash a gauge swatch before calculating stitch and row counts.
Choose texture for comfort and maintenance
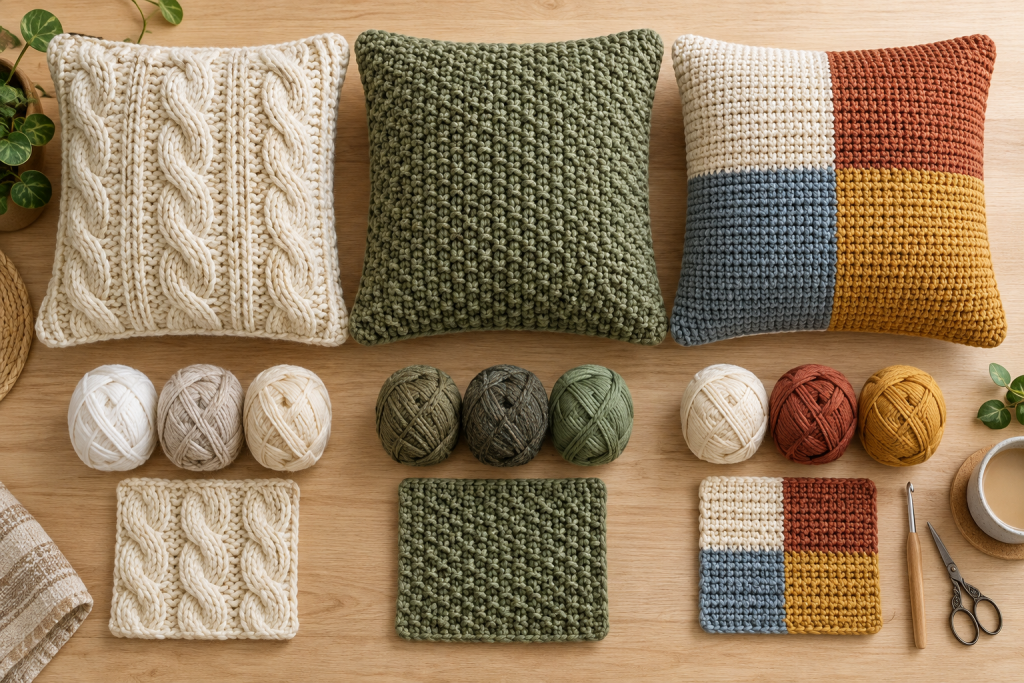
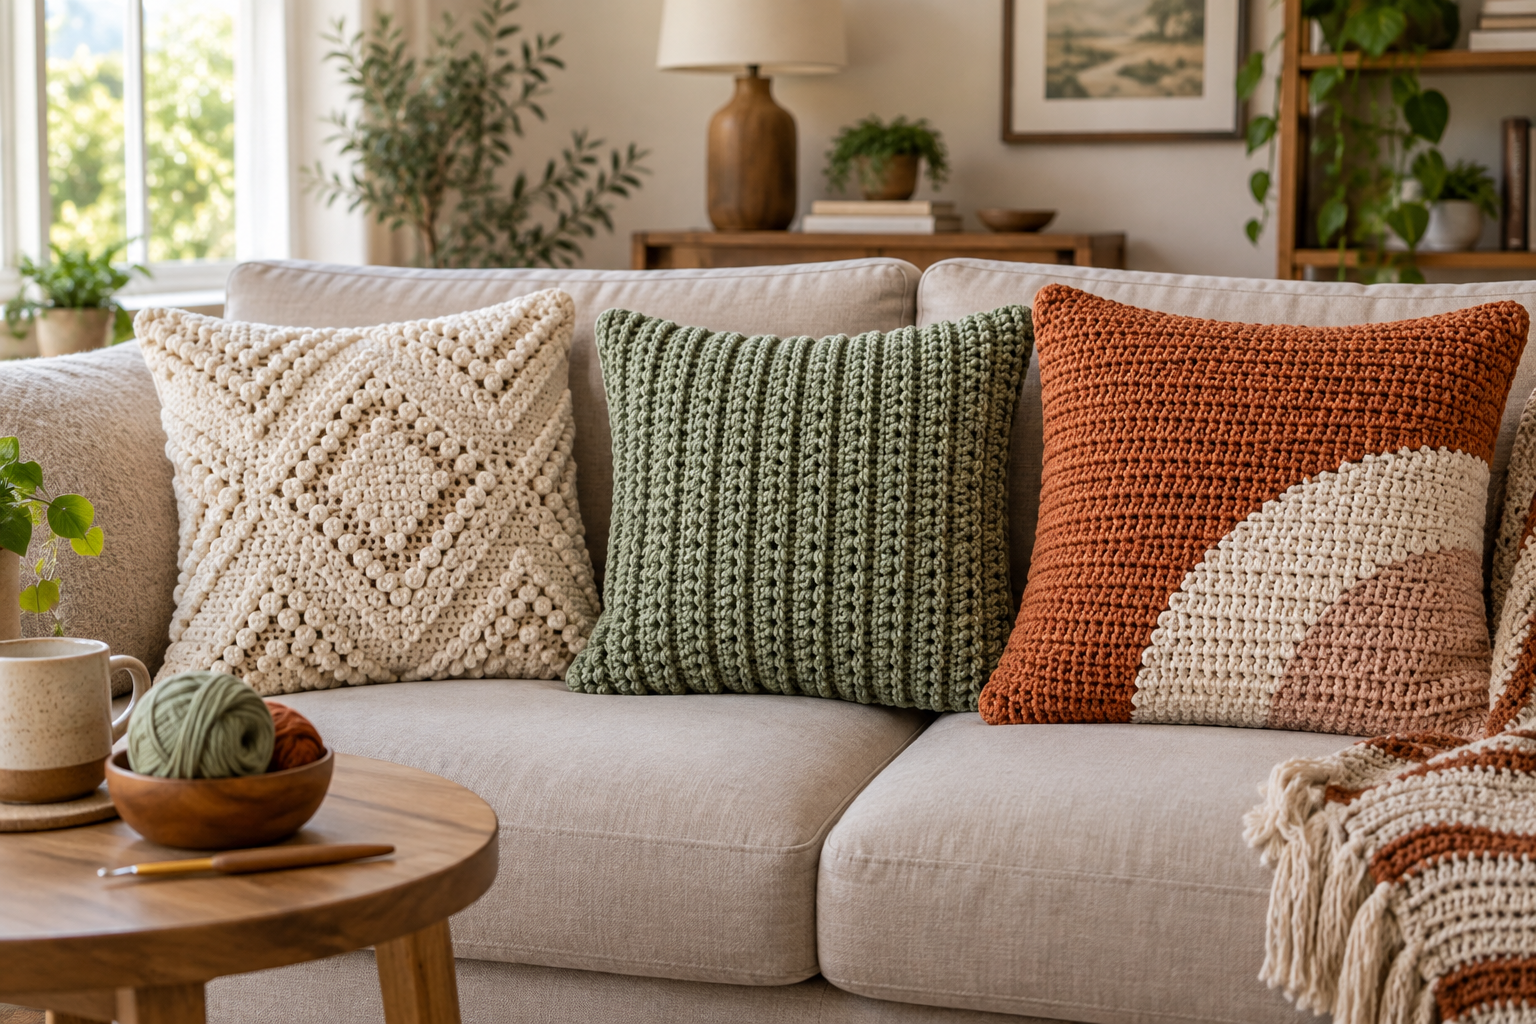
Place pronounced cables or bobbles on the front only; a smoother back feels better against the body and furniture. Cotton holds stitch definition and washes well. Wool blends feel warm but may require hand washing. Acrylic offers easy care but can pill in high-friction seating areas. Test the swatch against bare skin and upholstery.
Select an opening you can maintain
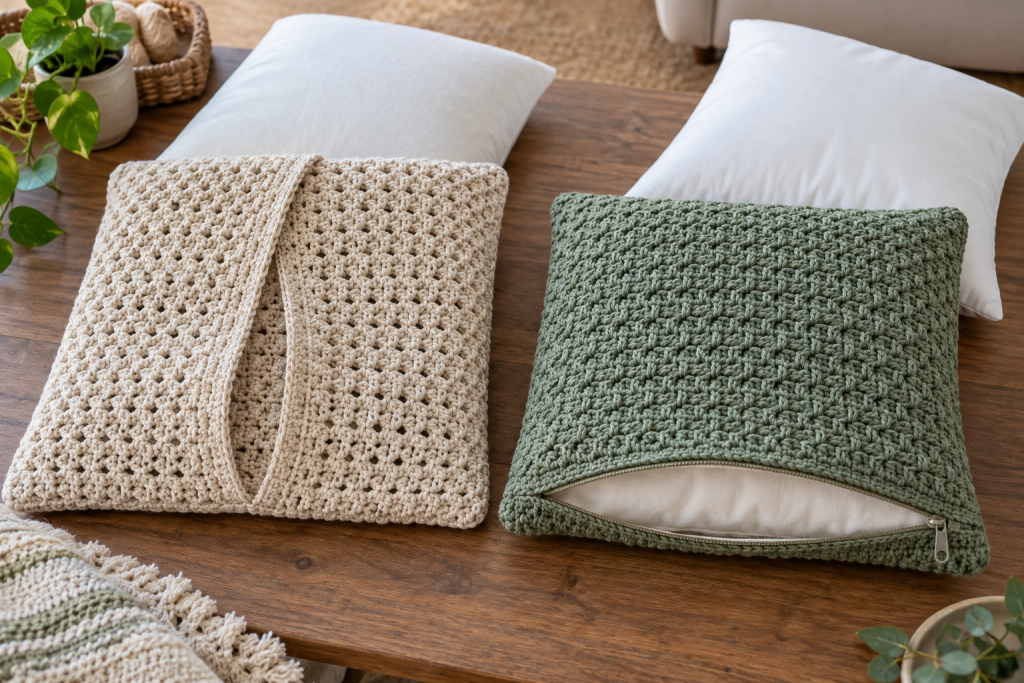
An envelope back uses overlapping panels and is the easiest removable option. Make the overlap deep enough that the insert cannot show when compressed. A zipper gives a tailored fit but should be hand-sewn through reinforced edge stitches, not loosely attached to surface fibers. Buttons can work for older households, but add bulk and detachable parts.
Match panels before seaming
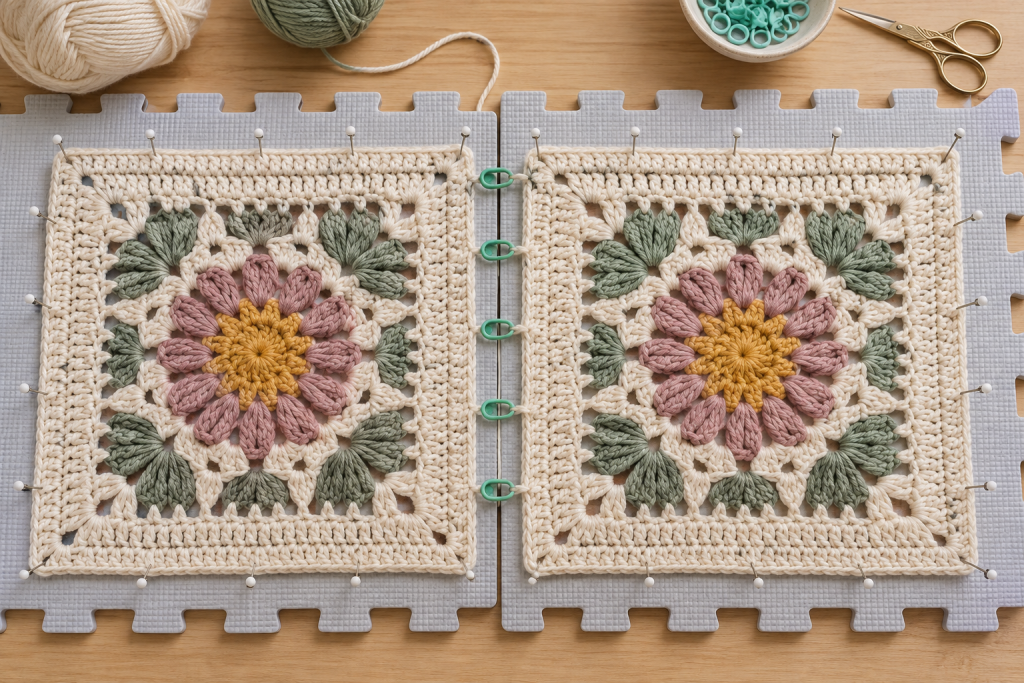
- Wash or damp-block both panels according to the yarn label.
- Pin them to equal dimensions and let them dry fully.
- Mark corners and edge midpoints before joining.
- Seam from the center outward so small differences are distributed.
- Insert the cushion and inspect every corner before trimming tails.
If the cover gapes, shorten the opening or add deeper overlap. If corners pull inward, the seam may be too tight or the panel too small.
Style with a controlled palette
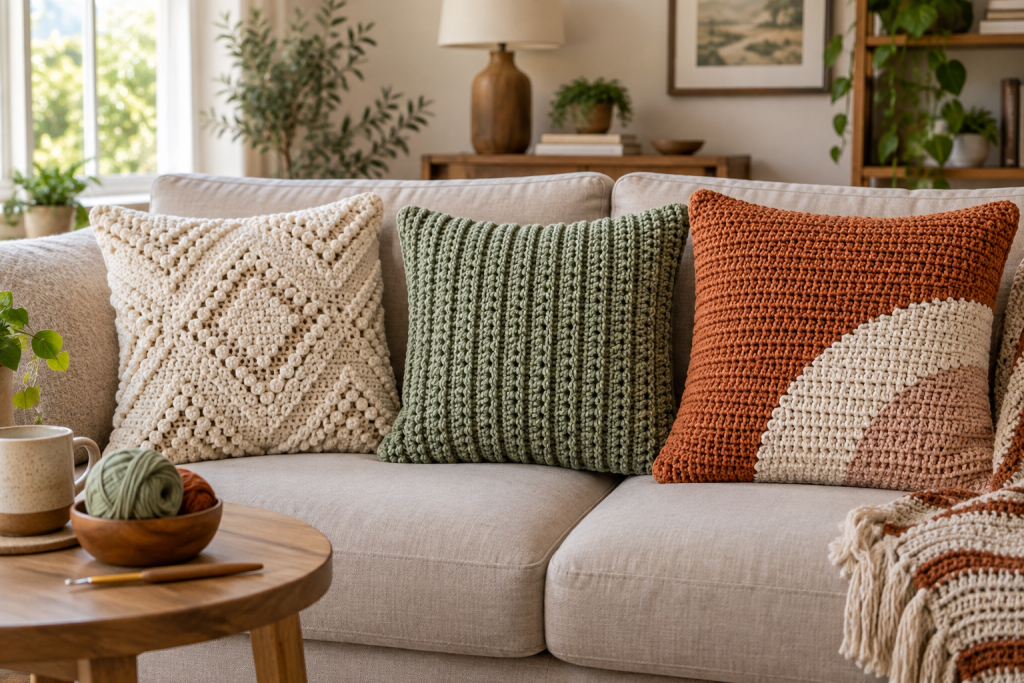
Choose one color already present in the room, one neutral and one smaller accent. Mix stitch scale rather than using a different strong motif on every cushion. Odd-numbered groups often feel natural, but leave enough sofa space for comfortable sitting.
Remove, wash and reshape
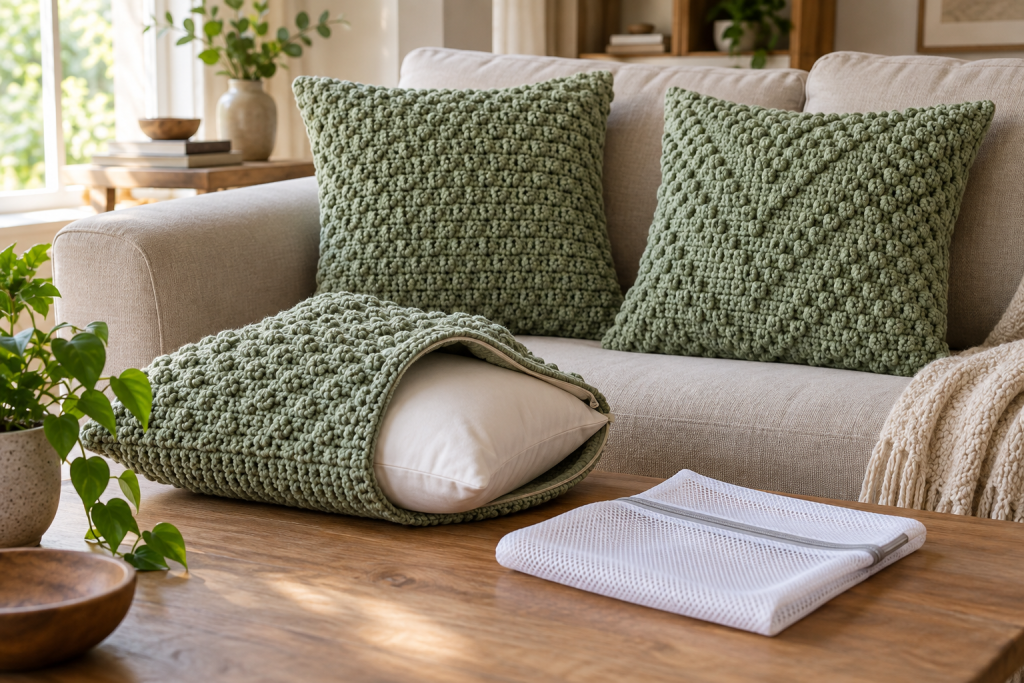
Remove the insert, close zippers or buttons and wash according to the fiber label. Use a mesh bag for delicate texture. Reshape the empty cover to measured dimensions and dry flat. Reinsert only when completely dry, working the corners in gradually instead of stretching one opening.
Coordinate the living room
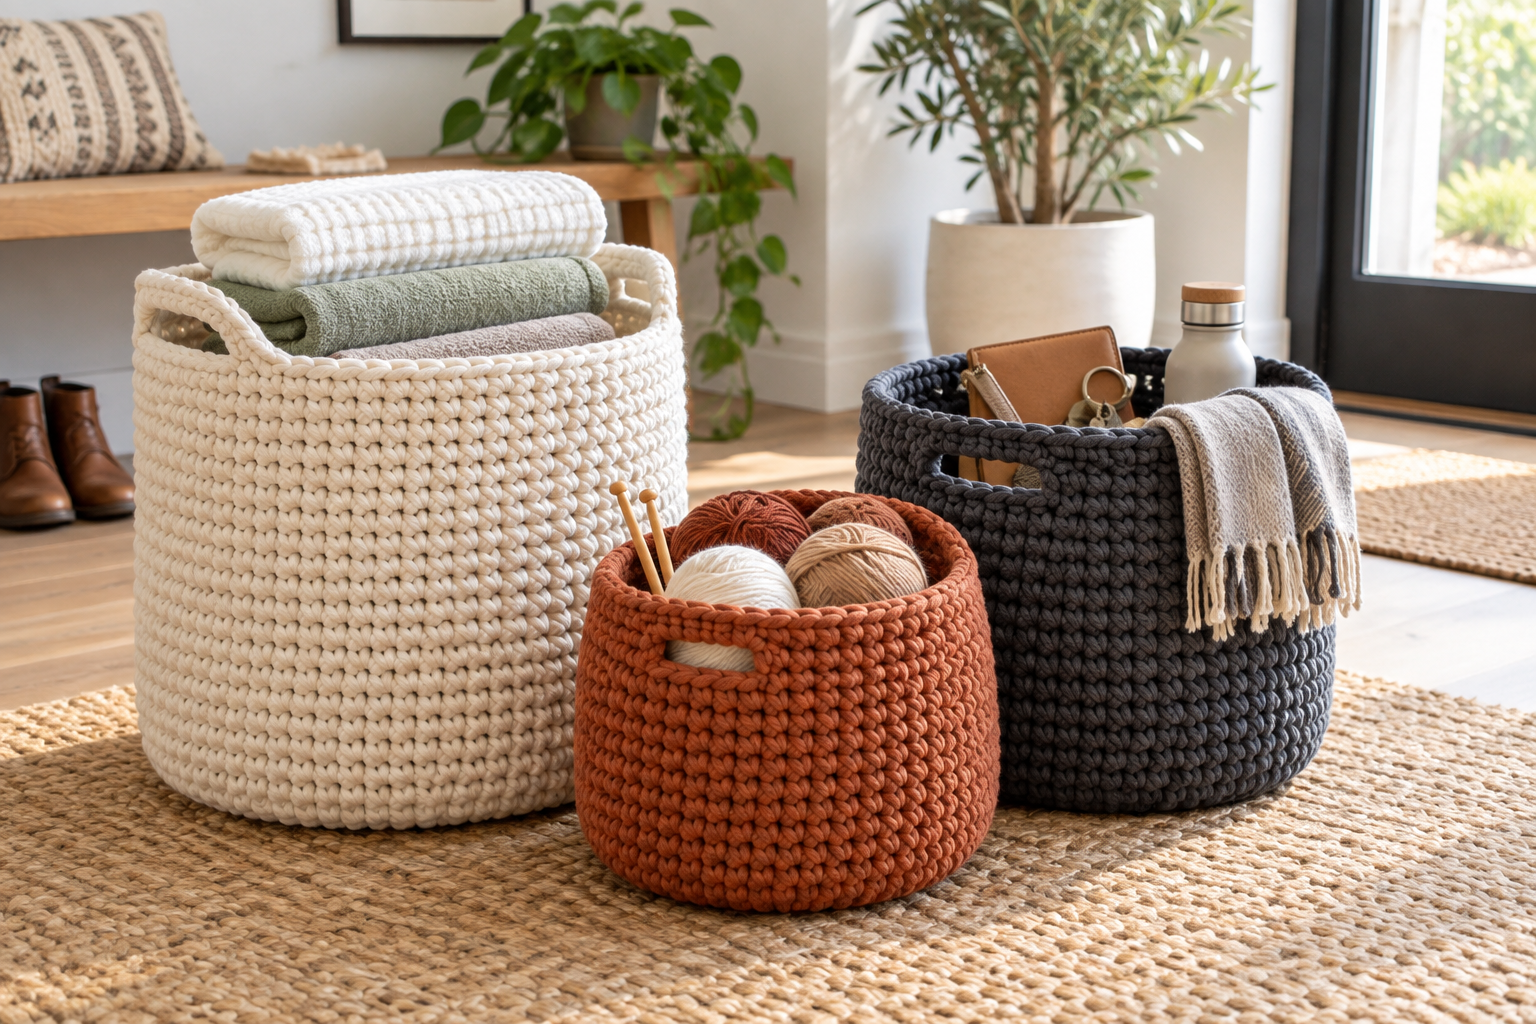
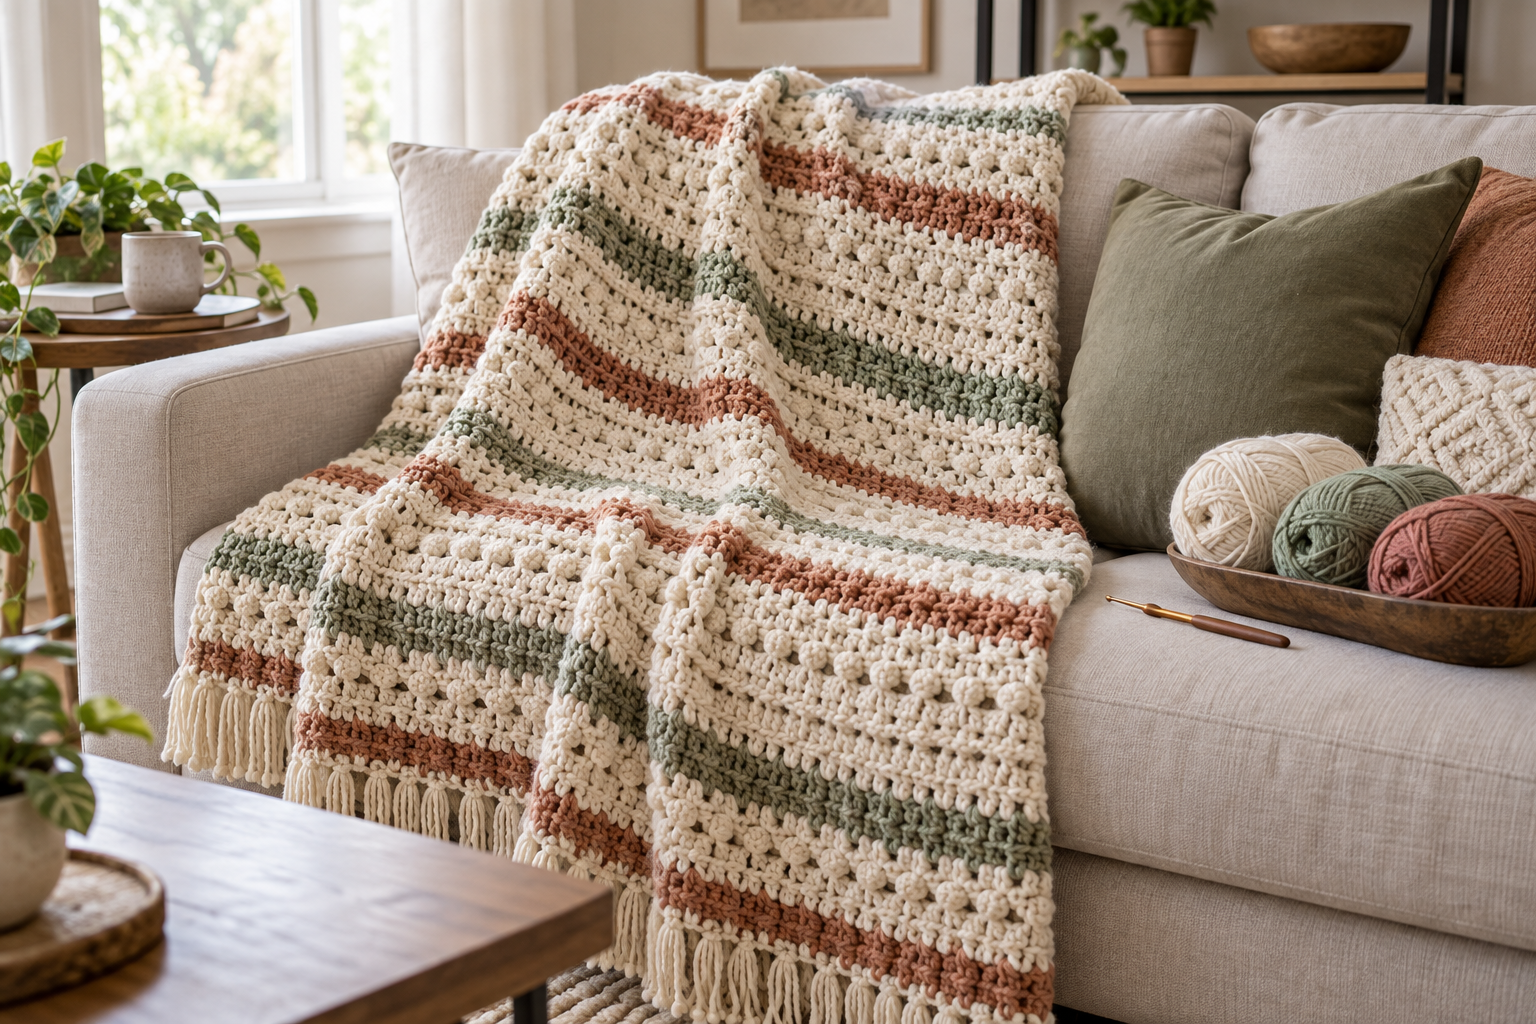
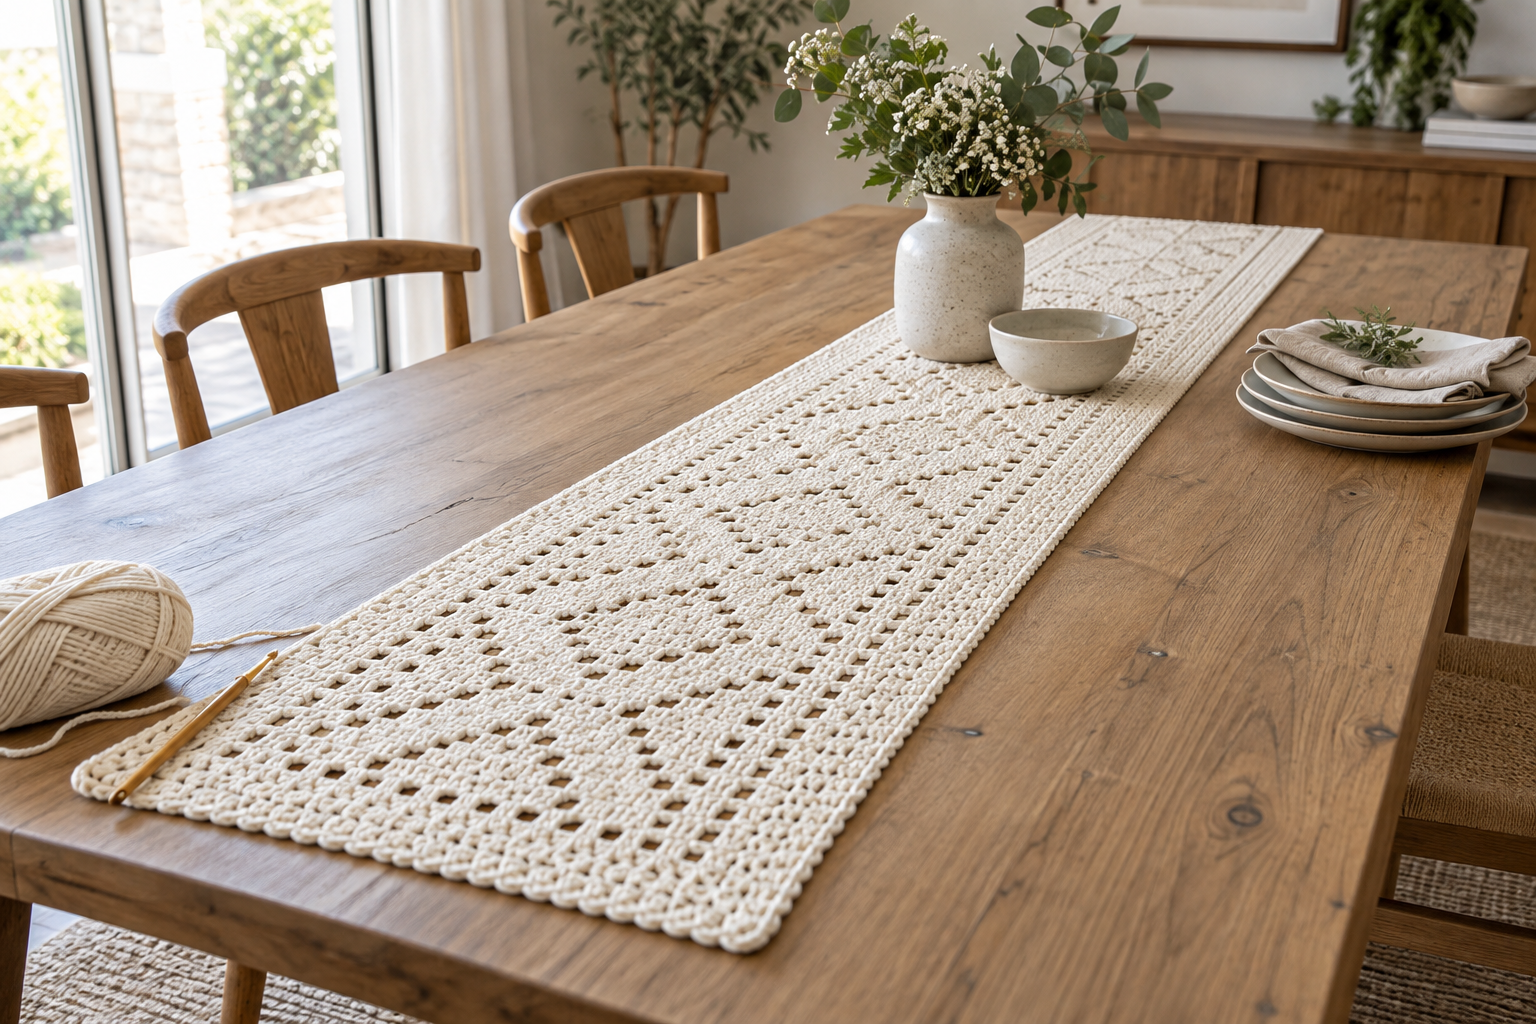
Pair the cushions with a textured throw blanket, a modern table runner, or practical crochet storage baskets.