Beginner Crochet Frog Plushie Ideas
A frog plushie is excellent proportion practice: a very simple body can look lively—or awkward—depending on eye height, leg length and stuffing. This guide compares three construction directions and shows how to make those decisions deliberately.
Level: beginner to confident beginner
Finished size: 10–18 cm
Time: 2–5 hours
Main lesson: matching paired pieces and controlling proportion
Compare three frog silhouettes
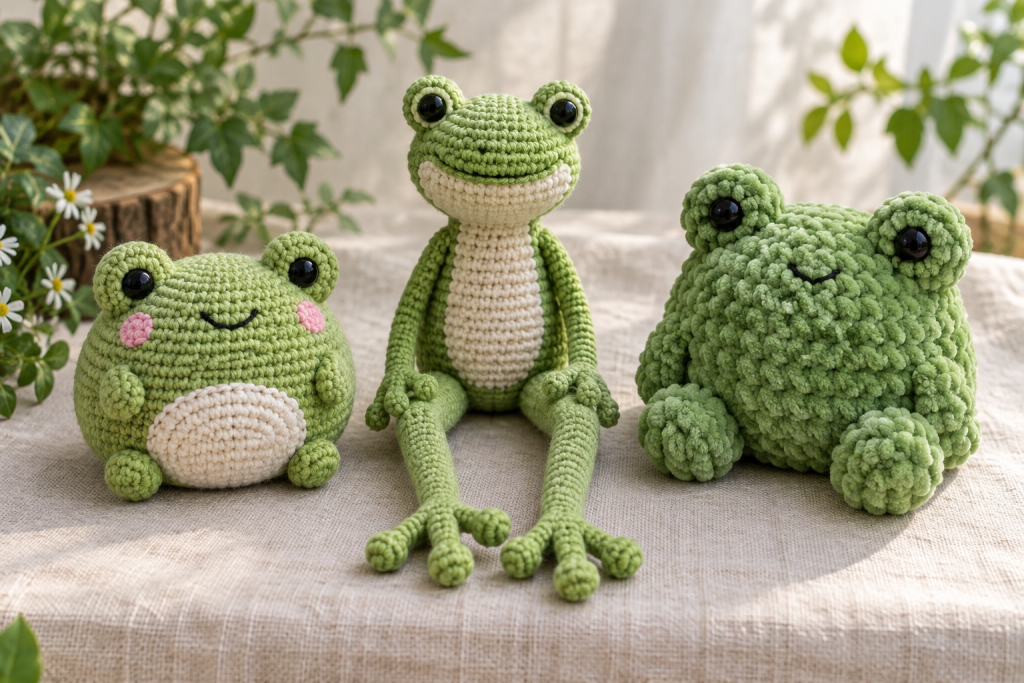
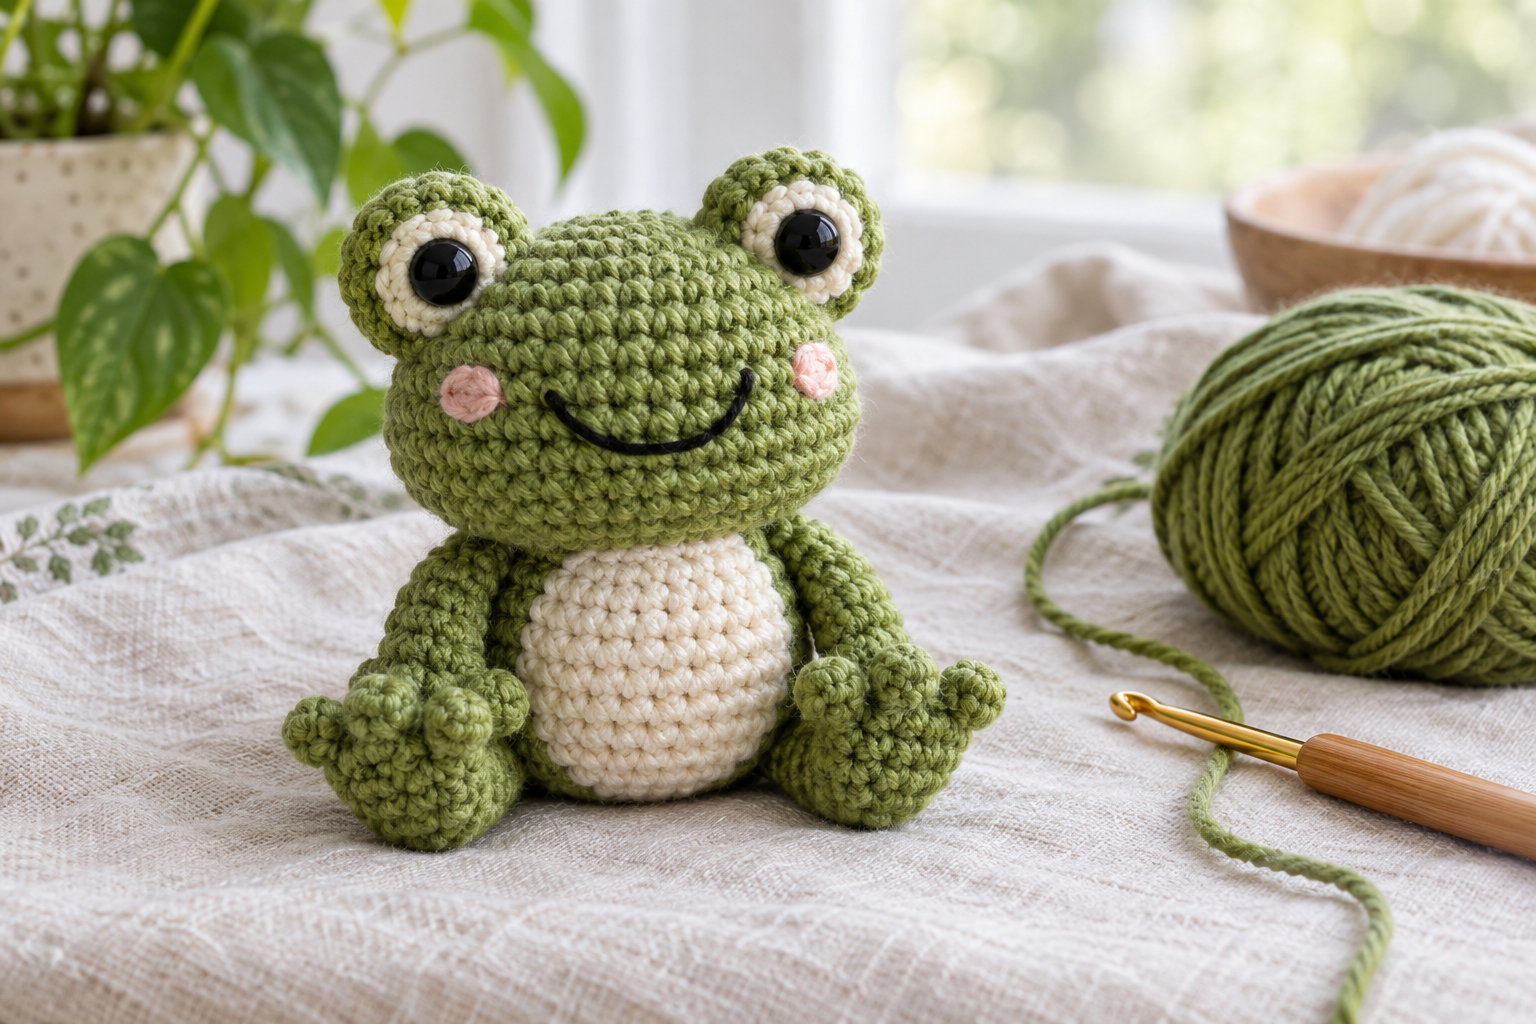
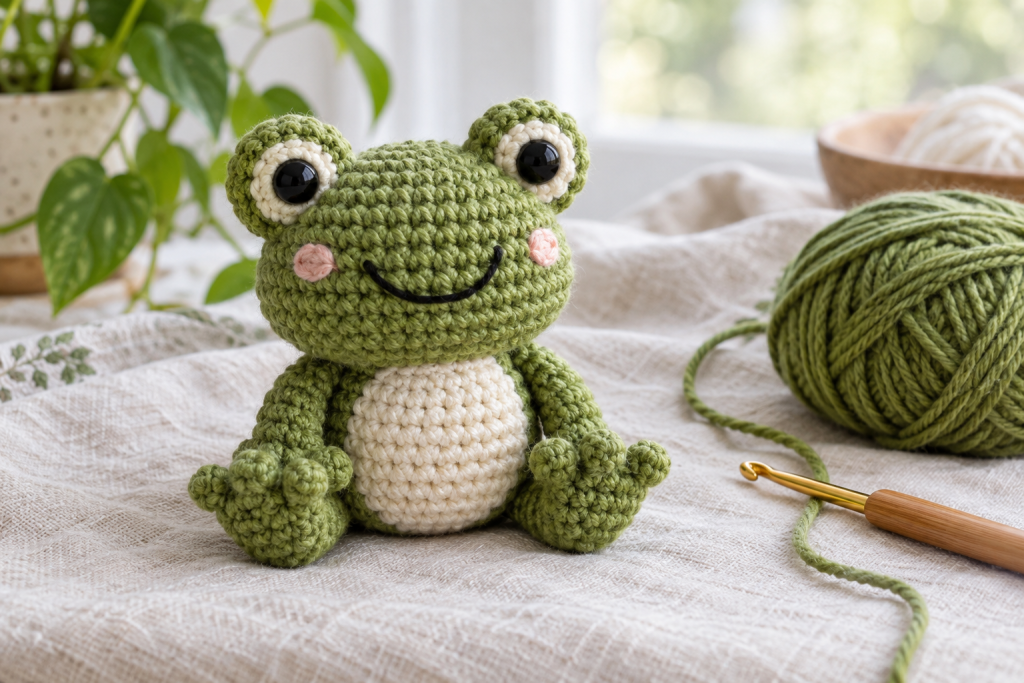
A round frog is the fastest and easiest to balance. The long-legged style looks more traditional and sits naturally on a shelf, but it requires four matched limbs. A chunky chenille frog feels cuddly and works well at a larger scale, although its fuzzy stitches are harder to count. Beginners who want a predictable result should start with the round shape in smooth yarn.
Choose yarn by the result—not only the softness
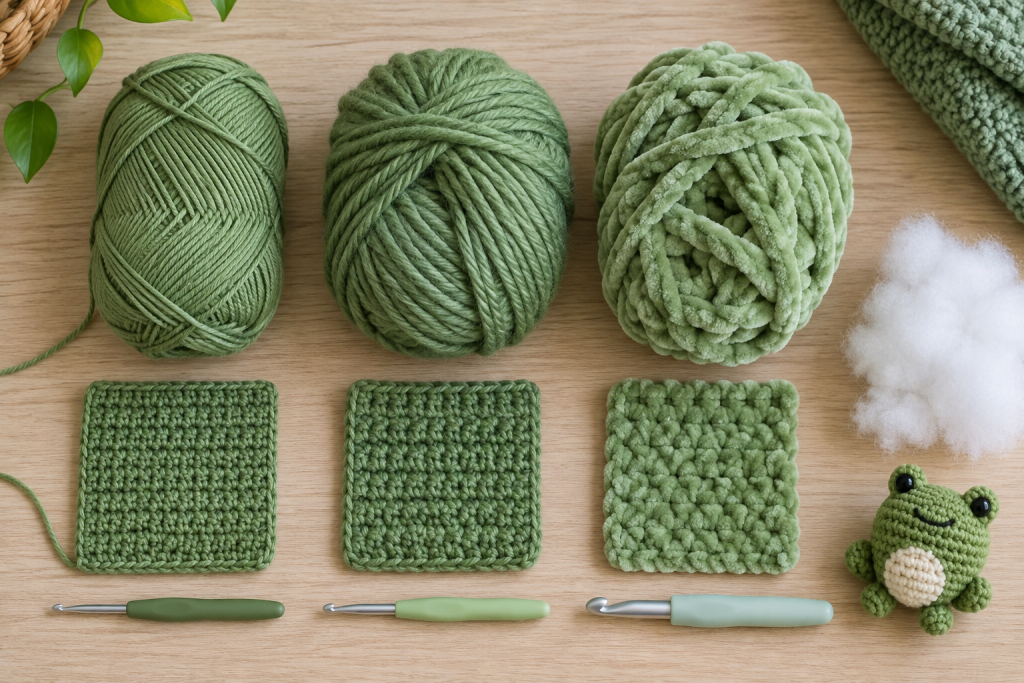
Cotton gives sharp stitch definition and holds small fingers and toes well. Acrylic is lighter, springier and often easier to wash. Chenille creates a plush finish but can snap when repeatedly pulled through tight stitches. Make a small swatch with the actual hook before choosing.
| Yarn | Best feature | Watch for |
|---|---|---|
| Cotton | Crisp shape and easy counting | Can feel firm in the hands |
| Acrylic | Affordable and resilient | Some fibers become fuzzy |
| Chenille | Soft, large plushie | Hidden stitches and fragile ends |
Plan proportions before joining anything
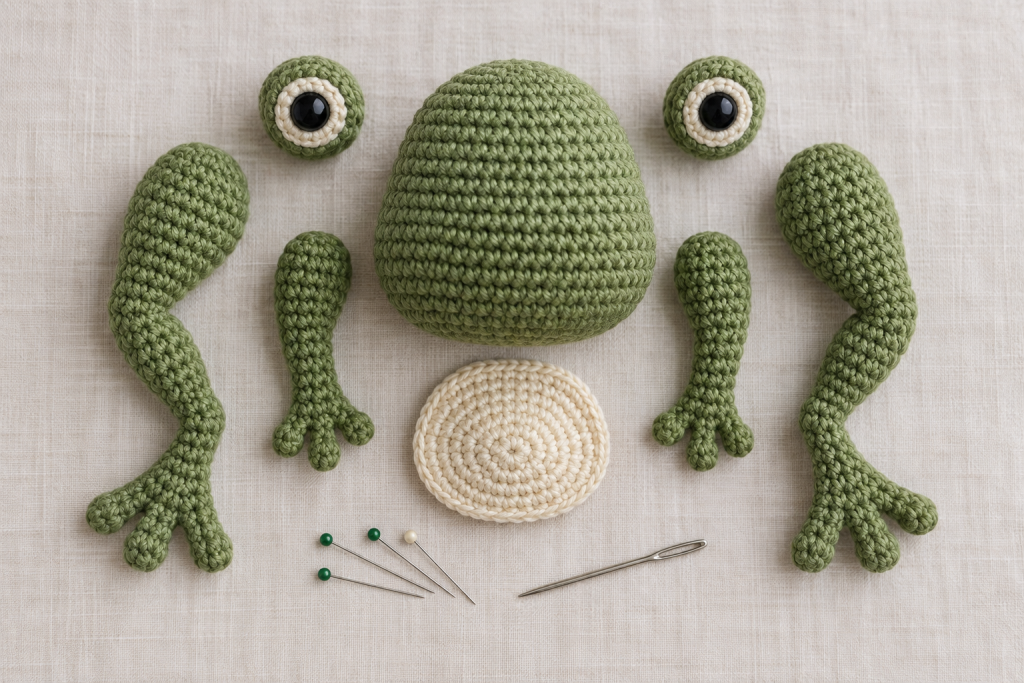
For a friendly face, place the eyes in the upper third of the head with roughly one eye-width between them. Hind legs can be 20–30% longer than front legs on a seated frog. If your pattern uses separate eye bumps, stuff them very lightly; too much fill makes them point outward.
Count rows rather than judging only by length. Crochet relaxes after handling, so two pieces that look equal while stretched may spring back differently.
Use an assembly method that stays symmetrical
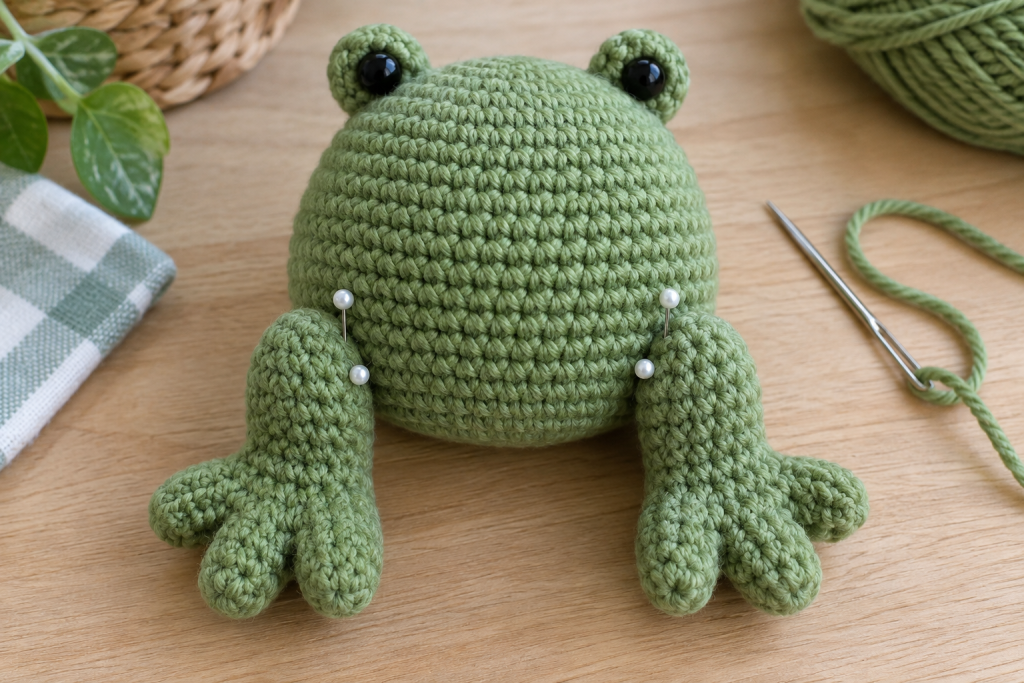
- Stuff the body to about 80% and close it temporarily with a marker.
- Pin both eyes, then view the face straight on and from above.
- Pin paired legs on the same crochet row; count stitches from the center line.
- Sew with small mattress-style stitches, adding the final stuffing before the opening closes.
- Bury each tail in a different direction so tension is distributed through the body.
For children under three, embroider eyes and decorative spots. Glue is not a substitute for stitching on any detail that may be pulled or chewed.
Diagnose shape problems before remaking pieces
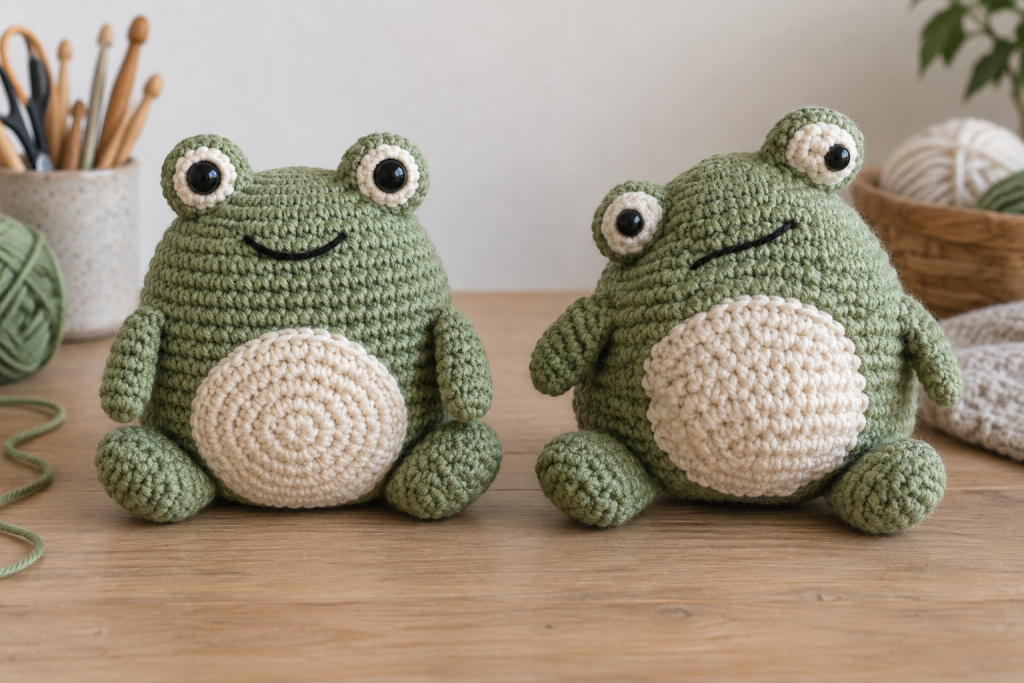
The frog leans: remove some stuffing from the heavier side and rotate the leg slightly forward. The eyes point apart: reduce their stuffing and anchor the inner edges closer together. The legs twist: steam only if the yarn label permits it; otherwise damp-shape and air dry. White stuffing shows: change to a smaller hook on the next version rather than over-tightening individual stitches.
Make the design your own
Add one controlled feature: embroidered freckles, a cream belly, a tiny scarf or a subtle two-tone body. Keeping the rest simple makes the personalization feel intentional and avoids adding weakly attached parts.
Try a related skill next
Practice continuous one-piece shaping with the no-sew whale, repeated small features with the mini octopus, or shell-and-limb assembly with the crochet turtle.