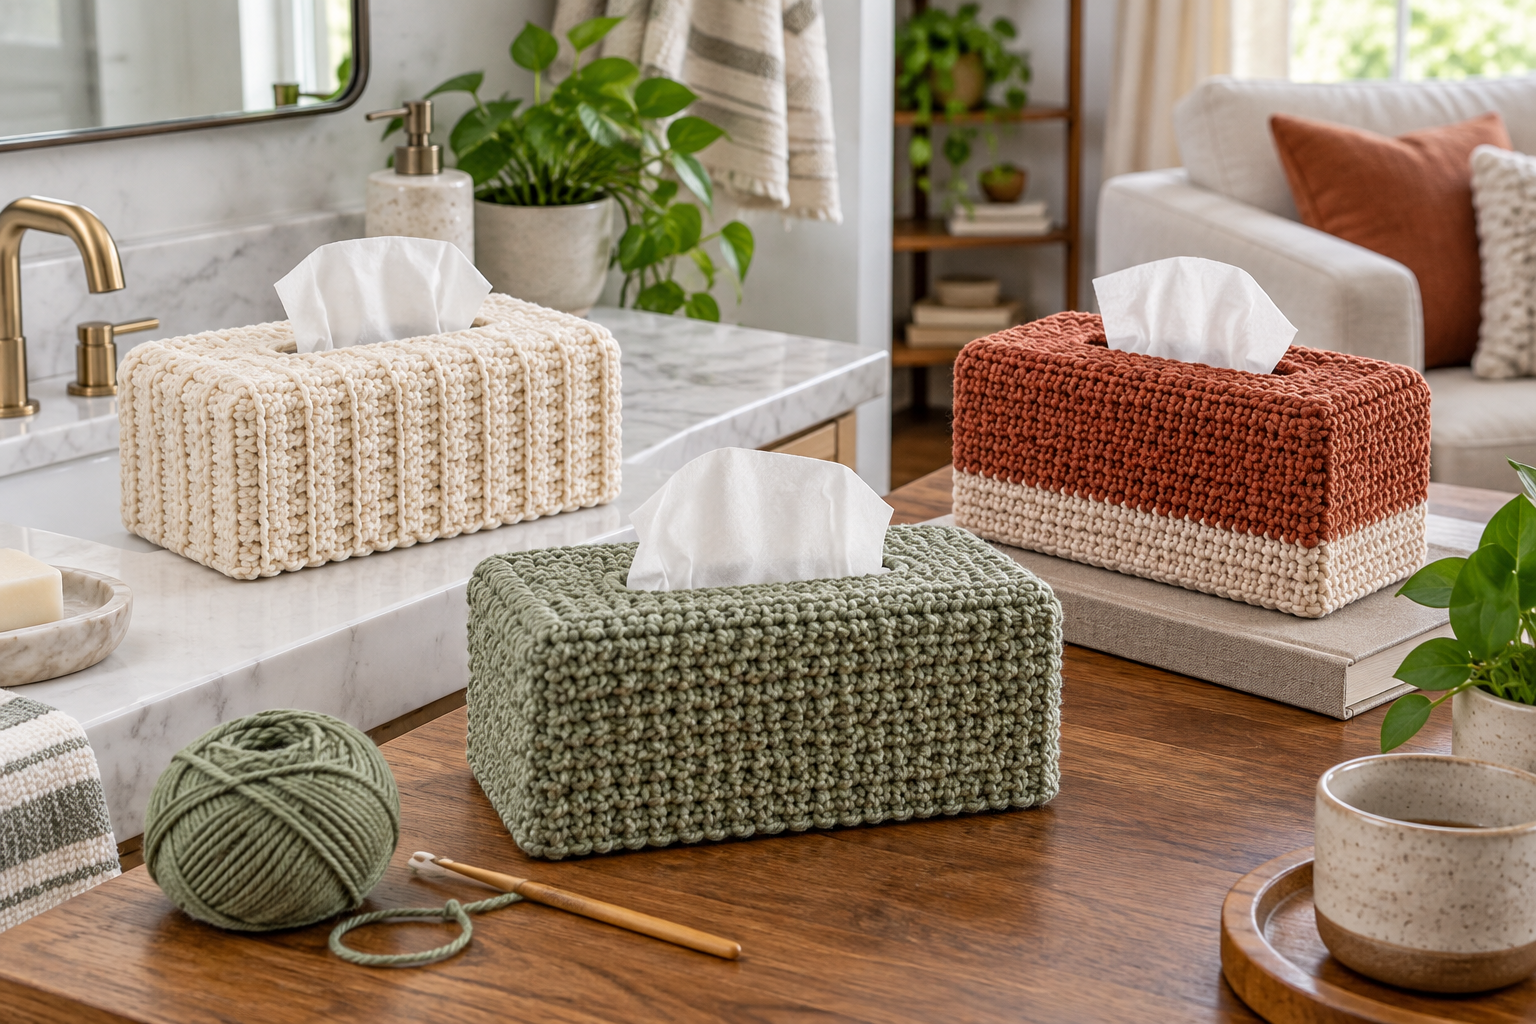
Crochet Tissue Box Cover with a Modern Look
A modern tissue-box cover should fit the exact carton, allow tissues to pull freely and come off easily for cleaning. This guide compares one-piece and paneled construction while keeping corners crisp and the opening reinforced.
Level: confident beginner
Time: 3–7 hours
Fit: measured for one box style
Priority: removable, washable construction
Measure every face and the opening
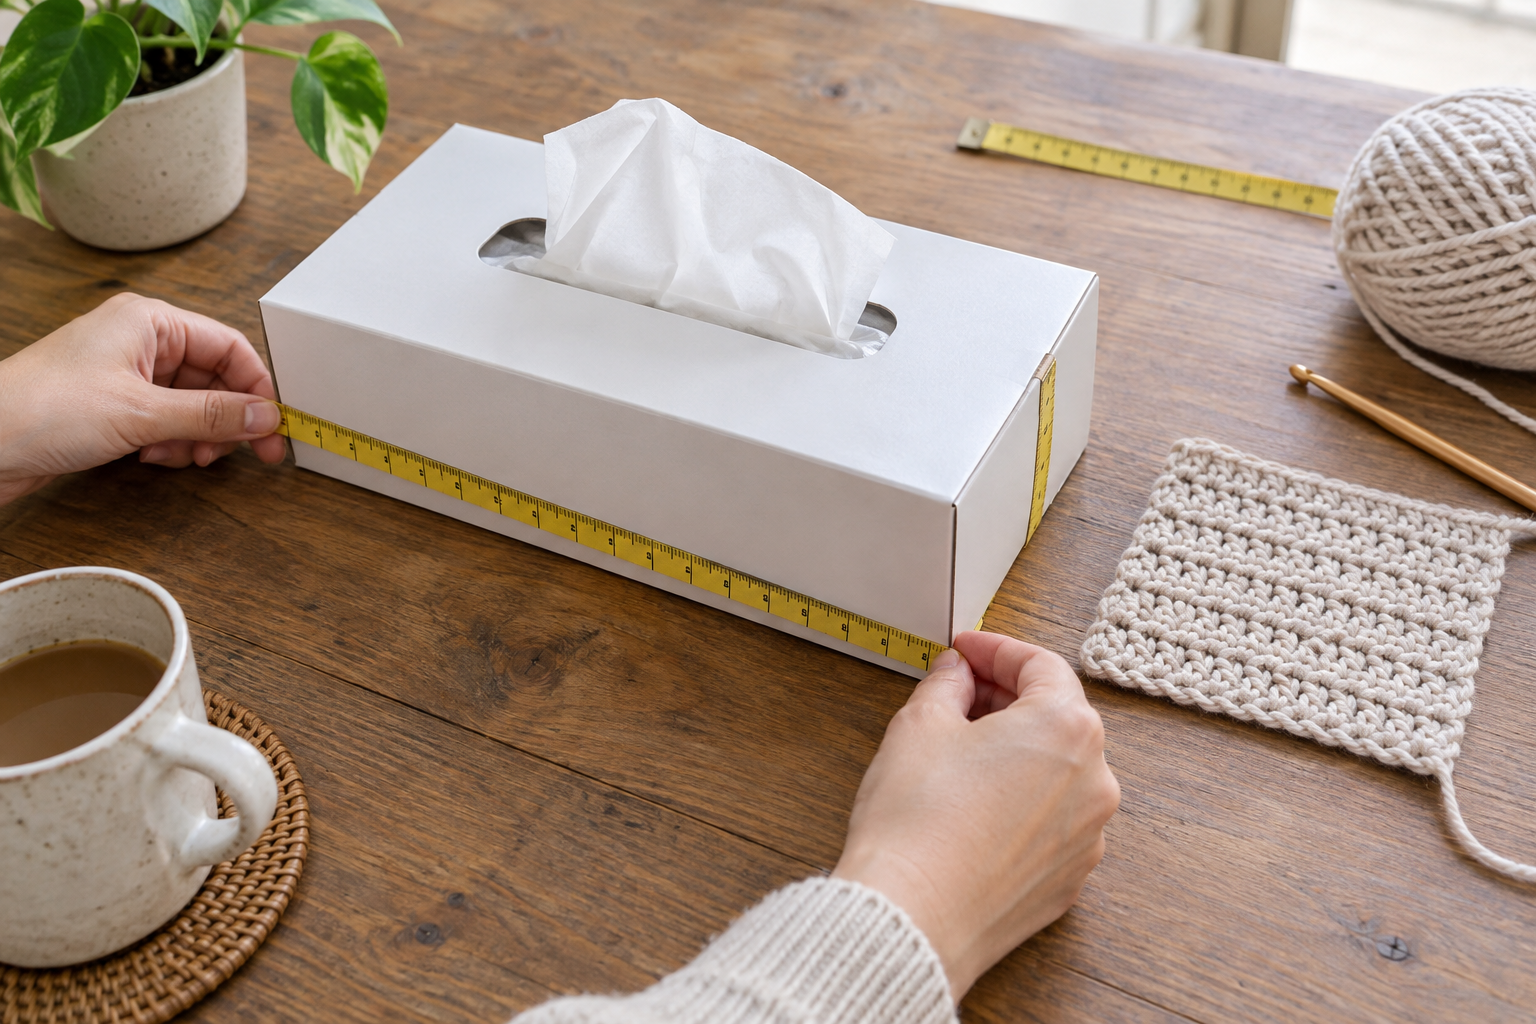
Record length, width and height, then measure the top opening and its distance from every edge. Make a gauge swatch, wash it and calculate stitches from the finished gauge. Add only enough ease for the cover to slide on; excess fabric softens the corners and can shift over the opening.
Choose one-piece or paneled construction
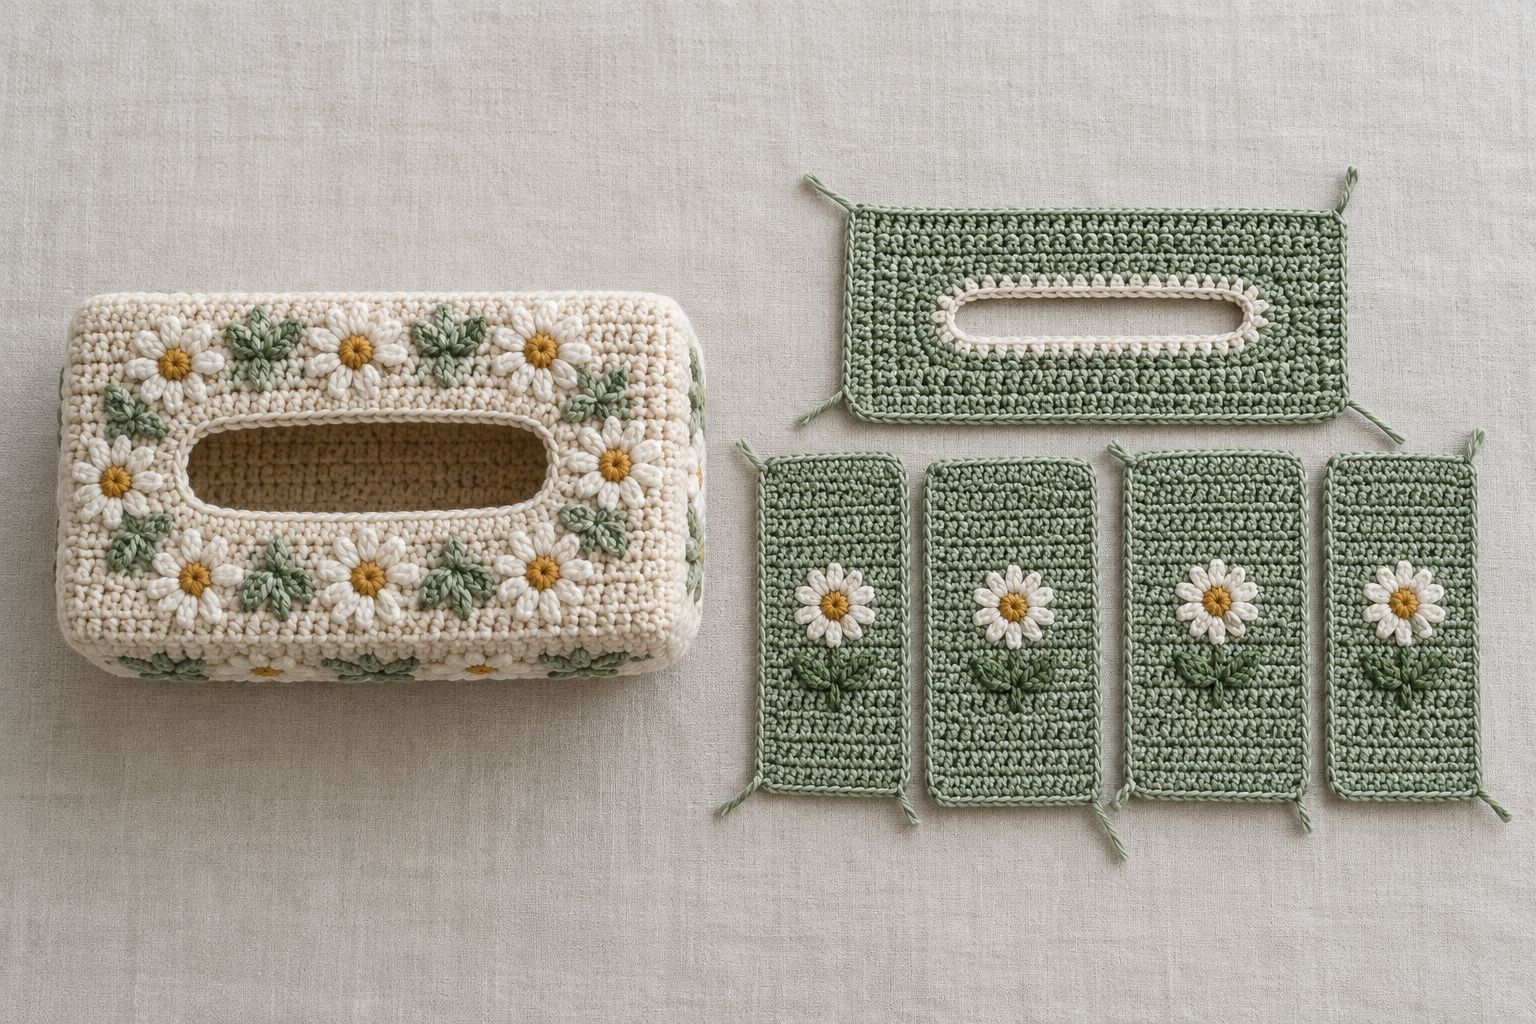
A one-piece cover begins at the top and turns down the sides, making it quick and flexible. Paneled construction uses a measured top plus four side pieces, which helps geometric patterns align and produces crisp edges. Mark each panel before assembly so similar-looking sides are not reversed.
Reinforce the tissue opening
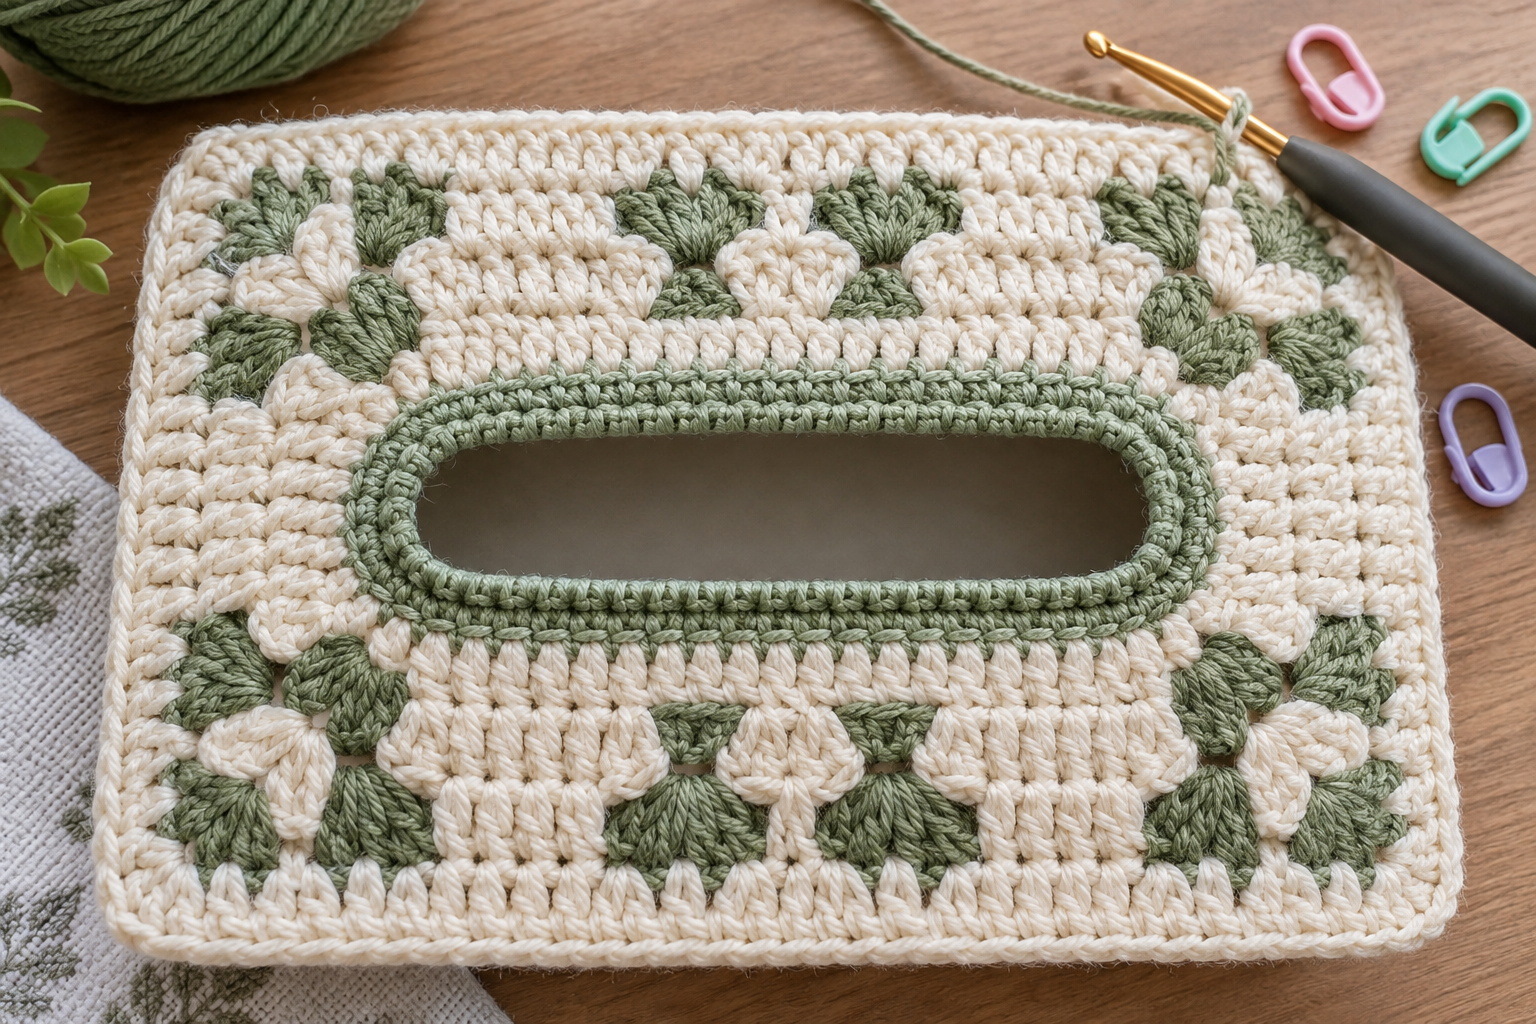
Build the opening into the top panel rather than cutting finished crochet. Use chains or skipped stitches according to the measured shape, then work a firm border around it. Test the opening over the box before attaching side panels. It should expose the carton opening without catching tissues.
Join corners without bulky ridges
Block panels to size first. Use mattress stitch for a subtle exterior join or a consistent slip-stitch seam when a defined line suits the design. Match top corners and side bottoms before filling in each seam. Keep tails inside and away from the tissue opening.
Test fit and function
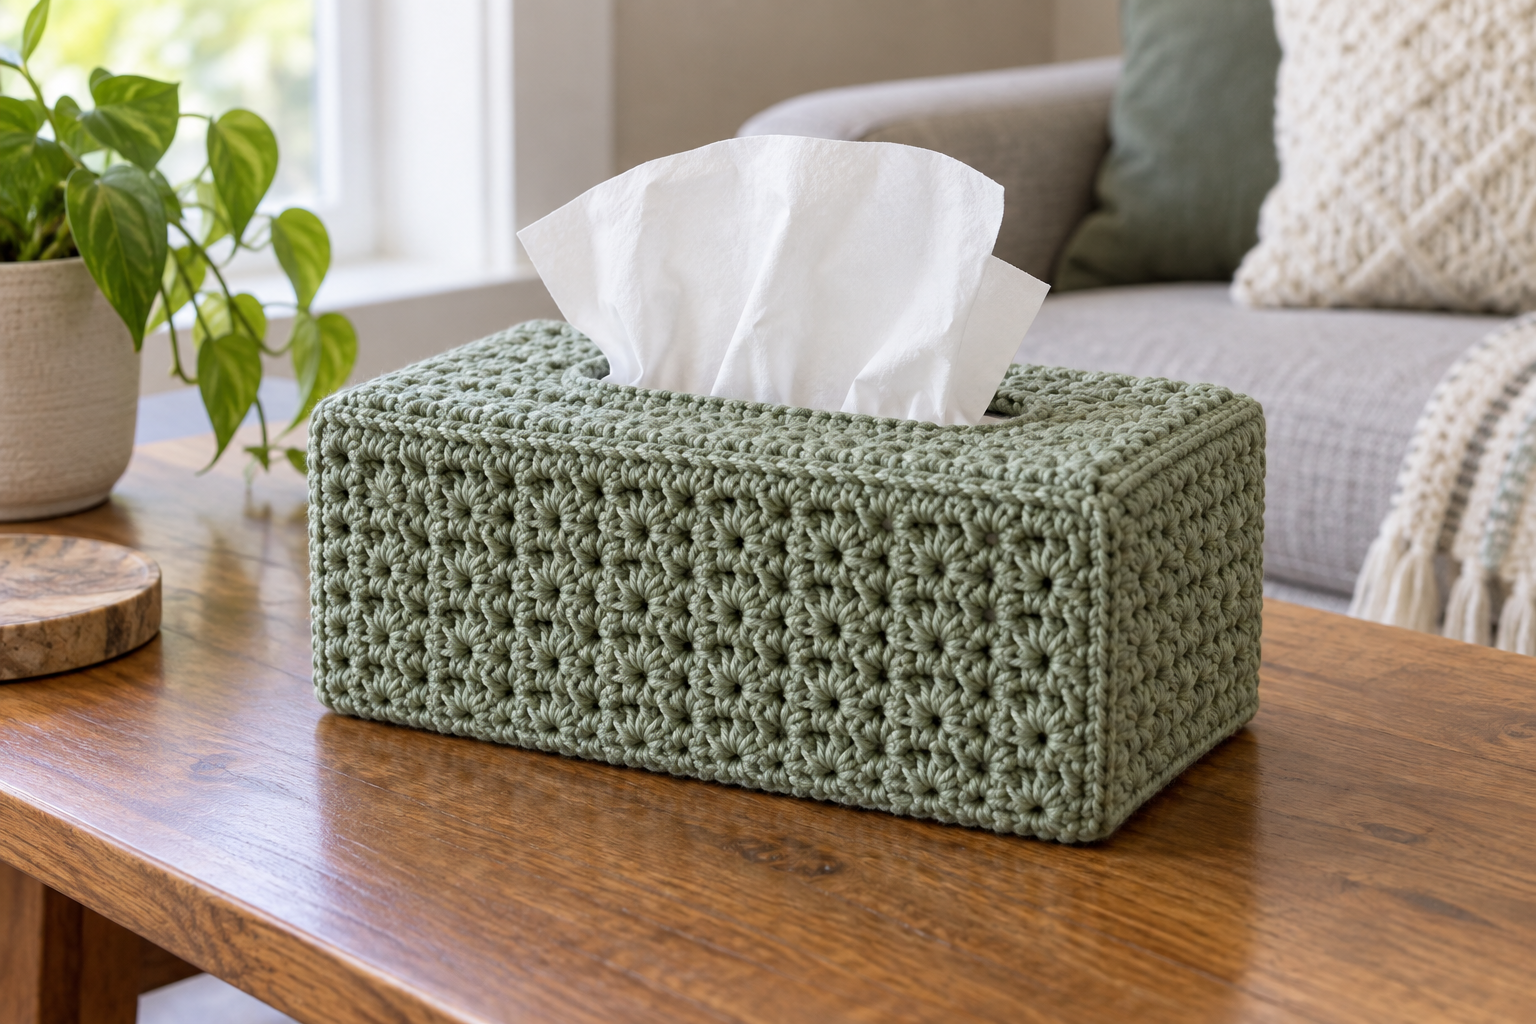
- Slide the cover over a full box and align the opening.
- Check that every corner reaches the same height.
- Pull several tissues in different directions.
- Replace the box with a new carton of the same dimensions.
- Remove the cover without overstretching the lower edge.
If the box lifts, enlarge or reposition the top opening. If corners collapse, reduce ease or reinforce seams.
Wash and style it sensibly
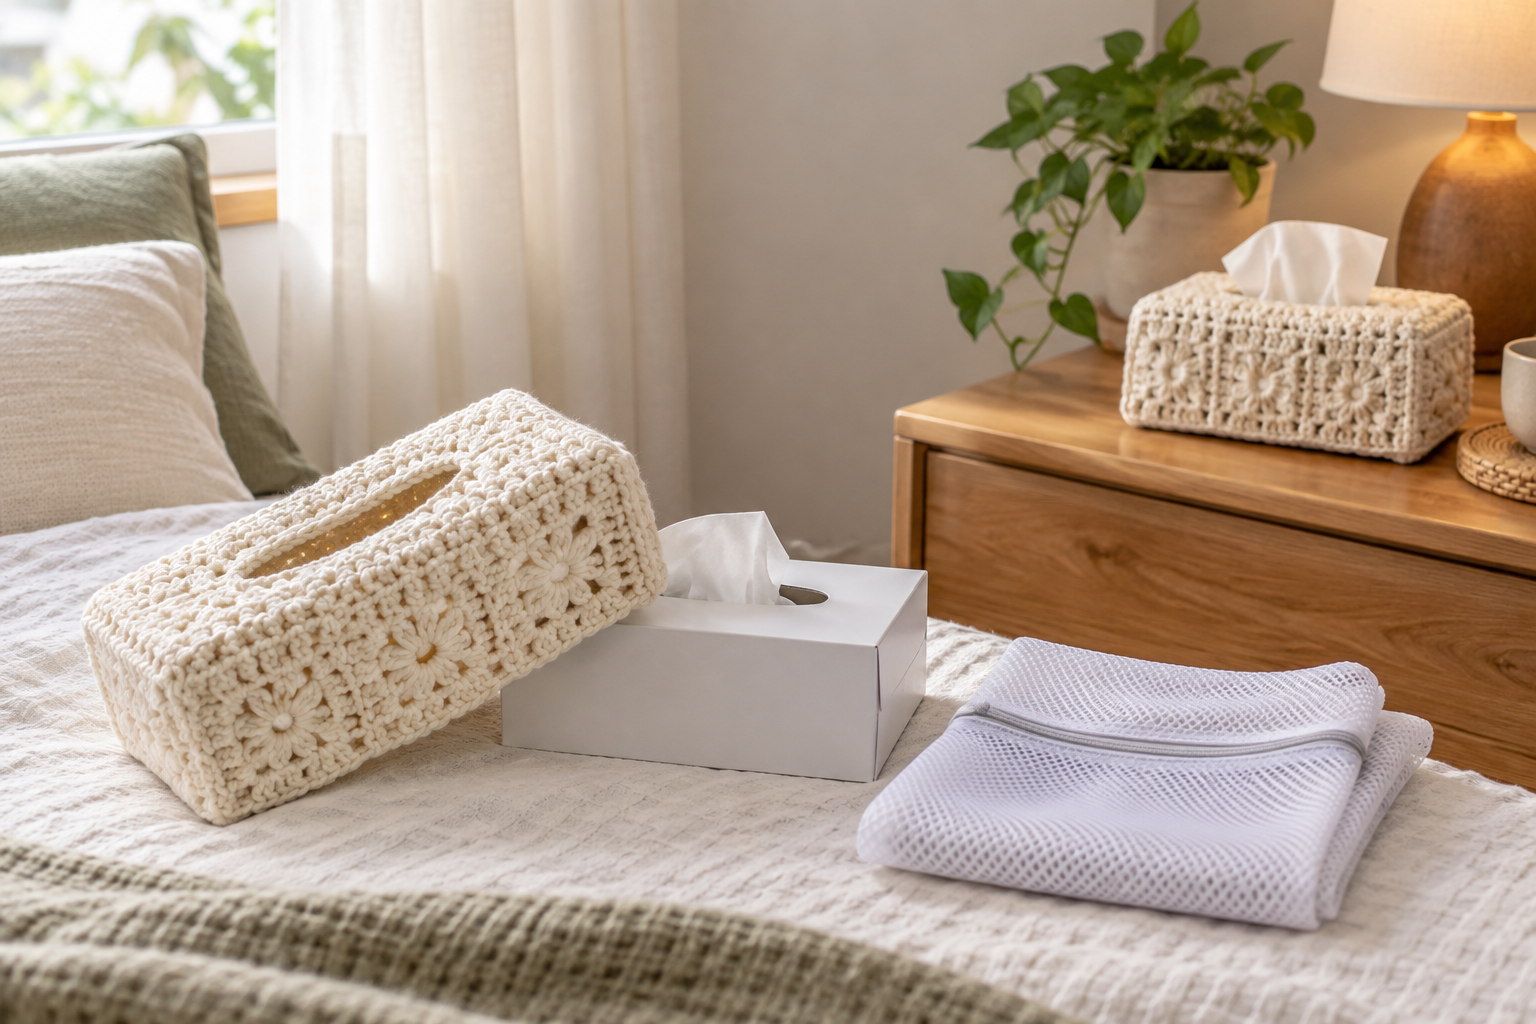
Remove the carton before washing. Follow the yarn label, use a mesh bag for delicate stitches and reshape around a waterproof form—not a cardboard box—while damp. Dry completely before use. Keep the box away from sink splashes and do not use yarn décor where hygiene protocols require wipeable surfaces.
Coordinate practical storage
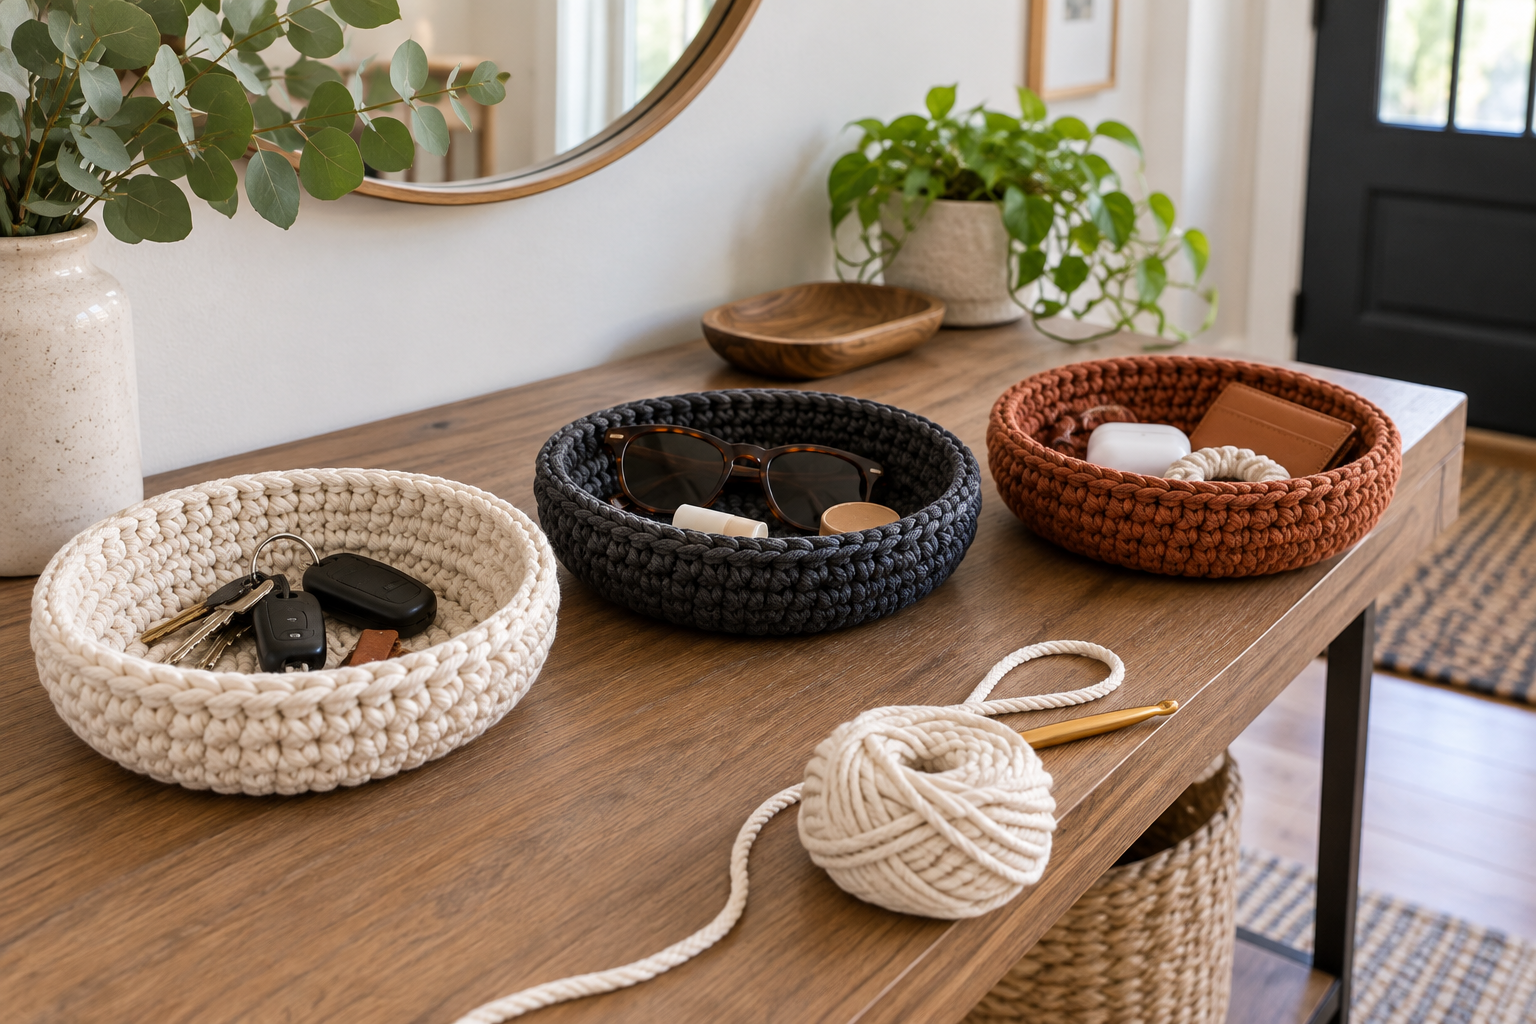
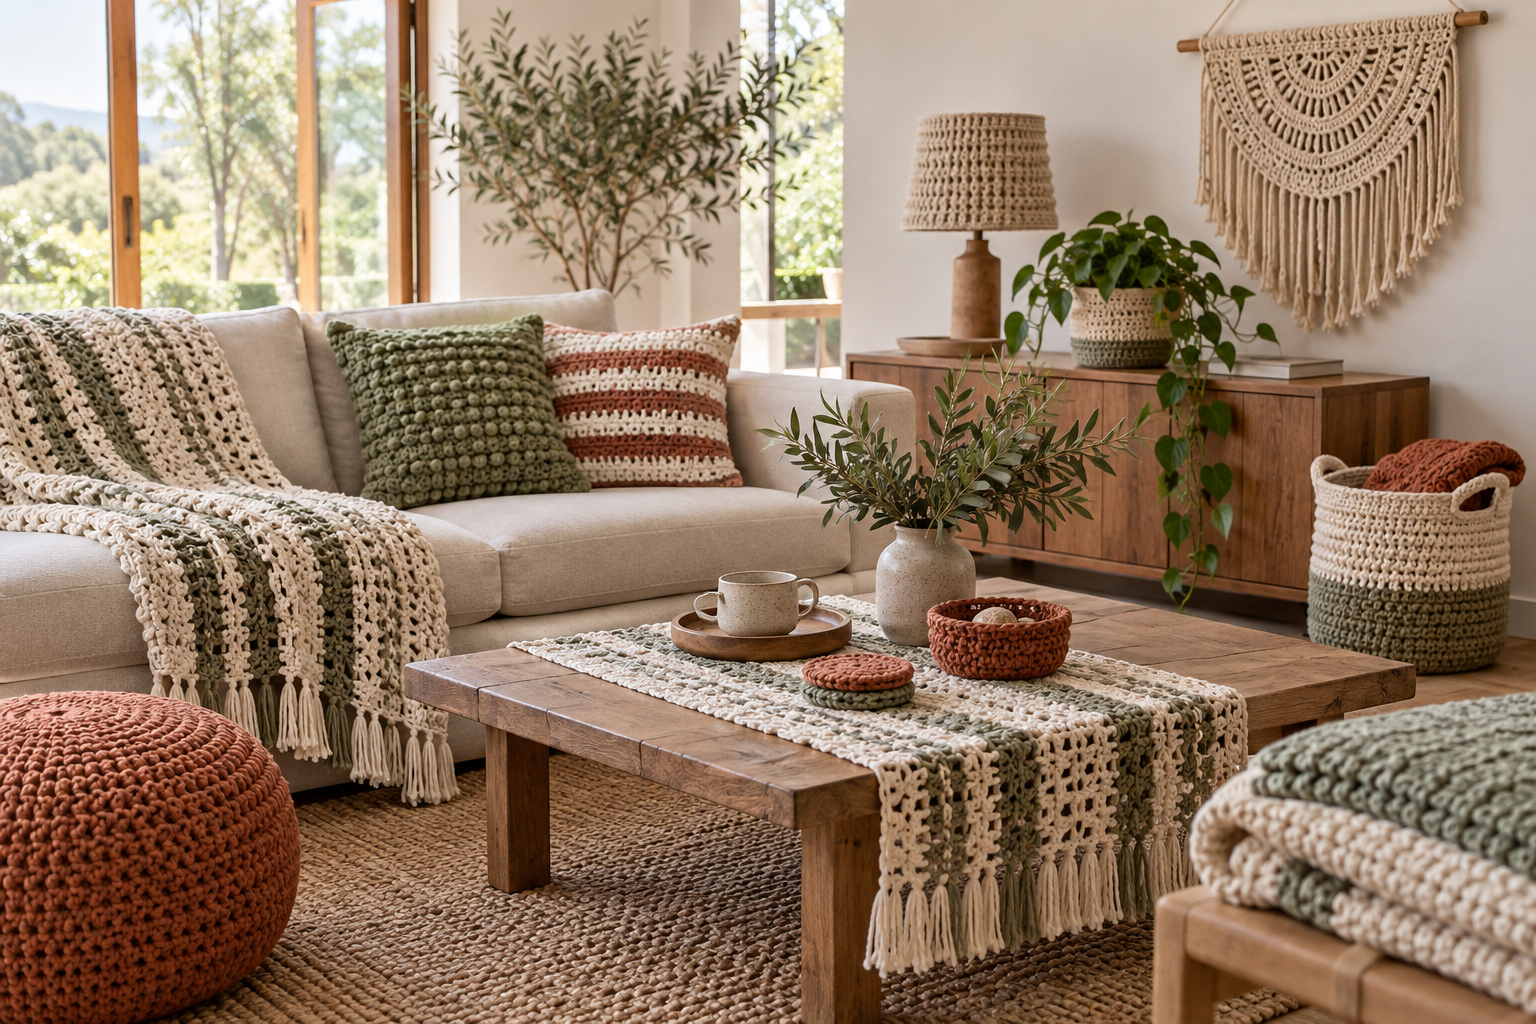
Match the cover with an entryway storage bowl, larger crochet baskets, or comfortable cushion covers.