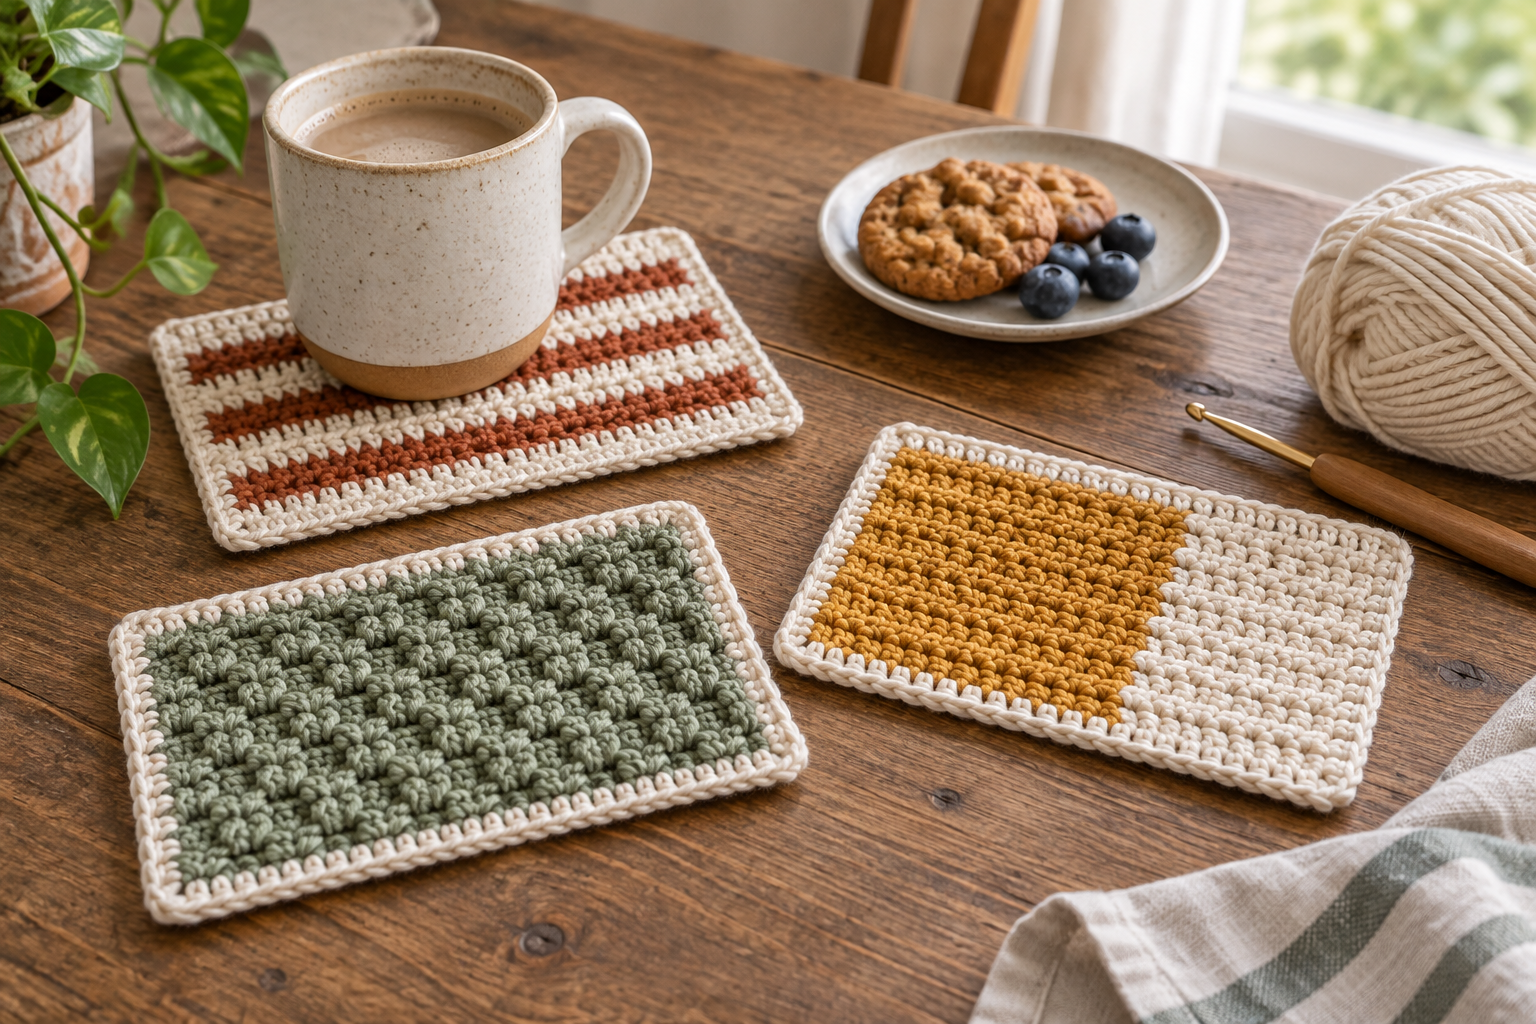
Quick Crochet Mug Rug for Beginners
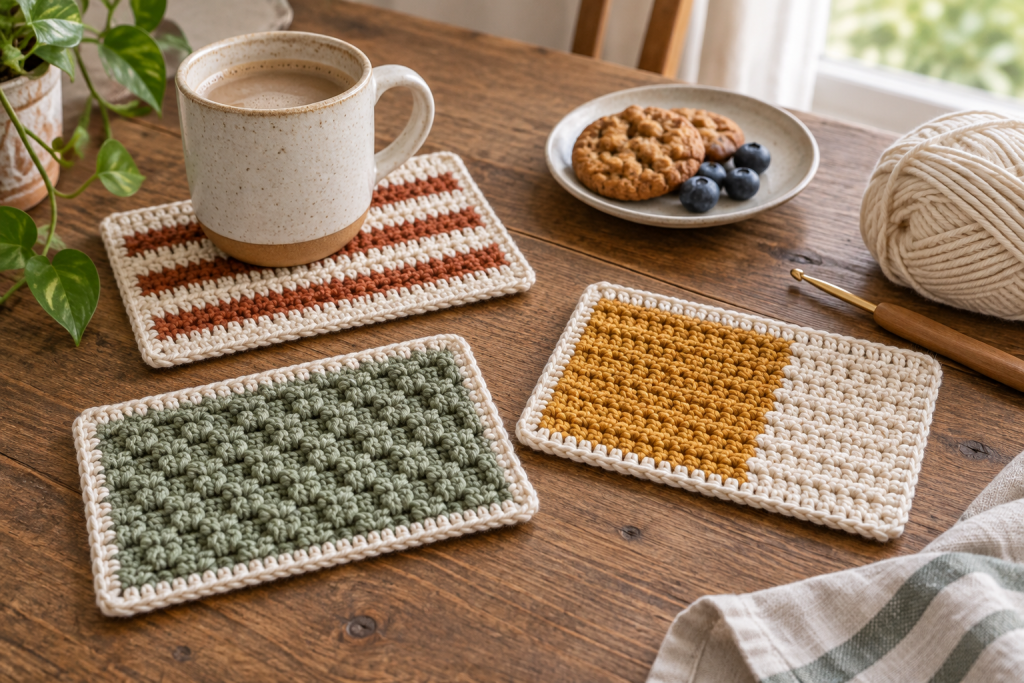
A mug rug is a small washable mat sized for both a drink and a snack. It is also excellent practice for straight edges, color changes and blocking a rectangle square. This guide emphasizes useful dimensions and table protection.
Level: beginner
Time: 1½–3 hours
Typical size: 18 × 25 cm / 7 × 10 in
Best fiber: washable absorbent cotton
Size the rug for a drink and snack
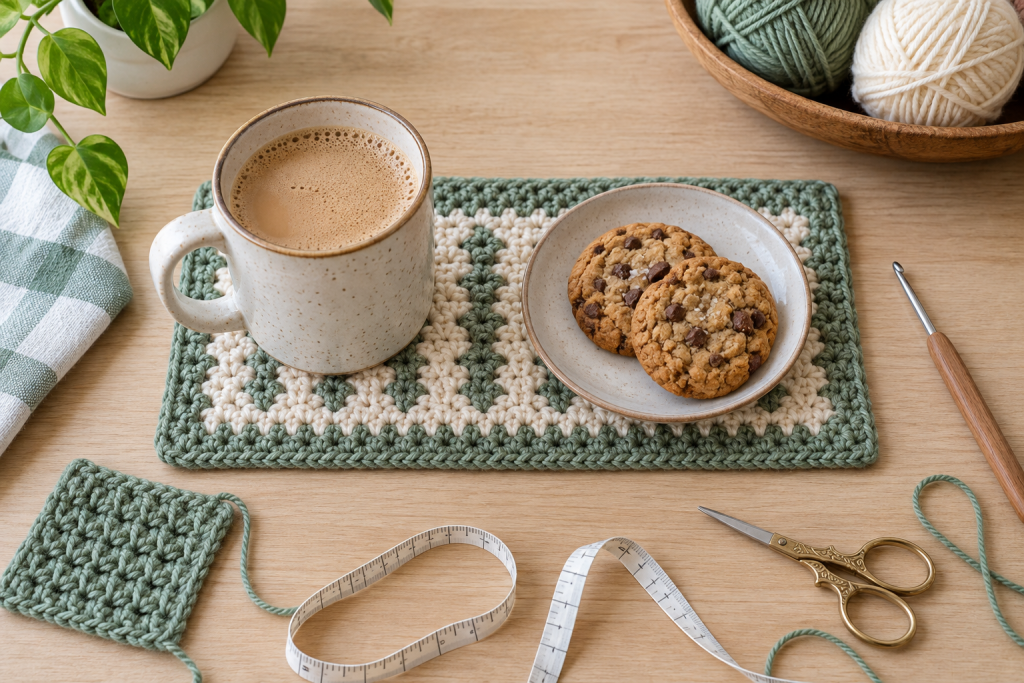
A useful rug usually measures about 15–20 cm high and 20–30 cm wide. Measure the actual mug and snack dish, then leave clearance around both. Account for a border, which adds to the final dimensions. Make a paper template if the rug is intended for a specific desk or side table.
Choose absorbent yarn and a stable stitch
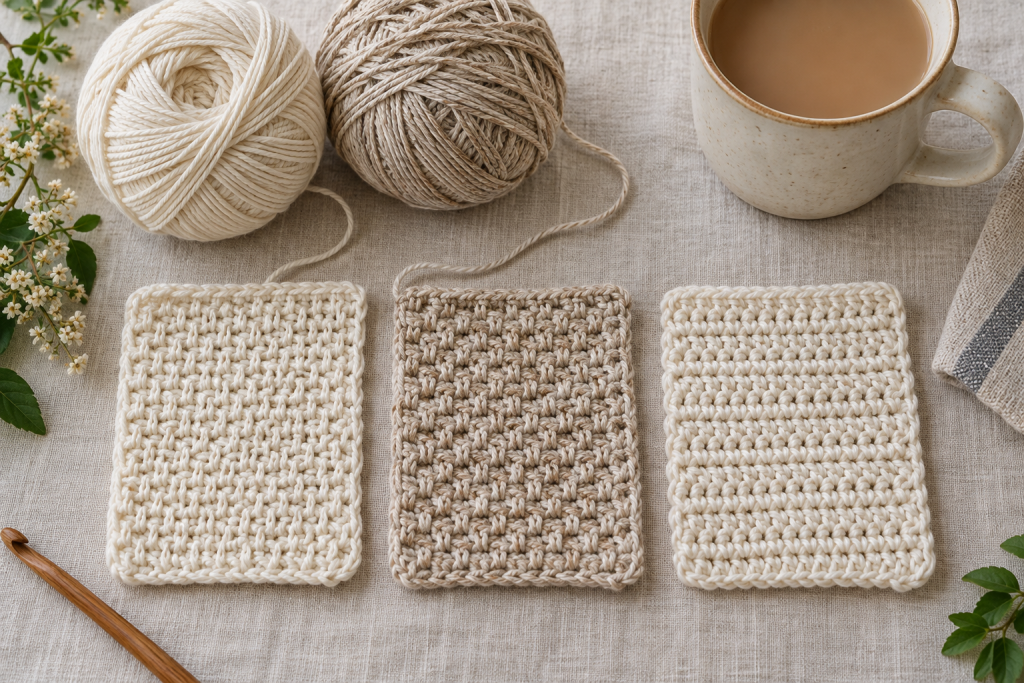
Kitchen cotton is durable and washable. Cotton-linen dries readily and gives a crisp edge. Moss and linen stitches create a flat woven appearance, while dense half-double crochet works quickly. Avoid very open lace, thick bobbles under the cup area and fuzzy fibers that hold crumbs.
Wash a swatch first and record shrinkage. Adjust the starting dimensions when the yarn becomes noticeably smaller after laundering.
Keep the rectangle straight
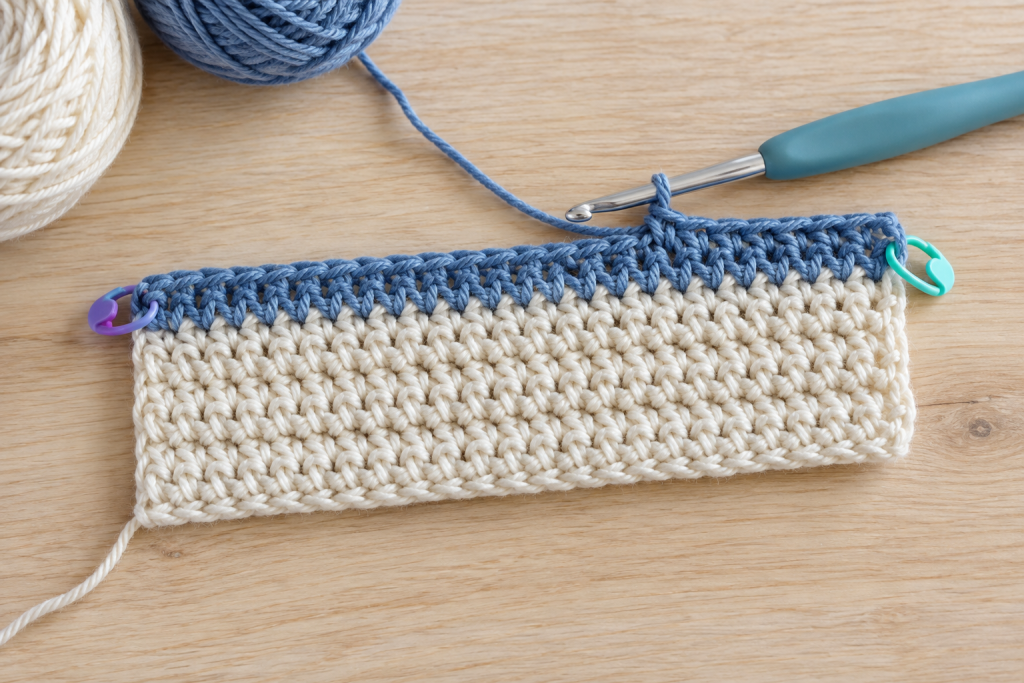
- Make a relaxed foundation chain or foundation stitch row.
- Count the first three rows and mark both edge stitches.
- Measure width before continuing the full length.
- Change colors on the final yarn-over of the previous stitch.
- Carry short color changes neatly along the edge only when the border will cover them.
If the rug narrows, you are missing edge stitches. If it fans wider, extra stitches are entering at turning chains. Correct the count before adding a border.
Add a border and optional fringe
A single round of compact stitches can straighten minor edge differences. Work evenly along row ends and place enough stitches at corners to turn without curling. Keep fringe short and away from the main cup area; long fibers collect crumbs and take longer to dry.
Block it square
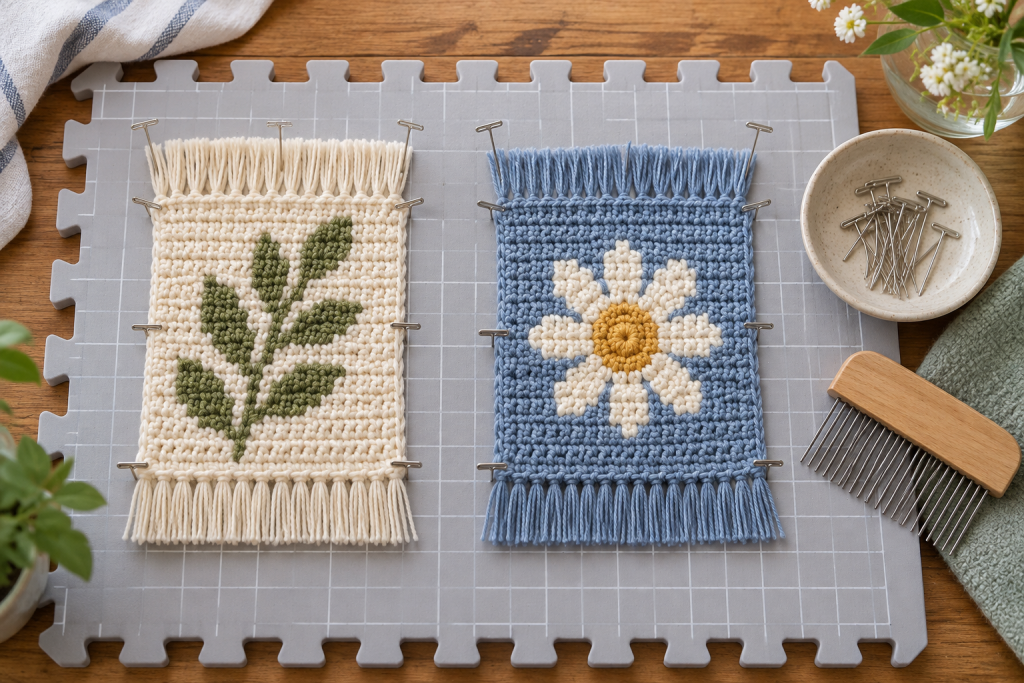
Damp-block according to the fiber label. Pin the corners, then the midpoints, and distribute the remaining edge evenly. Do not stretch a strongly tapered rug into shape—repair the stitch count instead. Let it dry completely before trimming fringe against a straight guide.
Test it on the table
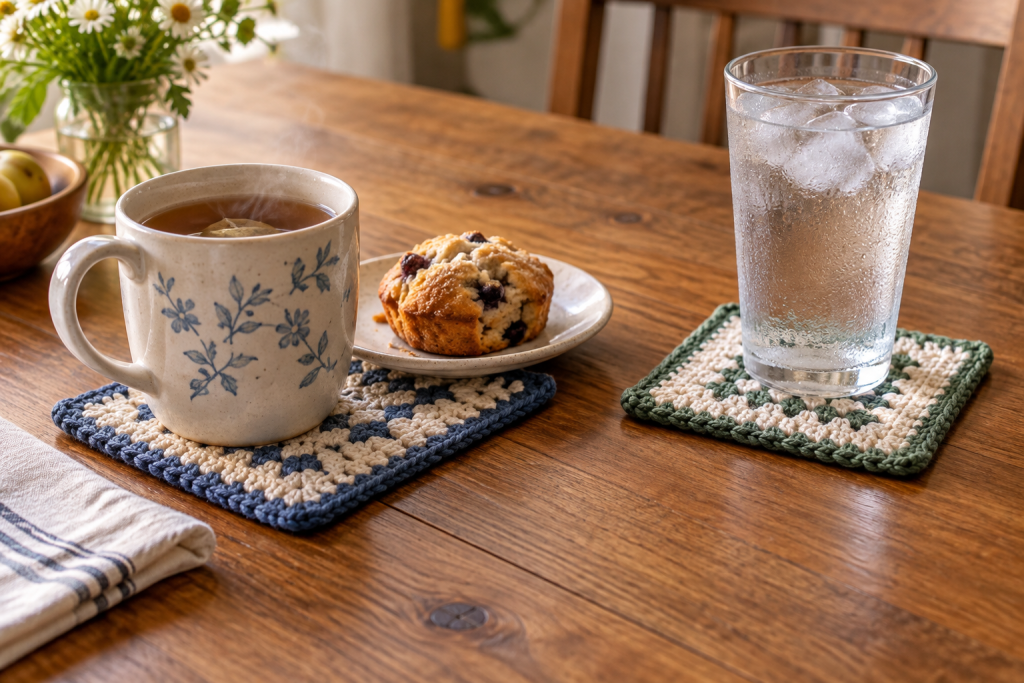
Use warm—not dangerously hot—drinks for initial testing. Check that the cup sits level and that condensation does not immediately reach the table. Wash once, reshape and test again. A mug rug is not a substitute for a heatproof trivet beneath hot cookware.
Create a coordinated set
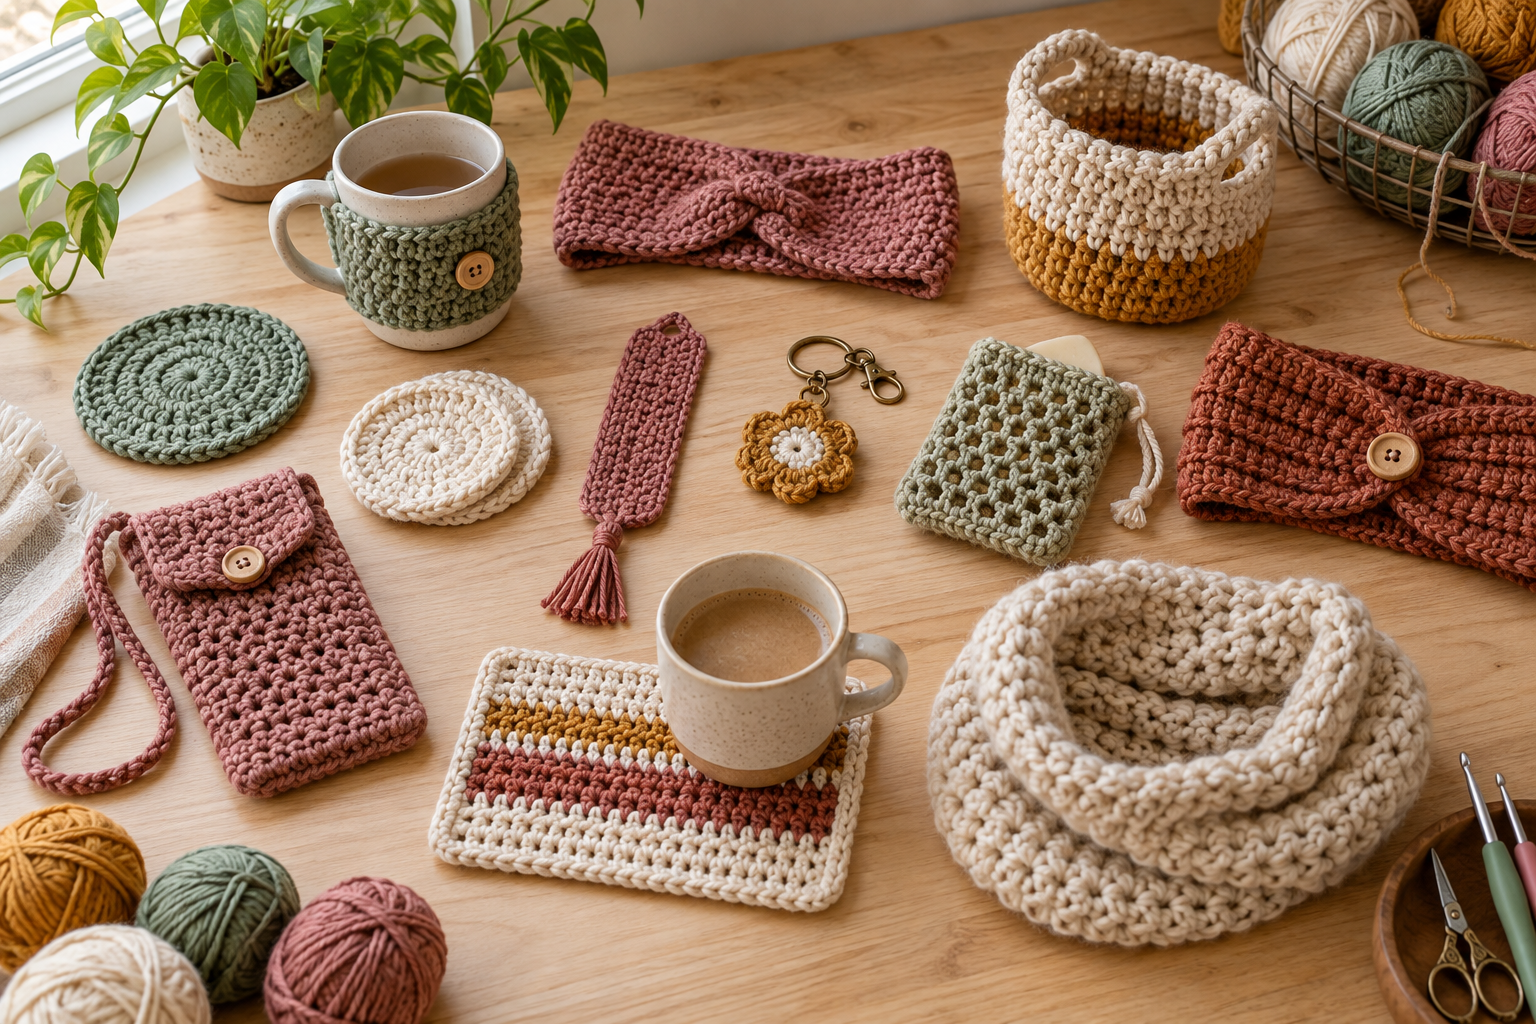
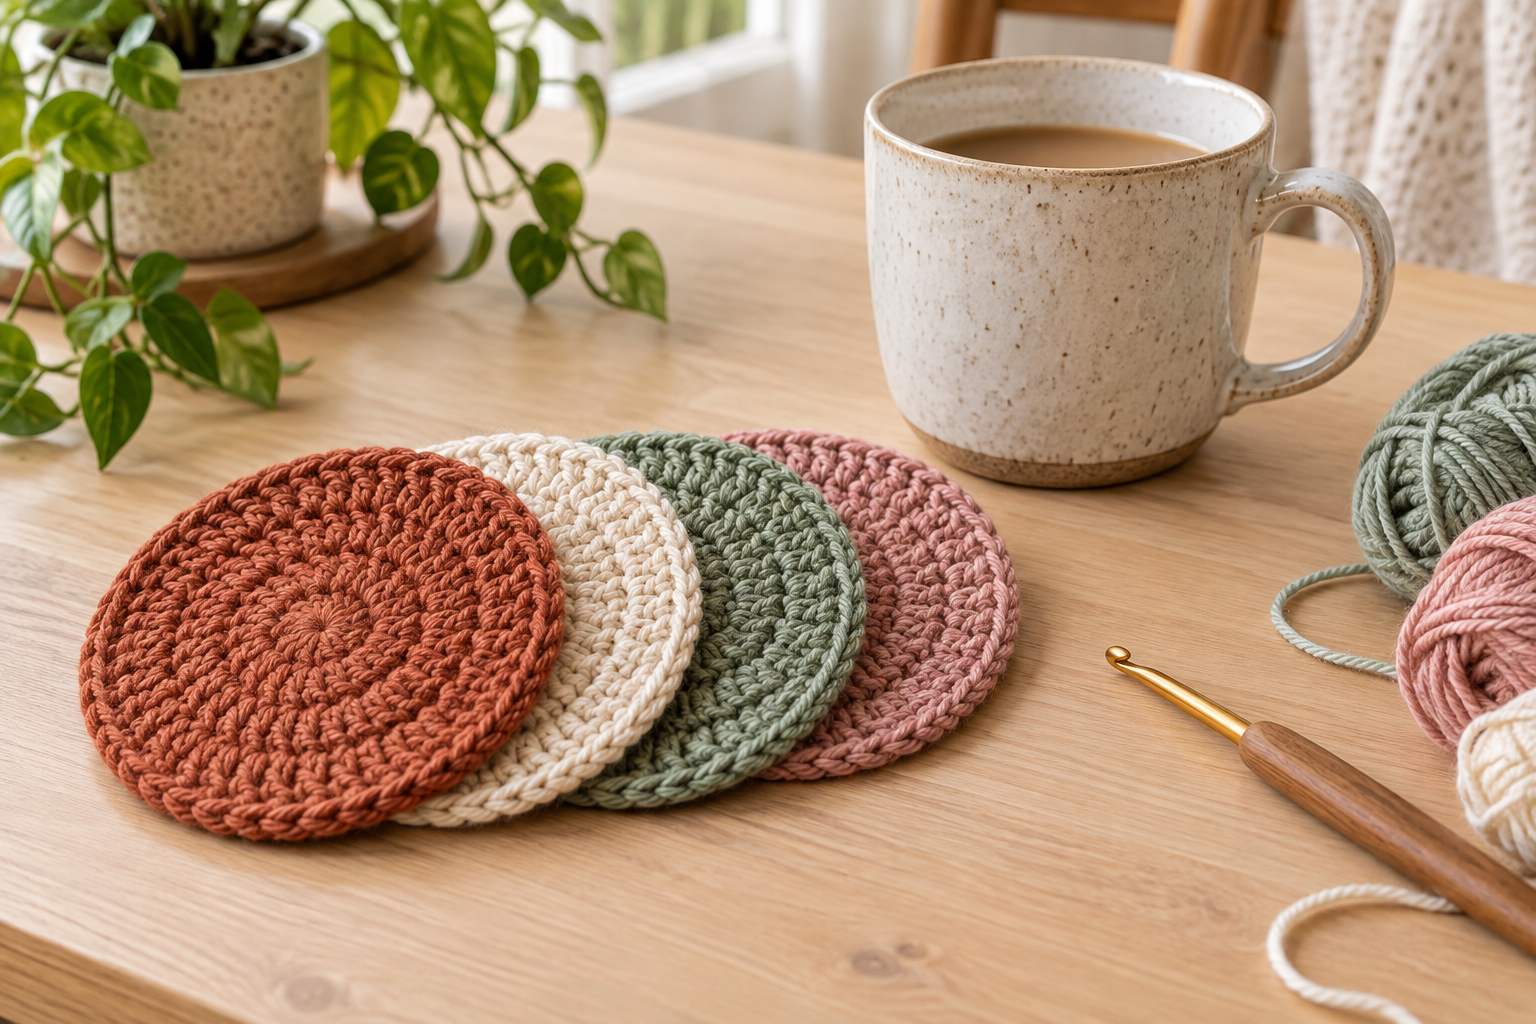
Add matching crochet coasters, a fitted cup cozy, or a decorative plant pot cozy for the same desk or breakfast corner.