Easy Crochet Gift Card Holder
A crochet gift card holder turns a quick purchase into a handmade presentation, but it still needs accurate sizing and a closure that protects the card. This guide compares three constructions and shows how to test the finished fit.
Level: beginner
Time: 45–90 minutes
Yarn use: approximately 15–30 g
Best fiber: smooth cotton or cotton blend
Measure the card and add controlled ease
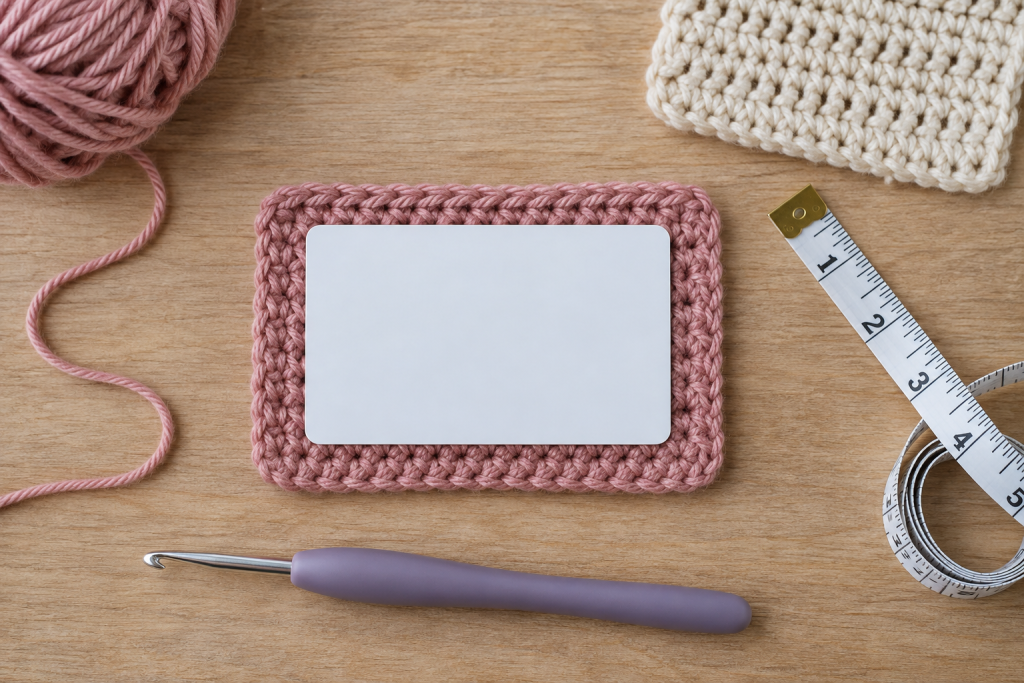
Measure the actual card because packaging and regional formats can vary. Add roughly 5–8 mm around the width and height, then account for the thickness of side seams. Crochet a small gauge swatch and compare the finished panel to the card every few rows.
Test with a blank expired card or plain template while constructing; do not risk damaging a loaded gift card.
Choose a construction style
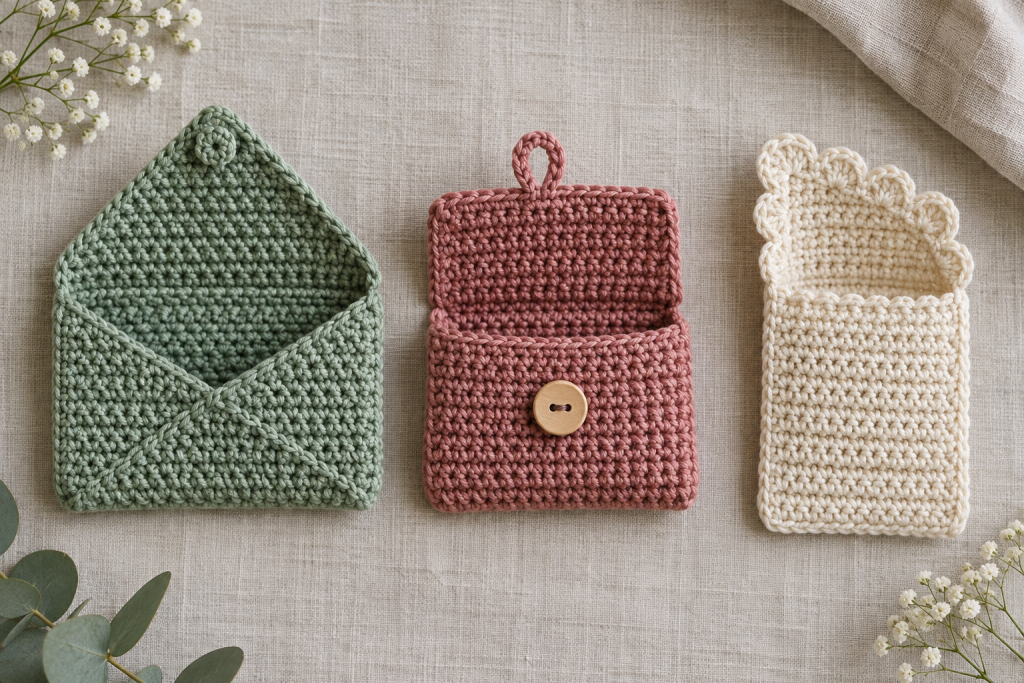
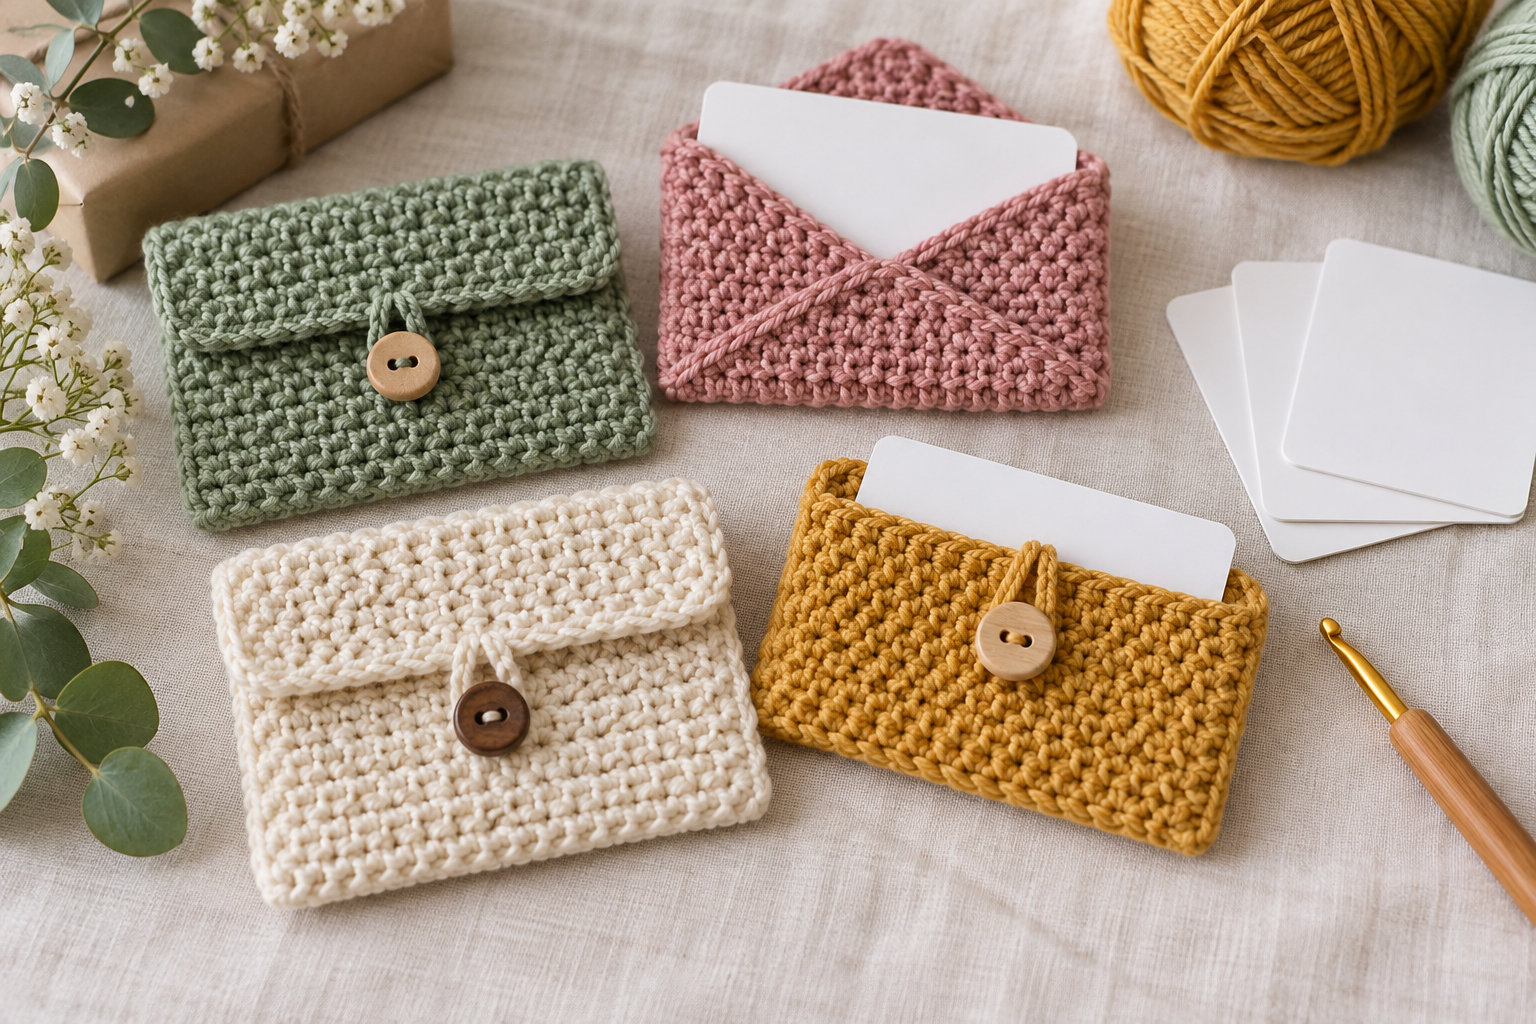
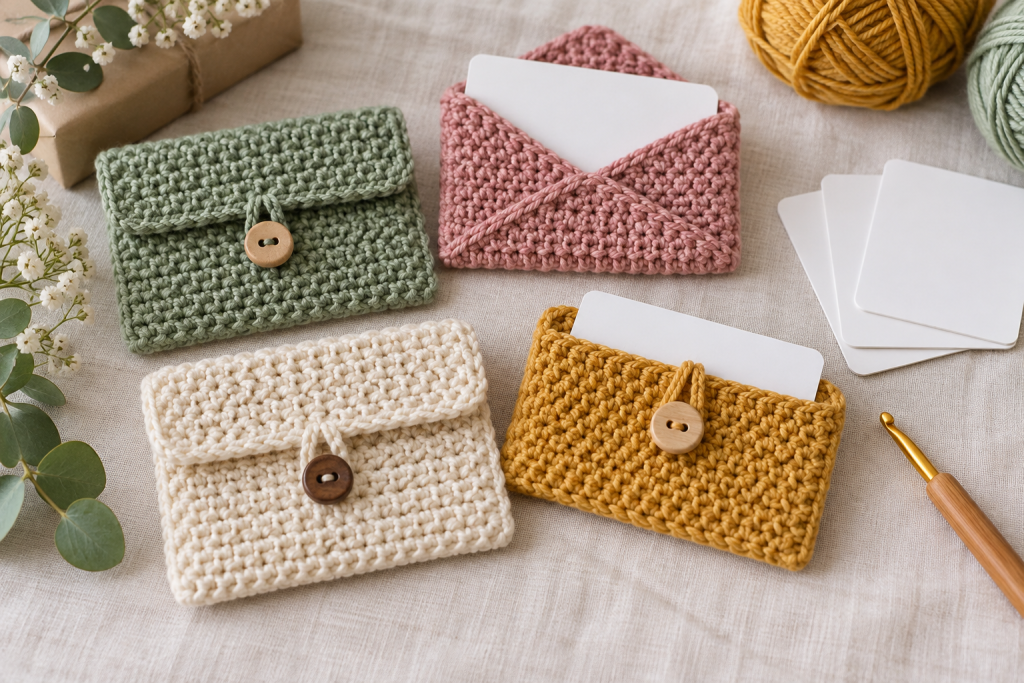
An envelope holder uses one folded piece and a shaped flap. A button-loop pouch offers an obvious secure closure but requires a firmly sewn button. A slim sleeve is fastest and works well inside another card, although the opening should be snug enough that the gift card cannot slide out.
Crochet straight, matching panels
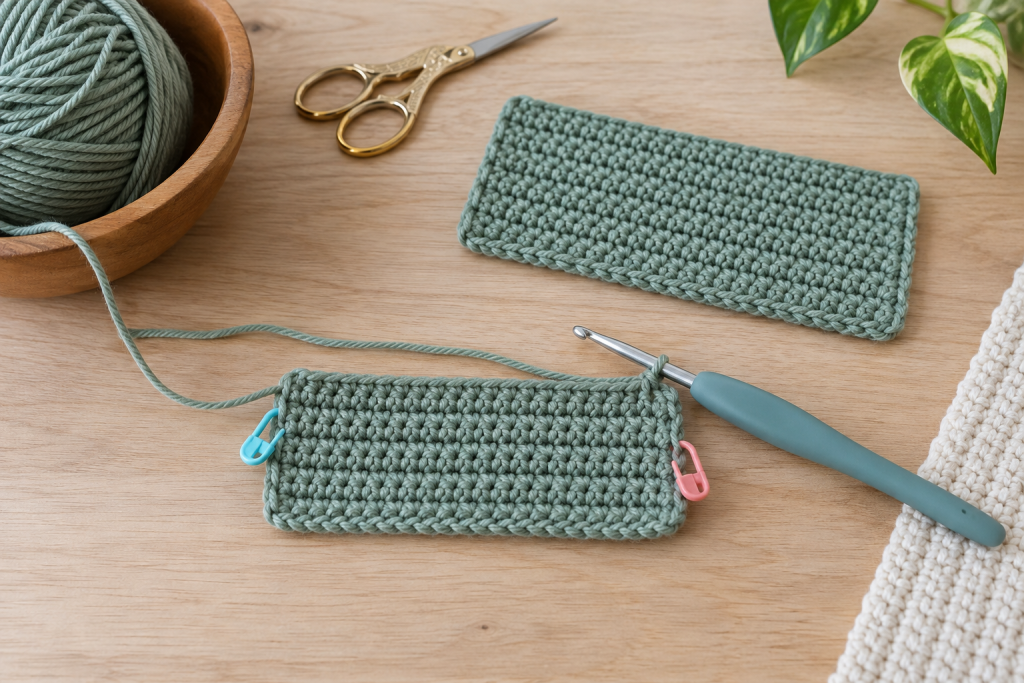
- Use a smooth, compact stitch that will not snag card edges.
- Count every row and mark the first and last stitch.
- Stop and test width before crocheting the full height.
- Block lightly before seaming if the fabric curls.
- Join edges with small even stitches and keep the interior seam tidy.
If the card catches, inspect seam loops and woven tails. Do not force it into a holder that is too narrow.
Select a closure that matches the recipient
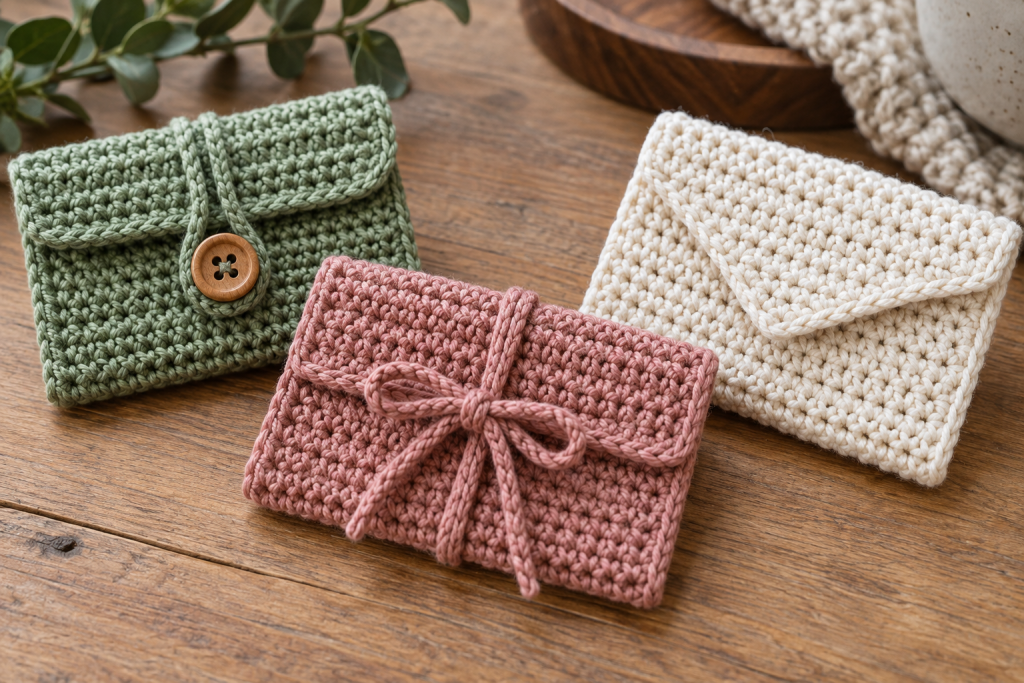
A fitted flap is simplest and avoids hardware. A yarn tie is adjustable but should remain short and easy to untie. A button creates a polished finish when it is sewn through reinforced crochet stitches. Avoid beads, sharp decorations and loose components when the recipient is a young child.
Test and present the gift
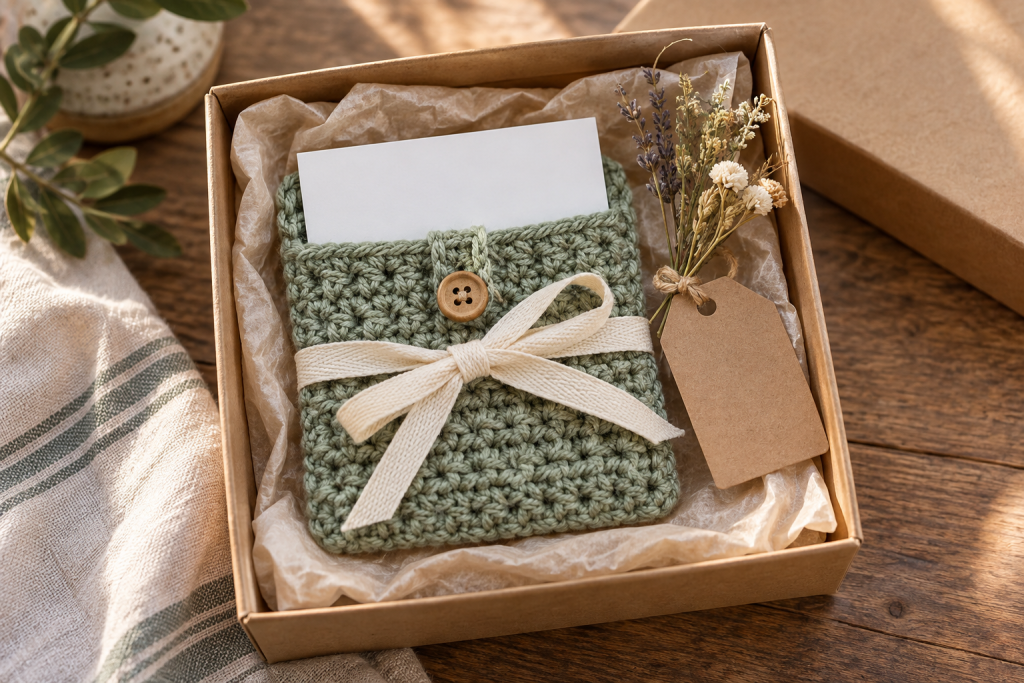
Insert a blank card, close the holder, turn it upside down and shake gently. The card should stay secure but slide out without bending. Add the real card only after the test. Include its receipt separately when appropriate and never write sensitive card information on the outside package.
Personalization ideas
Add a small embroidered initial, one contrast stripe or a removable tag. Keep the decoration flat so the holder still fits inside an envelope or gift box. Record the finished dimensions if you plan to reproduce the design.
More quick handmade gifts
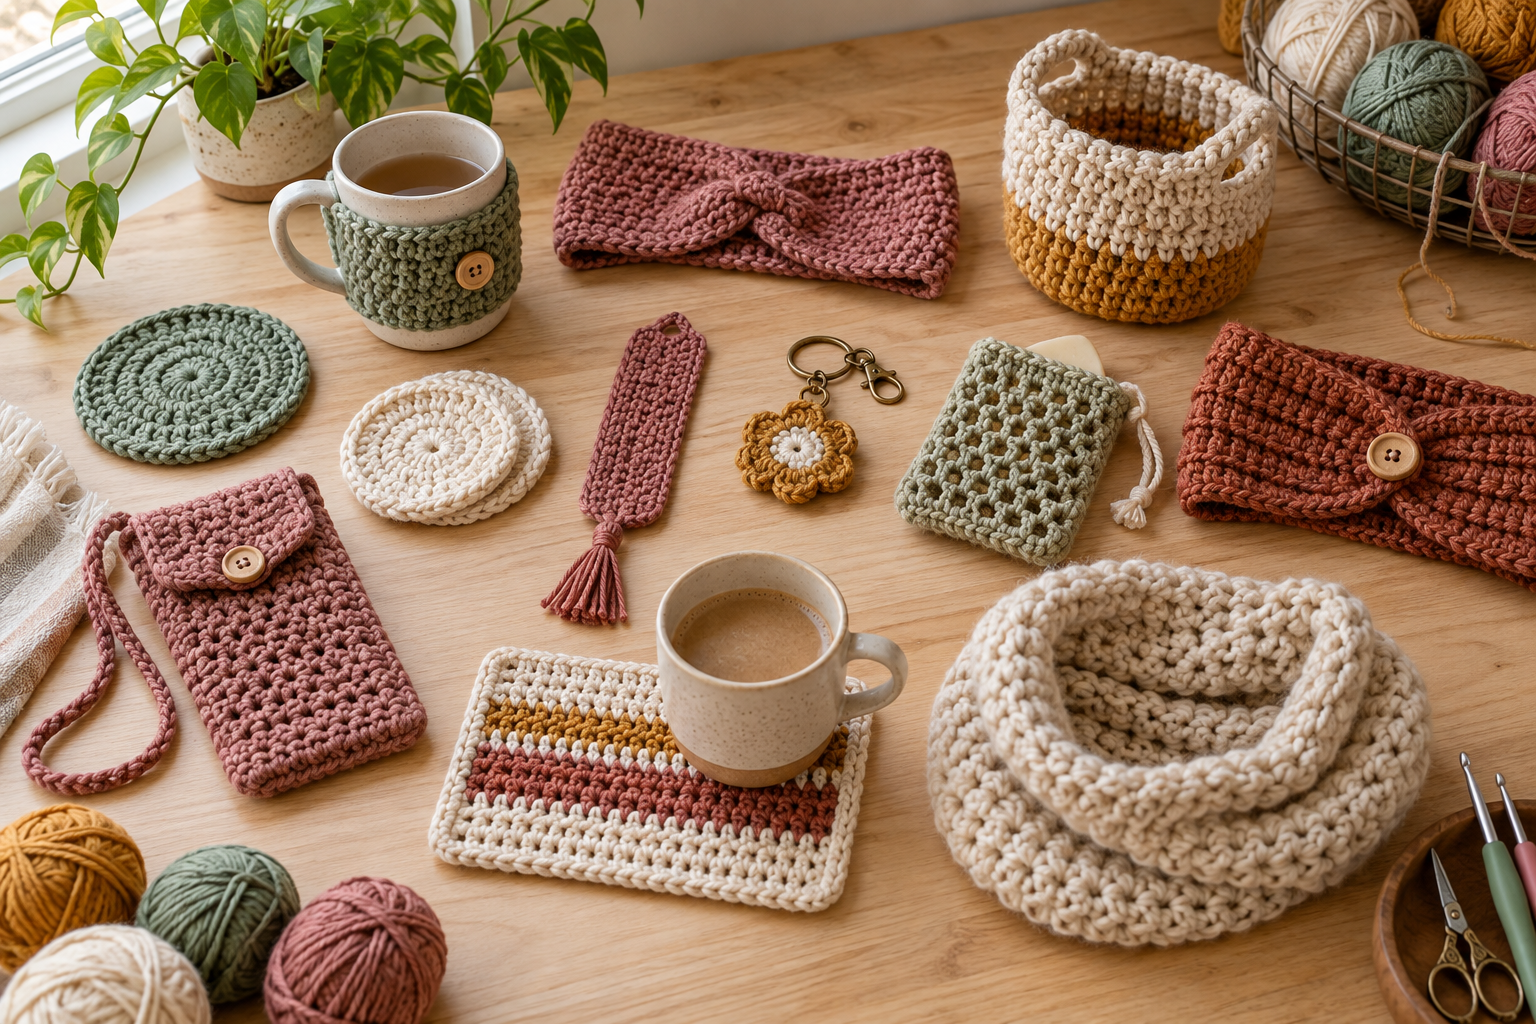
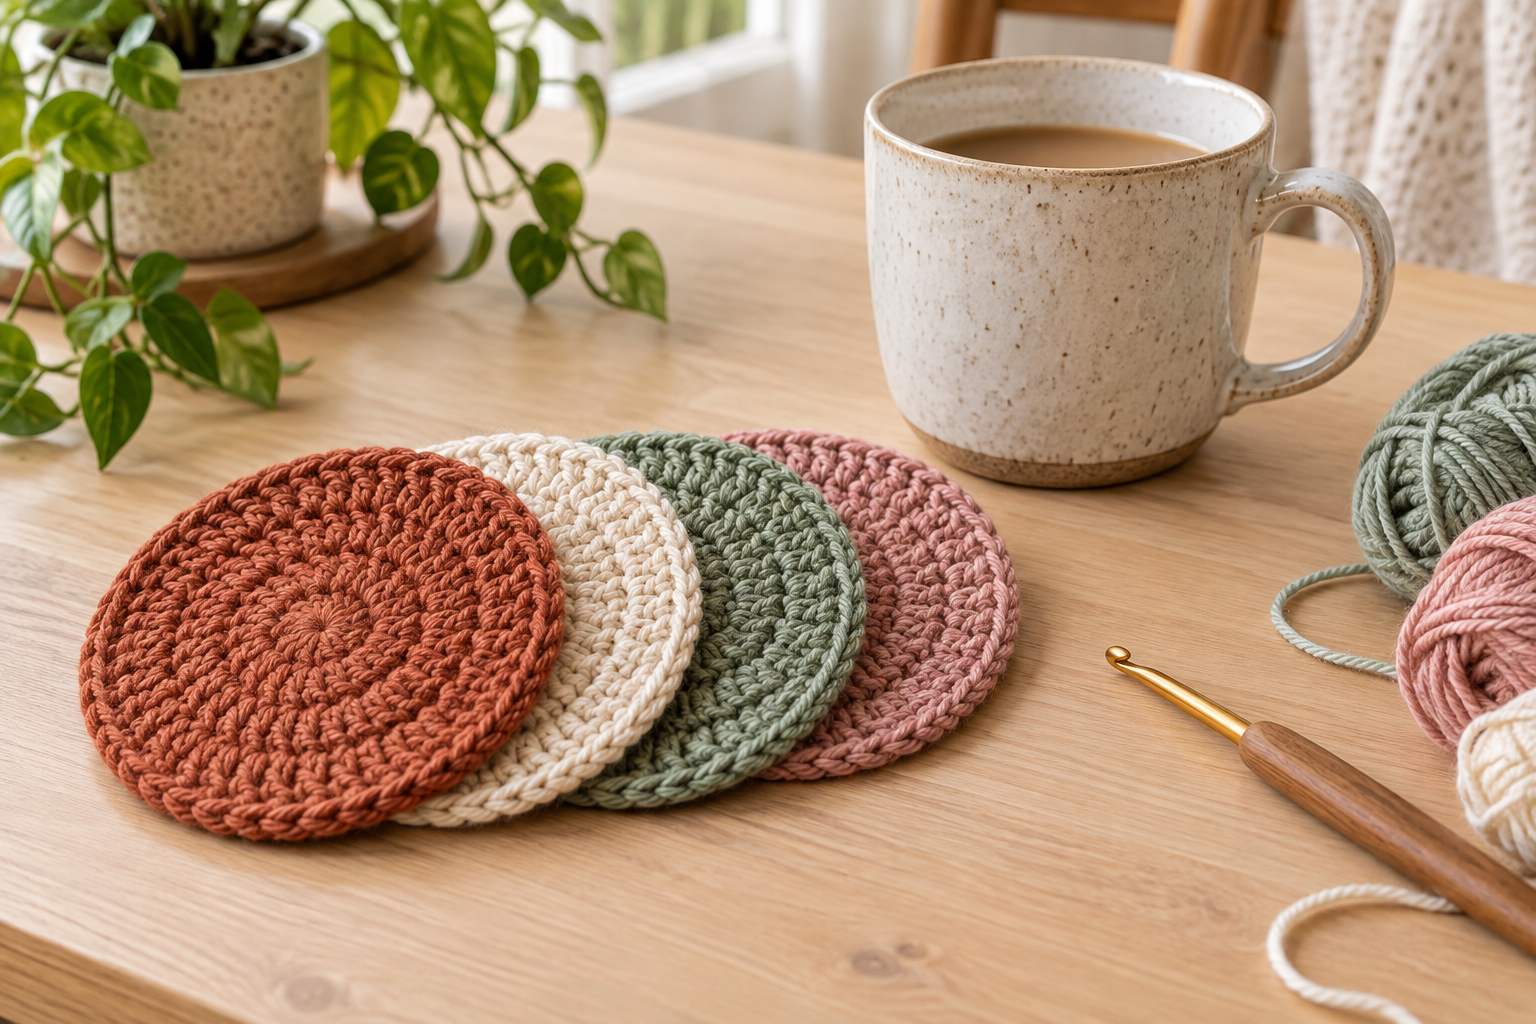
Pair the holder with a crochet bookmark, a scrap-yarn scrunchie, or a set of one-hour coasters.