One-Evening Crochet Plant Pot Cozy
A crochet pot cozy should improve a planter’s appearance without trapping drainage water against yarn. This one-evening project guide combines accurate sizing, sturdy fabric and a removable moisture barrier so the cozy stays clean and useful.
Level: beginner
Time: 2–4 hours
Construction: flat base worked upward
Important: yarn must remain separate from drainage water
Measure the actual pot, including its taper
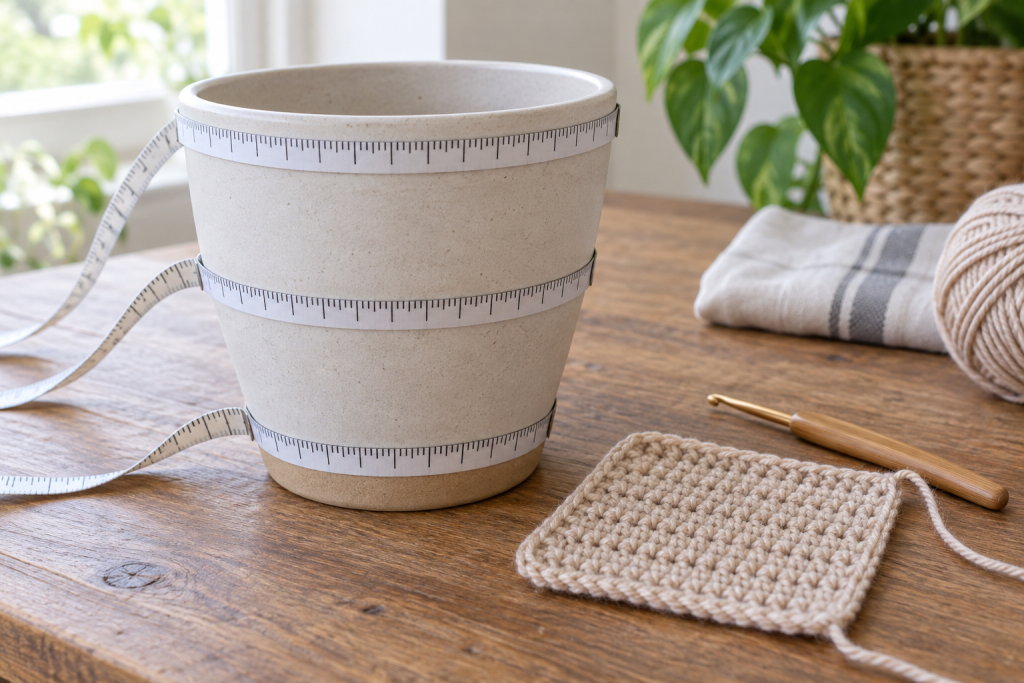
Measure the diameter across the bottom, the circumference at the widest point and the height below the rim. If the pot narrows toward the base, plan gradual increases as the cozy rises. Make the cover slightly shorter than the pot so wet soil and watering spills do not touch the top edge.
Choose structure without excessive stiffness
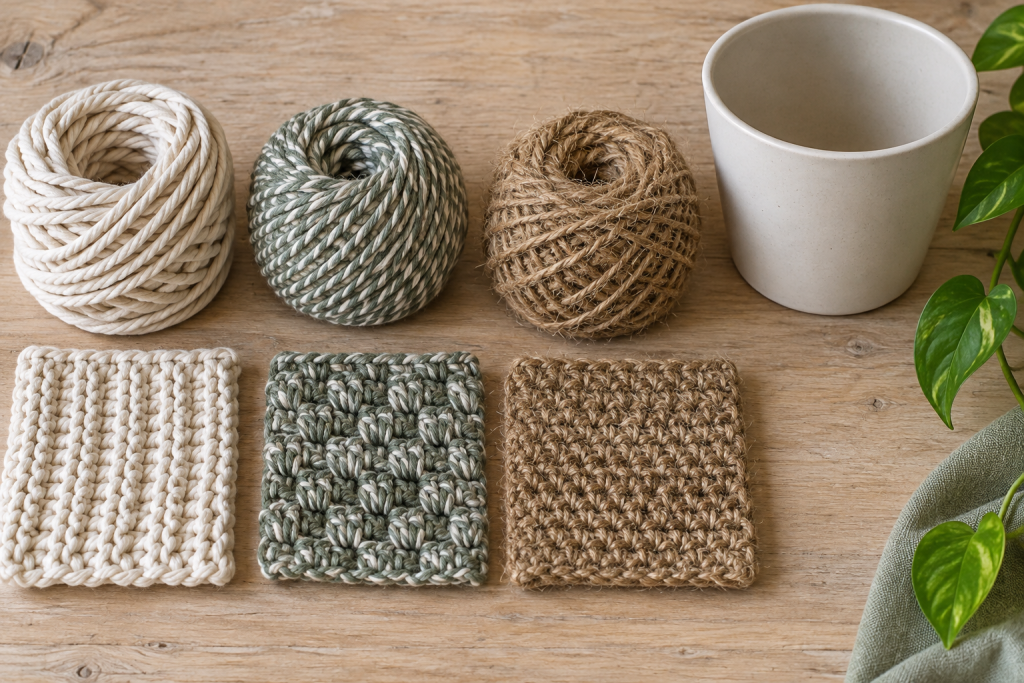
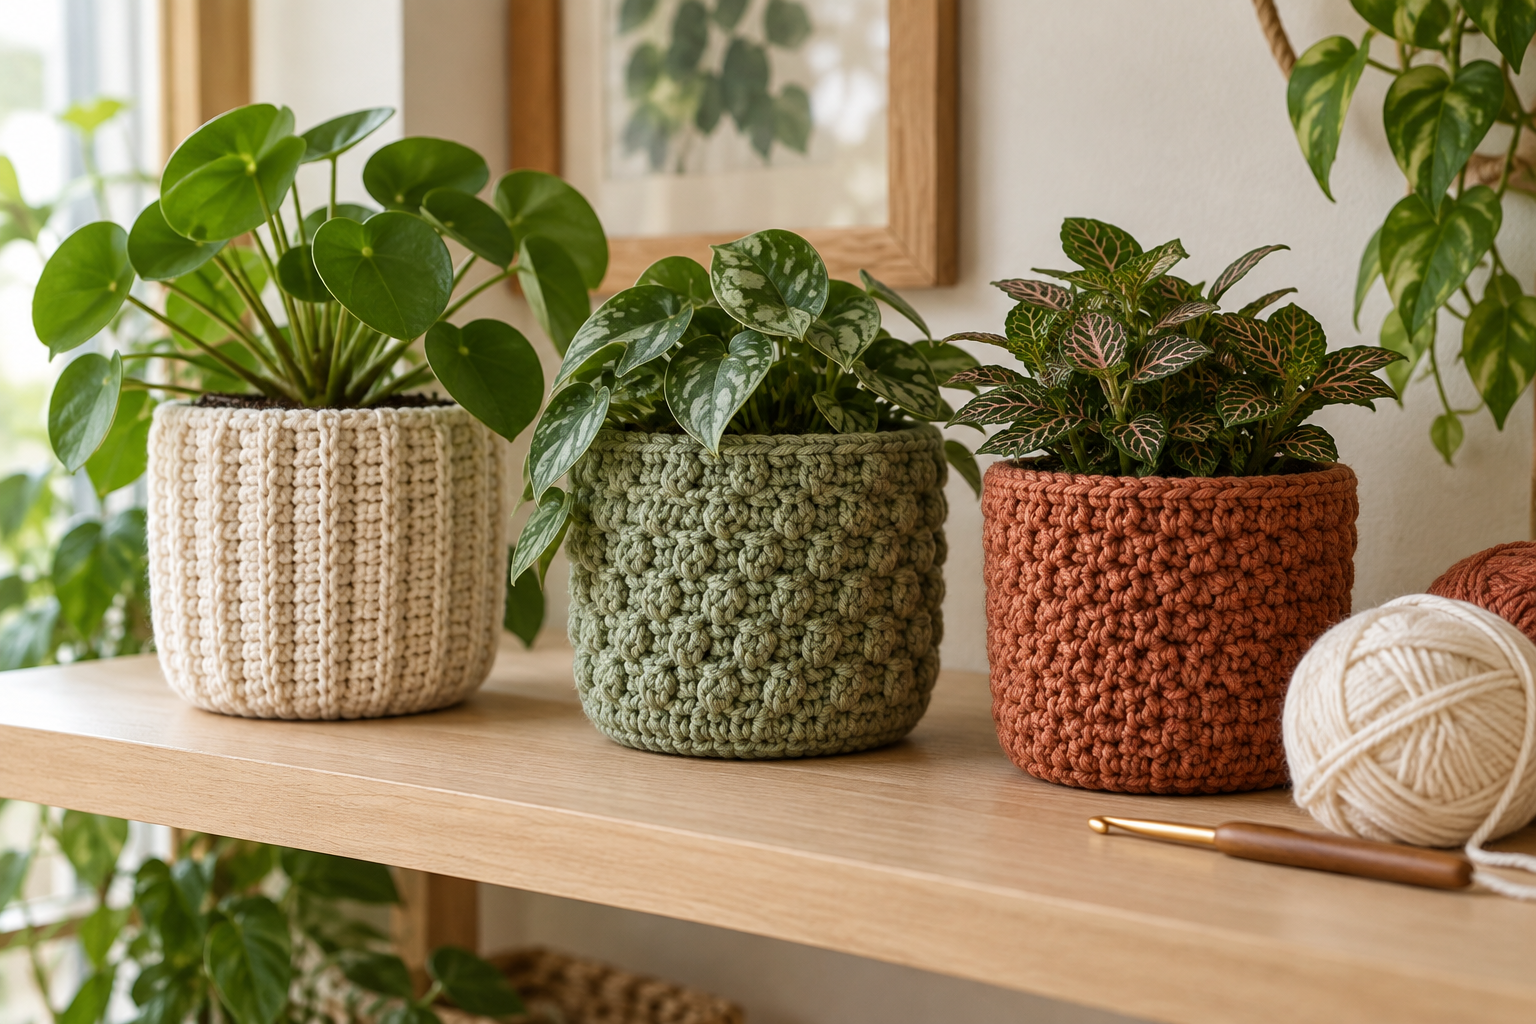
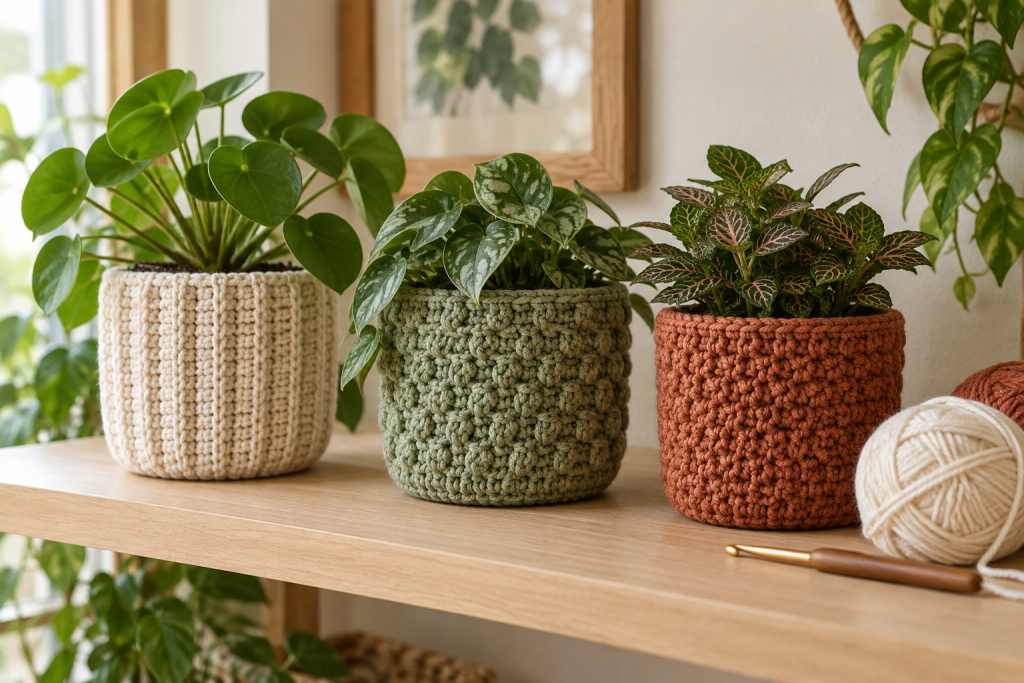
Cotton cord creates a basket-like cover for heavier pots. Worsted cotton or cotton-acrylic is easier on the hands and better for small planters. Jute-like fibers suit rustic décor but can shed and may be difficult to wash. Use dense stitches around the base and a slightly more flexible texture on the sides.
Swatch the selected stitch and wrap it around the pot. Some ribbing stretches far more than a simple linen stitch, which changes the needed circumference.
Build from a stable base
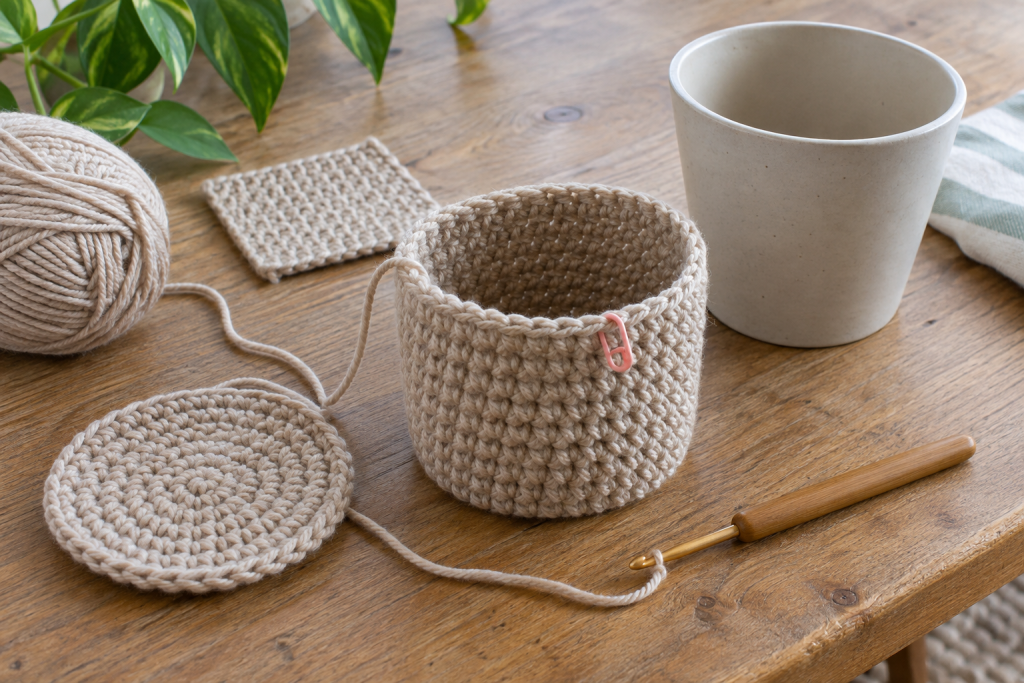
- Crochet a flat circle and check it beneath the empty pot after every round.
- Work one round in the back loop to create a defined turn.
- Build the sides, adding occasional increases only when the pot widens.
- Test the fit every few rounds; the pot should slide out without stretching the seam.
- Finish below the rim and weave tails through dense interior stitches.
A cover that flares has too many side increases. A cover that rides upward is too narrow near the top or too tight over the pot’s widest point.
Keep drainage water away from yarn
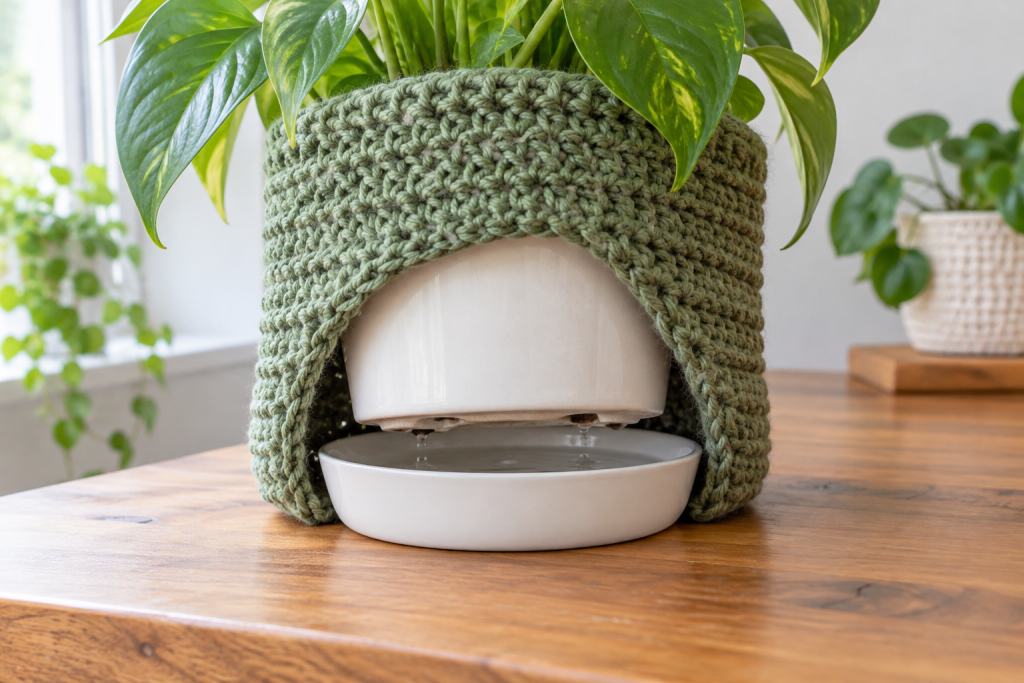
Never plant directly into a crochet cover. Keep the plant in a suitable pot with drainage holes and use a waterproof saucer or cachepot inside the cozy. Remove the inner pot for watering, let excess water drain fully and wipe the exterior before returning it. Inspect the cozy regularly for dampness, staining or odor.
Style it without harming the plant
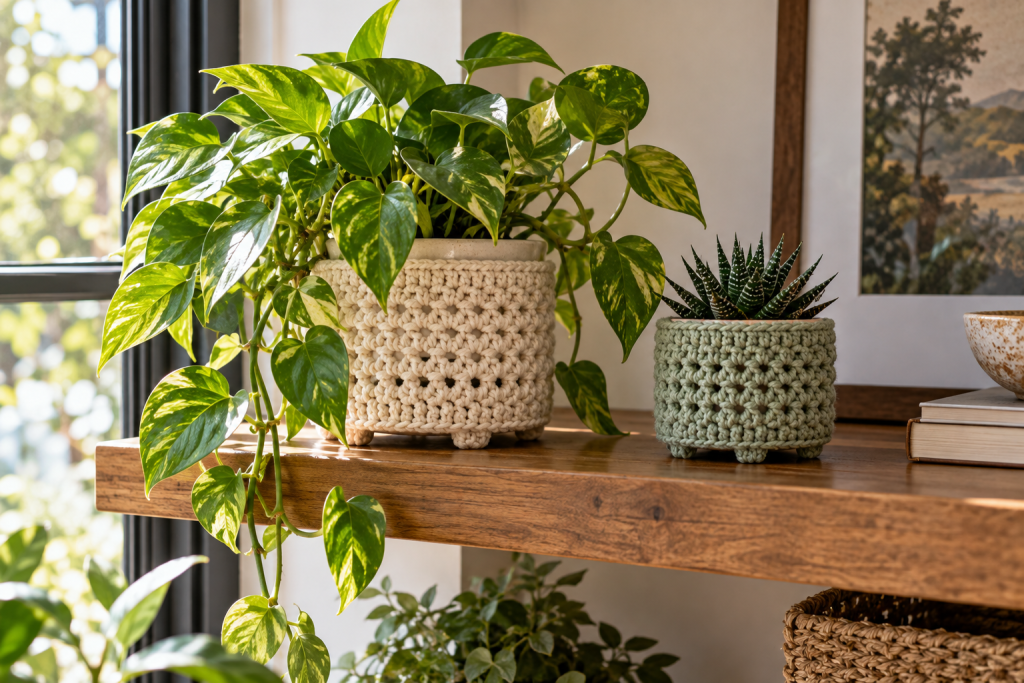
Do not pull crochet fabric over ventilation openings or the soil. Place the finished pot where its plant receives appropriate light; the cozy does not change plant-care needs. Use a washable neutral for busy foliage or one stronger accent around a simple succulent.
Cleaning and seasonal storage
Remove the pot and saucer, shake out dry debris and wash according to the yarn label. Reshape around the clean empty pot while damp, then remove it and let the cozy dry completely. Store flat or lightly filled so the base does not crease.
More useful home projects
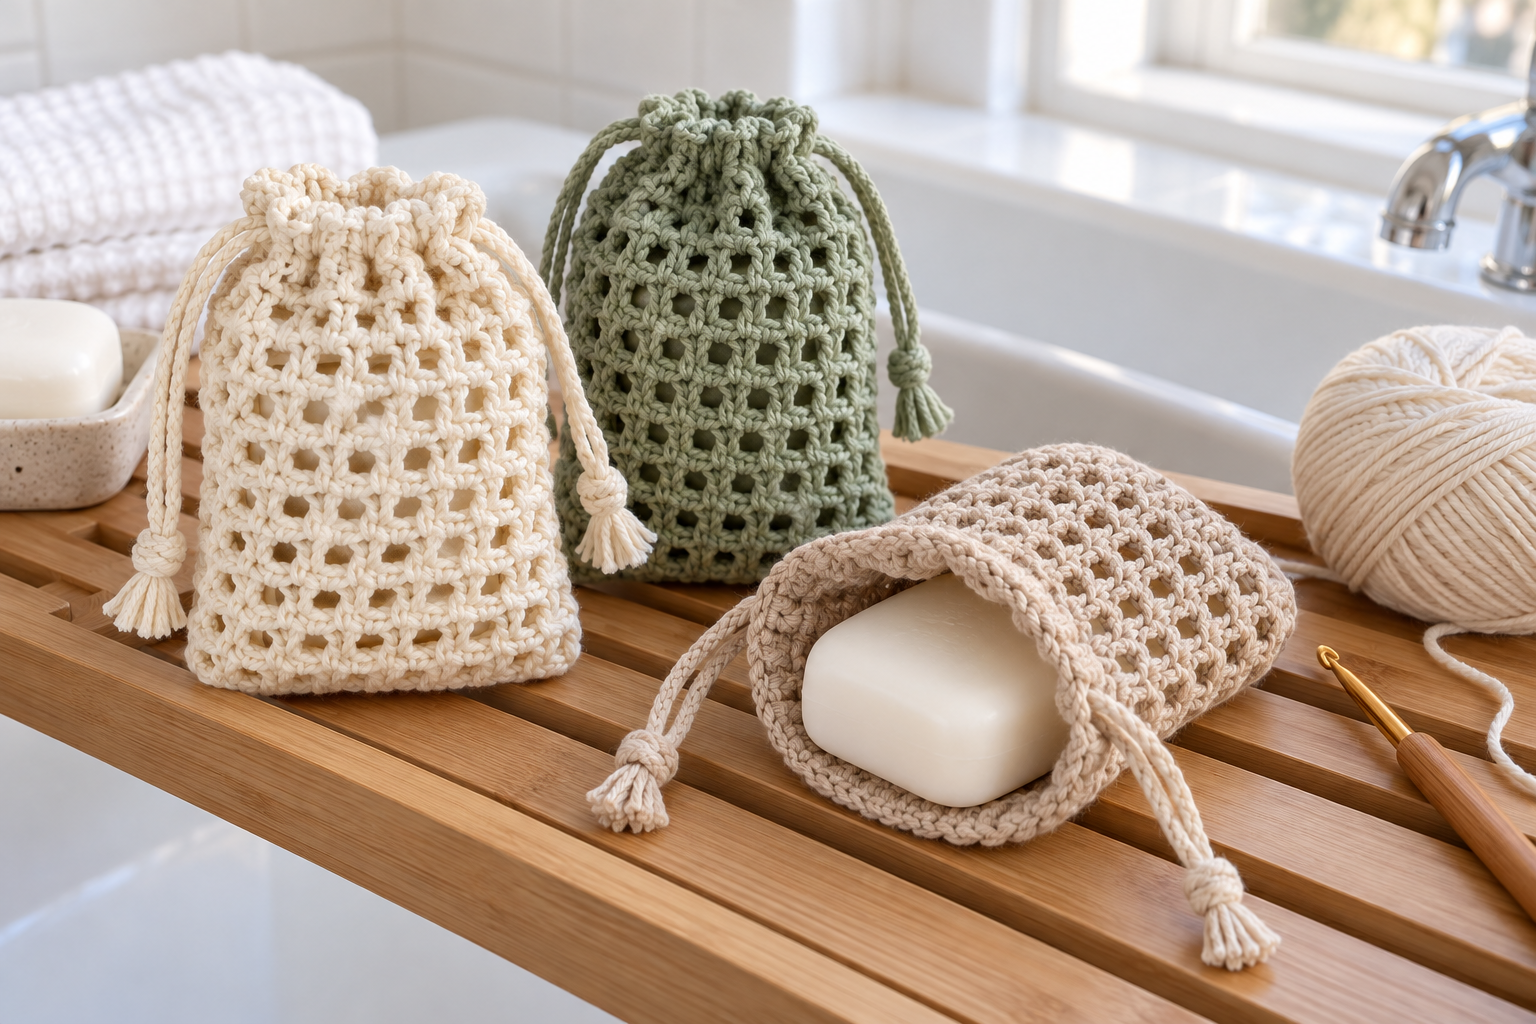
Coordinate the room with one-hour coasters, make a ventilated soap saver bag, or add a practical beginner mug rug.