Crochet Burp Cloth Edging for Handmade Gifts
A crochet edge can personalize a practical burp cloth only when the base fabric is absorbent, prewashed and securely stitched. This guide focuses on even foundations, flat corners and laundering the completed gift.
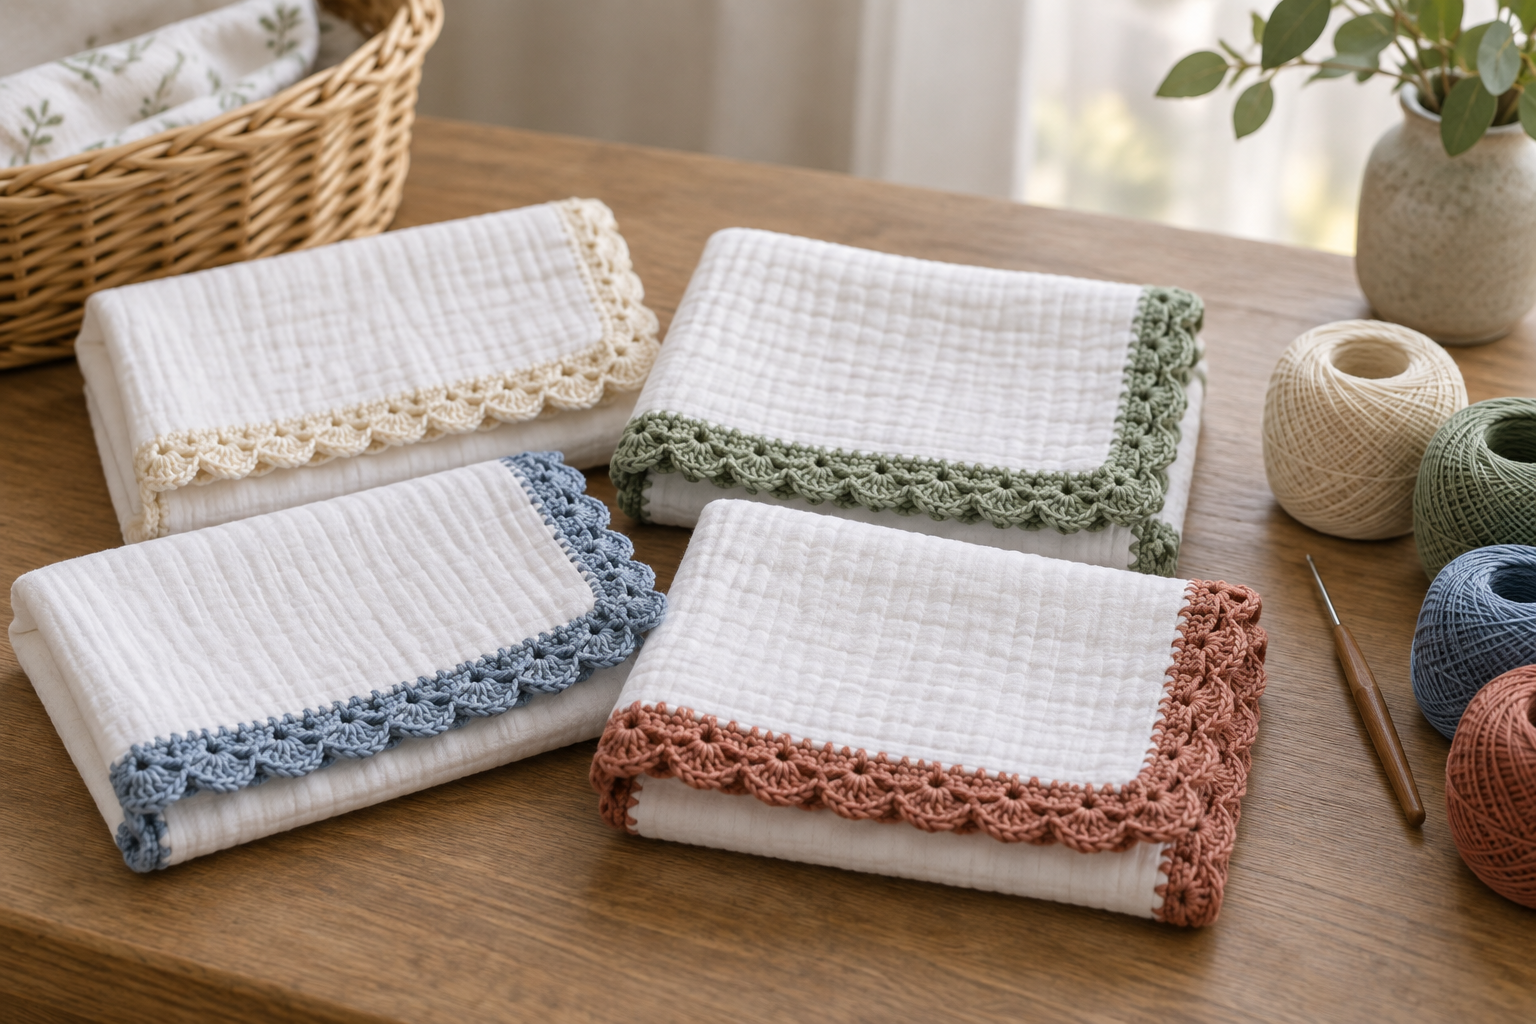
Level: confident beginner
Time: 1–2 hours per cloth
Base: absorbent prewashed cotton gauze or flannel
Border: smooth washable cotton yarn
Prepare and test the base cloth
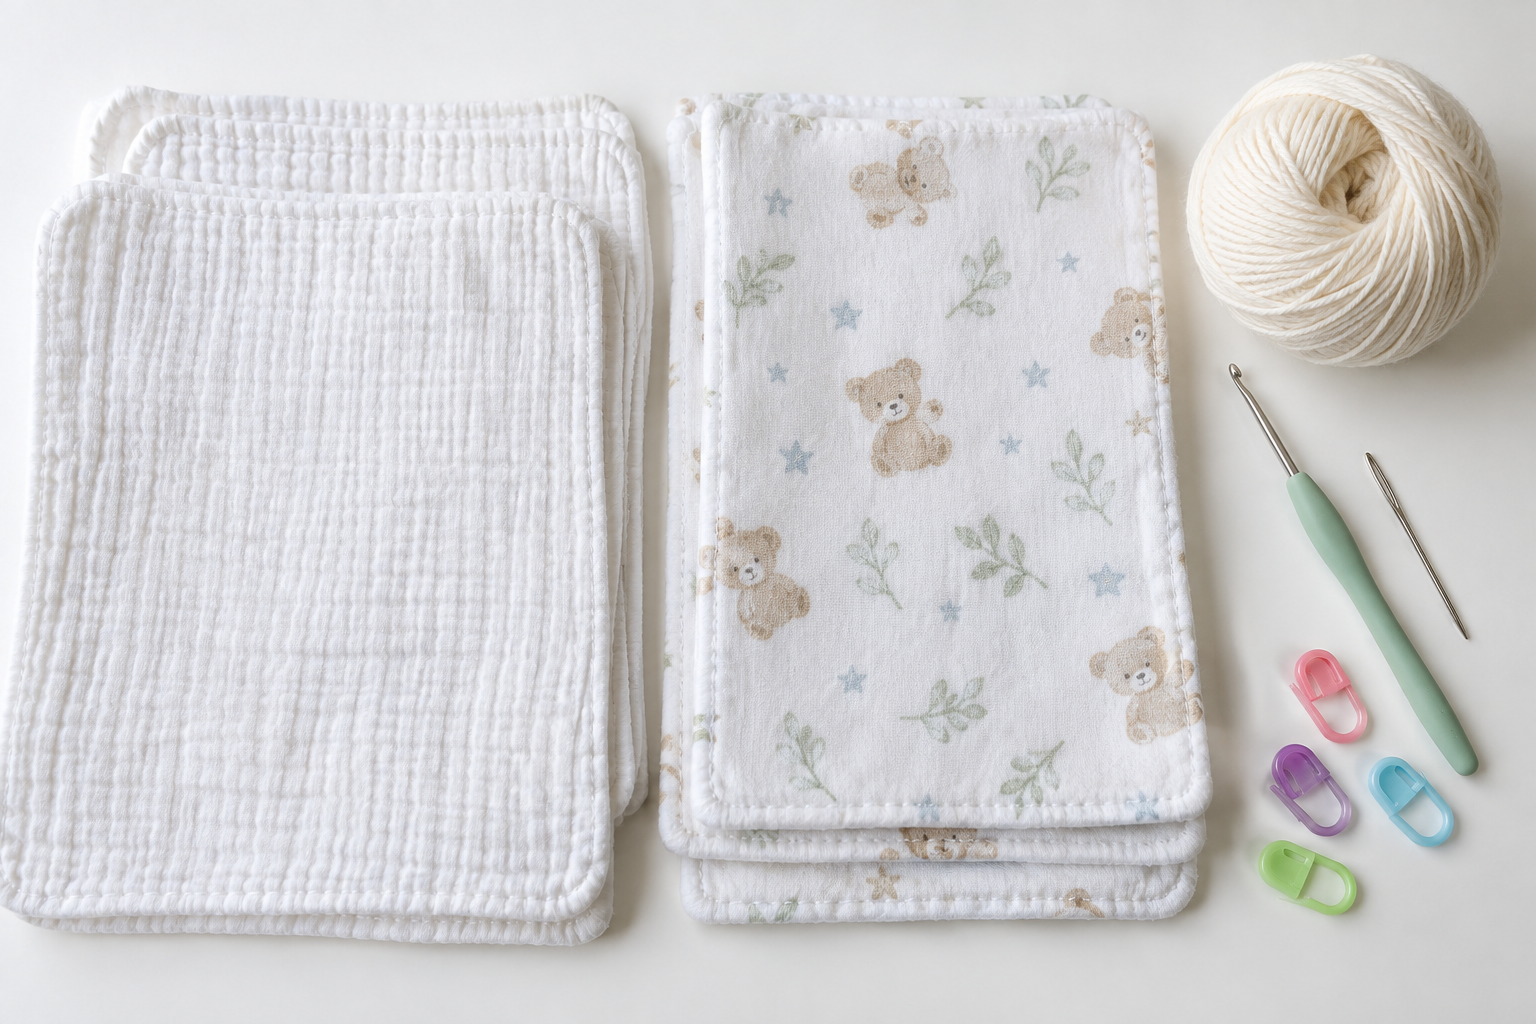
Choose a securely hemmed absorbent cloth. Wash and dry it using the intended care method, then square and press the edges if permitted. Test yarn colorfastness beside the fabric. Use smooth cotton thread or lightweight yarn that can tolerate the same laundering routine.
Create an evenly spaced foundation
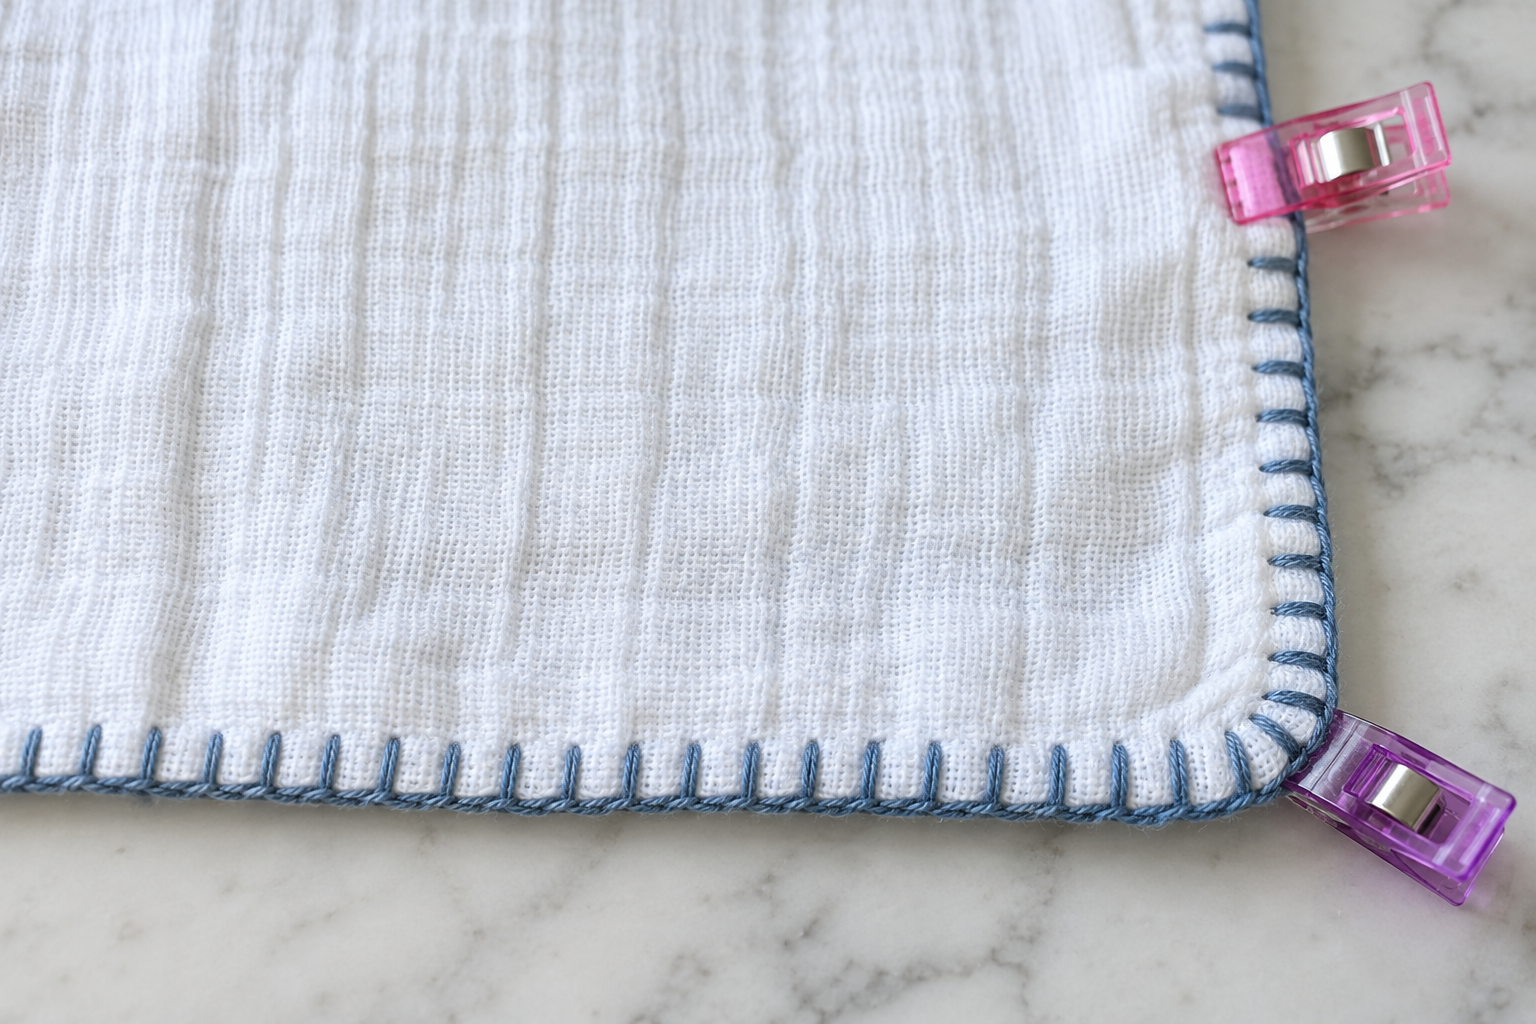
Mark spacing with removable clips or a washable method suitable for the fabric. Use a blunt needle where possible and avoid leaving sharp tools in the work area. Blanket-stitch through the hem—not a single loose fabric layer—and keep tension relaxed enough that the edge remains flat.
Choose a flat, washable border
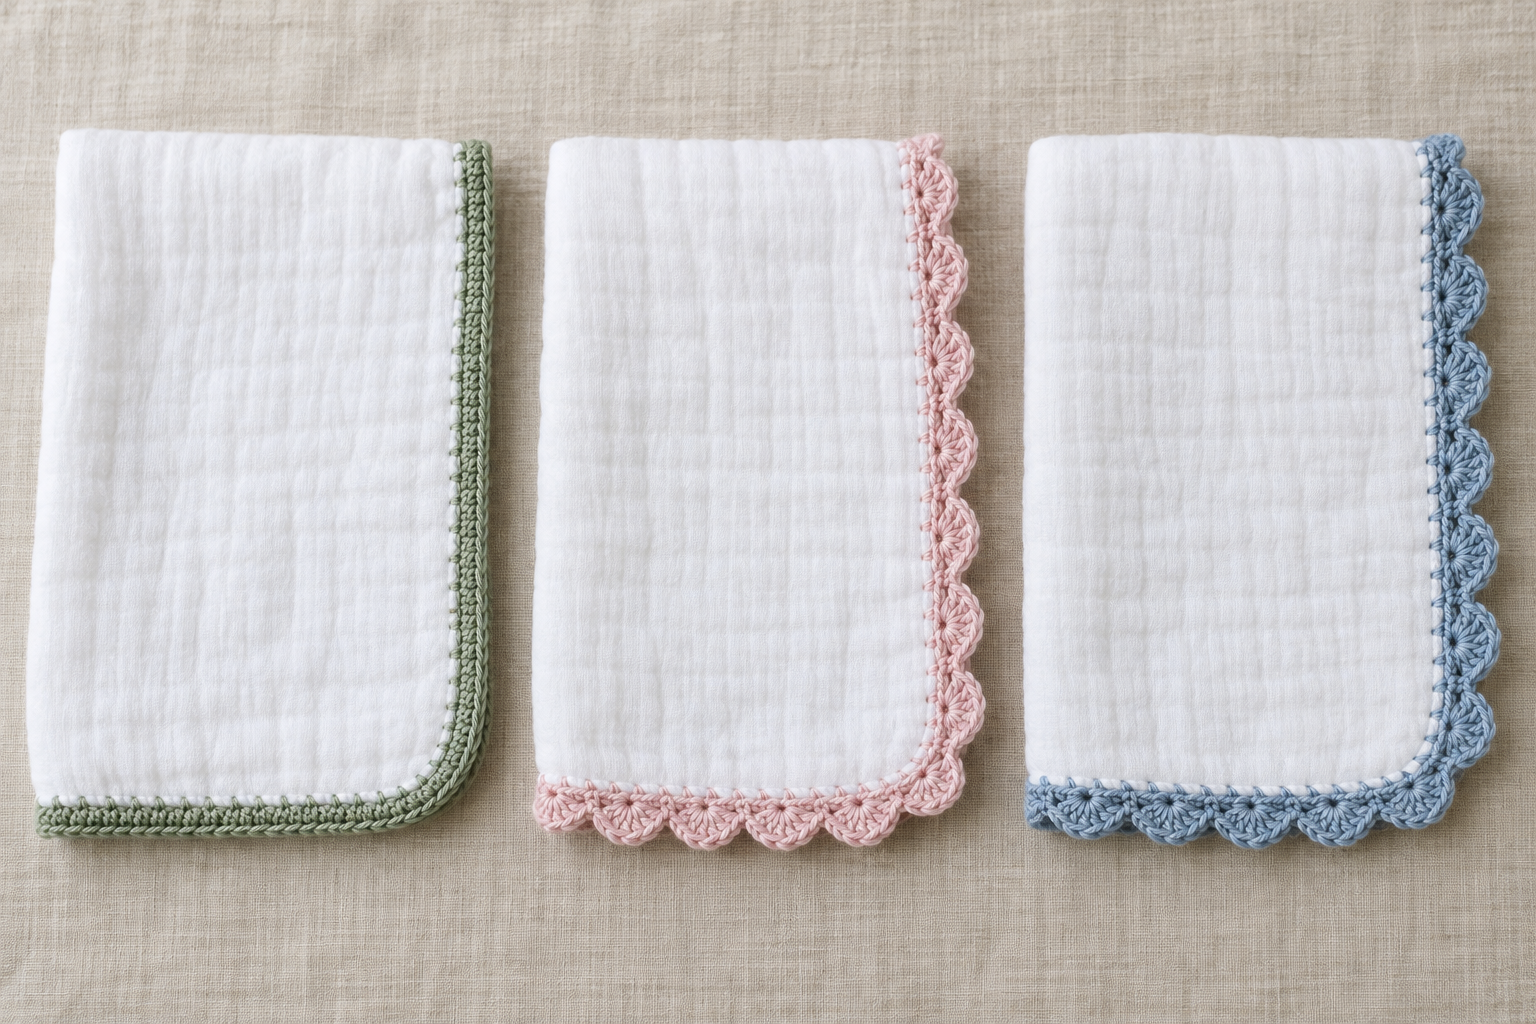
Start with one foundation round of single crochet. Add a second simple round only if the edge remains flat. Avoid beads, buttons, tassels, fringe and long picot loops. A burp cloth is handled and washed often, so elaborate trim usually reduces practicality.
Turn corners without puckering
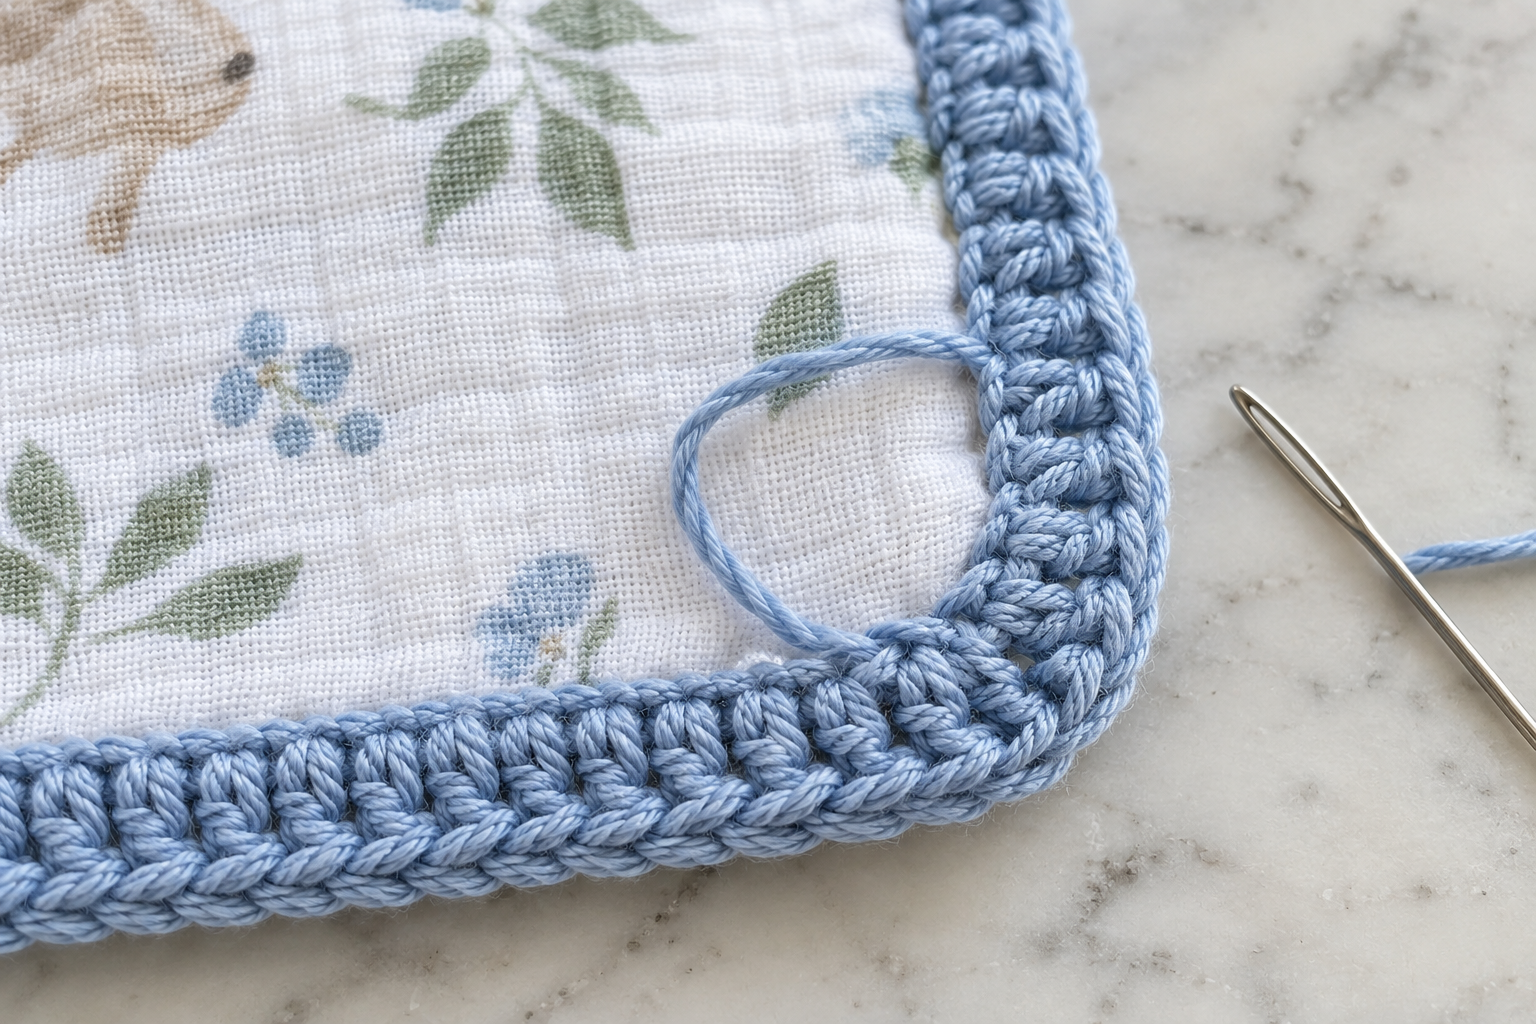
Add enough stitches at each corner to turn smoothly, then lay the cloth flat after every side. Waves mean excess border stitches; puckering means too few or tension that is too tight. Join discreetly and weave tails in two directions through several dense stitches.
Inspect before gifting
Pull-test the full border, especially the join and corners. Trim loose fibers and check the back for stiff knots. The cloth should remain soft and fold naturally. Do not add scented products or claim the item is suitable for every skin sensitivity.
Wash the completed set
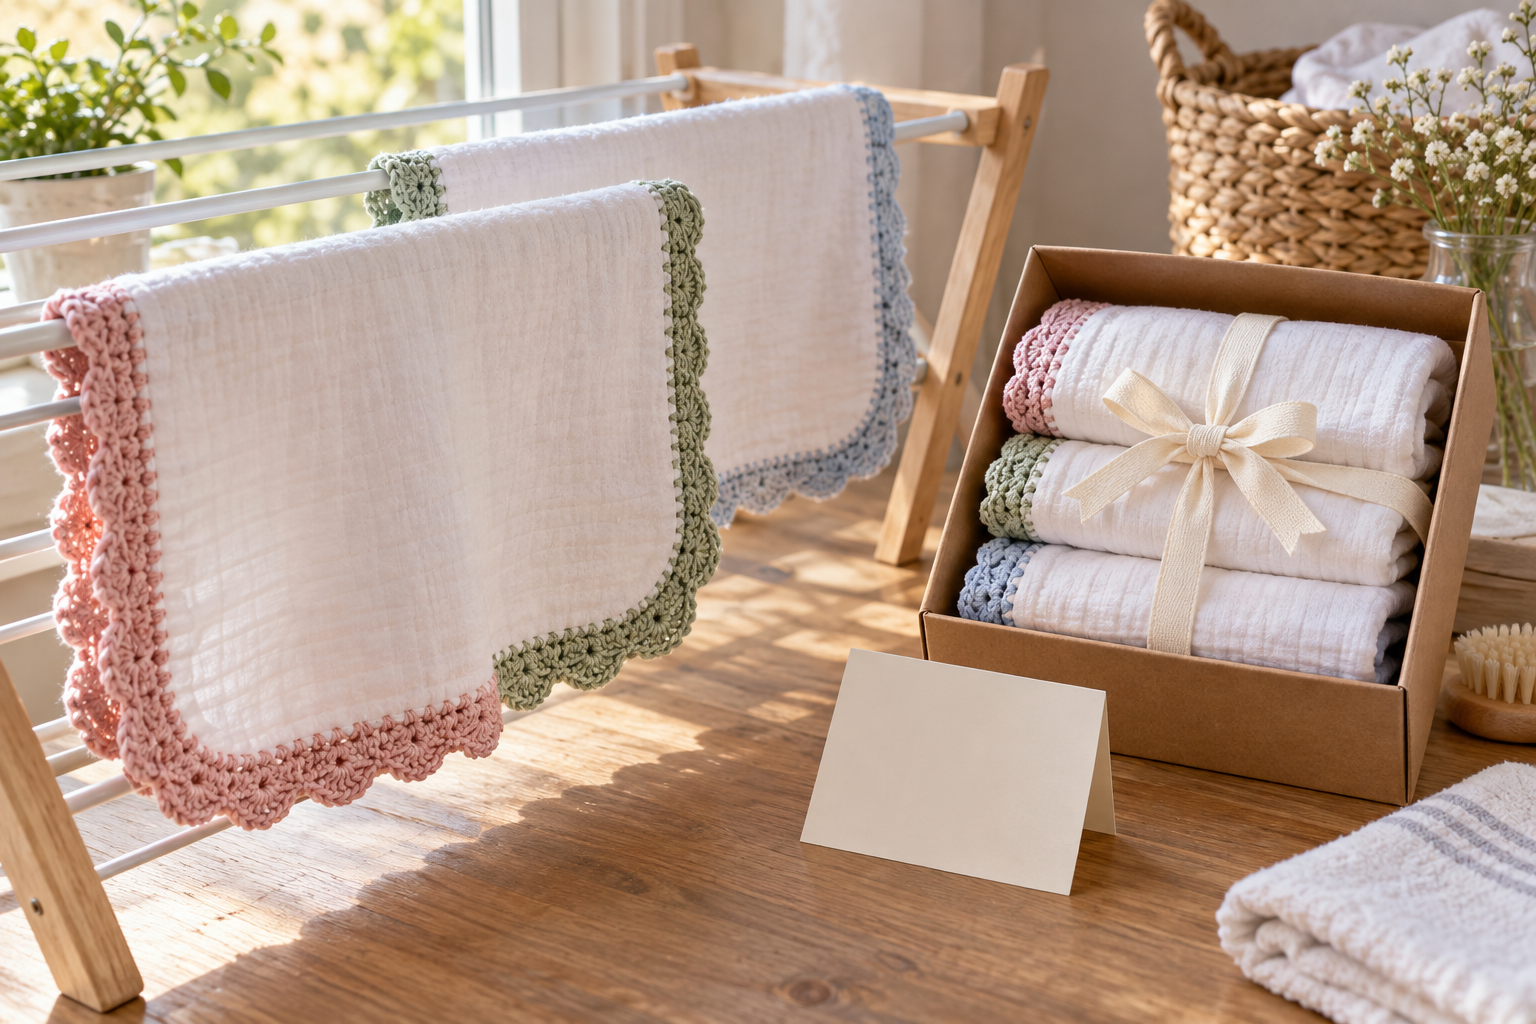
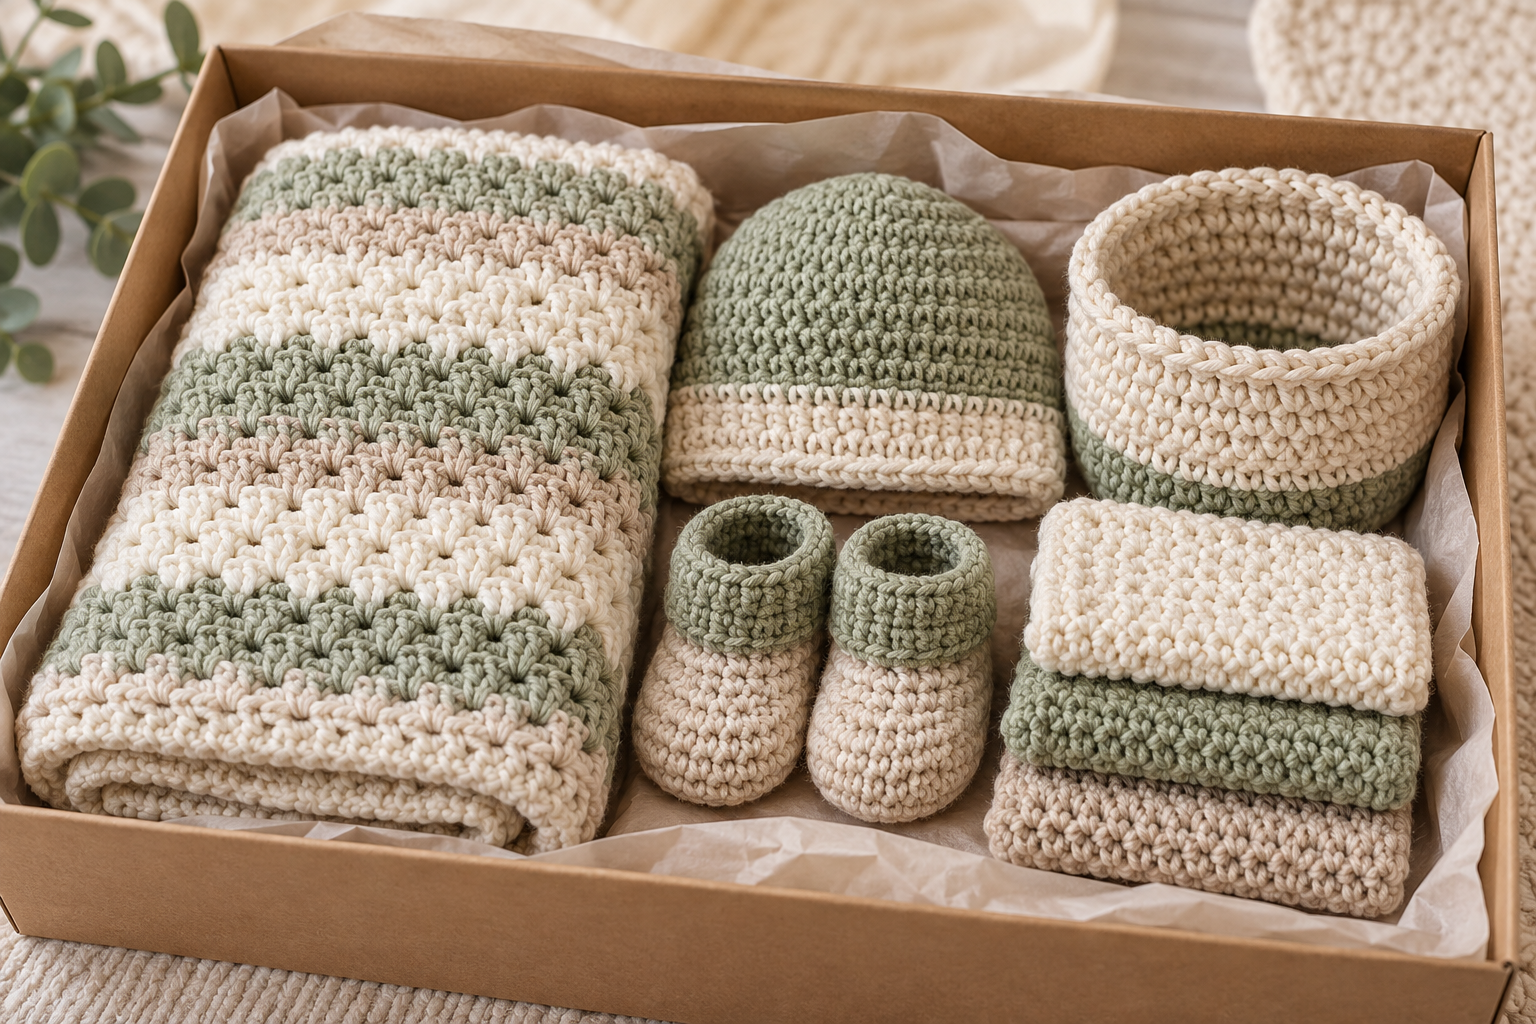
Launder the finished pieces using the tested method, reshape and dry completely. Include fiber content and care instructions. Package several cloths together so caregivers can rotate clean items easily.
Coordinate the shower gift
Add a matching baby washcloth set, repeat the palette in a baby blanket, or use the broader gender-neutral gift-set guide.