Quick Crochet Ear Warmer for Beginners
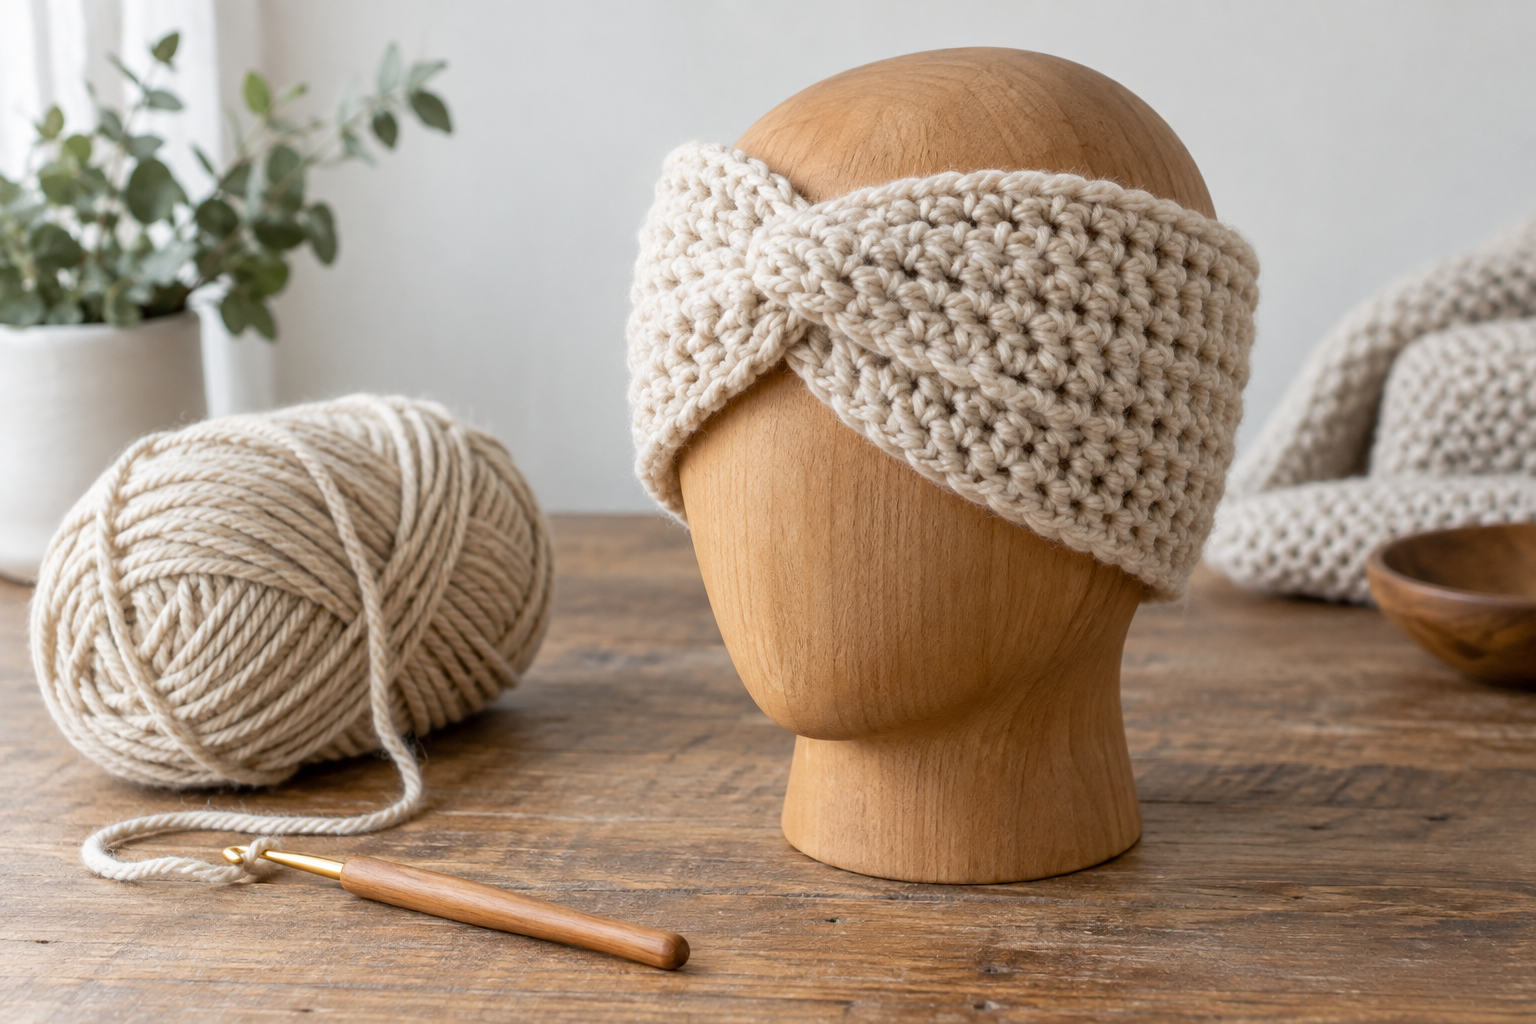
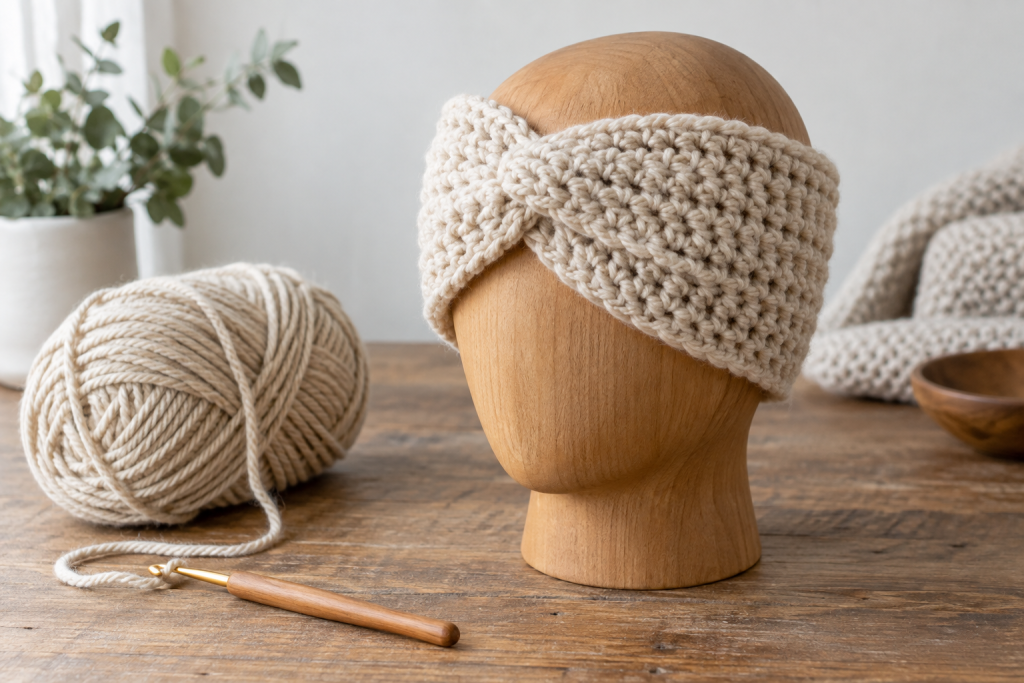
A beginner ear warmer is mostly a rectangle, but a comfortable one depends on stretch, negative ease and a seam that does not create a hard lump. This guide shows how to measure, swatch and finish a twist-front band that stays over the ears.
Level: beginner
Time: 2–4 hours
Suggested width: 8–11 cm / 3–4¼ in
Fit principle: finished circumference smaller than head circumference
Measure the head and calculate negative ease
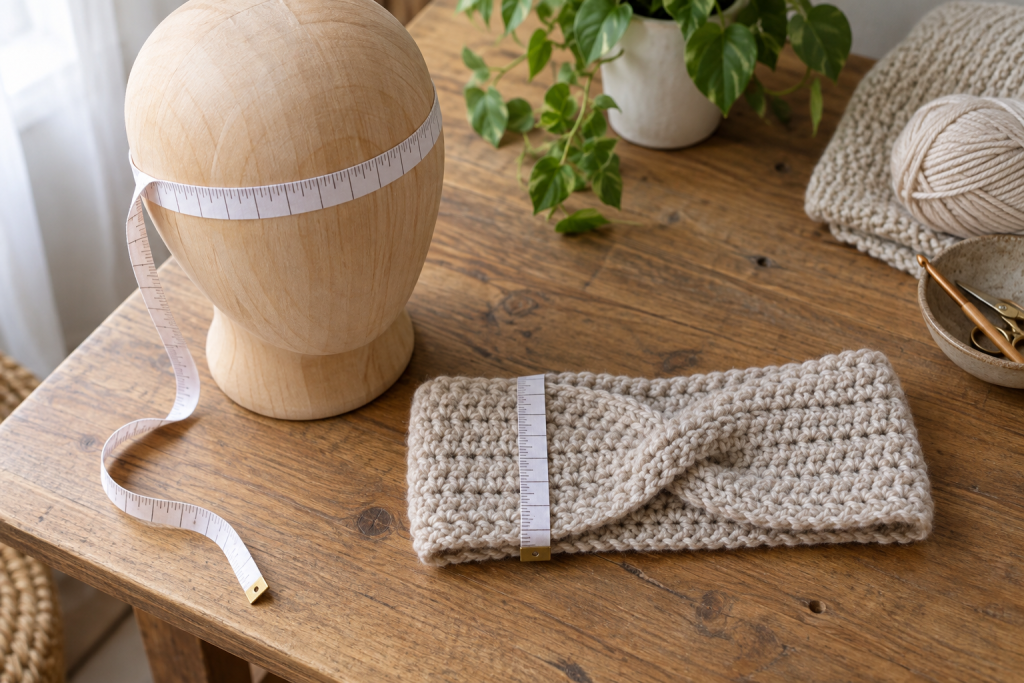
Use a flexible tape without pulling it tight. Most stretchy ear warmers fit well at roughly 8–12% smaller than the measured head circumference, but the exact reduction depends on the stitch and fiber. Multiply the head measurement by 0.88–0.92, then compare that target with a stretched swatch.
For a gift, an adjustable button closure is safer than guessing. For a child, measure directly and avoid loose buttons unless they are securely attached and age-appropriate.
Choose a stitch by stretch and wind protection
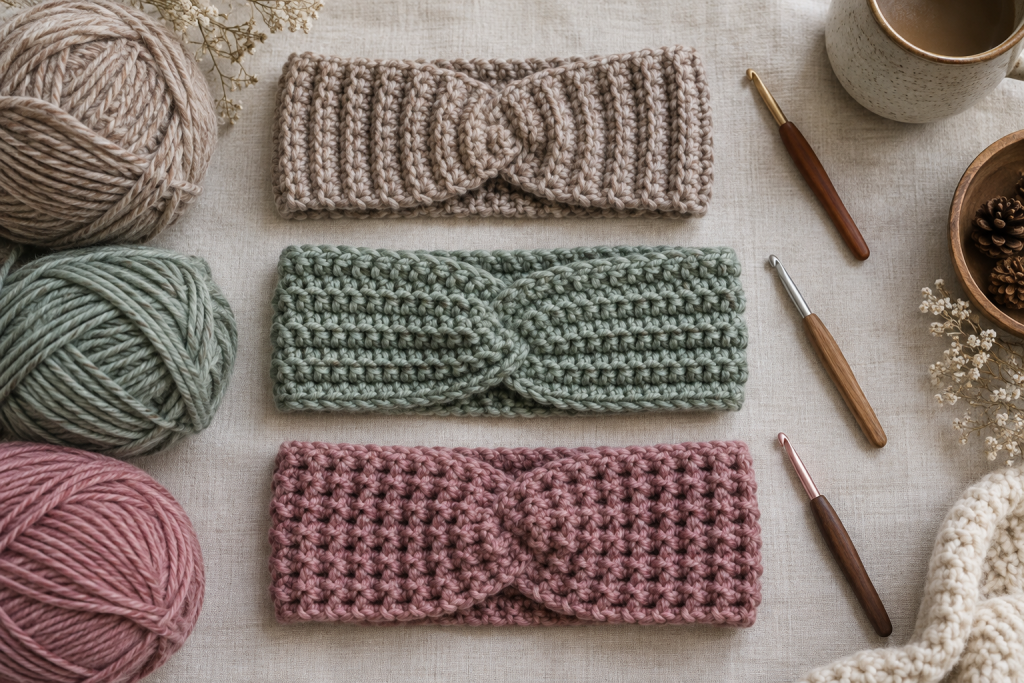
Single crochet ribbing is elastic and polished but takes more rows. Half-double crochet through the back loop grows quickly and creates visible ridges. Thermal stitch blocks wind well but produces thicker, less stretchy fabric. Work a swatch at least 10 cm wide, wash it as you will wash the finished band and measure again.
Soft wool blends offer warmth and recovery; acrylic is affordable and easy-care. Avoid yarn that feels scratchy when rubbed against the inside of your wrist.
Crochet a consistent rectangle
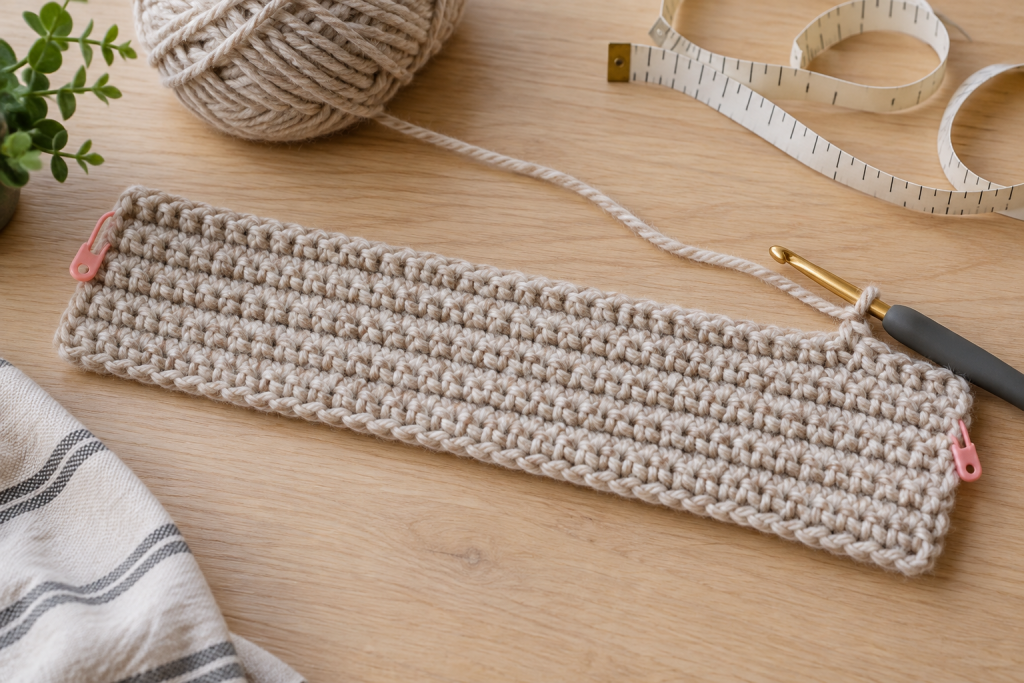
- Chain for the desired band width, allowing full ear coverage.
- Work the selected stitch in rows and count every row’s stitches.
- Measure the length relaxed, not pulled to its maximum.
- Wrap the unfinished band around the head form or recipient and check gentle stretch.
- Stop when the ends meet under moderate tension.
If one edge becomes shorter, you are probably missing the first or last stitch. Correct it early; a twist seam cannot hide a strongly tapered rectangle.
Create a smooth front twist
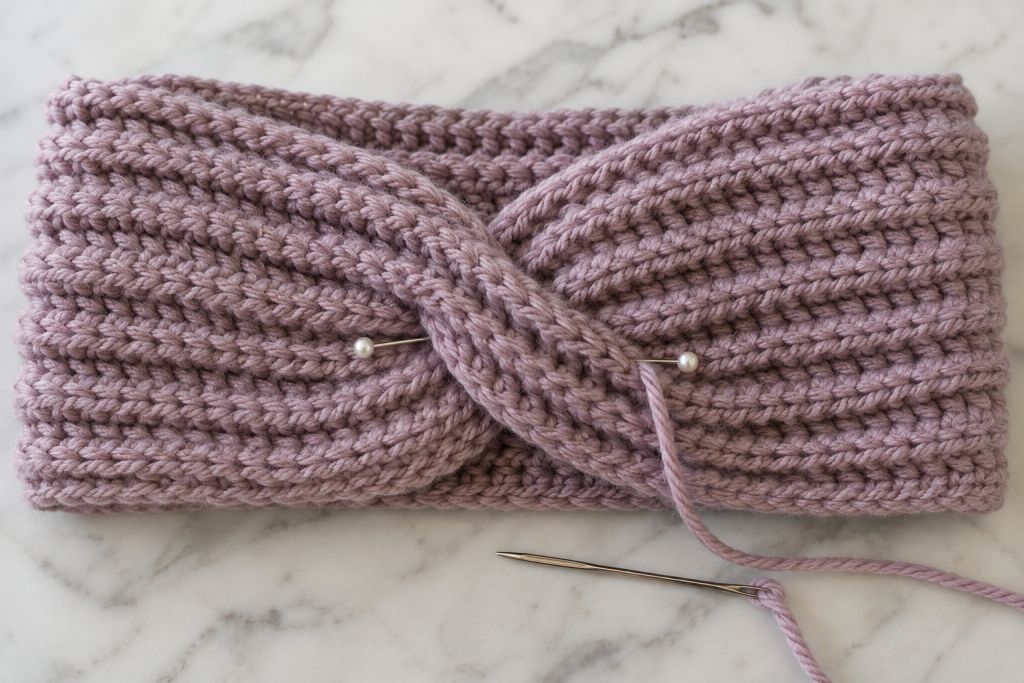
Fold each short end in half. Slide the folded ends together so their four layers alternate, then pin through all layers. Sew with matching yarn using small passes, keeping the seam strong but flexible. Open the band and roll the joined area between your fingers to settle the twist.
Check real fit before trimming tails
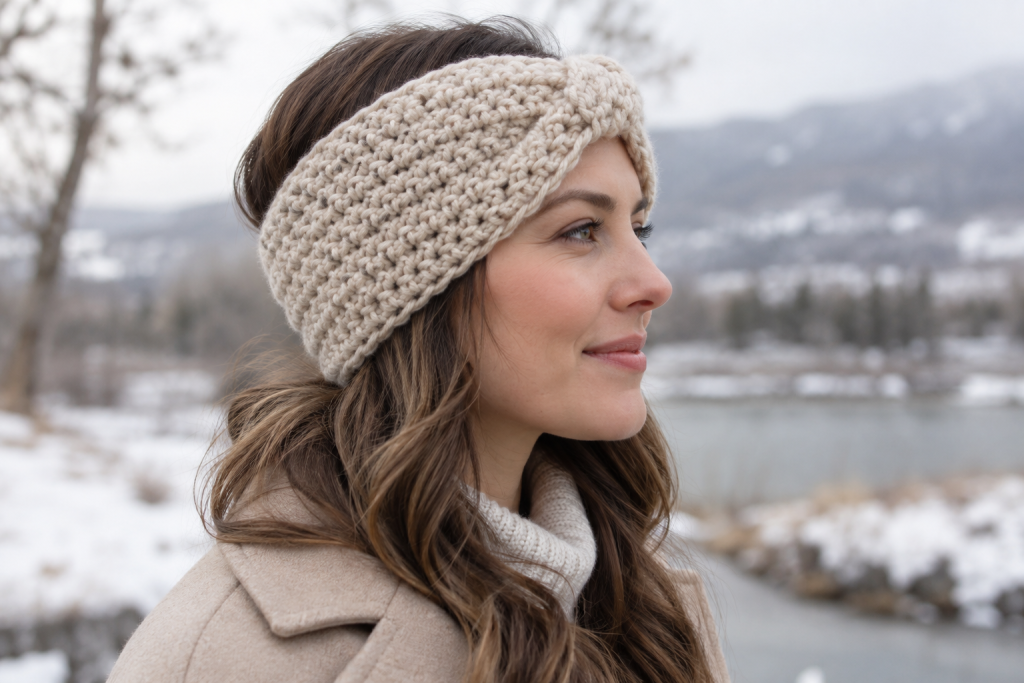
Wear the band for ten minutes. It should stay in place when you turn your head, but it should not leave a deep mark. If it slides, shorten the seam area slightly or add a soft elastic thread through the back edge. If it feels tight, reopen the seam and add a narrow matching panel rather than hoping the yarn will permanently stretch.
Care and gifting
Wash according to the yarn label and dry flat to preserve the twist. Include fiber content and head-size range when gifting or selling. Photograph the band both flat and worn so readers or customers can understand the seam and coverage.
Use the remaining yarn
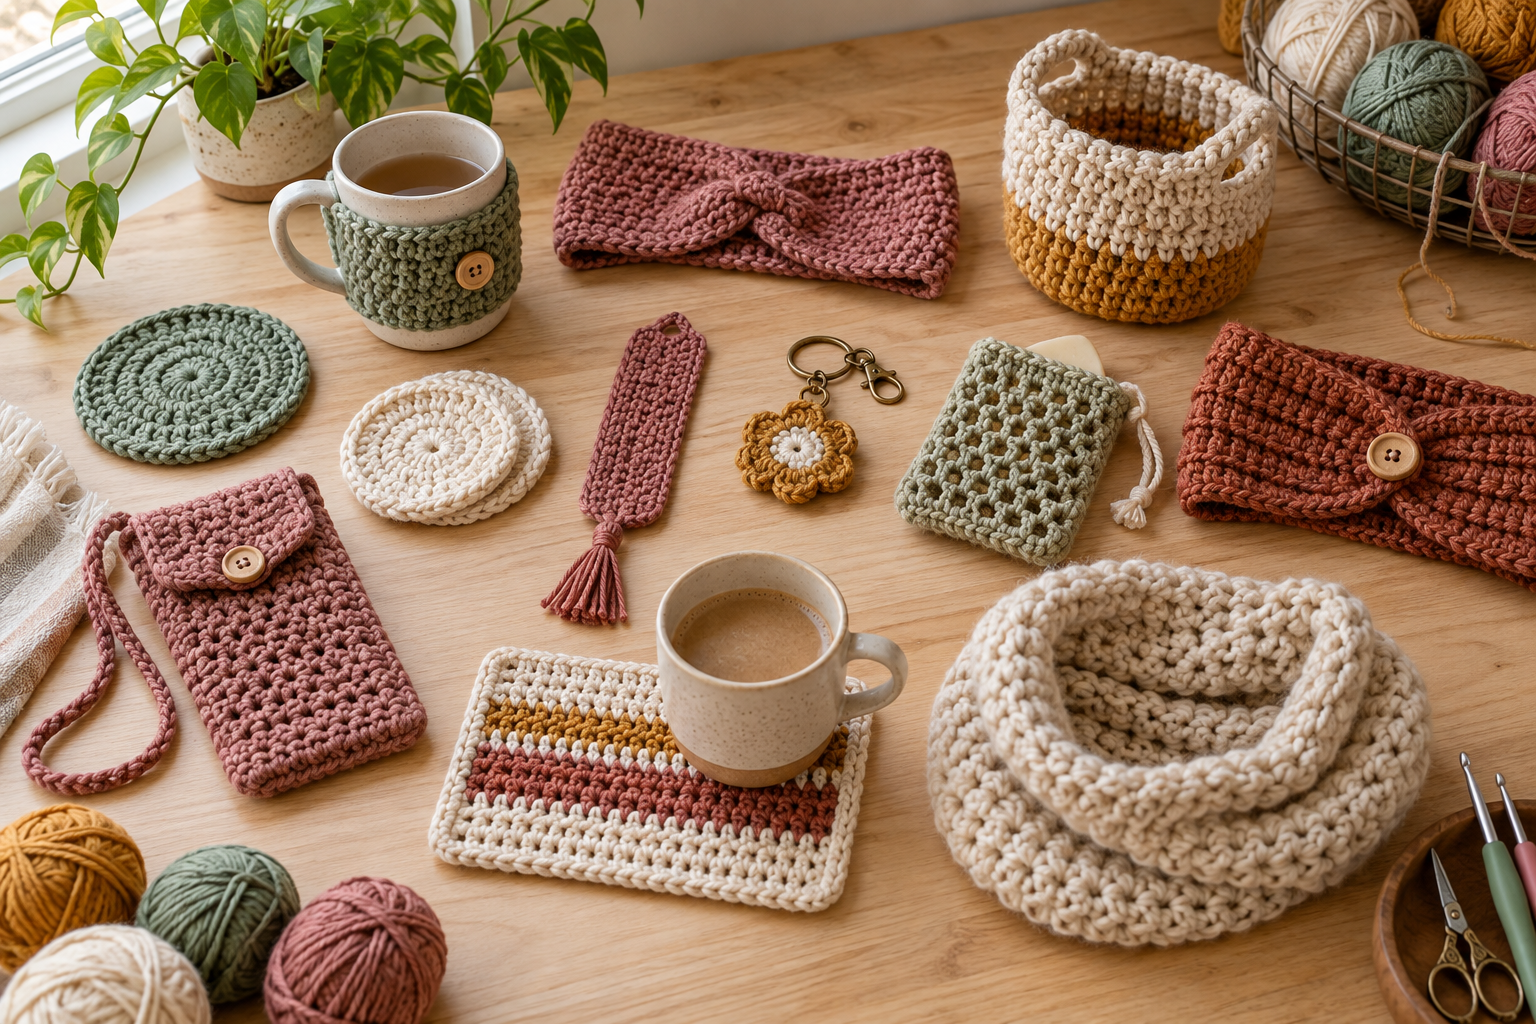
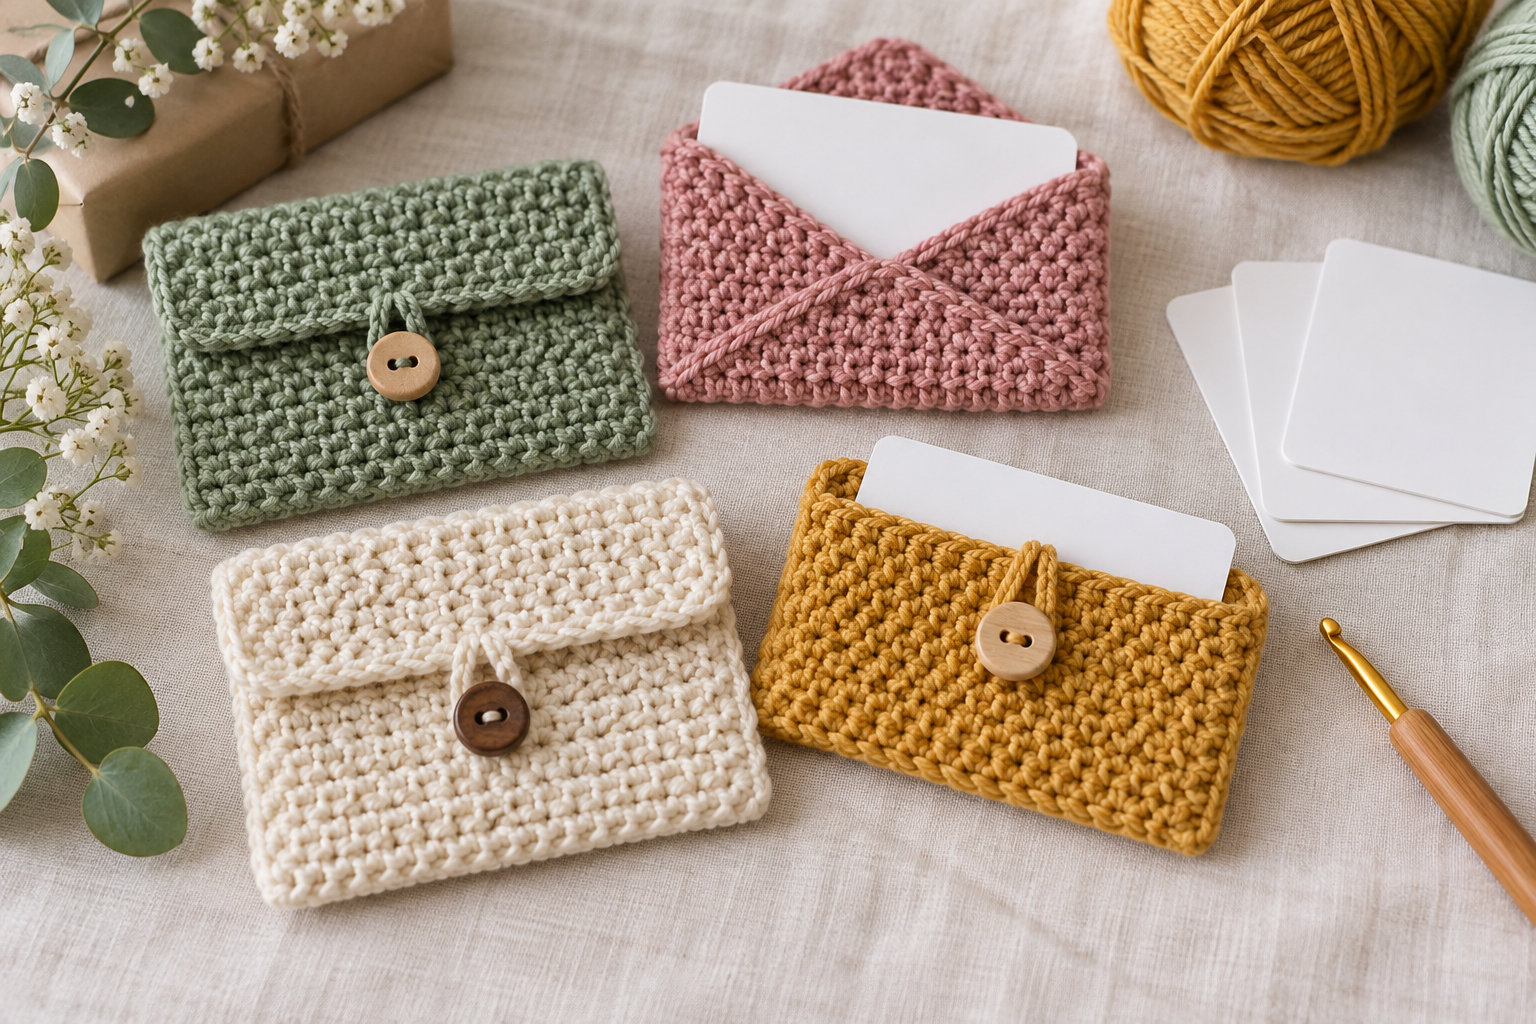
Make a matching crochet scrunchie, use cotton leftovers for one-hour coasters, or create an easy gift card holder.